Why Wrap? | A New Suit for Project Artemis

A New Suit for Project Artemis

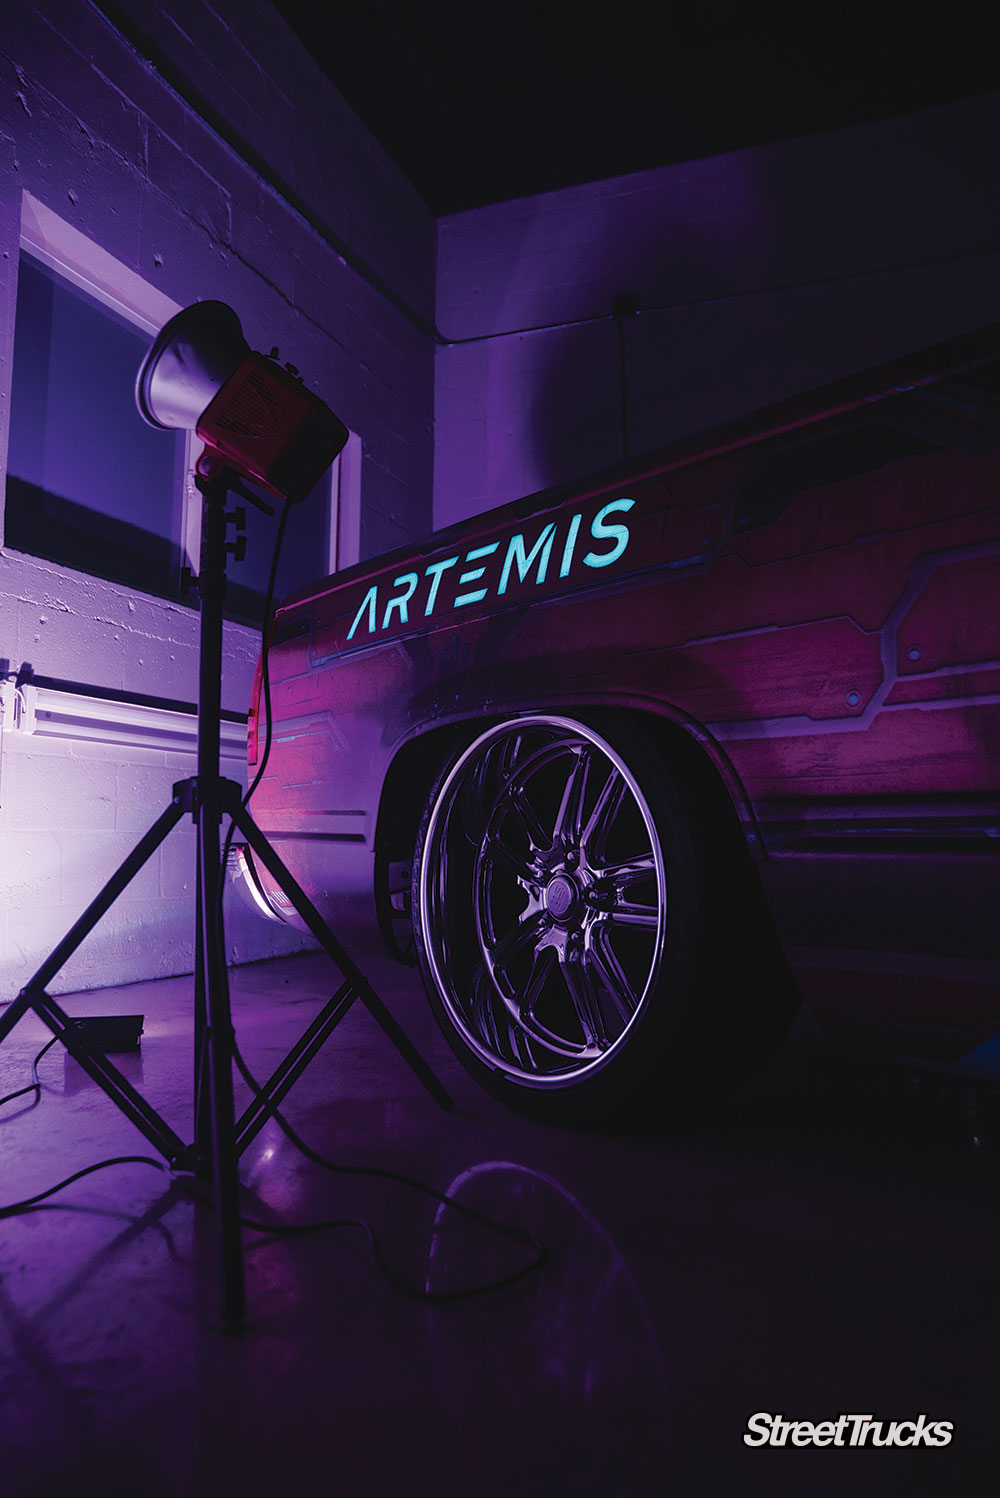
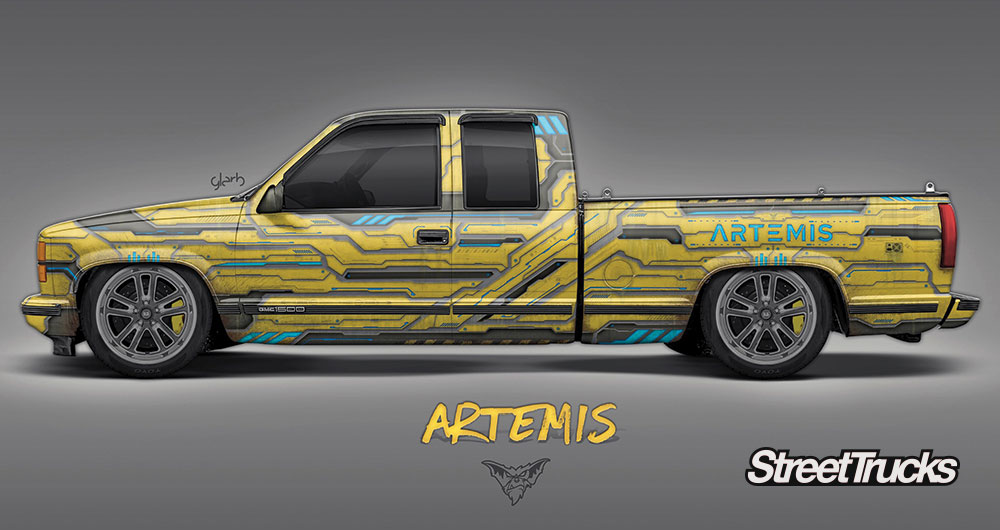
If you remember from the last issue, we dropped off our 1998 GMC Sierra known as Project Artemis to the amazing minds at Glarb Wrapped and Tate Designs for an overhaul of epic proportions. A combination of a killer design, high quality prints and one of the best installers in the game is all that it took to transform this basic bagged Bowtie into a motorized masterpiece we can’t wait to take to shows. Not only is the design eye-catching and hypnotizing, but it also incorporates LED panels underneath the wrap that light up at the push of a button. Now the name of the truck can be seen at night, which will definitely stand out in the crowd.
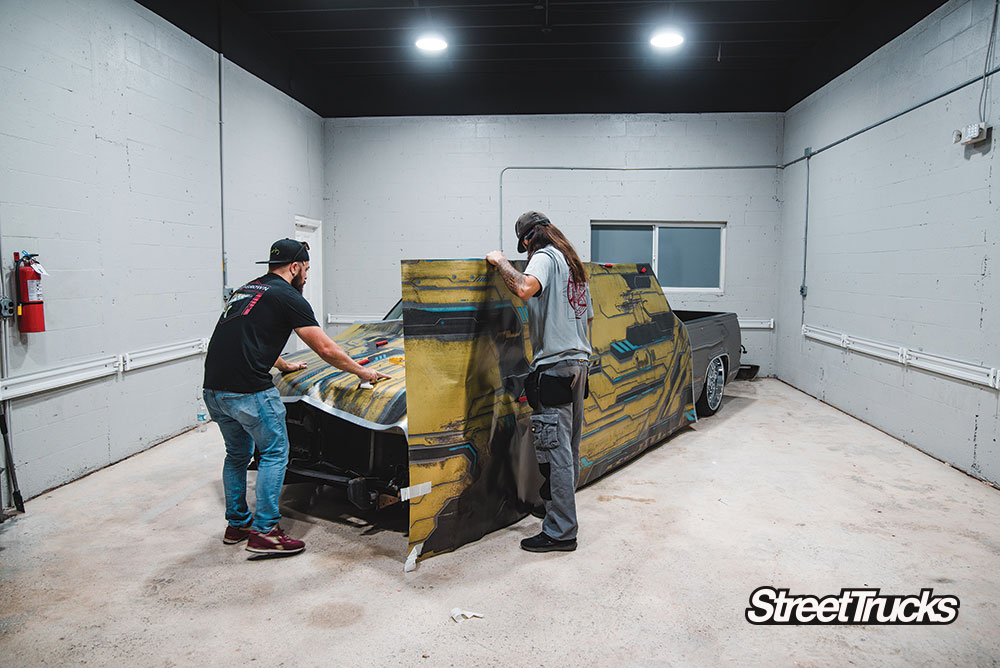
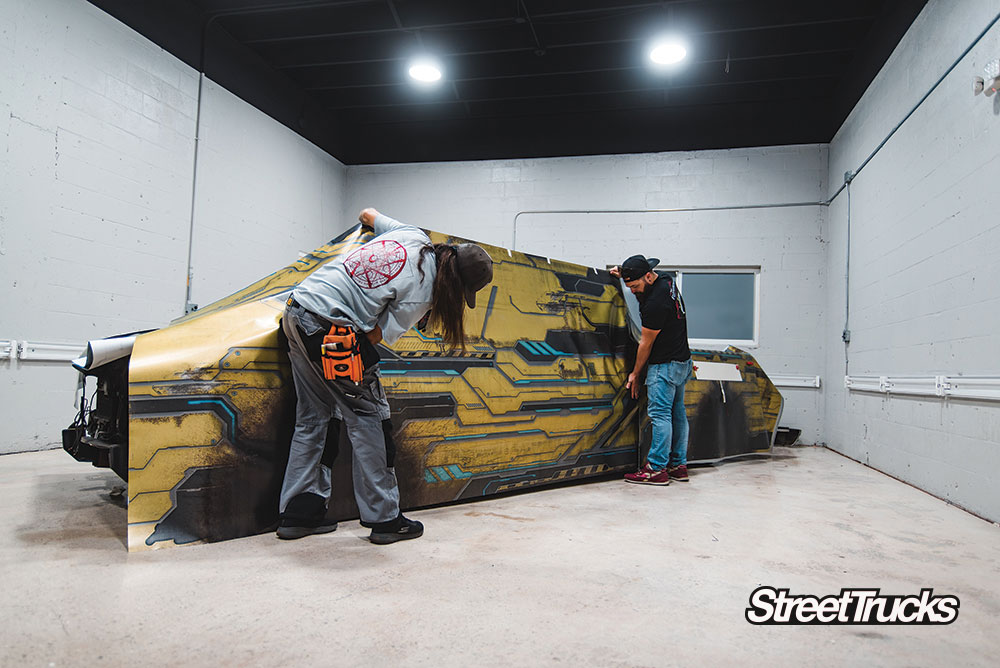
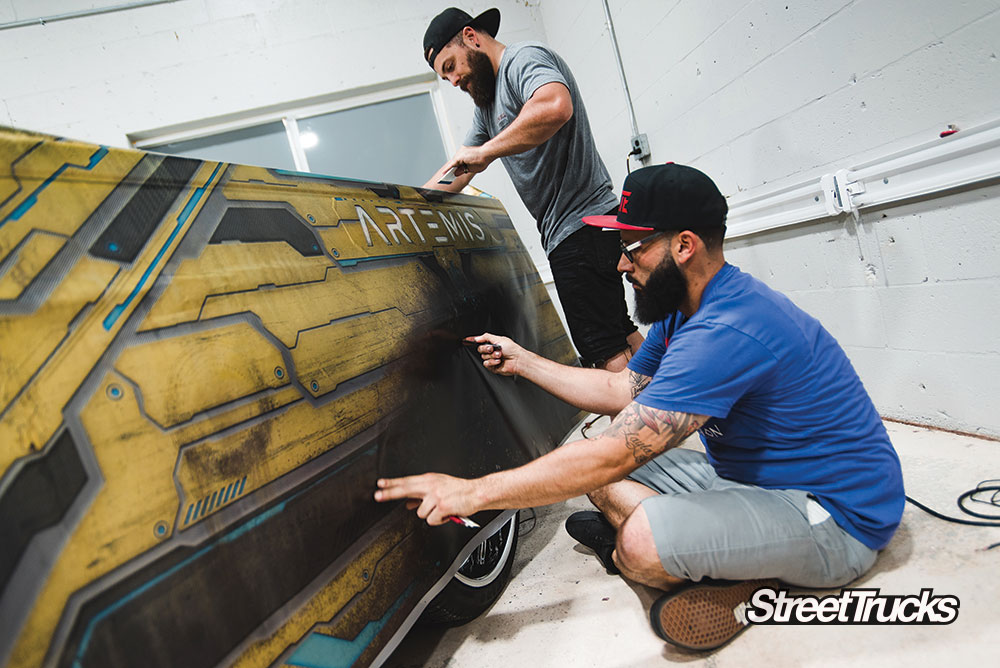
Ryan Sandoval from Glarb Wrapped sent his files to We Print Wraps, and within a few weeks we were watching them install a high-quality material that will last as long as paint. With a design this intricate, Ryan only trusted one crew to lead with the install. Tate designs in Ft. Lauderdale, Florida, was proud to participate and happily lead the charge. Tape measures went flying and numbers were being calculated in their heads faster than we could take photos, but there’s a method to their madness that you can only appreciate if you just sit back and watch the process. We were able to hang out with them for the entire week as they sanded, stripped and wrapped the entire truck from bumper to bumper. Their work is amazing, and from what we know it’s second to none. We have a whole new respect for this particular industry, and before you drop your deposit at your favorite paint shop, just give this method of metal masking another look. Check out the steps it takes to prepare these wraps and line them up correctly.
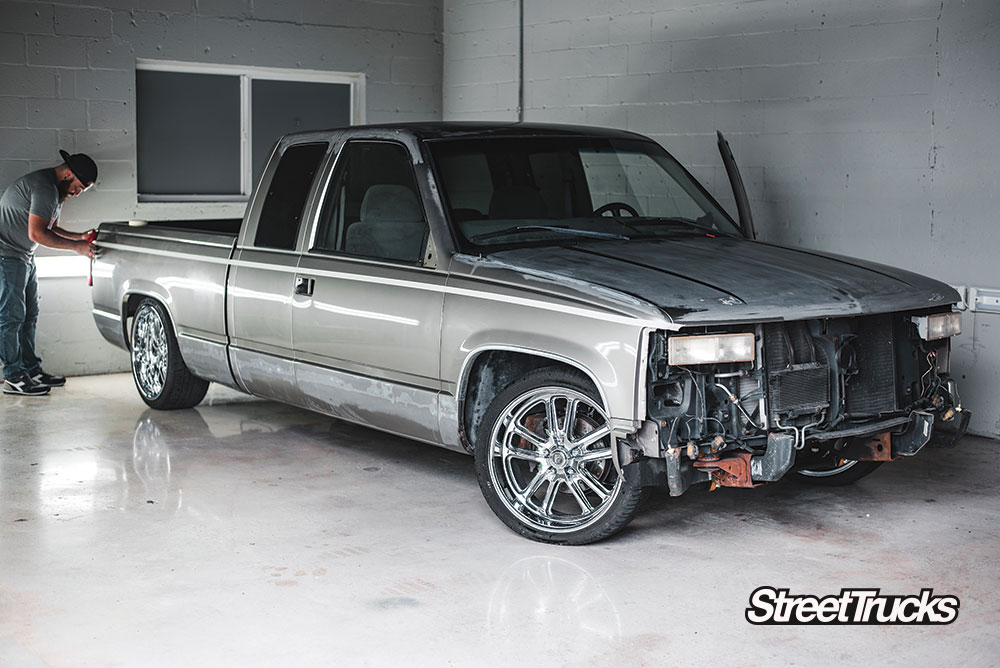
When we finished the last issue, our 1998 Chevy truck was completely prepped and ready for the new wrap. Ryan and Tate sanded down the rough spots and made these old panels as smooth as possible. The new design is amazing and will hide any minor imperfections in the paint.

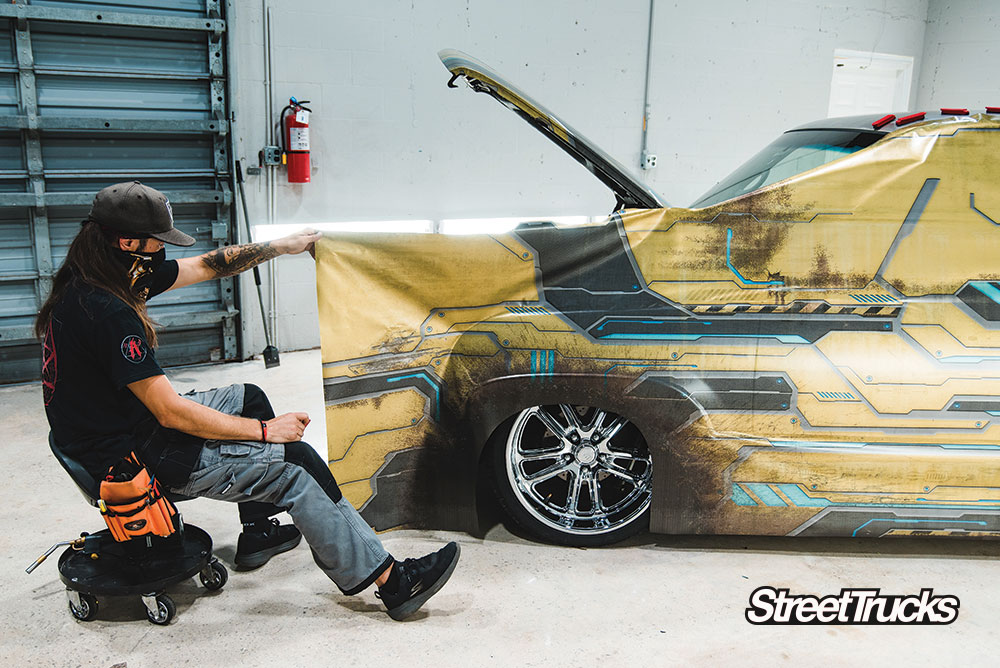
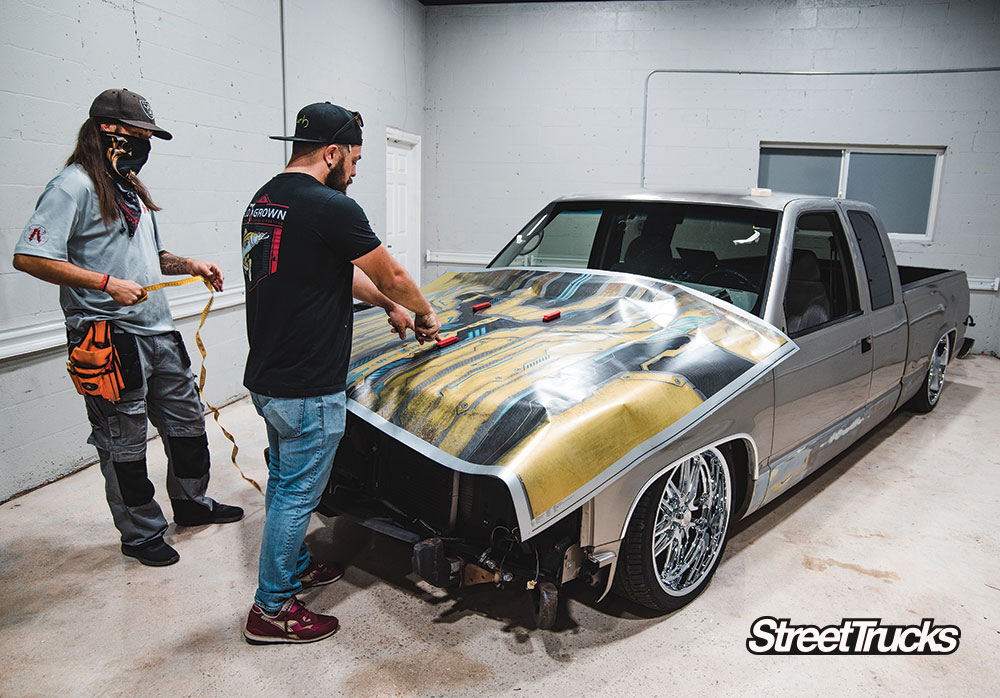
First thing is first—test fitting the panels they received from We Print Wraps. Now is the time you want to find out if something is printed wrong. But with an all-star design team like we have, everything was as perfect as expected.
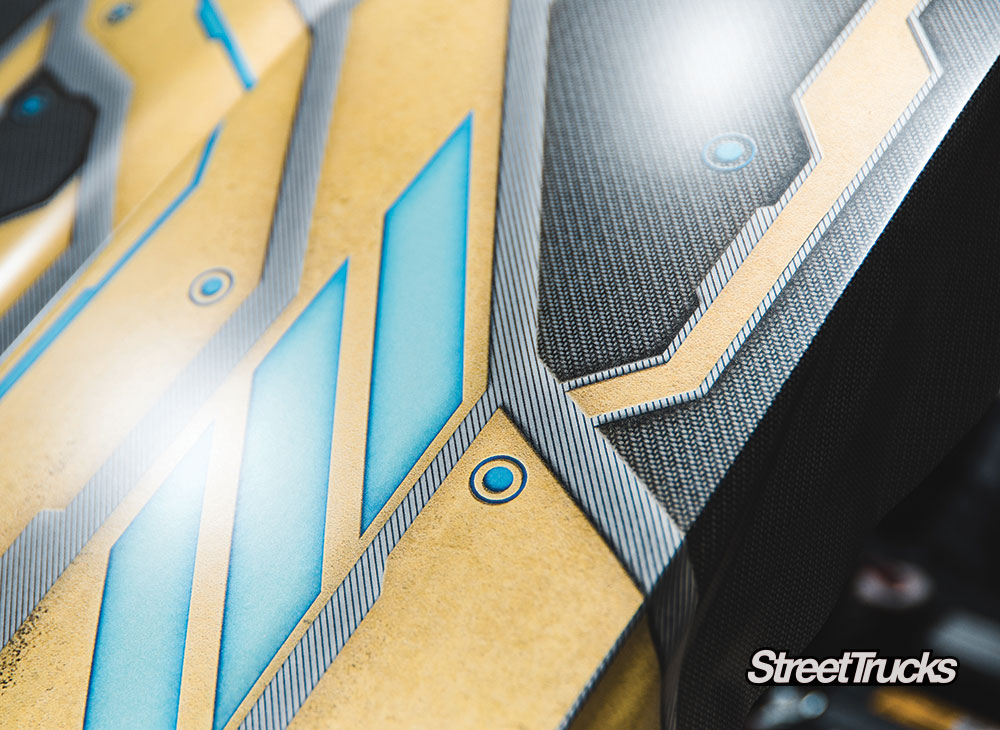
The Ready Player One, Cyberpunk mashup design that Ryan Sandoval created is very cool. It’s exactly how we saw it on the rendering. There were even a few surprises in the design we couldn’t see in the render. So cool!
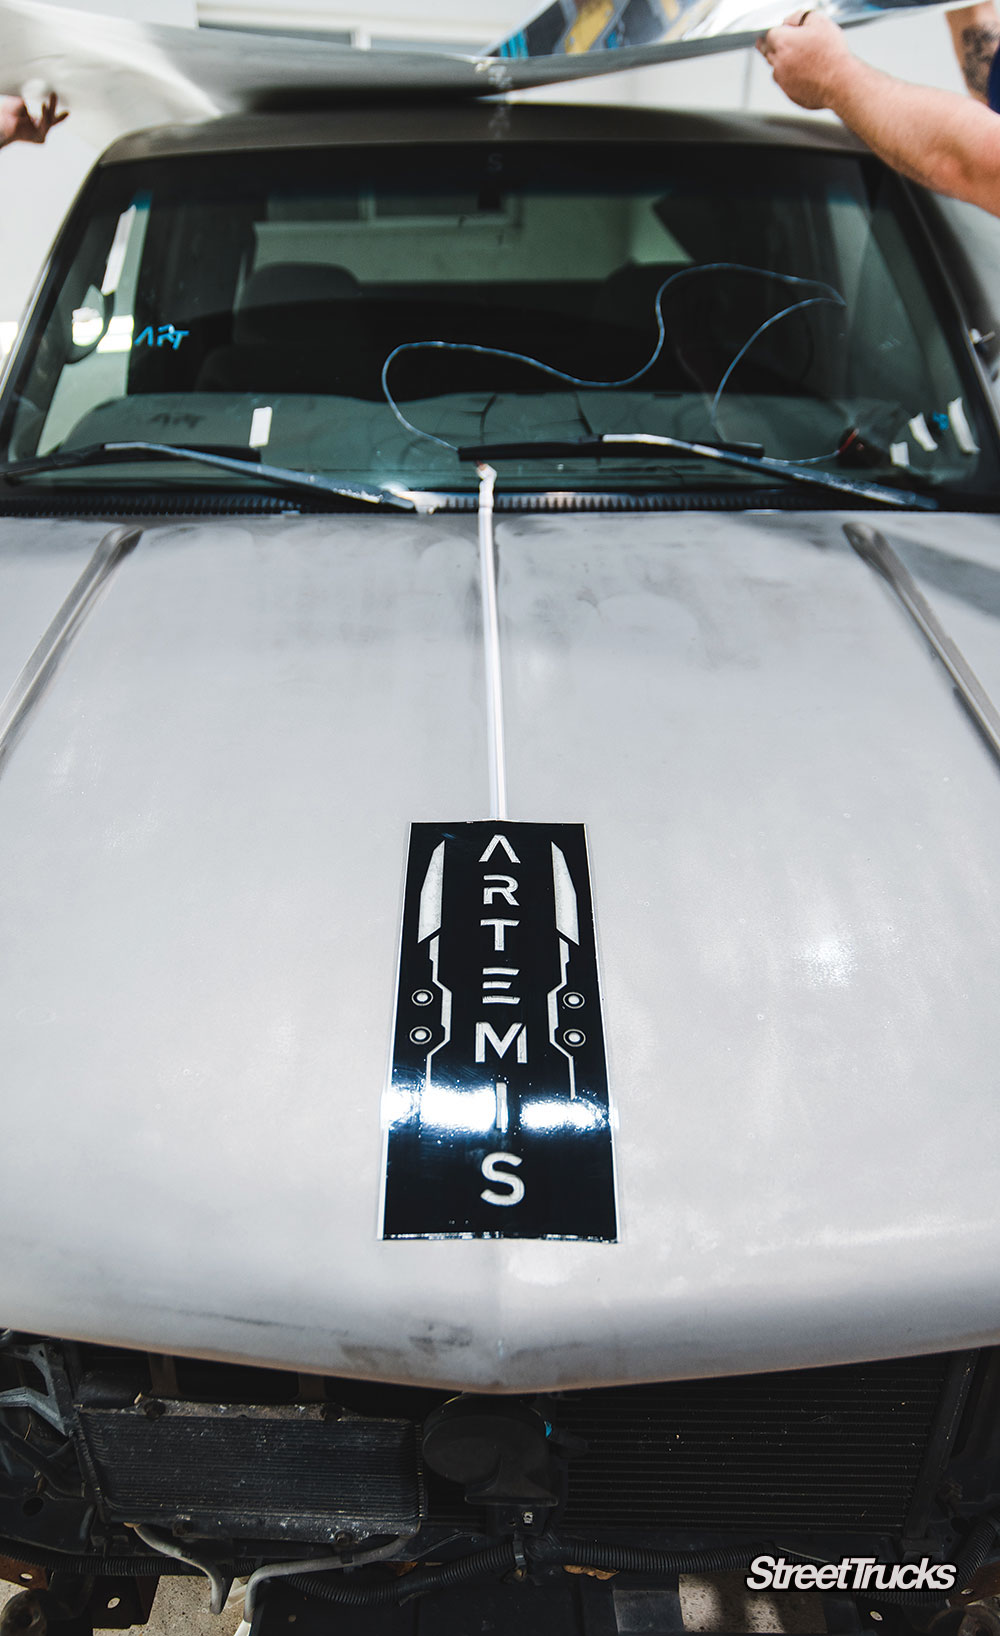
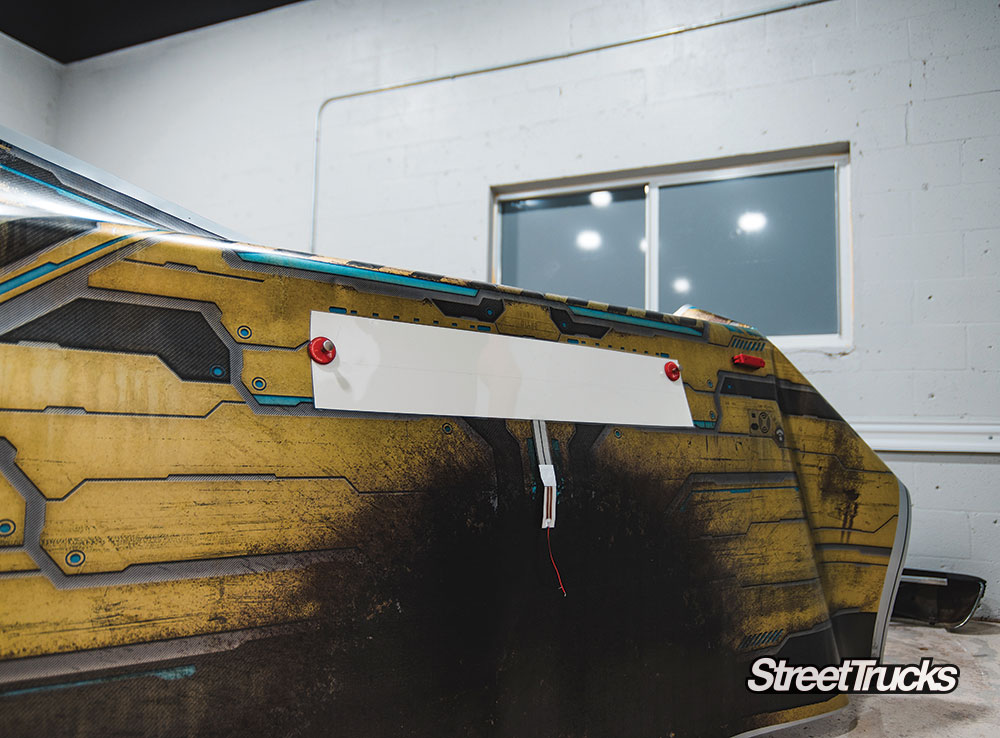
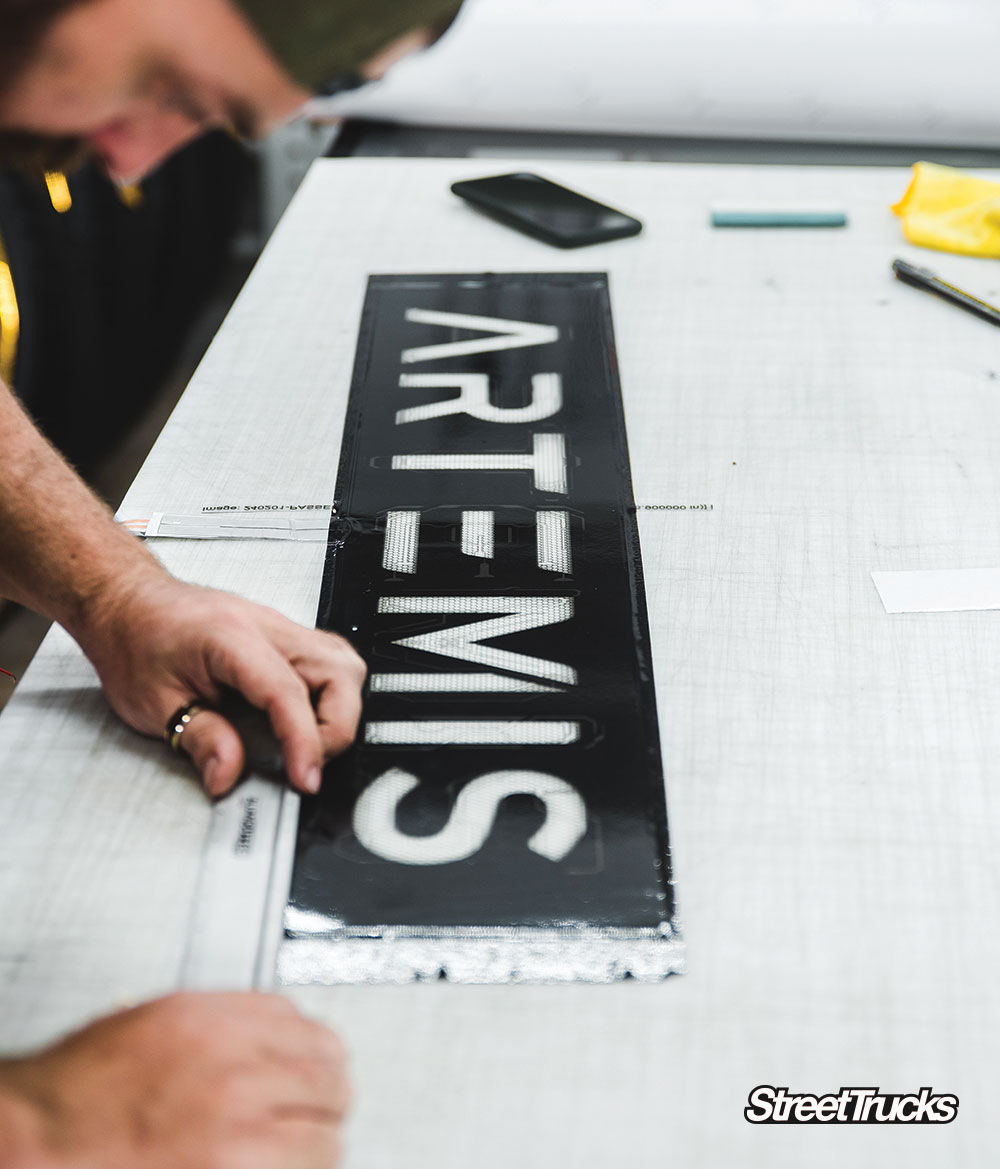
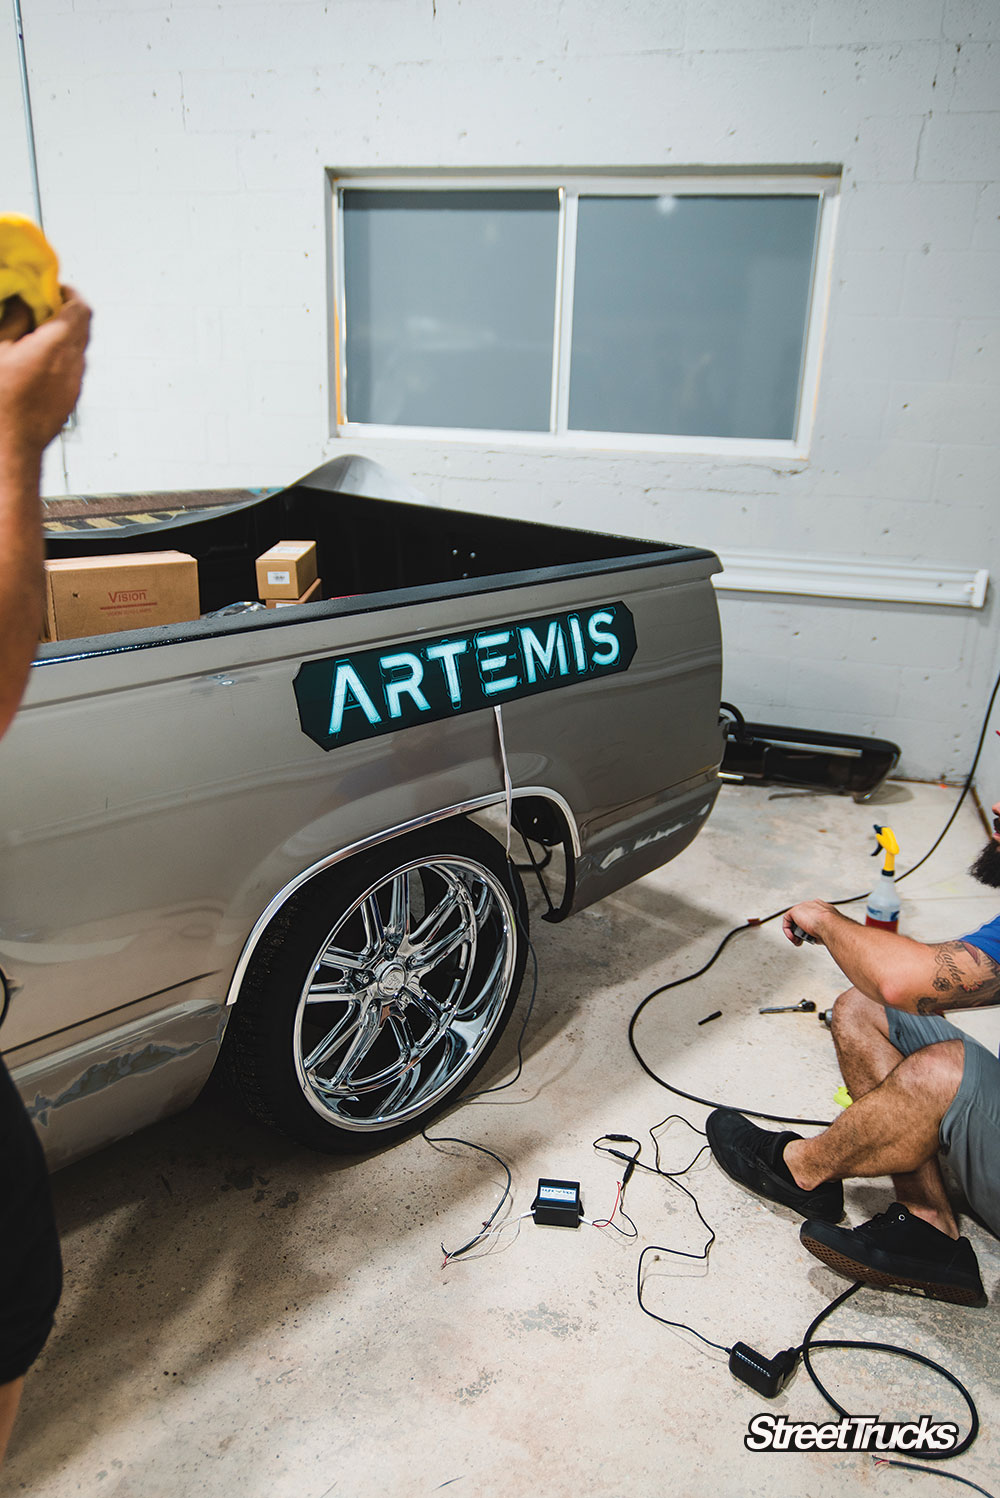
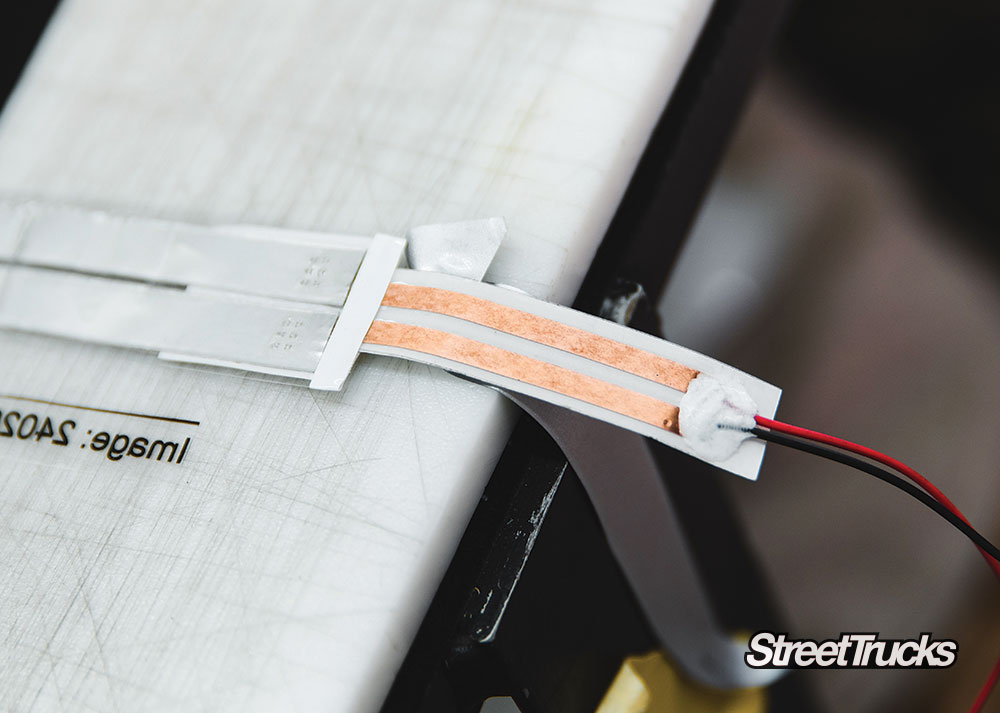
With all the panels correct and accounted for, it was time to place the flat LED panels. These super cool, remote controlled panels will have a black mask that matches the cutout of the vinyl. A thin flat wire sticks to the panel, and it is nearly unnoticeable under the wrap.
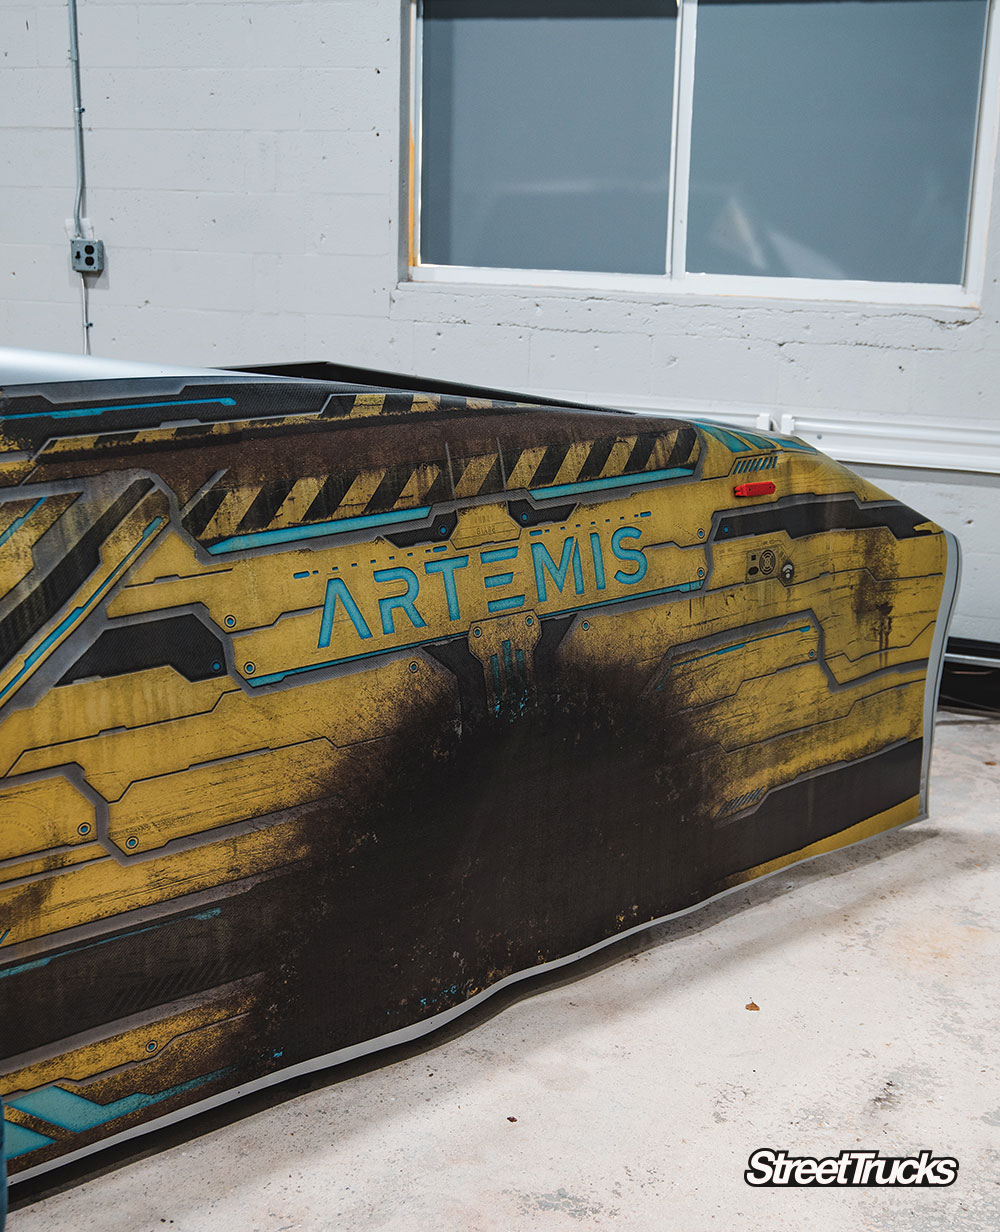
The hood of our 1998 GMC Sierra will have a panel in the center that shows the name Artemis, a character from the movie “Ready Player One.”
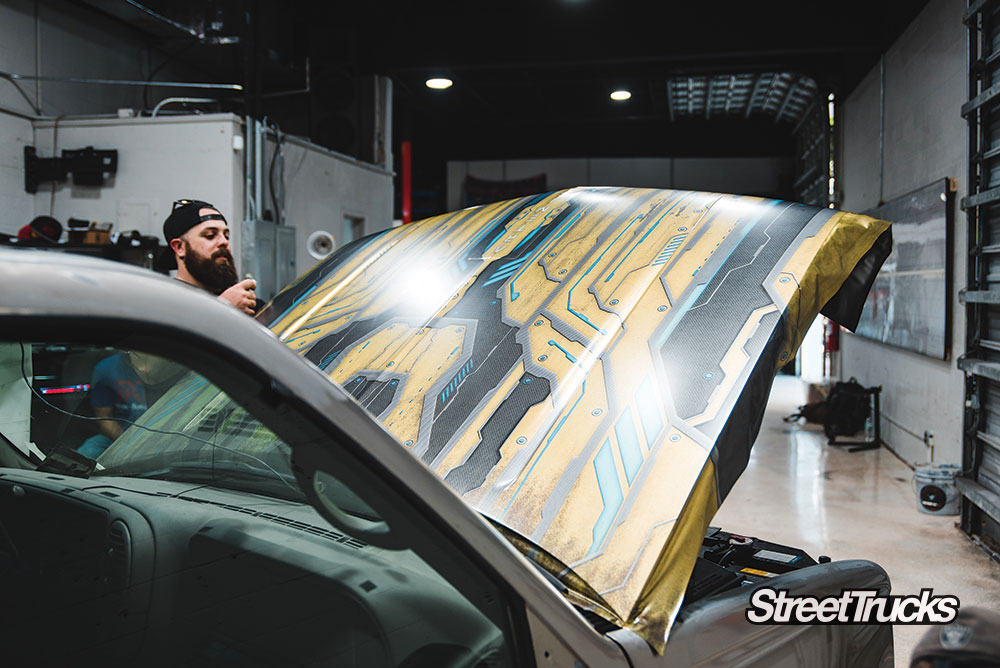
With the LED panel in place, Ryan carefully set the vinyl. There is only going to be one shot at this, so it has to be right!
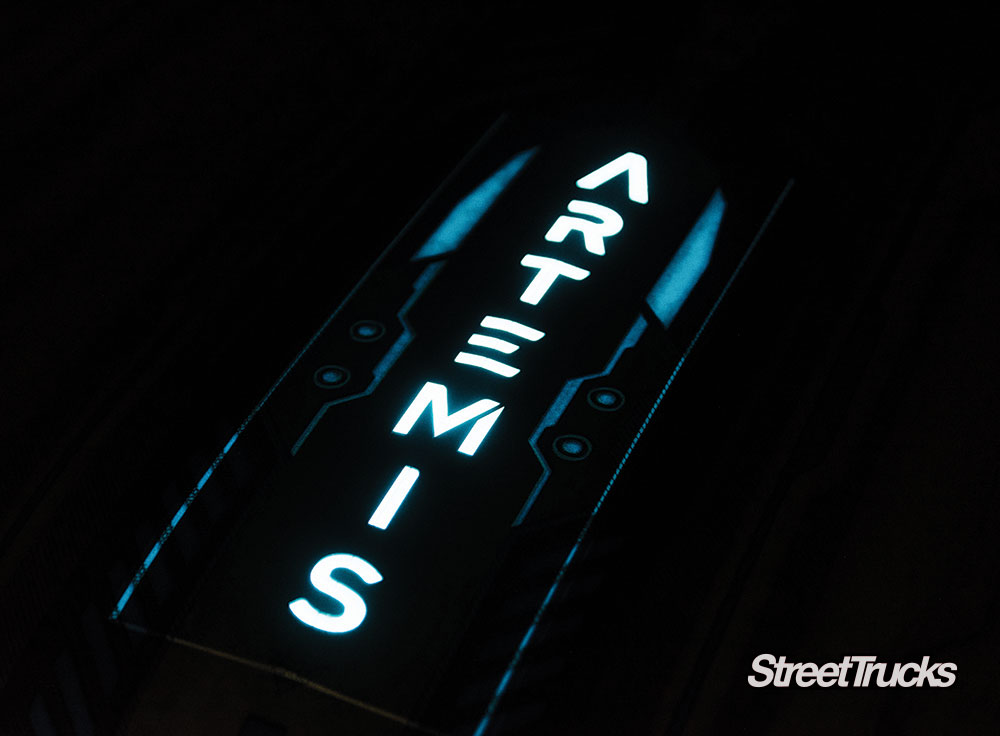
As they carefully stretched without warping the design, Tate cut out the letter so the light can show through.
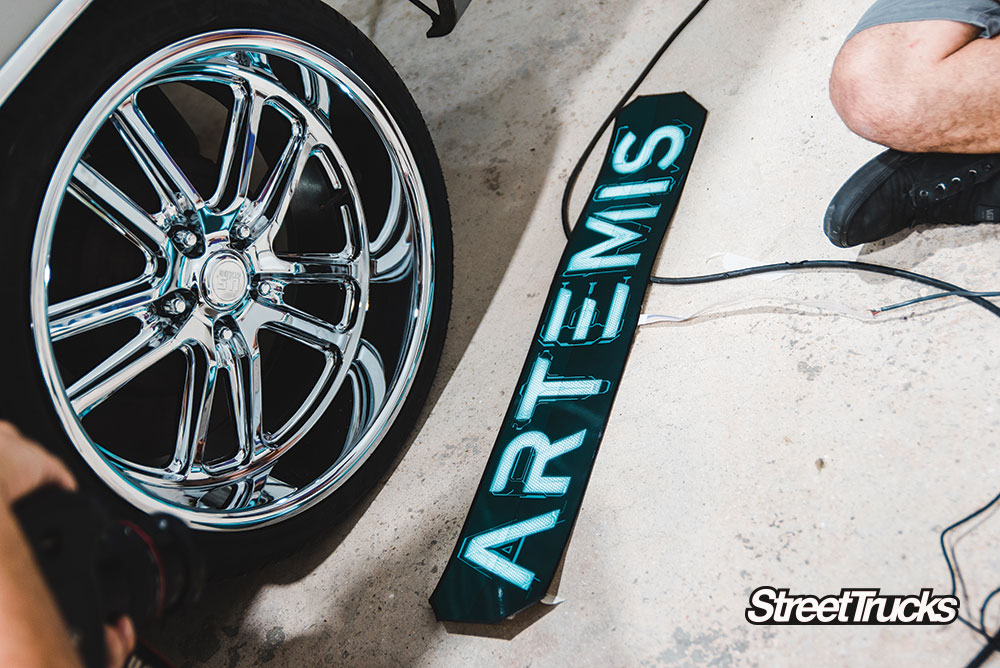
Boom! How cool is that? We can’t wait to go to the next night show. This light can turn on and off with the remote, and it’s only one of four on this truck!

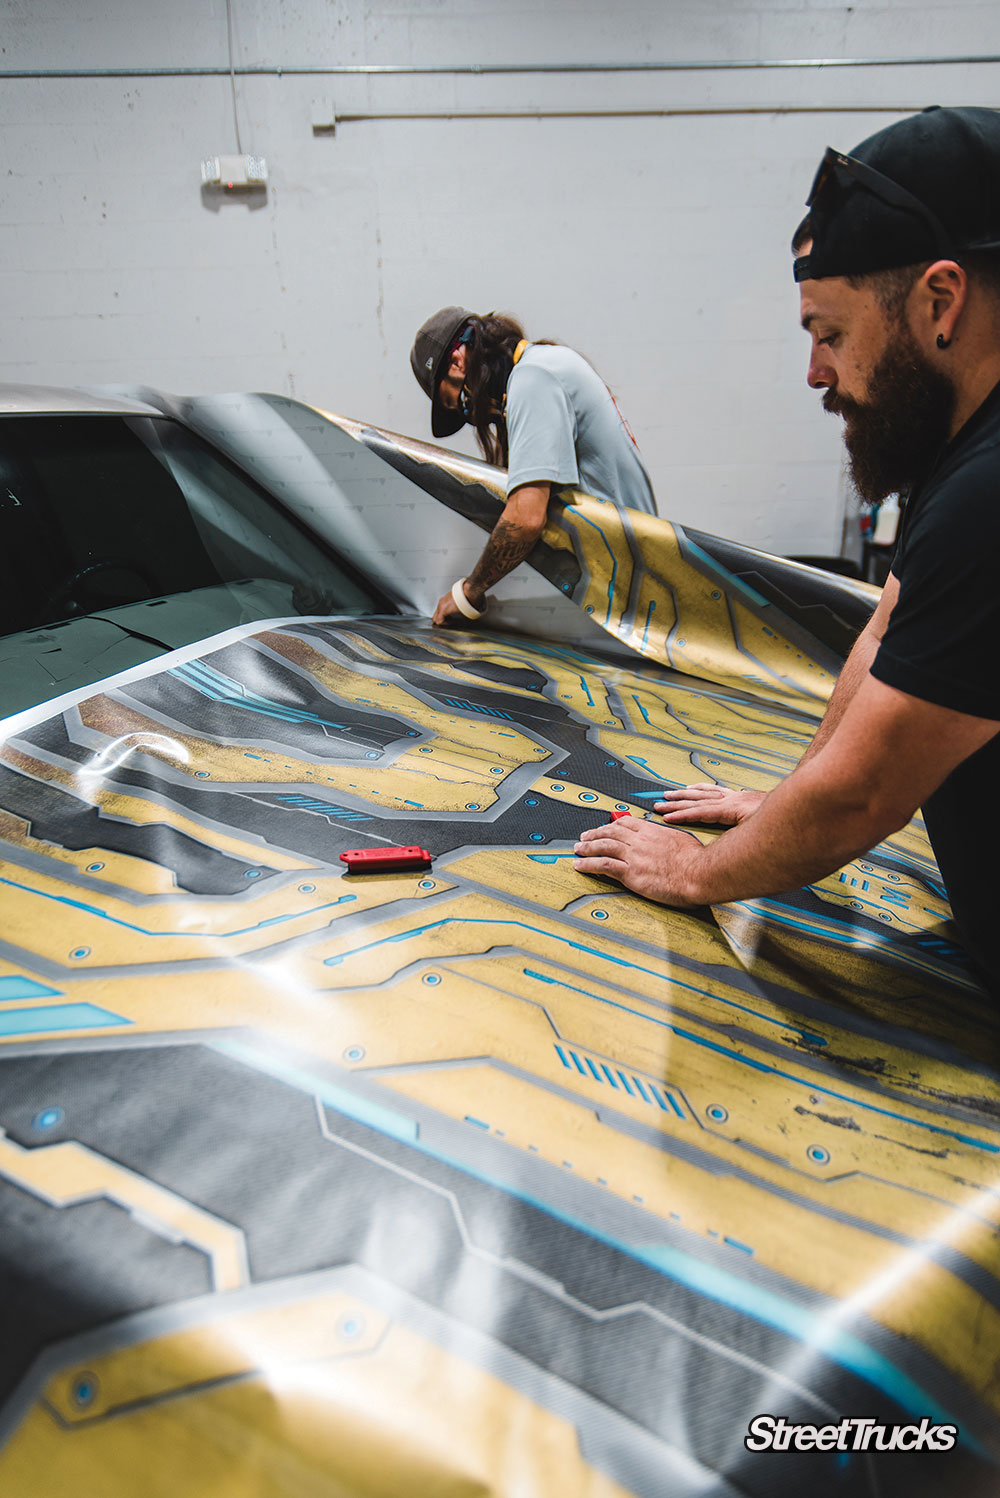
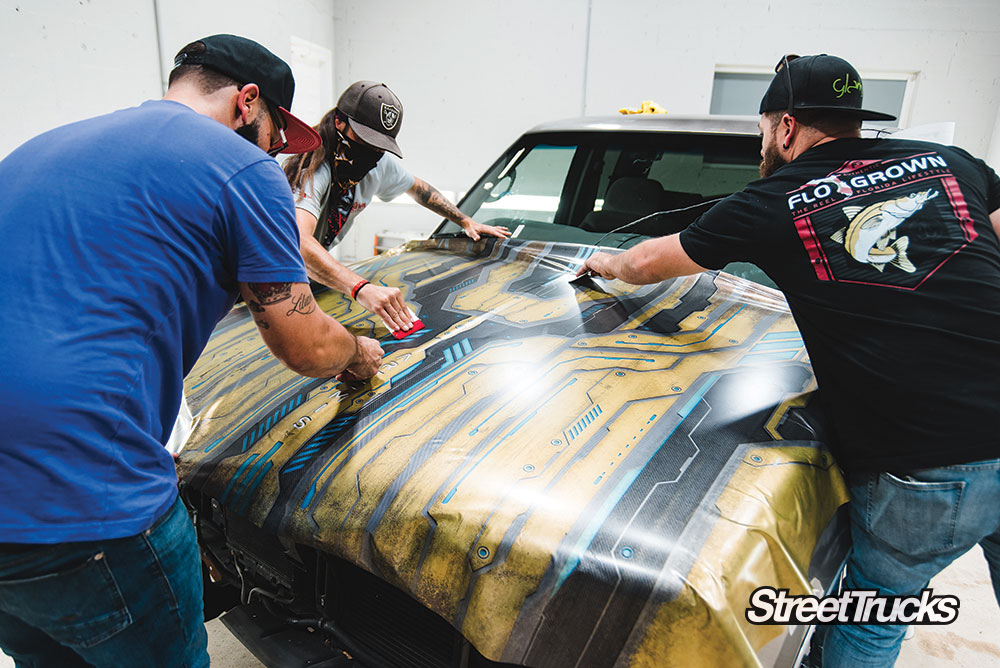
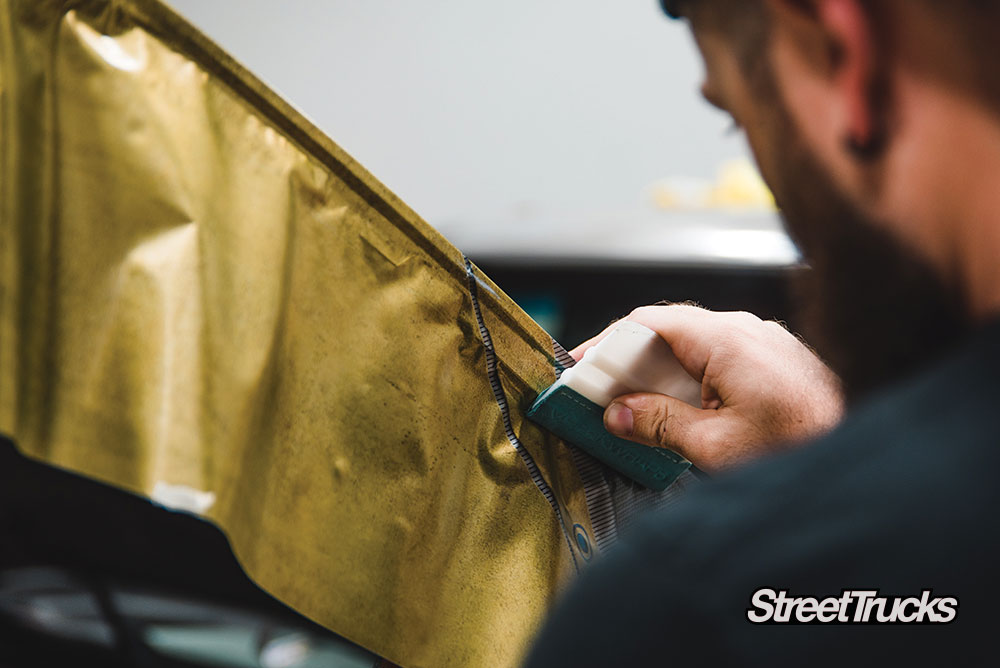
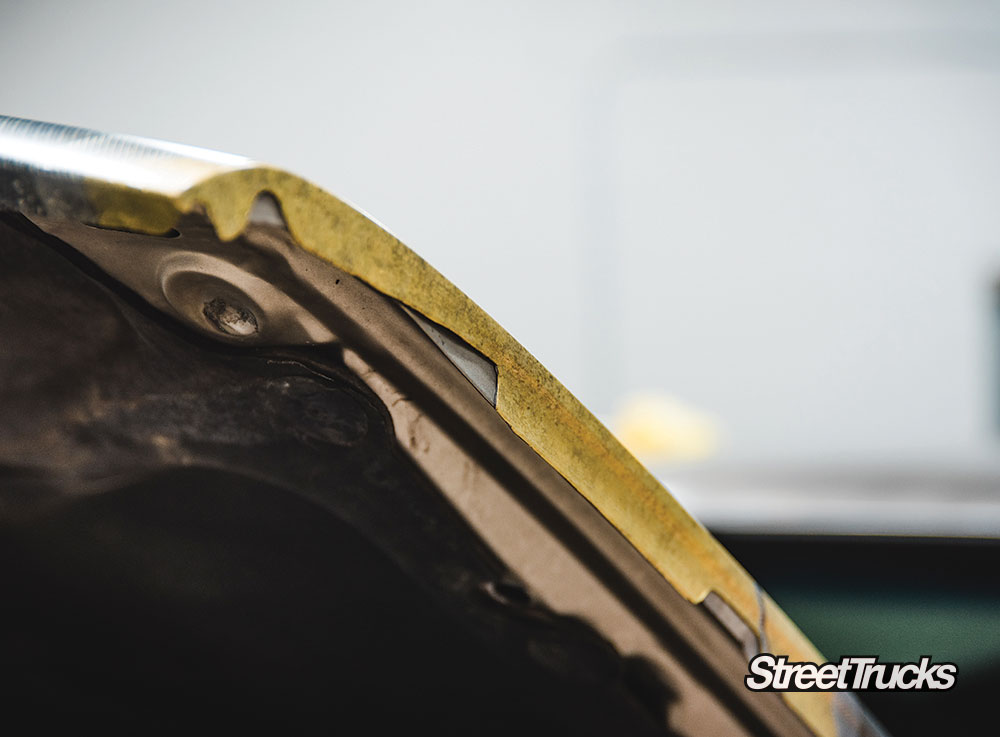
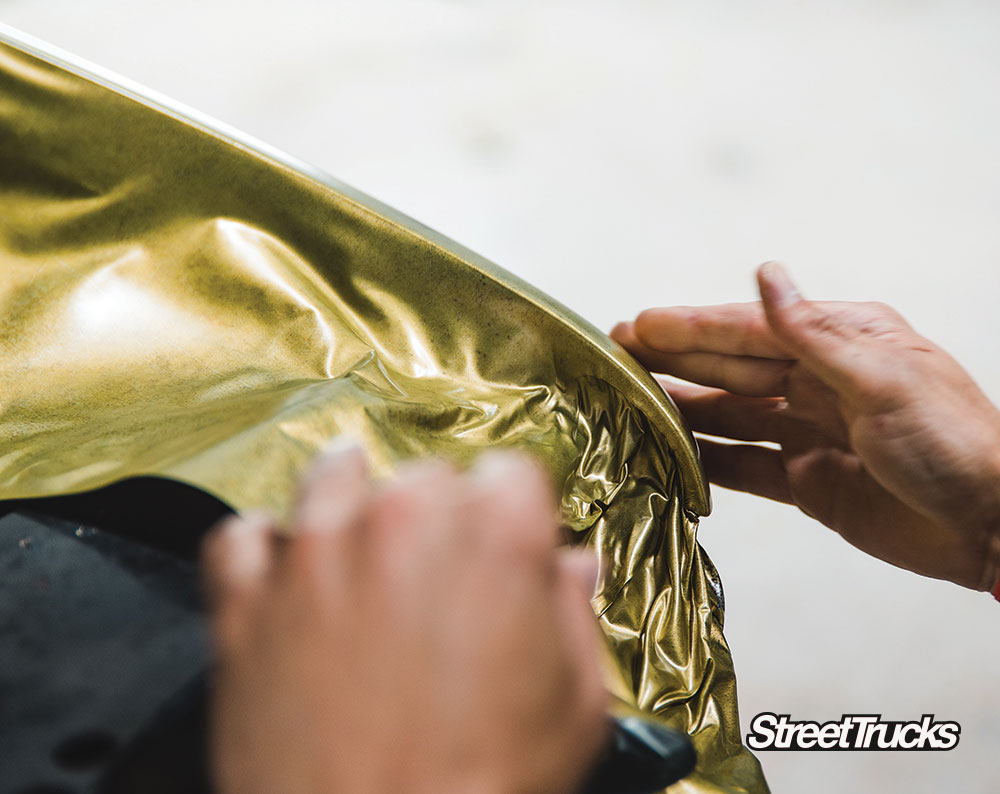
With the hood lined up and laid down smoothly, they can now focus on sitting in the edges. This part takes some real skill and experience, but when done right, it’s truly hard to tell it’s not paint.
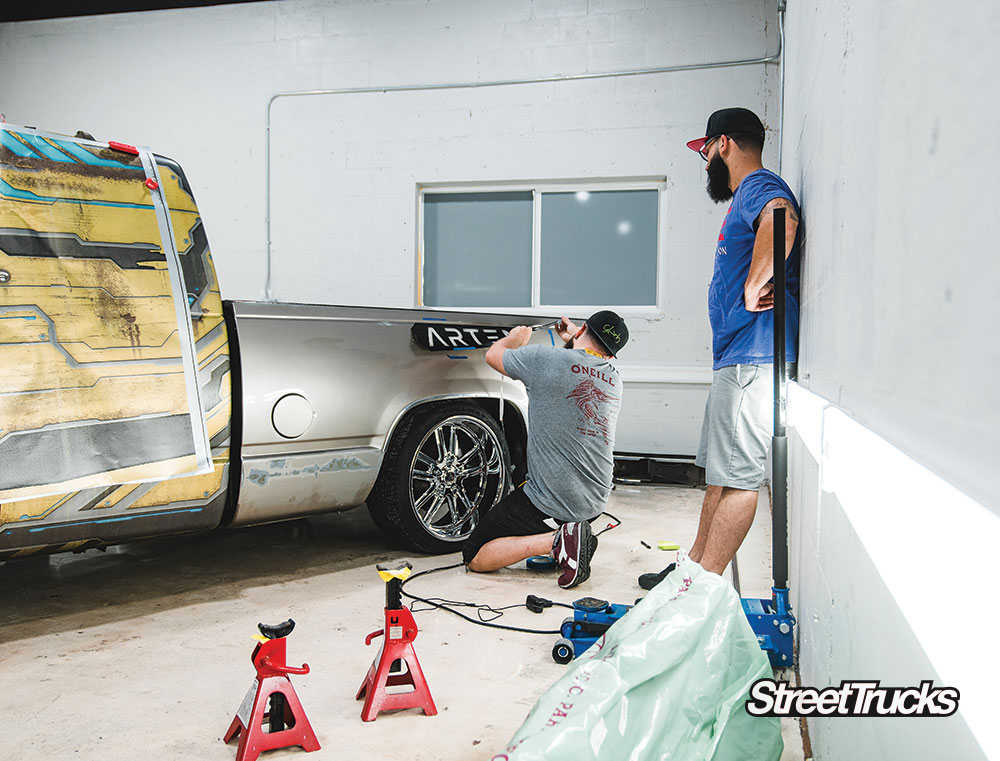
Next, they focused on the side panels including the front fenders and the cab. The bed will be done separately.
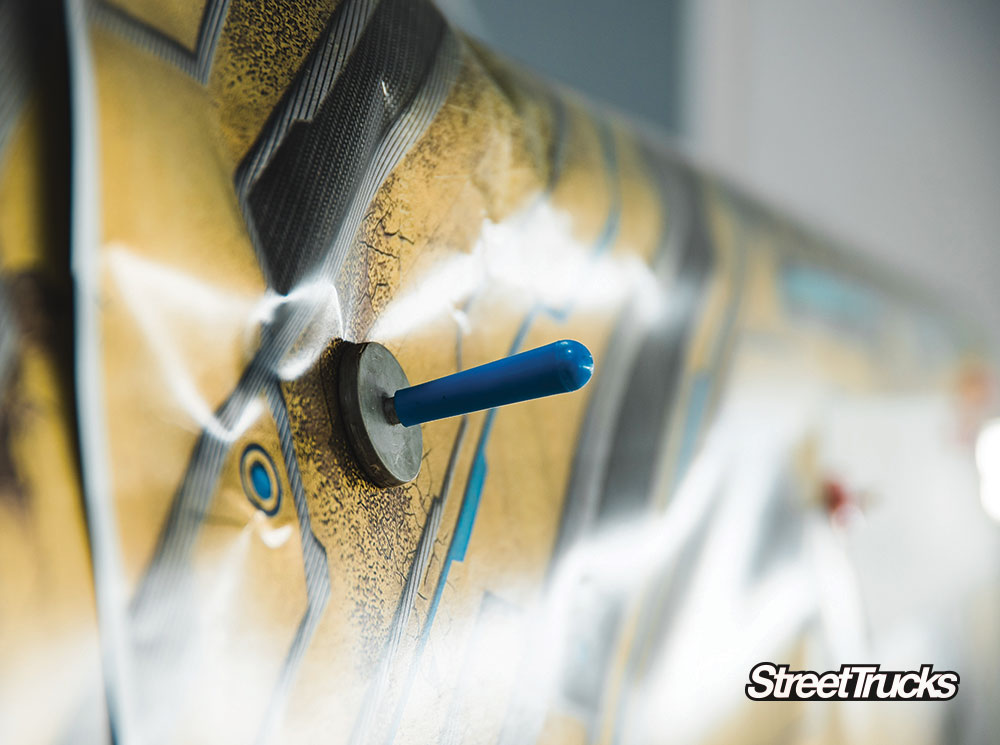
These magnets help everything stay in place while they line it up. Tool of the trade!
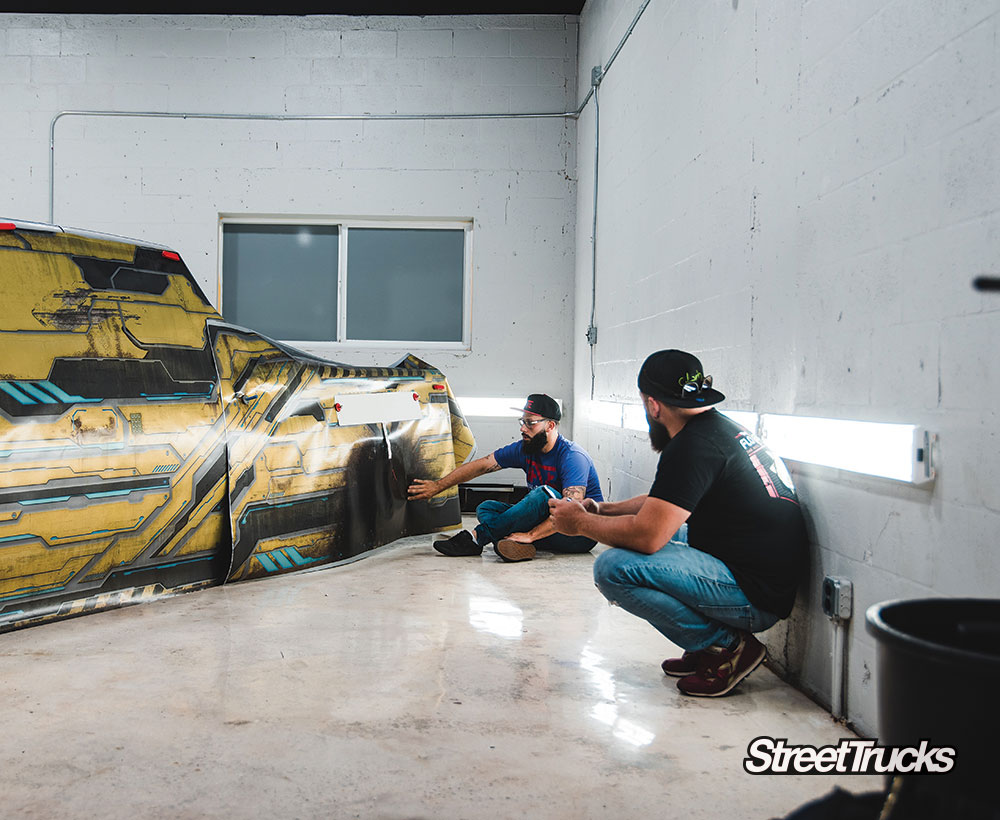
Before they start to stick to the sides, the back is lined up as well, ensuring that all parts of the design match. Lots of variables need to be considered before final placement, which is why we highly recommend a professional install your design printed from We Print Wraps.
The Artemis logo will also be visible on the bed sides, so the location needs to be considered as we’re lining everything up.
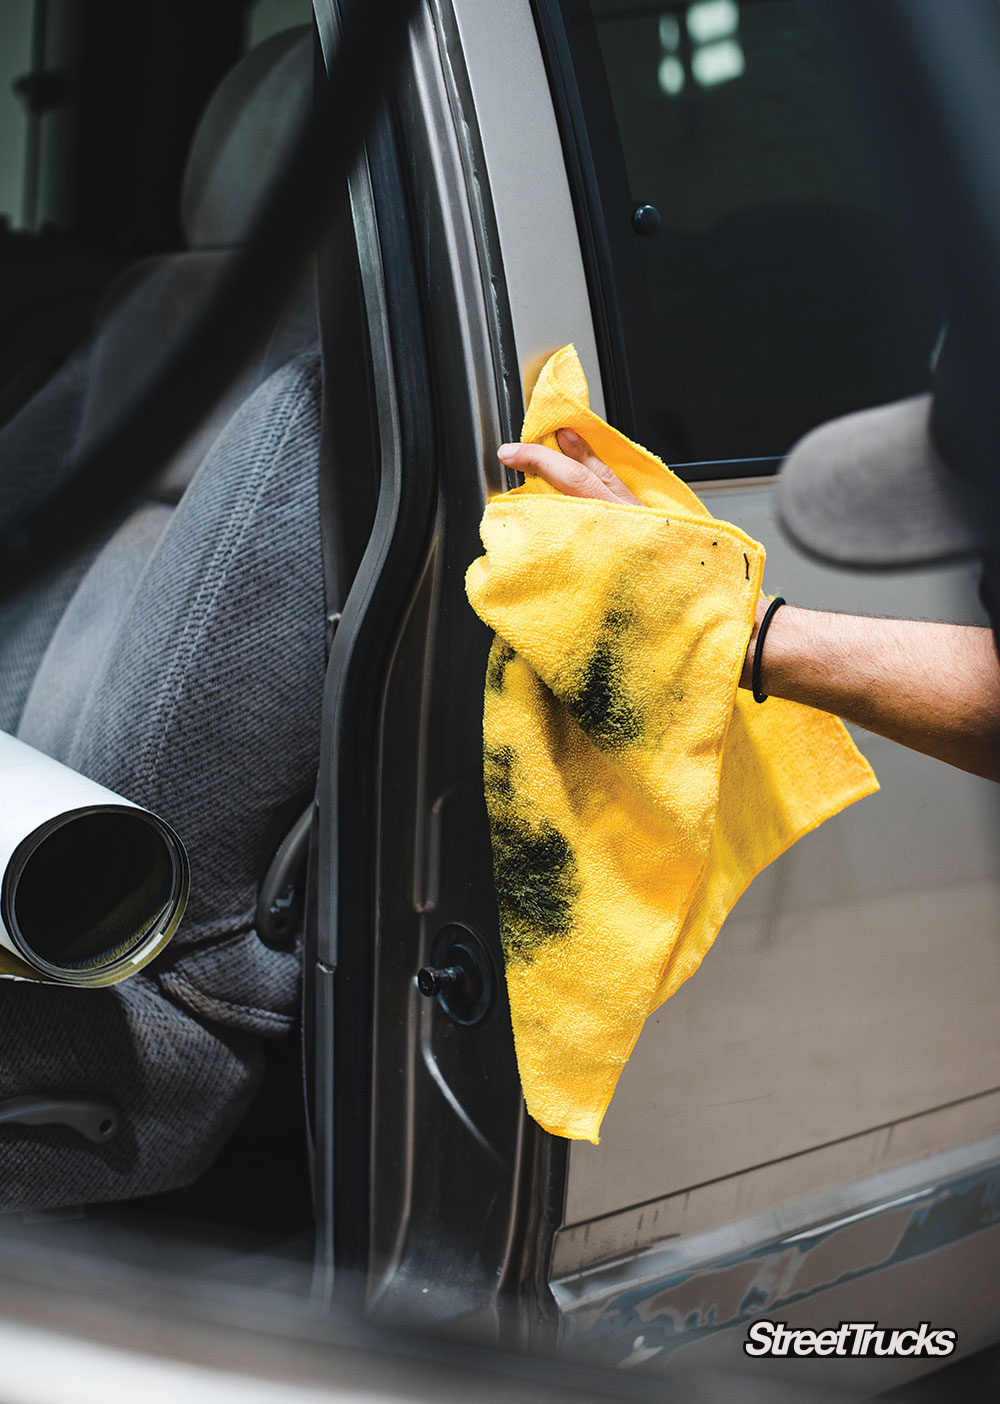
One last wipe down before the adhesive backing comes off and we never see the factory paint again.
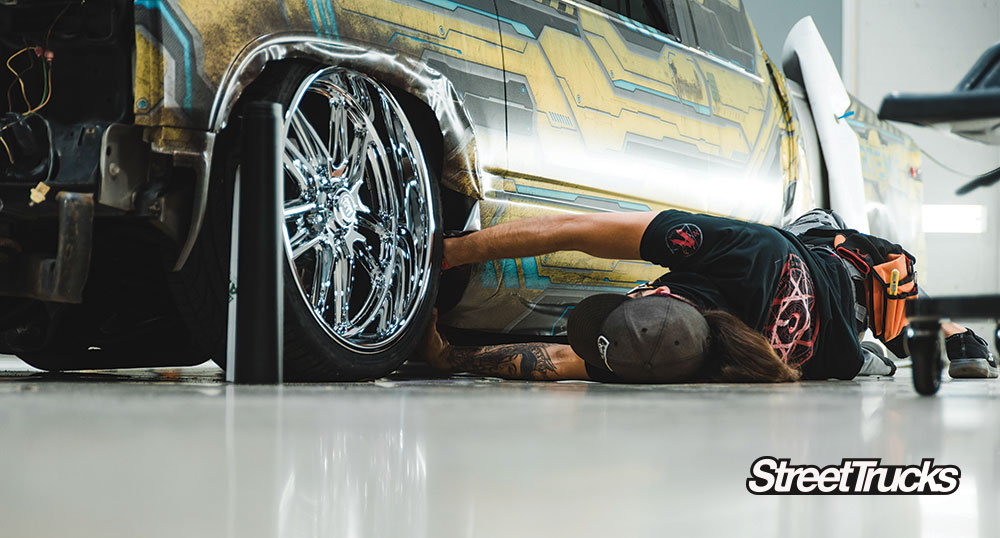
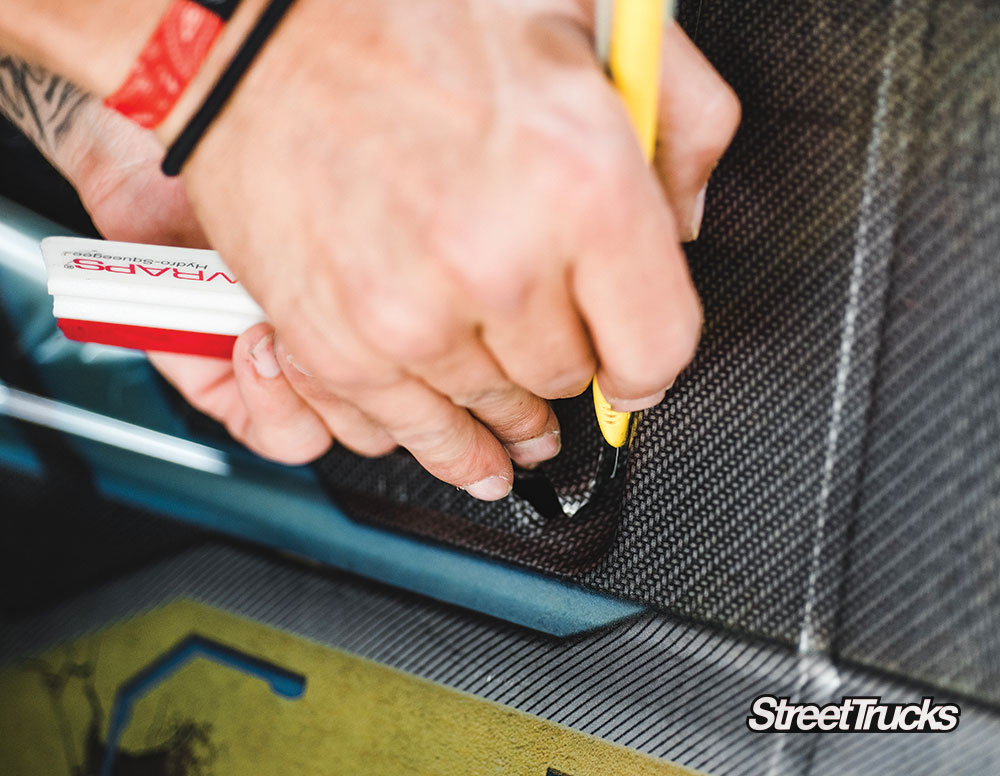
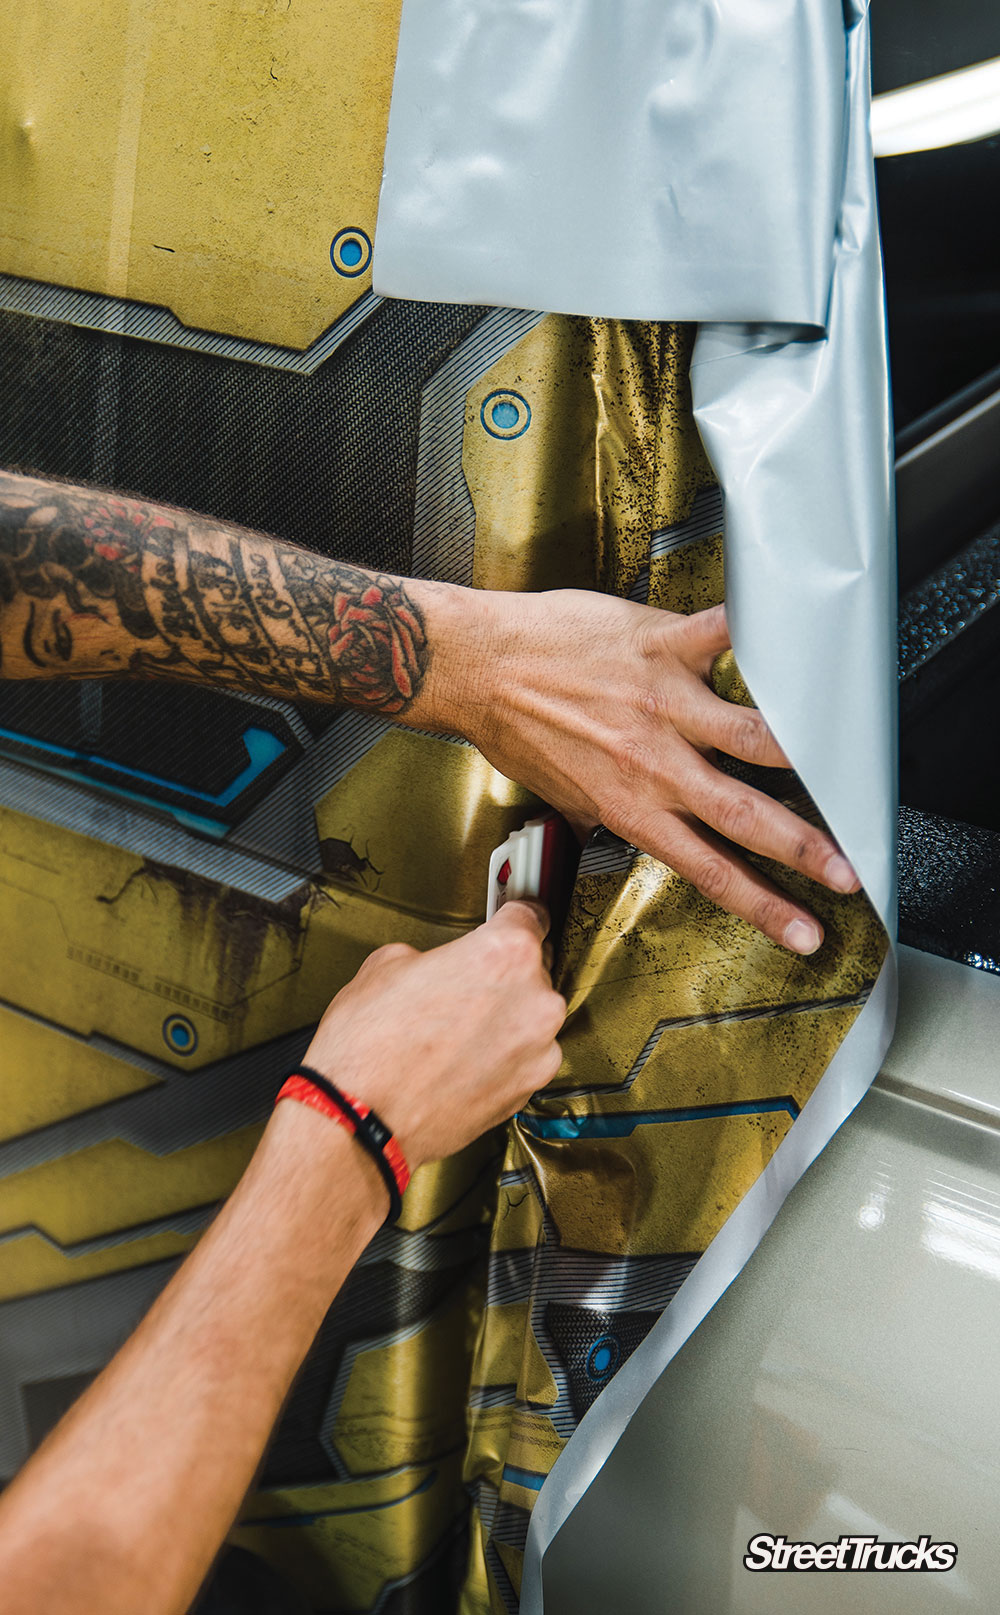
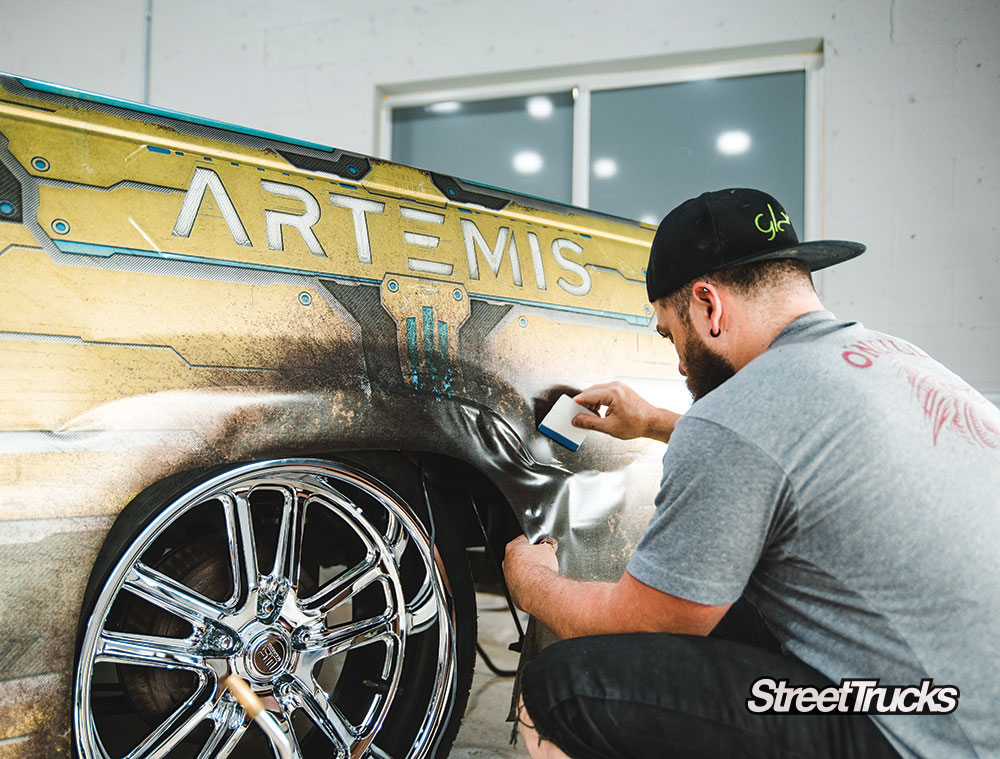
With the adhesive backing removed and the wheel wells cleared and cut, they start to carefully lay down the vinyl, keeping it straight and free of air bubbles or debris.
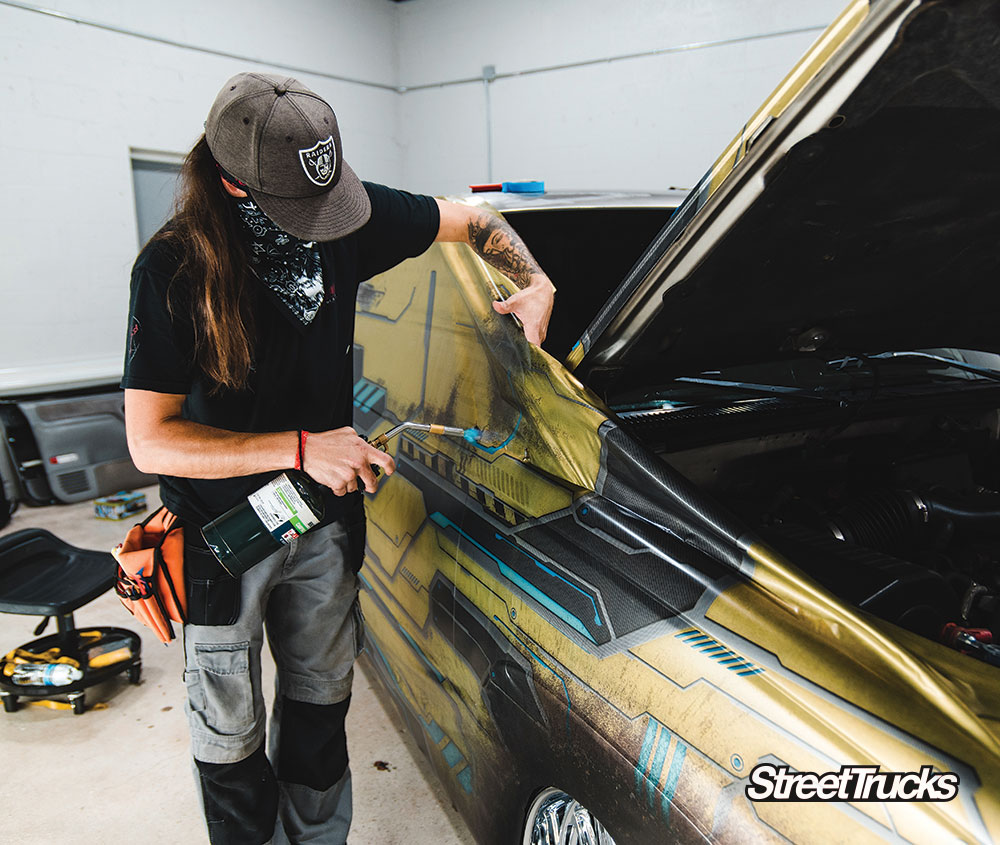
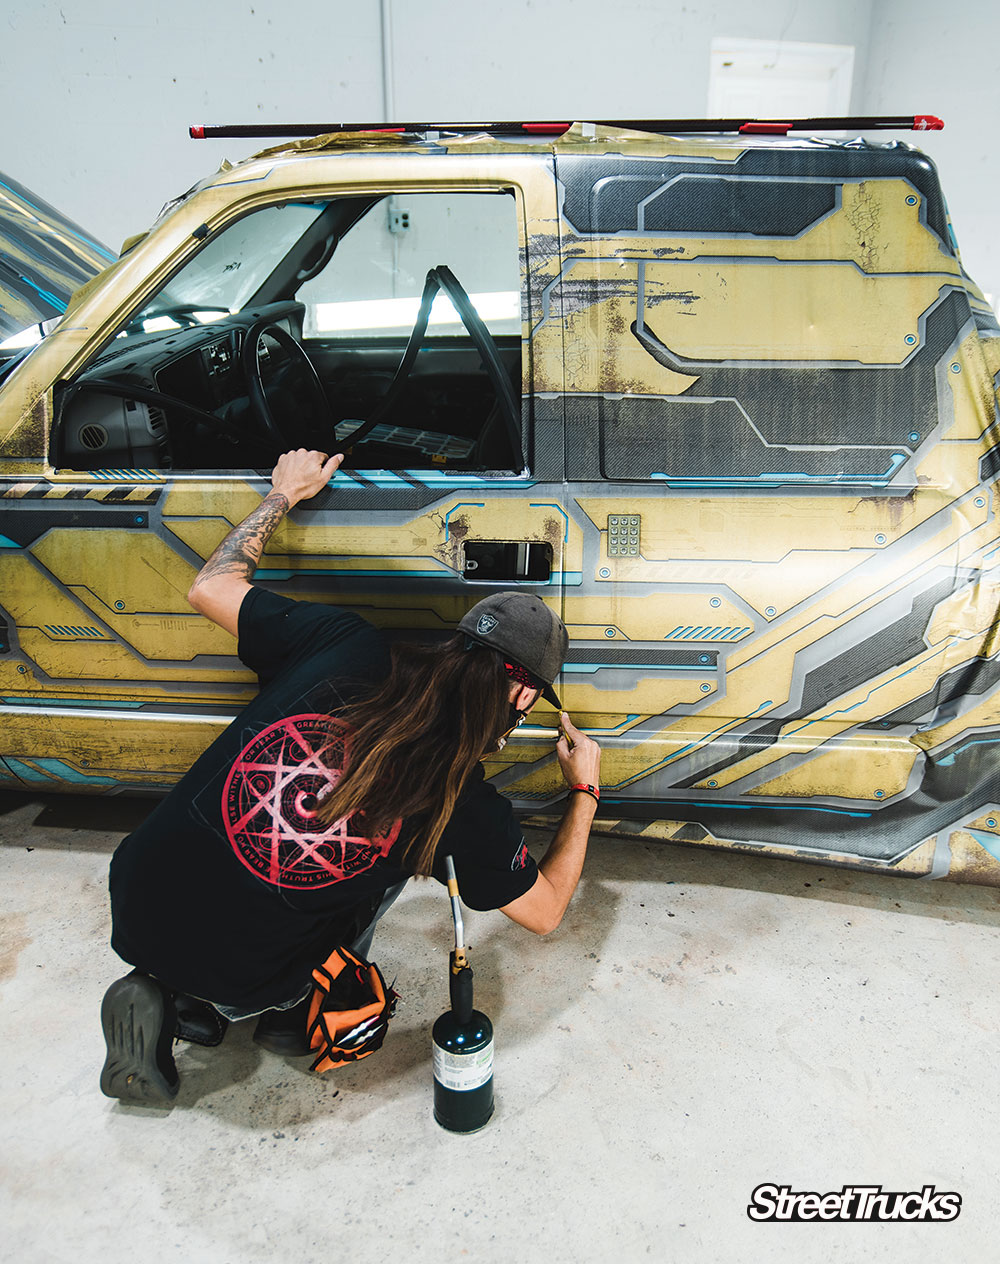
A blow torch is one of the most surprising tools that you may not know this industry uses. It quickly loosens the material and gives you additional movement and flex.
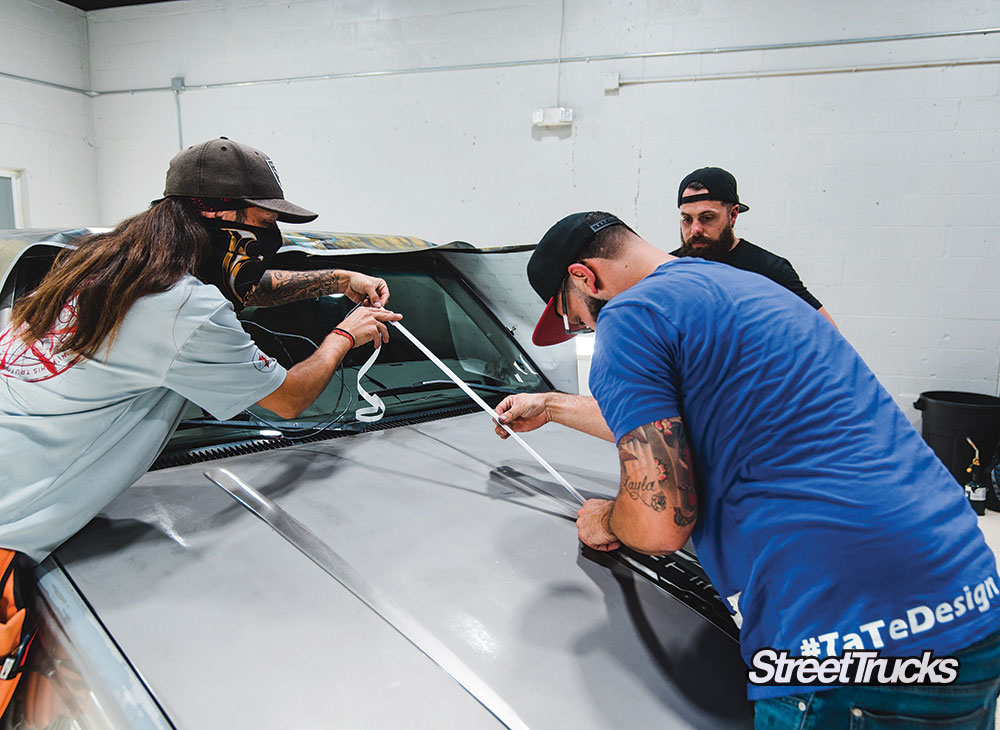
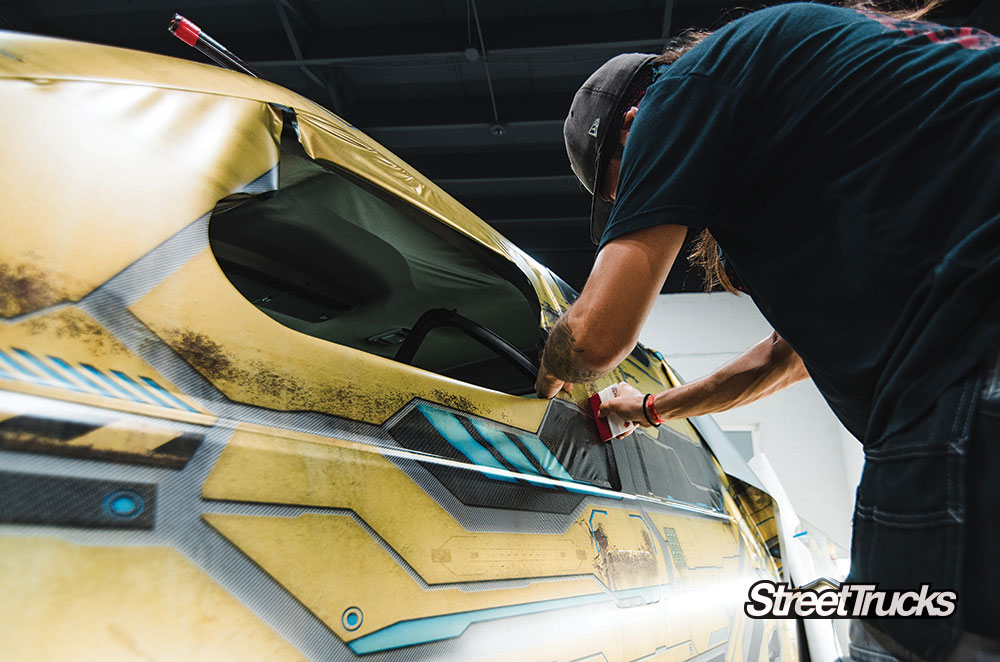
Once the body panels are completely smooth and free of air, they can trim the windows without cutting any of the factory rubber. Again, another reason to contact a professional installer for your vinyl wrap.

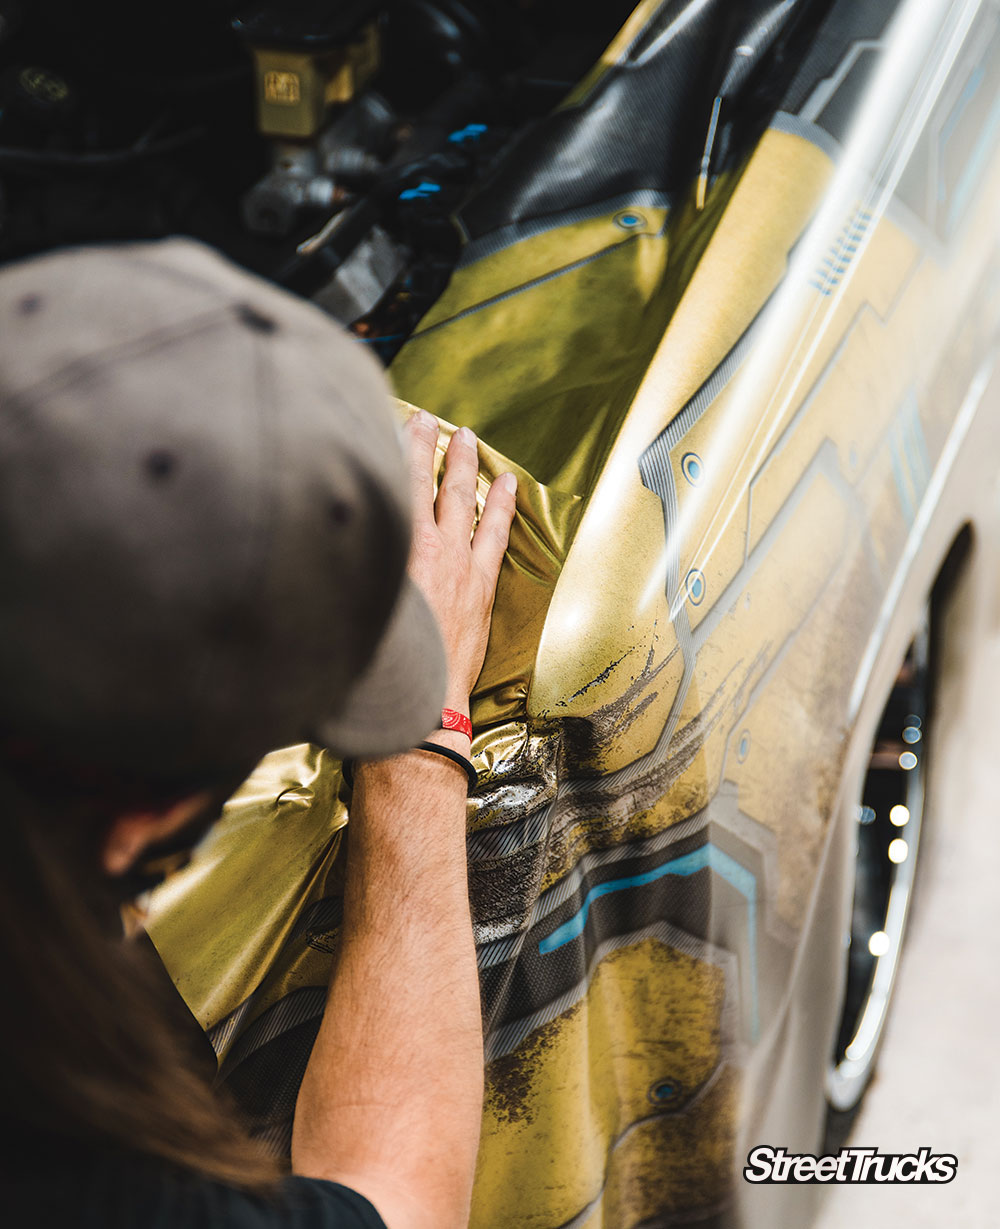
The tip of the front fenders is a tricky area to do correctly. The excess material will be trimmed and removed.
Getting up close and personal with a truck is something these installers have to do to get the job done right. These are not your standard company van wraps. These are high-quality, high-dollar coverings for your custom show vehicle.
In order to get the design as far behind the cab as possible, Tate removed the bolts holding on the bed and slid it out of the way. Now the wrap flows as much as possible, which looks great.

Now that everything is lined up and ready to go, Ryan trimmed and prepared the LED panels for the bedside and wired up the control boxes.

One last test of the lights before attaching it to the bedside permanently.

The flat LED power wire sticks to the bed and tucks underneath the factory trim.

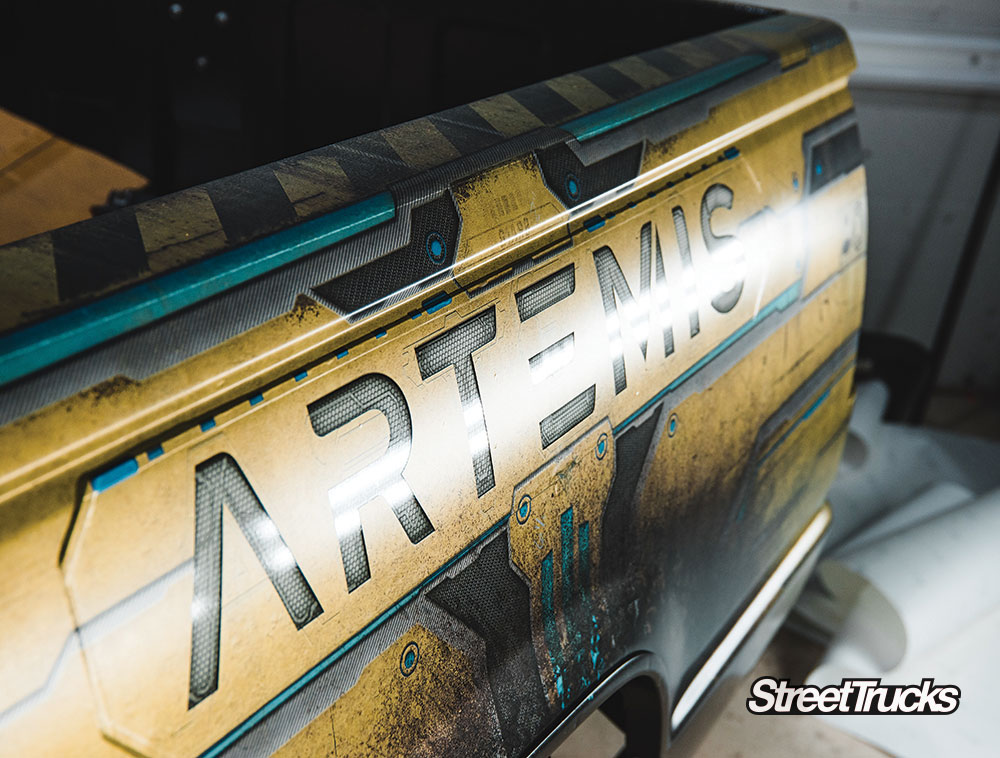
Now Ryan can lay down the vinyl knowing everything lines up perfectly. Trim all the edges and move onto the next panel.
Now you can see what the wrap looks like during the day and at night. We will continue on with the opposite side and show you the final product in our next issue. Until then, give these guys a follow online and check out when they’re up to now!

You May Also Like