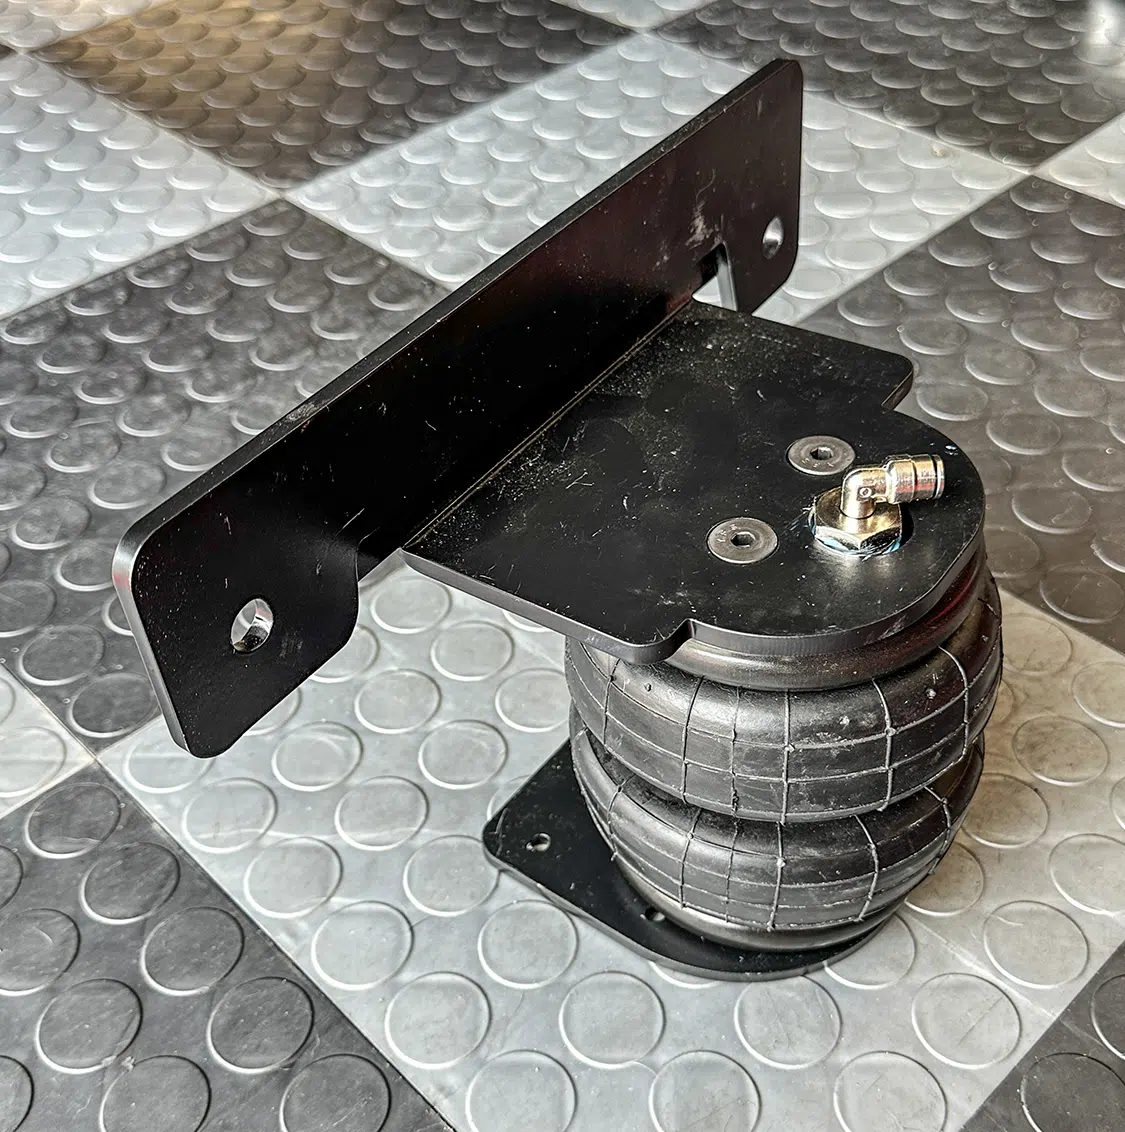
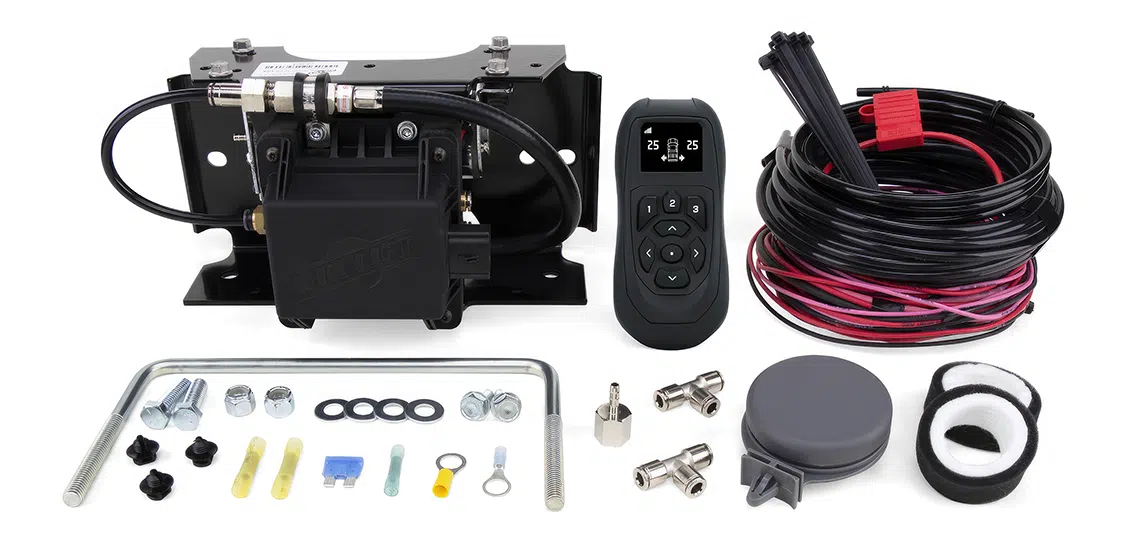
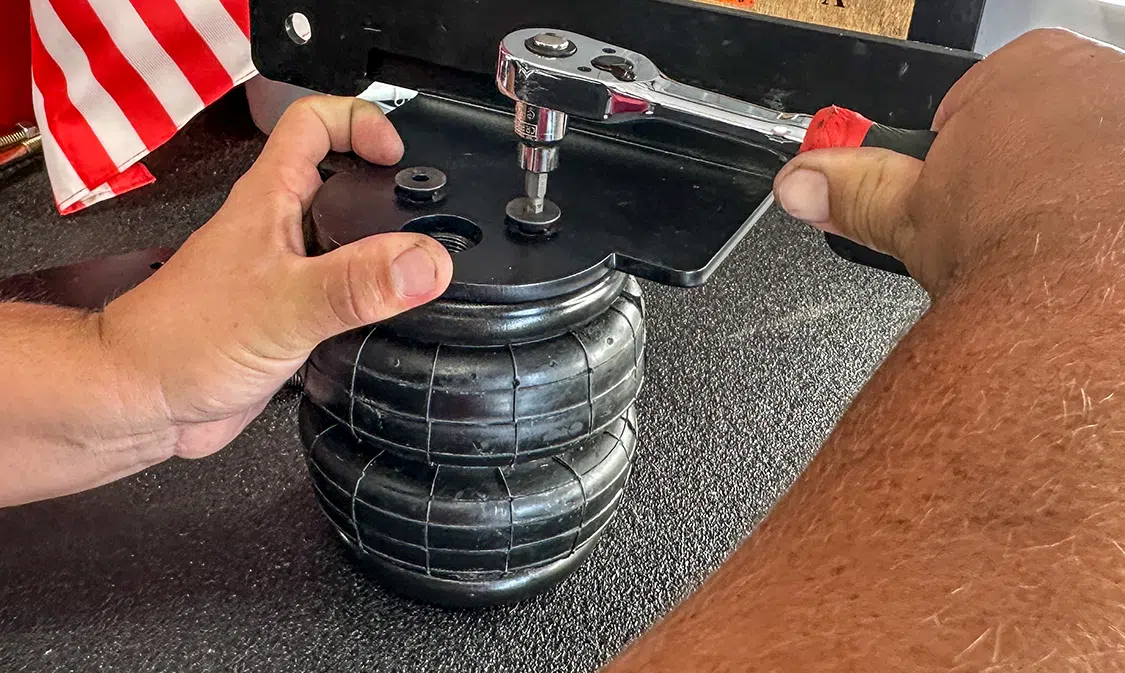
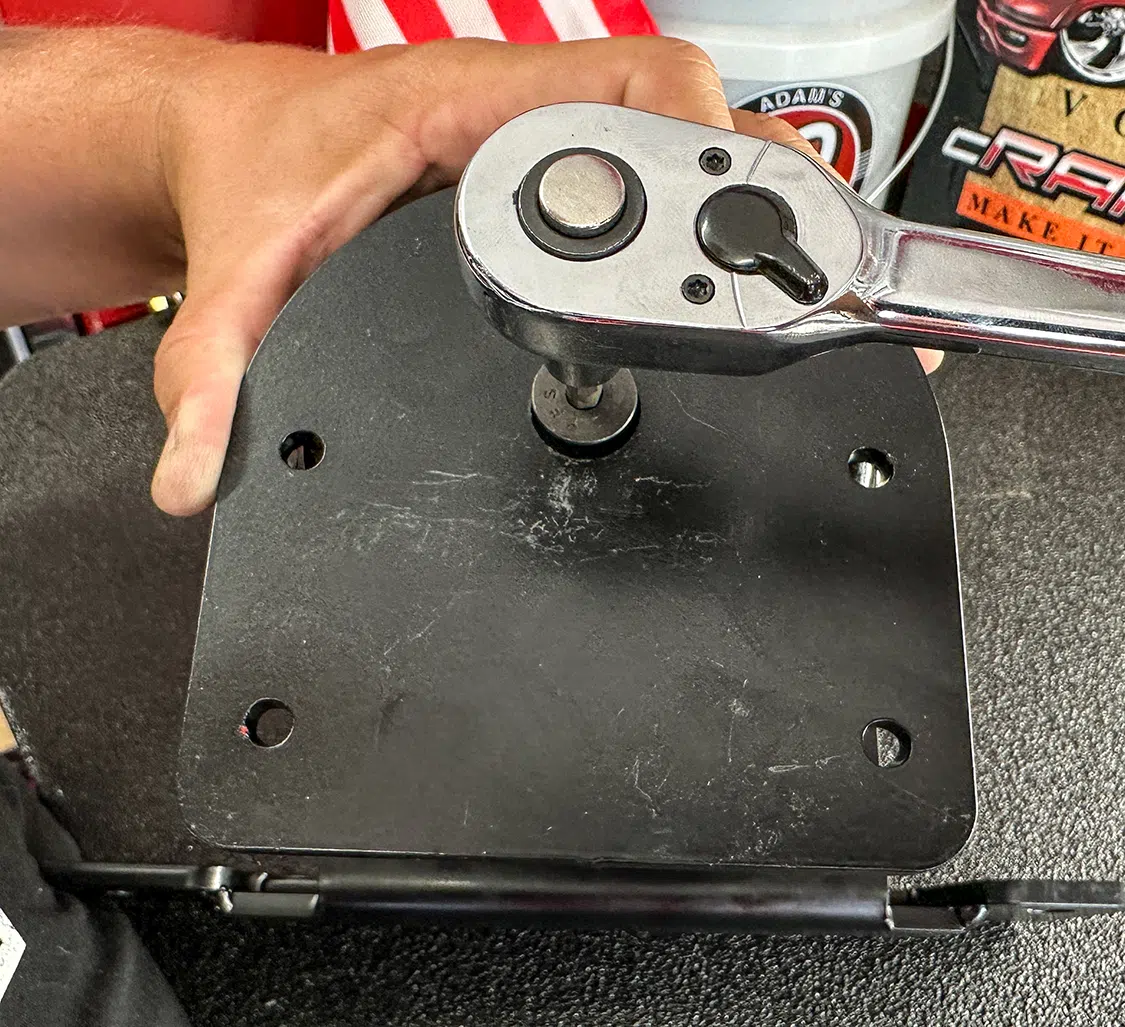
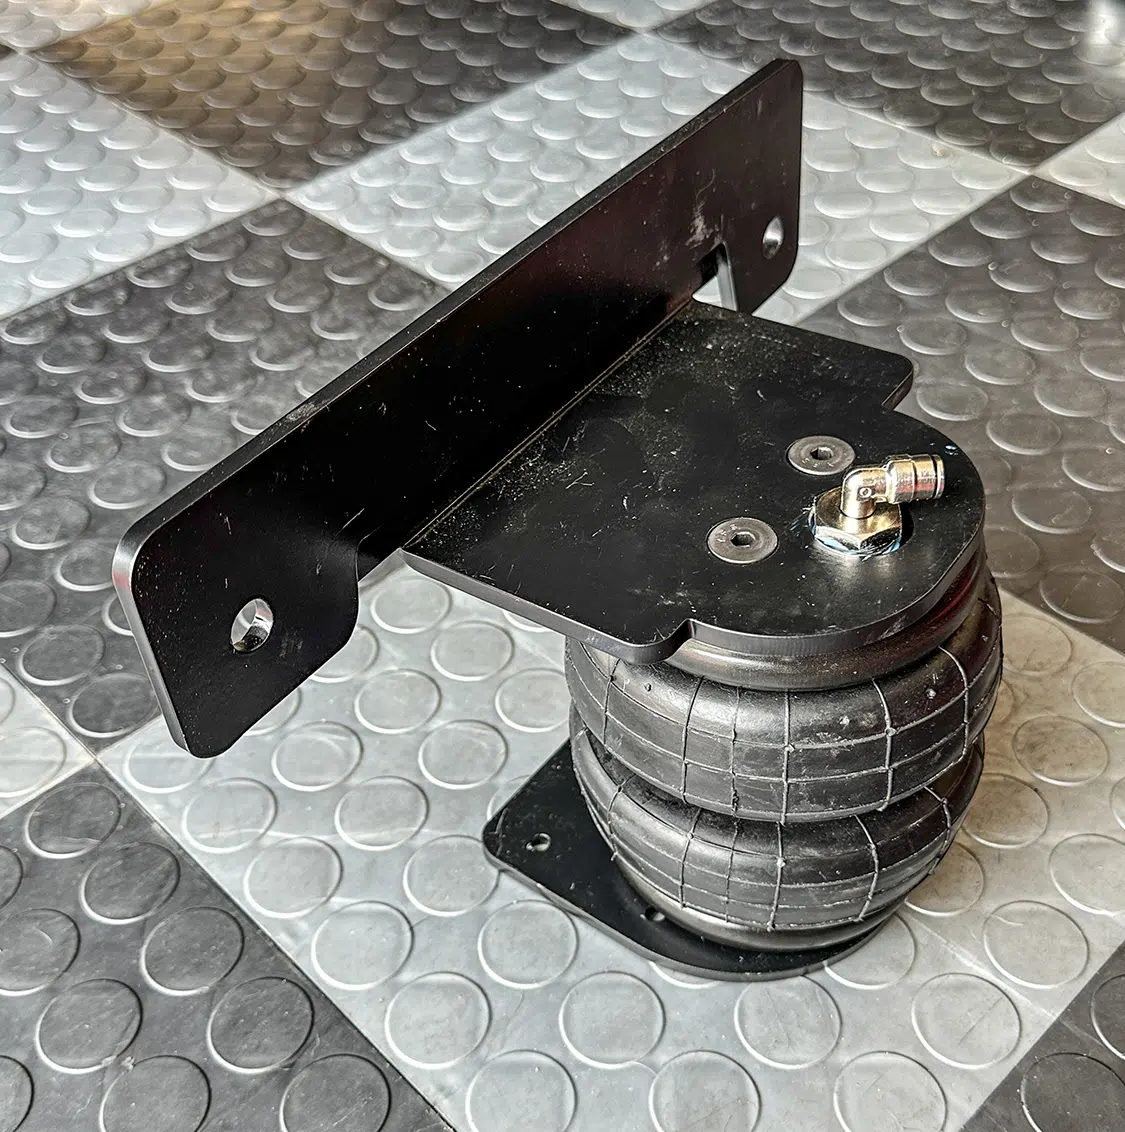
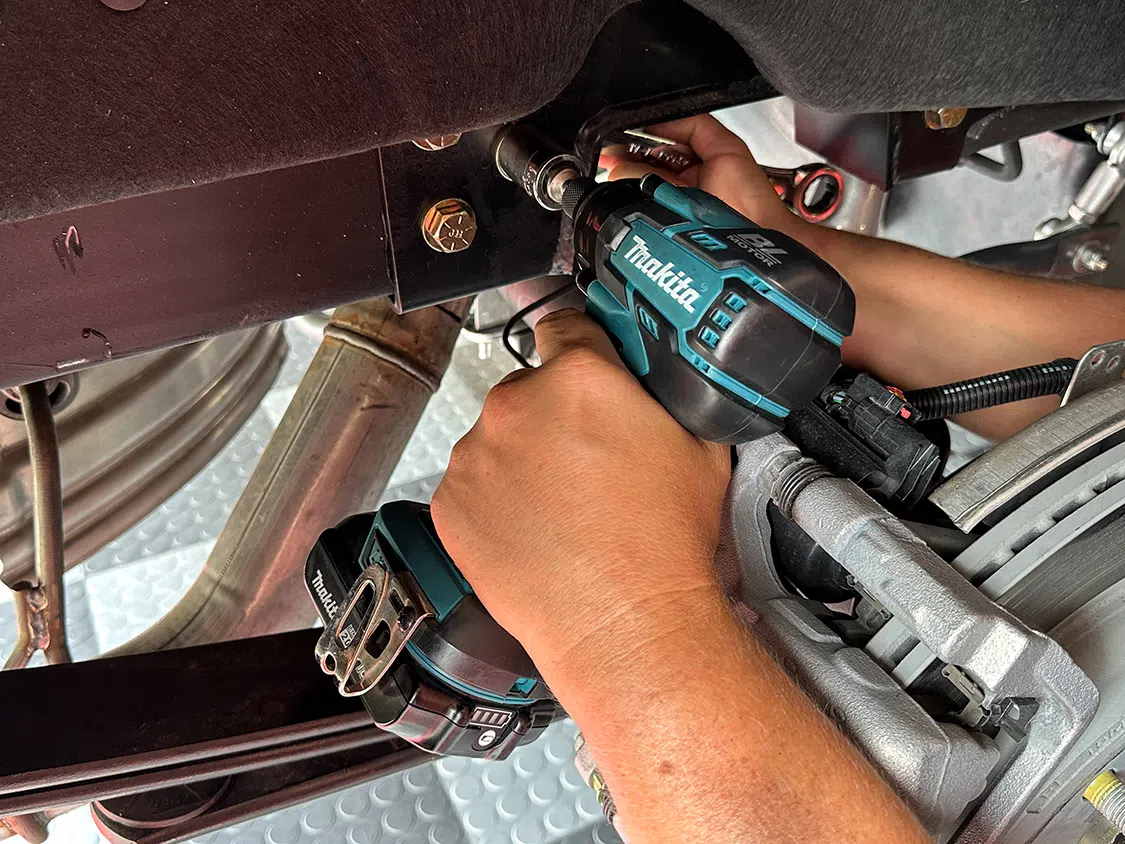
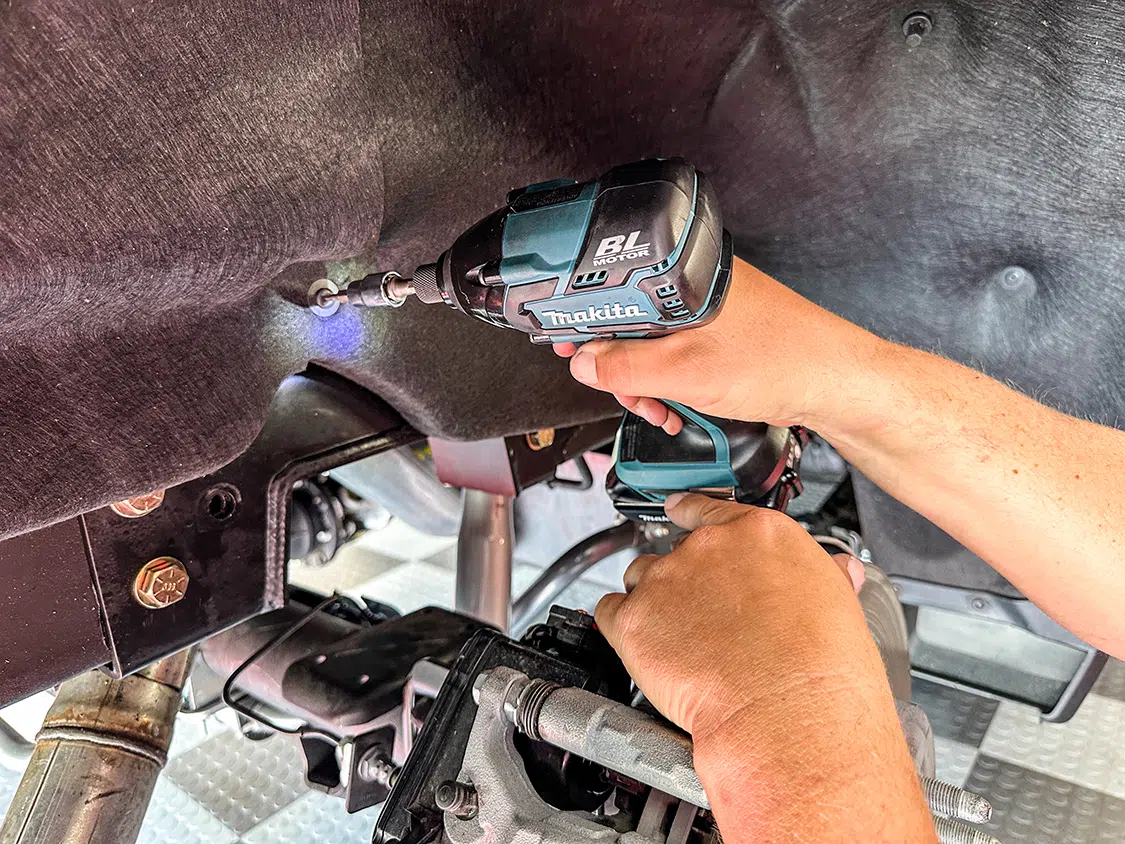
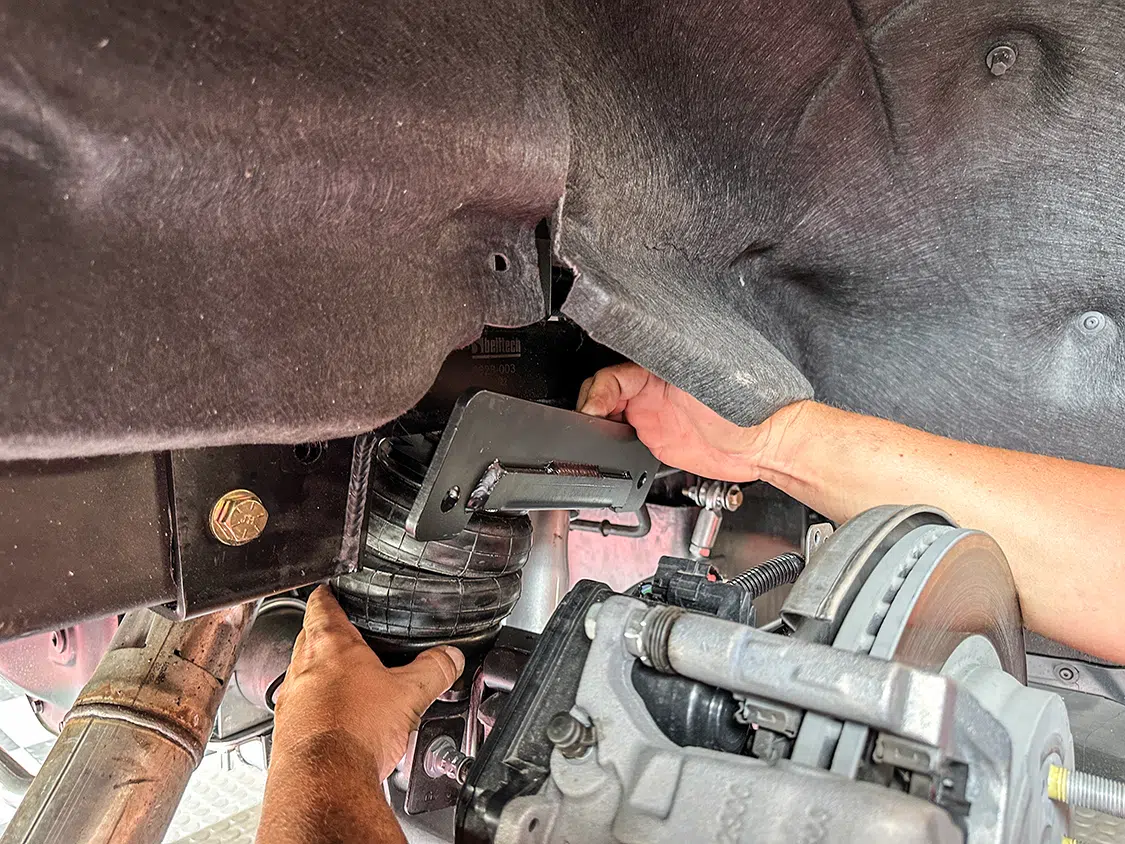
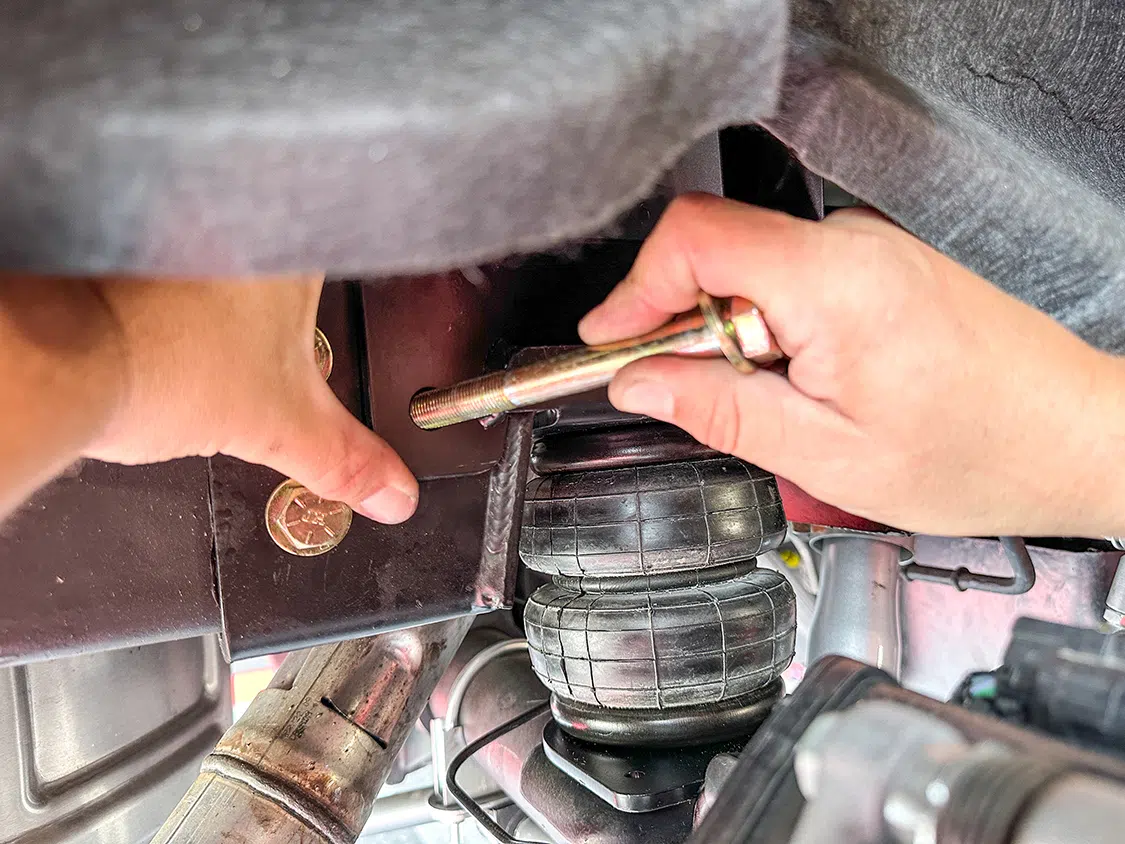
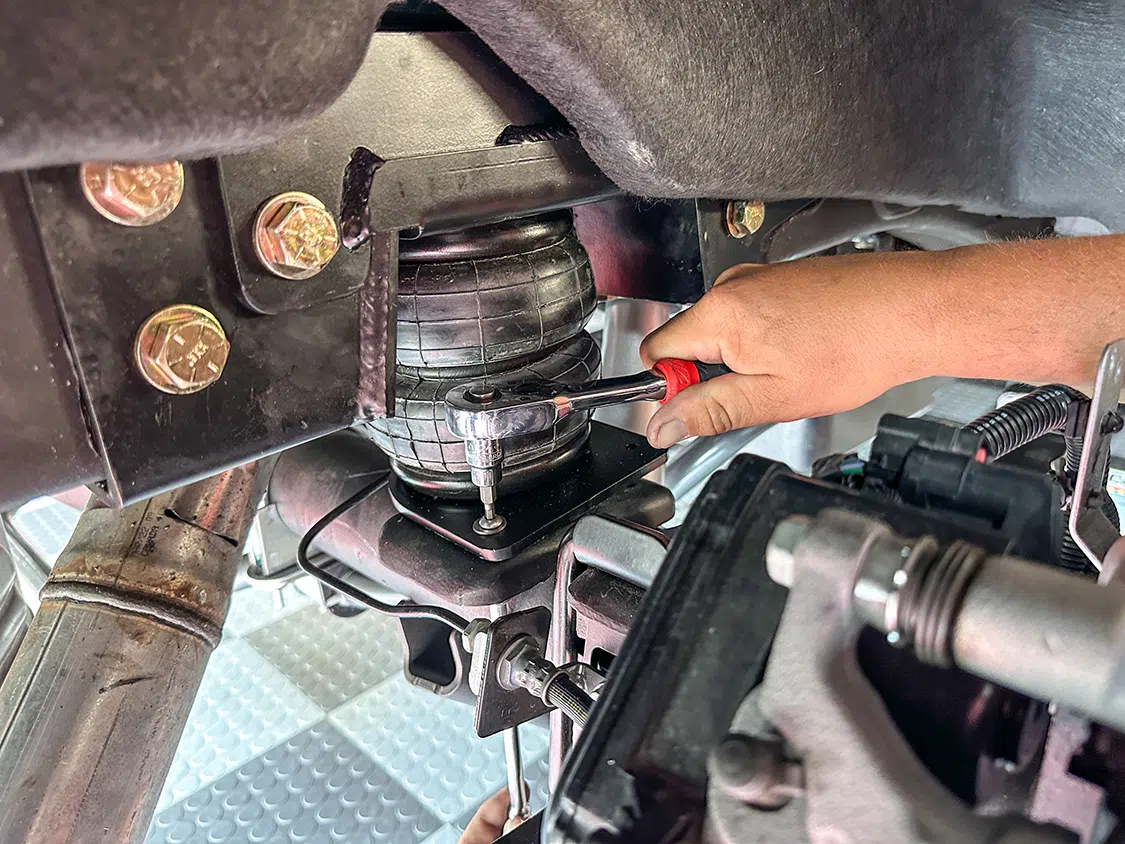
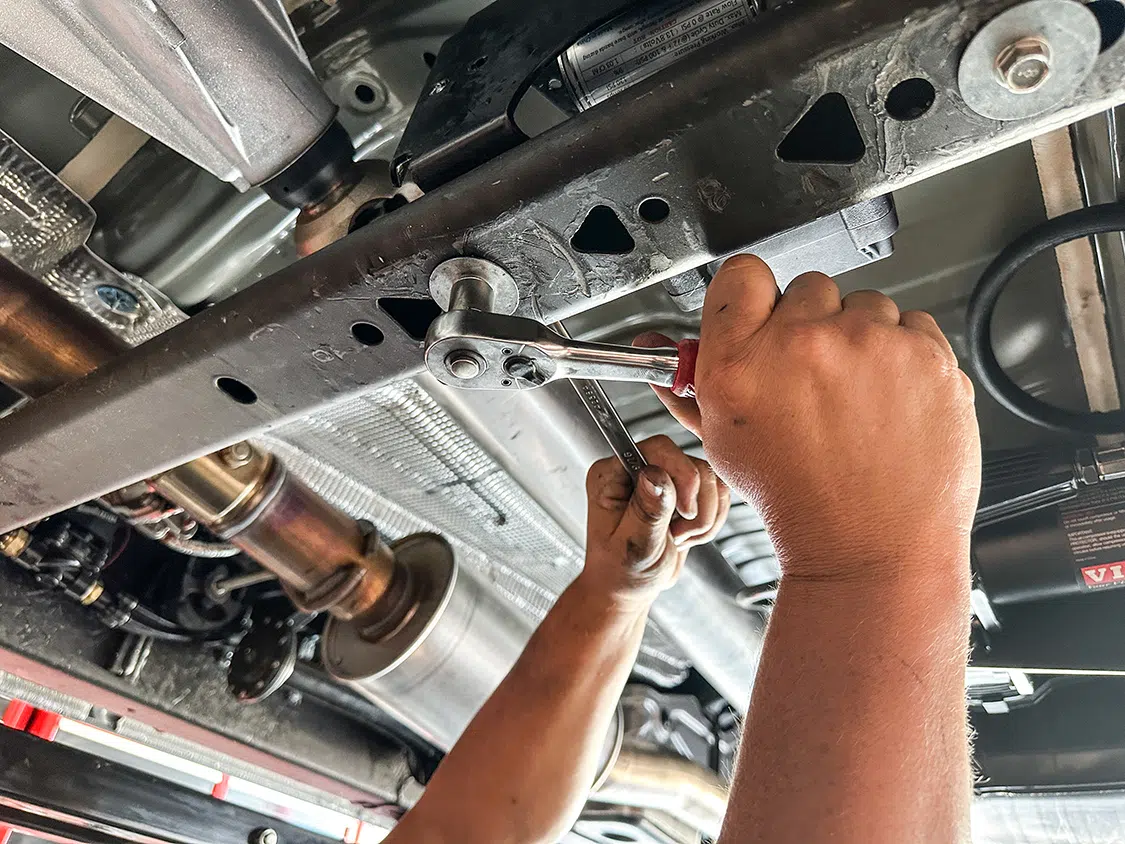
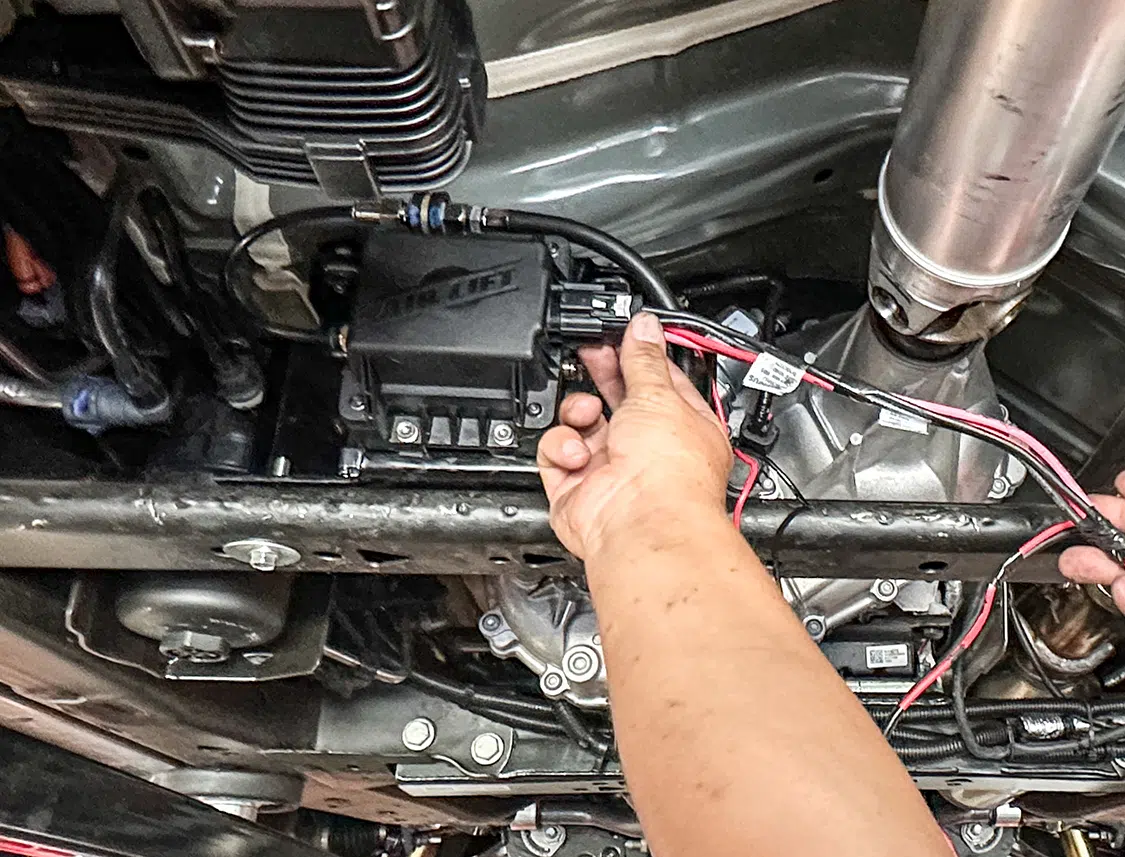
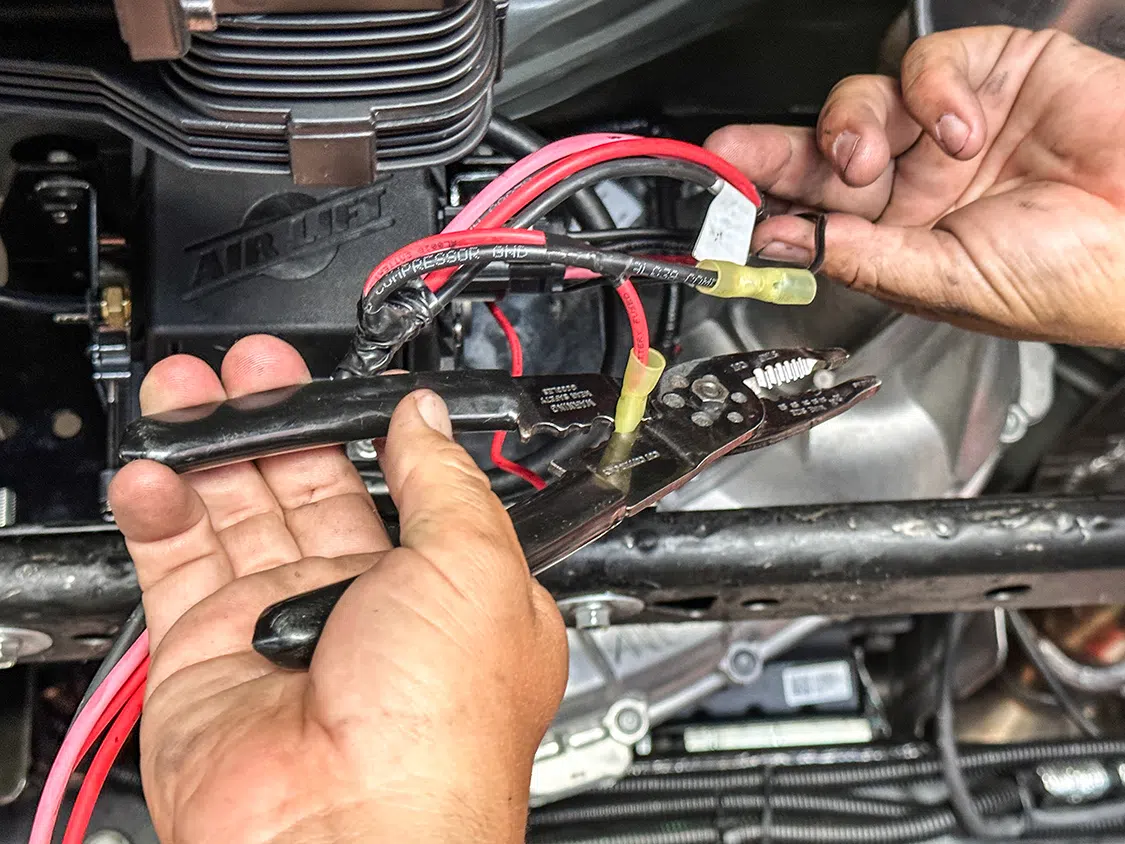
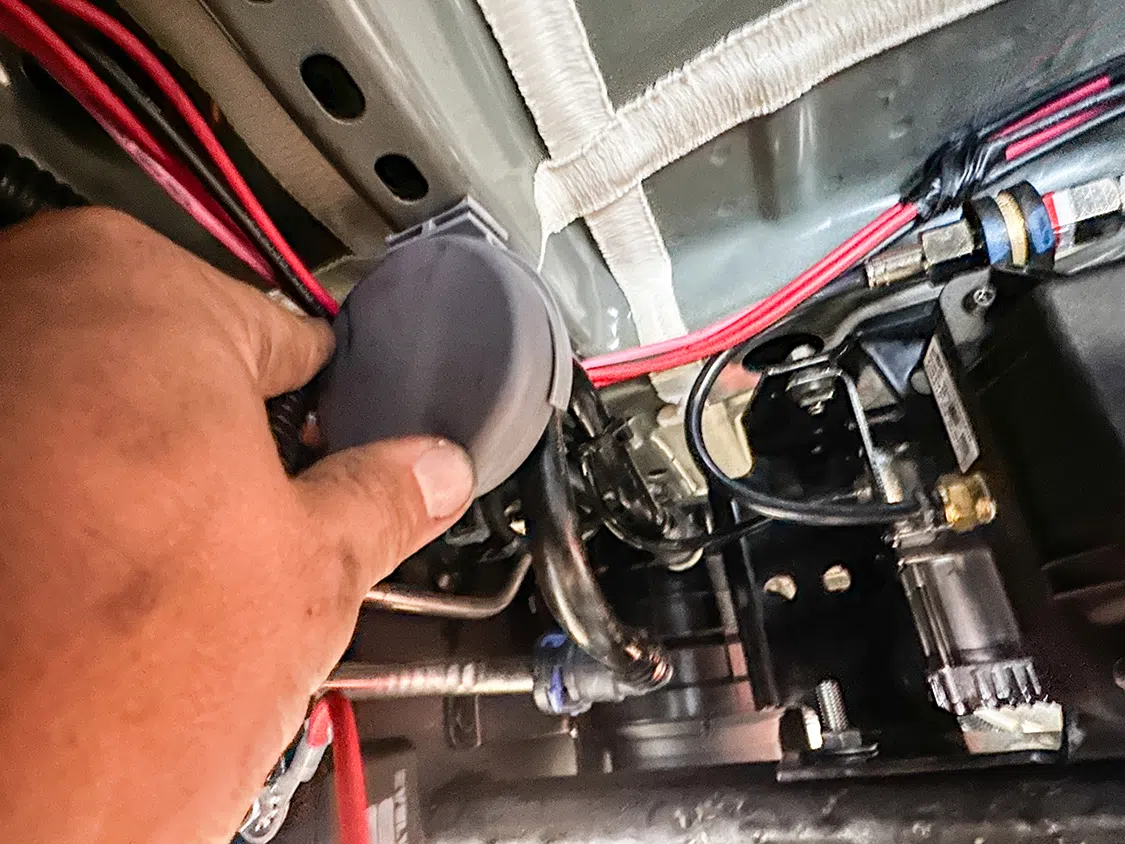
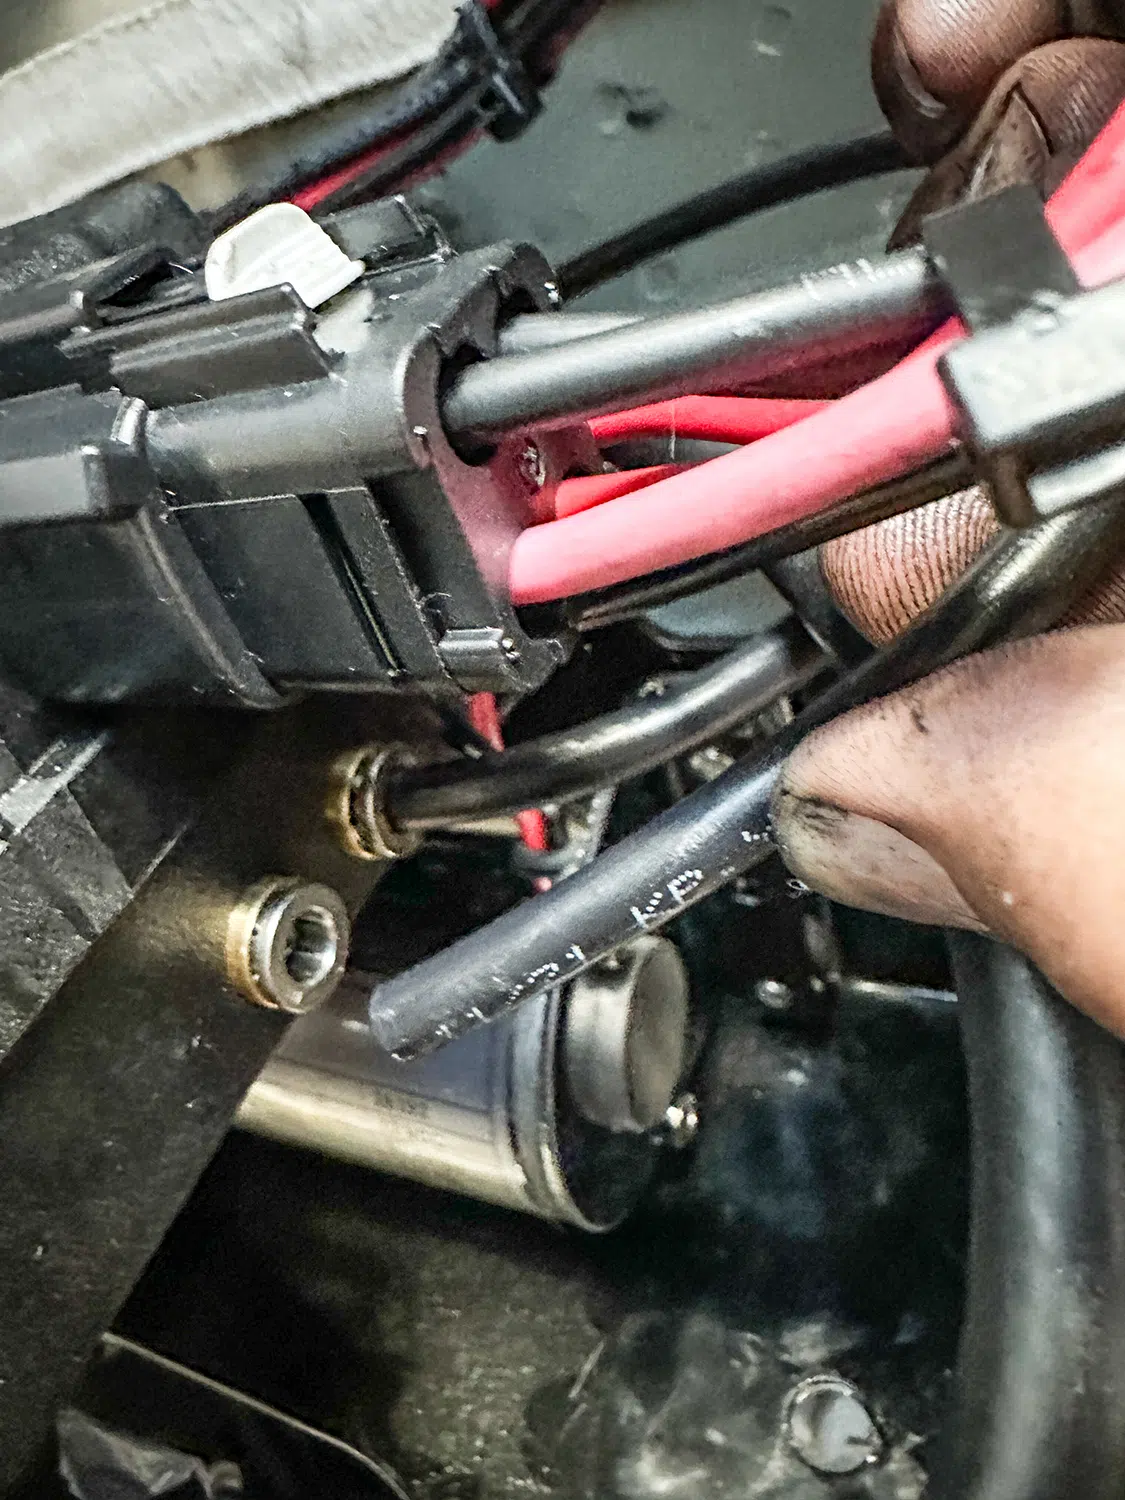
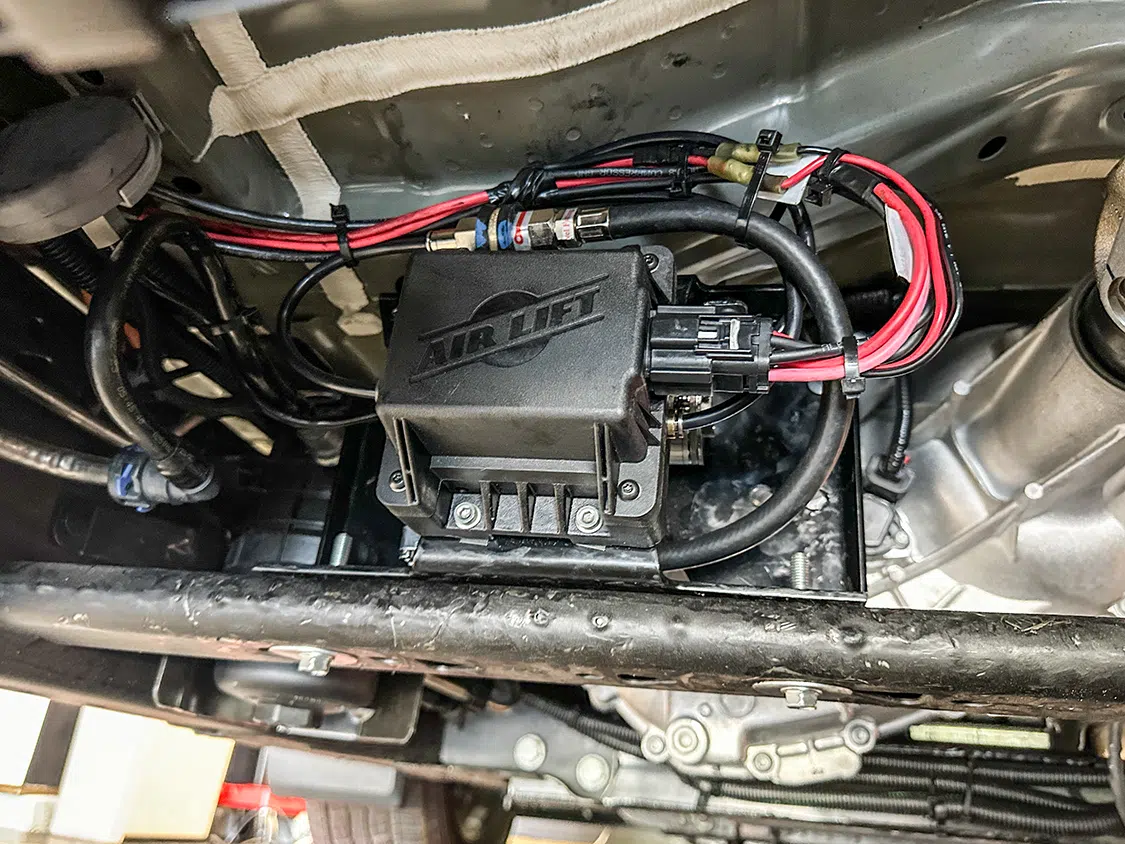
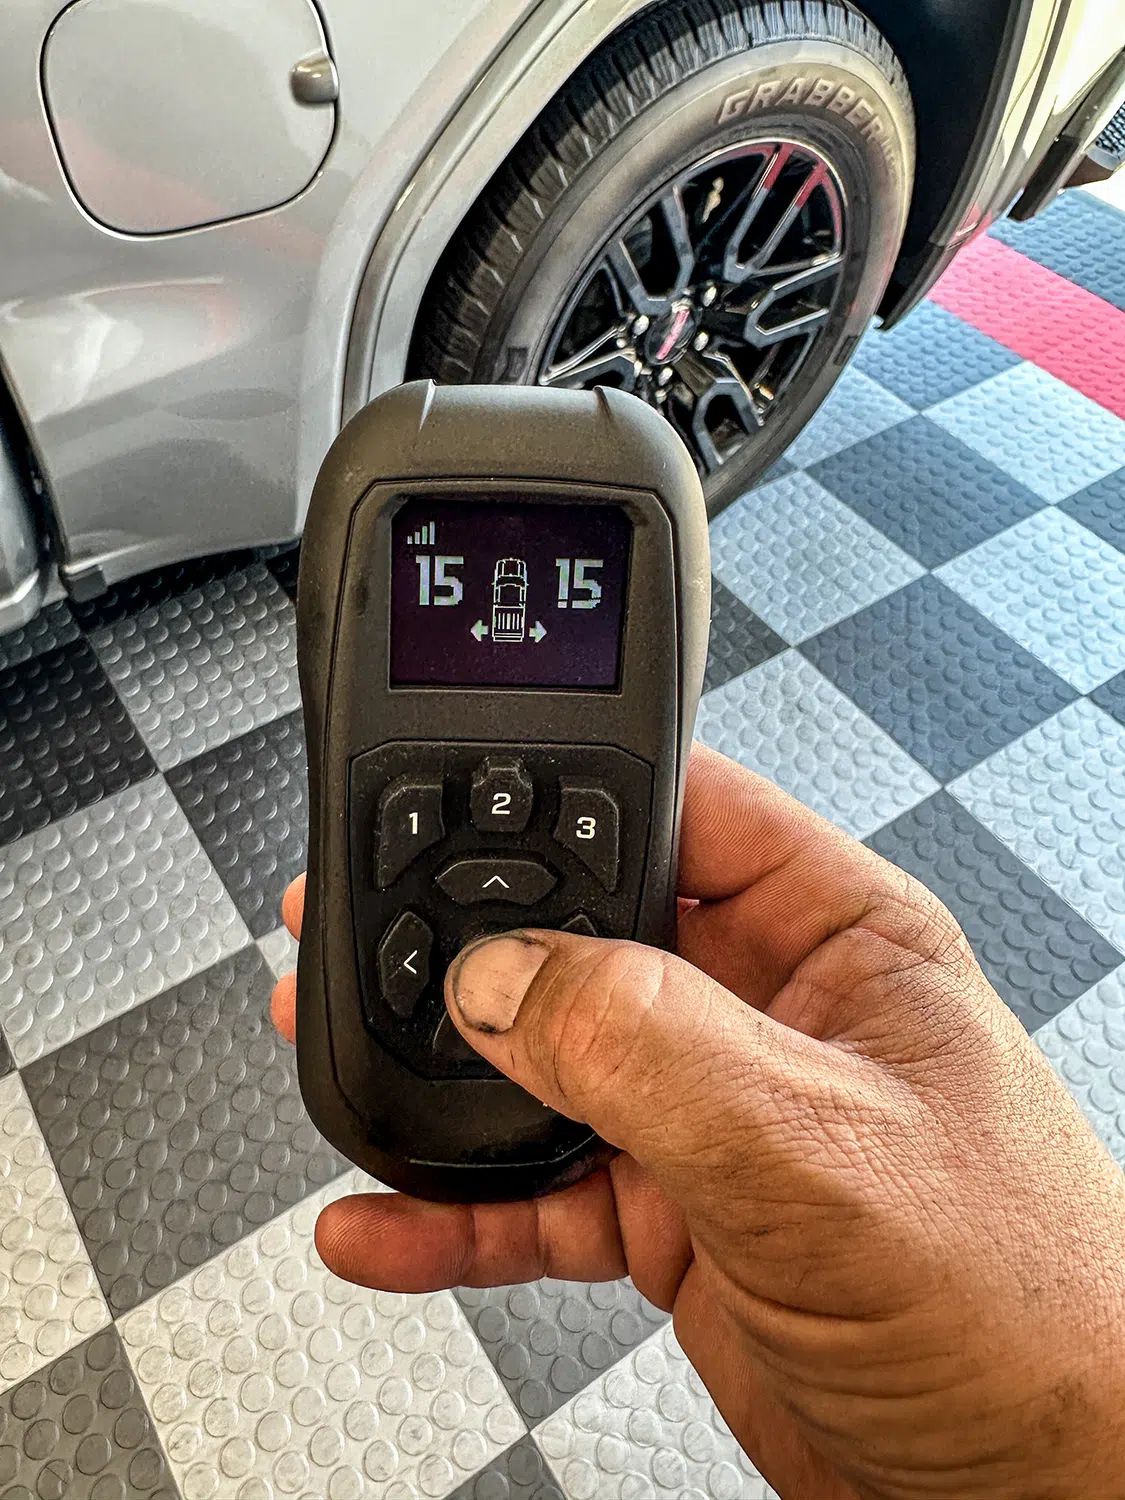
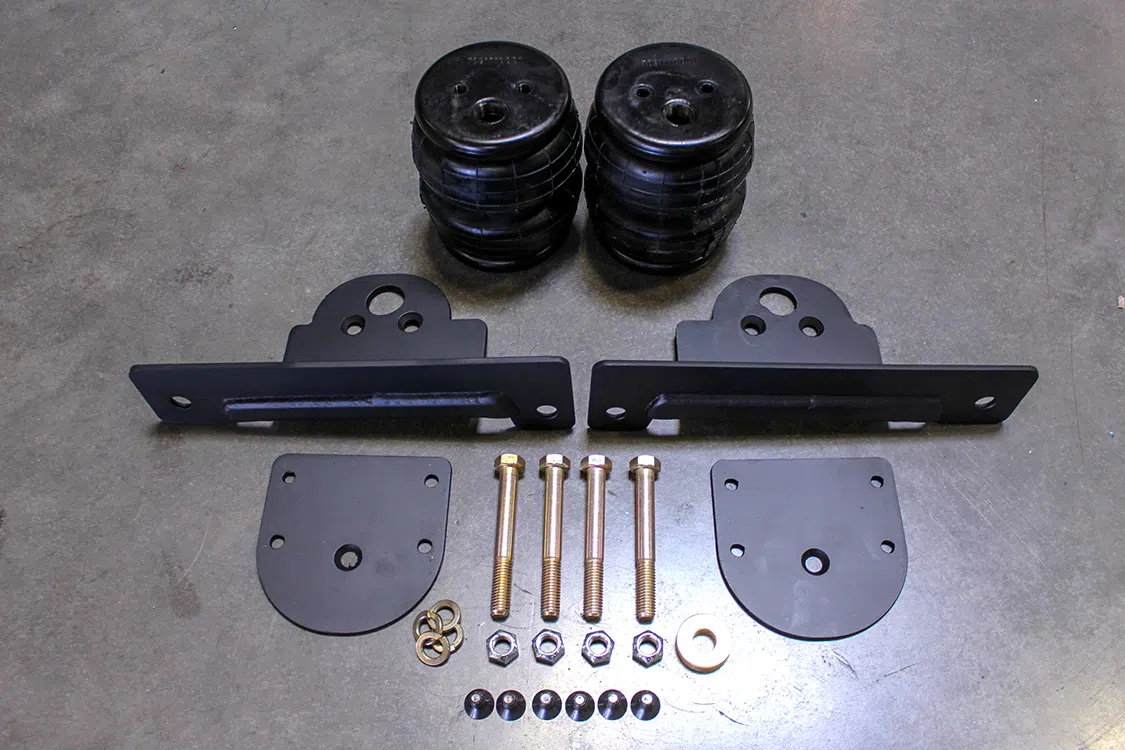
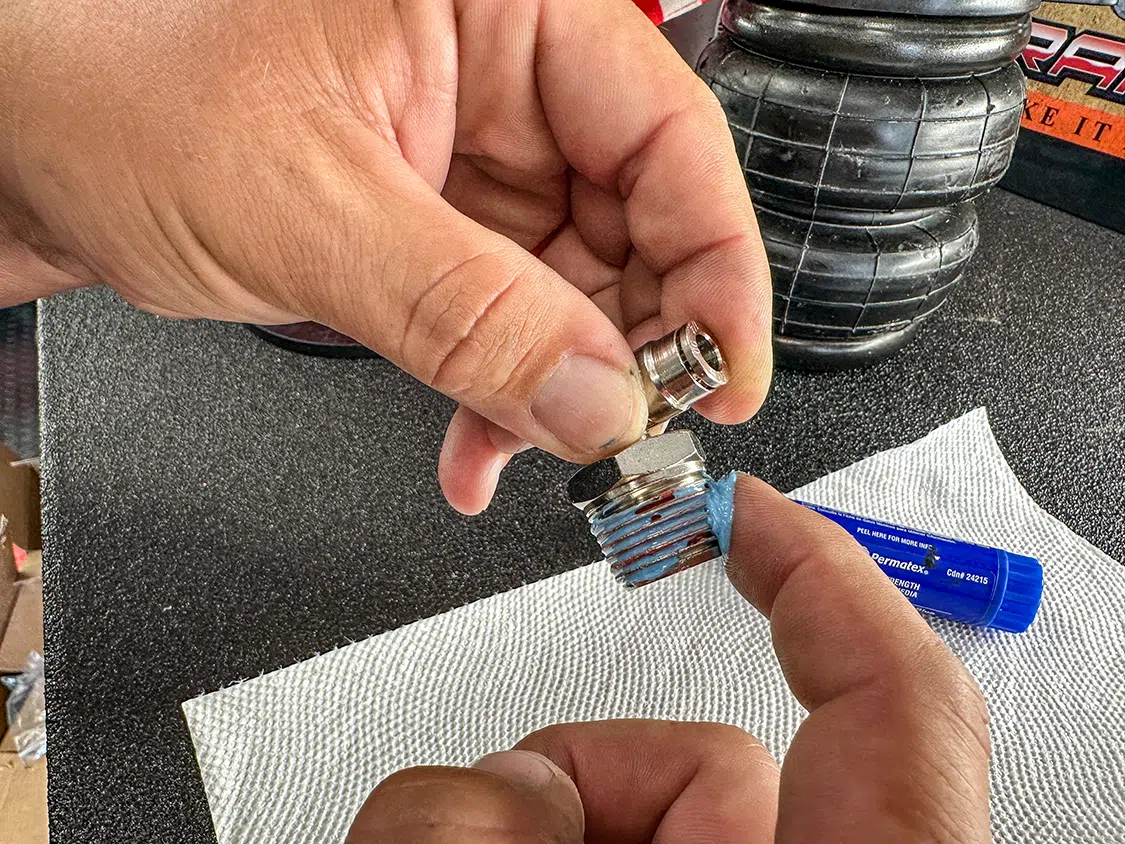
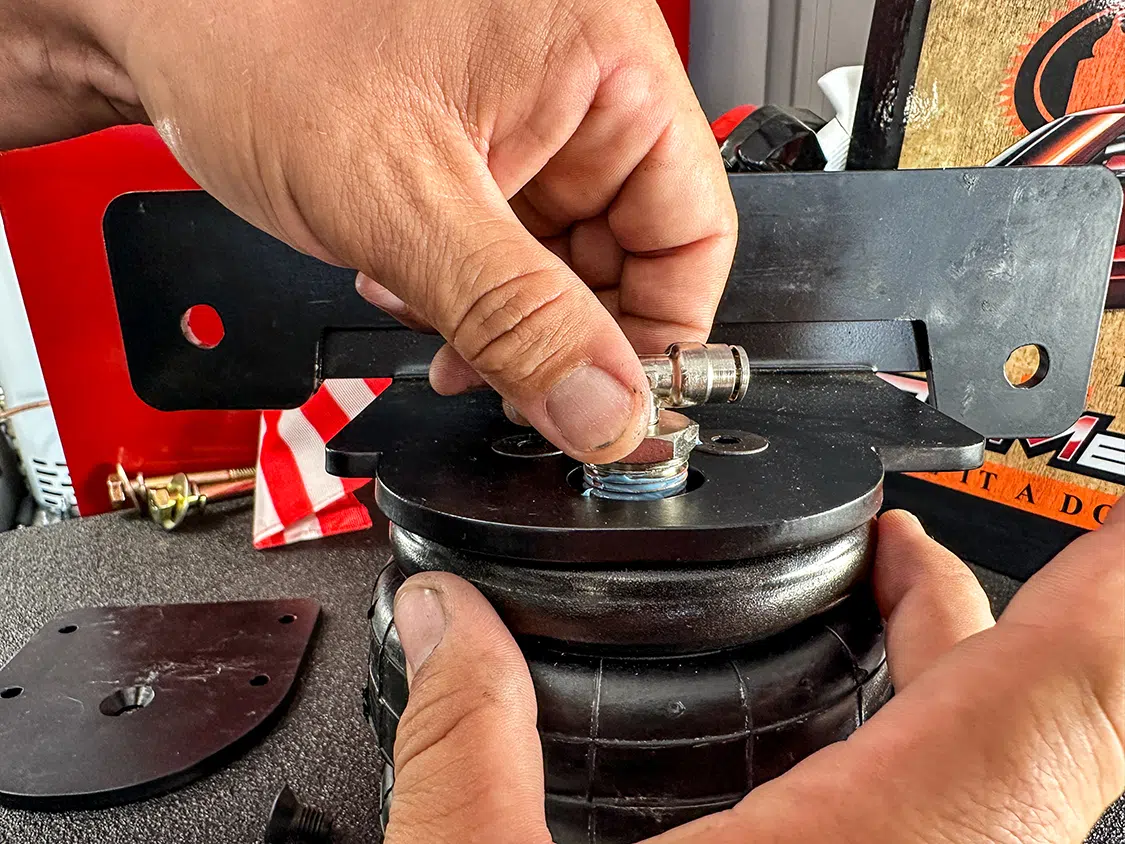
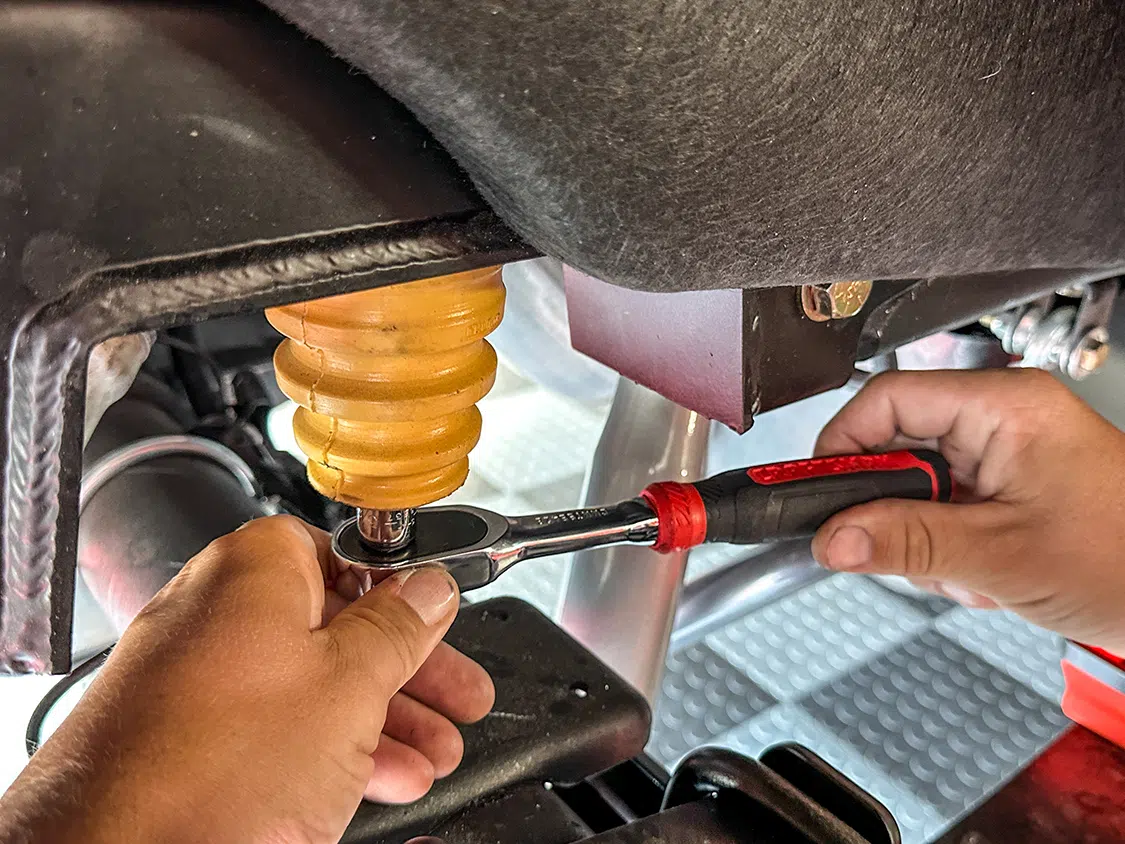
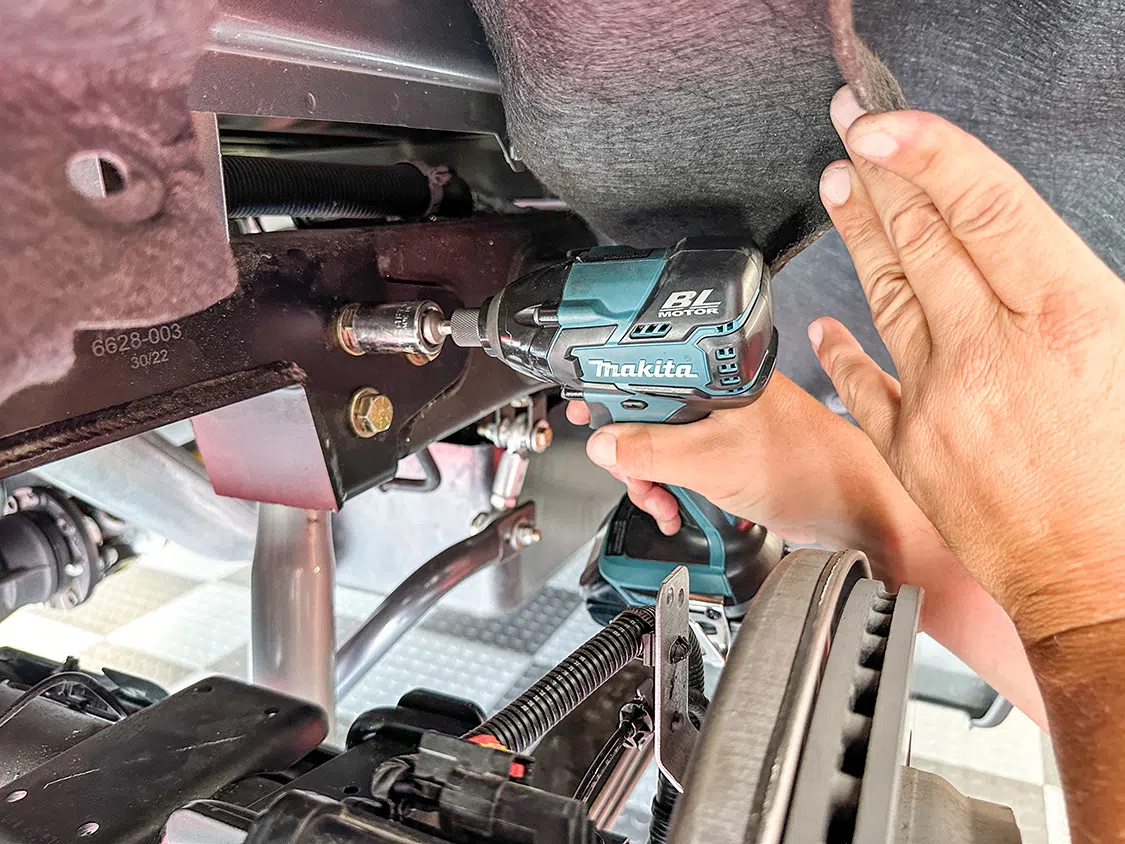
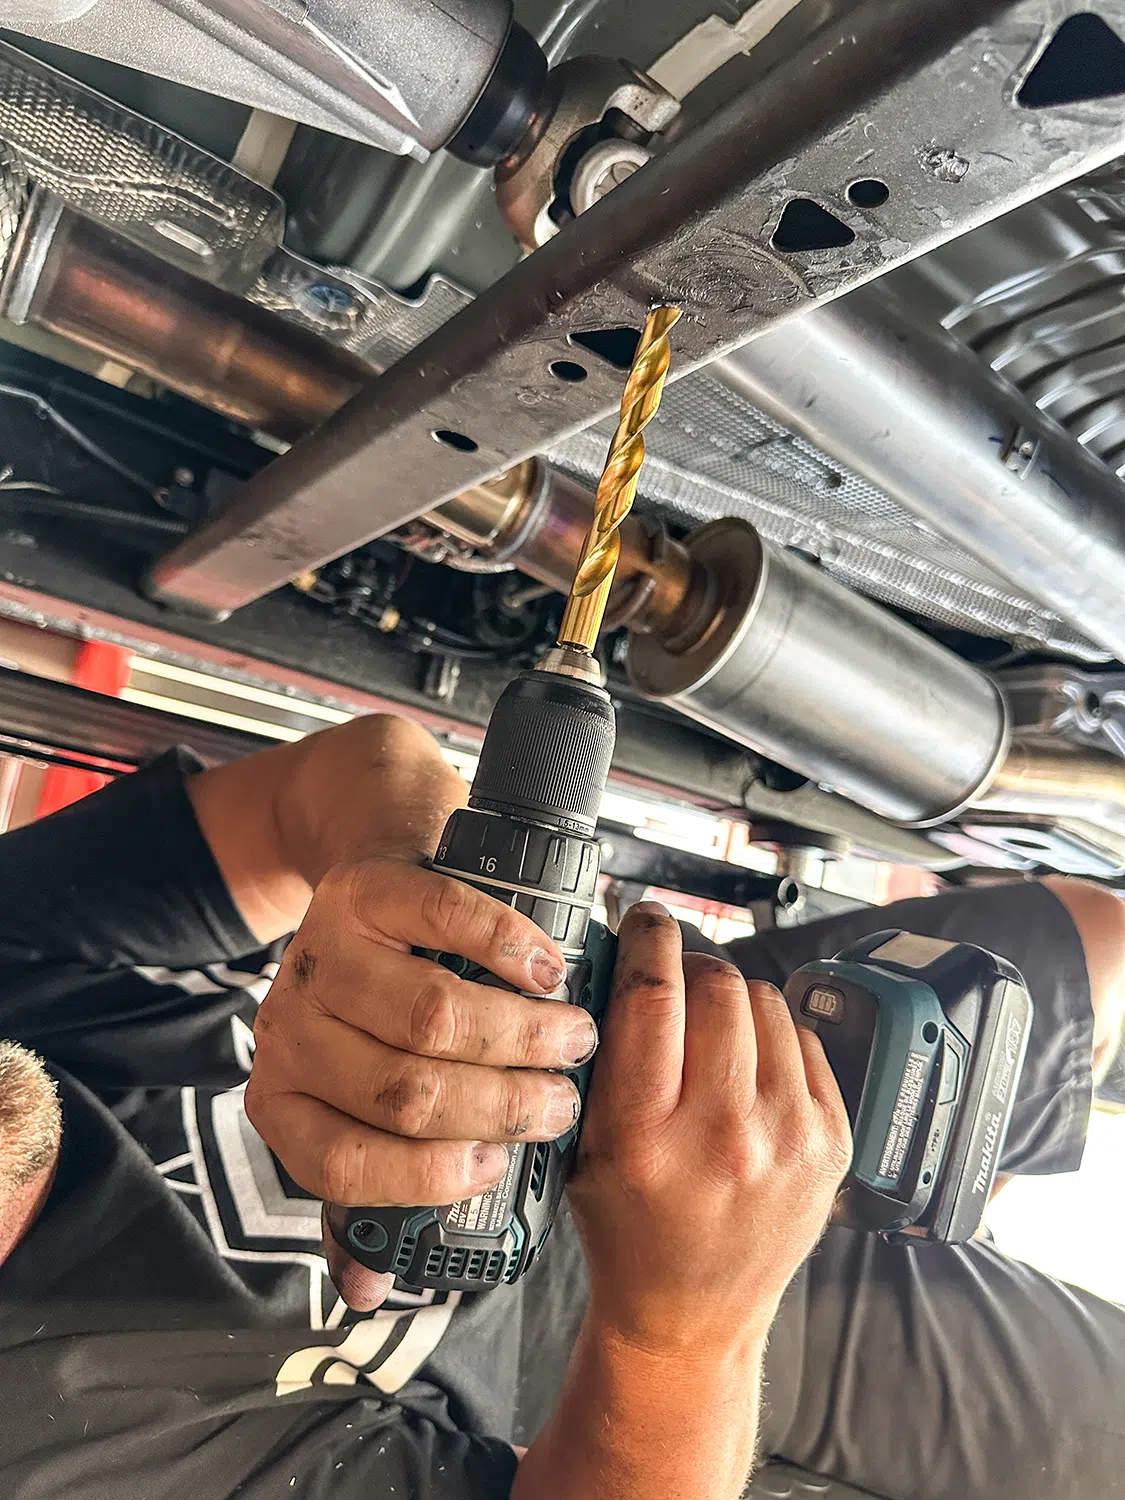
Up next A 1955 F-100 Restomod by Riffraff Diesel Published on December 18, 2023 Author Brandon Burrell Tags Air Lift Company, belltech, Share article Facebook 0 Twitter 0 Mail 0 Upgrade Your Towing Experience Eliminating Towing Sag Towing a trailer is a pretty basic function of a lot of trucks on the road today. Whether it’s a boat, a camper, a small utility trailer for yard work, or, in the case of many of our readers, a car trailer, having something hooked to the receiver is common. A lot of times, if the tongue weight is too much or if the load itself is excessively heavy, the rear of the truck can squat. No one likes riding around looking like one of the squatted kids, but that’s part of towing a trailer sometimes. 01. The helper bag kit comes with everything you need to bolt the bags into your Belltech bolt-in notch, including the airline and fittings not in the photo. 02. The Air Lift Wireless Air system includes the compressor, valves, controller, airline, and all mounting and wiring parts needed, including the remote. 03. Bolt the upper bag bracket to each bag with the supplied hardware. Not only does this look bad, but it’s extremely unsafe. Having your truck sit level, especially with the extra weight of a trailer, makes driving and, more importantly, stopping easier. This can also apply to those times when you load the bed down with something like mulch, gravel, or even furniture when helping a friend move.Subscribe to our weekly newsletter The easiest way to fix this is to add a set of helper bags for extra support for the rear of the truck when it is sagging due to extra weight. 04. Use your choice of sealant on the fitting thread to ensure a leak-free installation. 05. Install the fitting into the bag through the hole in the upper bag bracket. 06. Bolt the bottom bag bracket to the bottom of the bag with the supplied hardware. 07. Here, you can see the orientation of the bag with both brackets bolted to the bag. The easiest way to fix this is to add a set of helper bags for extra support for the rear of the truck when it is sagging due to extra weight. This fix allows you to add as much air pressure as needed to eliminate the sag. Normally, an off-the-shelf helper bag kit would work just fine, but for my situation, it won’t work, as this truck is already being lowered, which requires the leaf springs to be flipped. 08. The Belltech bump stop needs to be removed. We knew this helper bag kit was going in, so we didn’t use the supplied bolt and nut to install it. We tapped the hole and used a 10mm bolt to make removing it easier. 09. Remove the front Belltech notch bolt closest to the notch opening. 10. If your truck has the factory carpet fender well liners, remove the center lowest screw to get access to the rear of the notch. Since the Belltech lowering kit on my 2023 GMC Sierra 1500 was added (check out page 52 in last month’s issue, November 2023, for the full suspension install), we had to investigate other options. Fortunately, Switch Suspension has a helper bag kit specifically for the Belltech bolt-in notch that was used on this truck. Being this is a vehicle and aftermarket suspension specific kit, it was perfect for this application. It bolts directly to the bolt-in notch with zero modification. This kit (Part #SWIGM19AIRHELPER-1, $400 retail) is only for the ’19-’23 GMC Sierra 1500 with the Belltech 4/6-inch lowering kit that includes a bolt-in notch. 11. Remove the rear Belltech notch bolt closest to the notch opening. 12. Slide the assembled helper bag assembly between the notch and axle. Compressing the bag all the way makes that easier. 13. Install the supplied hardware to secure the upper bag bracket to the Belltech notch into the holes you removed the bolts from in steps 9 and 11. 14. Bolt the bottom bag bracket to the factory axle plate. For my truck, I had to install one bolt and once the truck was on the ground again, install the other one. Which made the lower bracket install easier. To control a helper bag system, several options are on the market, from Schrader valves to a full onboard air system. But for my use, I opted for something I could control on the fly while parked or even while driving to really dial in the perfect amount of air pressure for every specific use. I reached out to Air Lift Company, and the experts there suggested one of the company’s Wireless Air systems (Part #74000EZ, $995 retail). This is a stand-alone unit complete with compressor, valve, and even its EZ mount system. It comes ready to bolt to your frame, plug in the wires and airlines, and you’re done. This system comes with what looks like a TV remote that can be used inside or outside of the cab. You can also control left and right bags individually in case the load is uneven. The remote has a screen so you can see the pressure in the bags at any given time and even has three presets so you can program in set pressures for regular loads. Follow along for a quick look into how the bags and controller are installed. With basic tools, a knowledge of simple wiring, and a floor jack, this is an install that can be done pretty quick in your driveway or garage. 15. Now that the bags and brackets are installed, it’s on to the controller. Air Lift gives you several mounting options for their unit. I chose to bolt it to a crossmember that gave me plenty of access. Once the mounting holes were marked, I drilled out the two new holes. 16. Once both holes were drilled, the Air Lift Wireless Air was mounted to the top of the crossmember. This keeps it and all connectors out of chance of damage from driving. 17. Plug the supplied wiring harness into the controller connector. 18. Connect the power and ground wires from the compressor on the controller to the power and ground on the wiring harness. You also need to connect the pink wire to an ignition source. 19. The compressor filter was connected and run to where it will stay out of the weather as much as possible. 20. Plug the supplied airline into both connectors and run the lines to the individual bags. 21. With the controller mounted and all wiring and lines tied up, it’s a compact unit tucked out of the way. 22. With the supplied controller, you can control the air pressure in the bags from inside or outside of the cab and adjust while driving without a need to stop and plug in an air hose.
Parts Counter | The latest goodies available for your classic or modern truck! Spark Some Power! Performance Distributors’ new Pentastar S.O.S. coils (Part #DUI-45550) are dying to spark up your engine. With enhanced coil windings, more voltage output […] Chris Hamilton June 03, 2020 Department How to Latest Product Reviews Tech Uncategorized
How To Engine Swap | Dropping a Coyote Motor in a Ford F-100 Every brand has fans, and all of them have a motor enthusiasts want to stuff under the hood. For Dodge guys it’s a Hemi, and […] Chris Hamilton January 10, 2020 F100 Builders F100 Builders Guide HEADLINE How to Latest Product Reviews Tech
RETIRED AND REBORN OBS | A Relatable Upgrade for Many OBS Enthusiasts Buying a brand new truck is a day some of us can remember and others can’t wait to do. For this particular OBS oldschooler, a […] Chris Hamilton November 08, 2021 Department Editor How to Industry News Latest OBS Builders Guide Product Reviews Profiles Reader Rides Tech Uncategorized
F100 BedWood Install Step By Step | BedWood and Parts Helps Us Update an Old Ford Bed! BedWood Helps Us Update an Old Ford Bed Choosing the perfect bed floor finish for your build isn’t always the easiest thing to do. Of […] Mike Alexander November 20, 2020 F100 Builders Guide HEADLINE How to Product Reviews Tech Uncategorized