Taking the Highboy to New Heights with Skyjacker’s 4-Inch Lift Kit

A Highboy Gets Even Higher

When I hear the name Highboy, I think of a truck that is built tough and ready for the backcountry. What could make it better? A 4-inch lift from Skyjacker sitting on 37-inch Toyos! Not only will you get your desired lift and look, but you will also enjoy improved ride quality if you’re planning on driving the truck a lot.

So, to take the truck up a level, we got with Skyjacker and ordered the F740KS-M 4-inch lift with M95 performance shocks, front and rear FBL93 stainless brake line kits, and a set of the Softride leaf spring bushings. With the help of a few friends, we were able to get this lift completely installed in an afternoon and get the truck back on the road.

Overall, I would highly recommend this kit to anyone looking to add a little altitude to their build. The 50 years of quality and experience that Skyjacker provides is top notch.

Gather all of the tools needed for the install and lay them out on a clean, rolling work table.
Here is the F740KS-M kit all laid out with the M95 performance shocks, FBL93 stainless front and rear brake kit, and Softride leaf spring bushings.
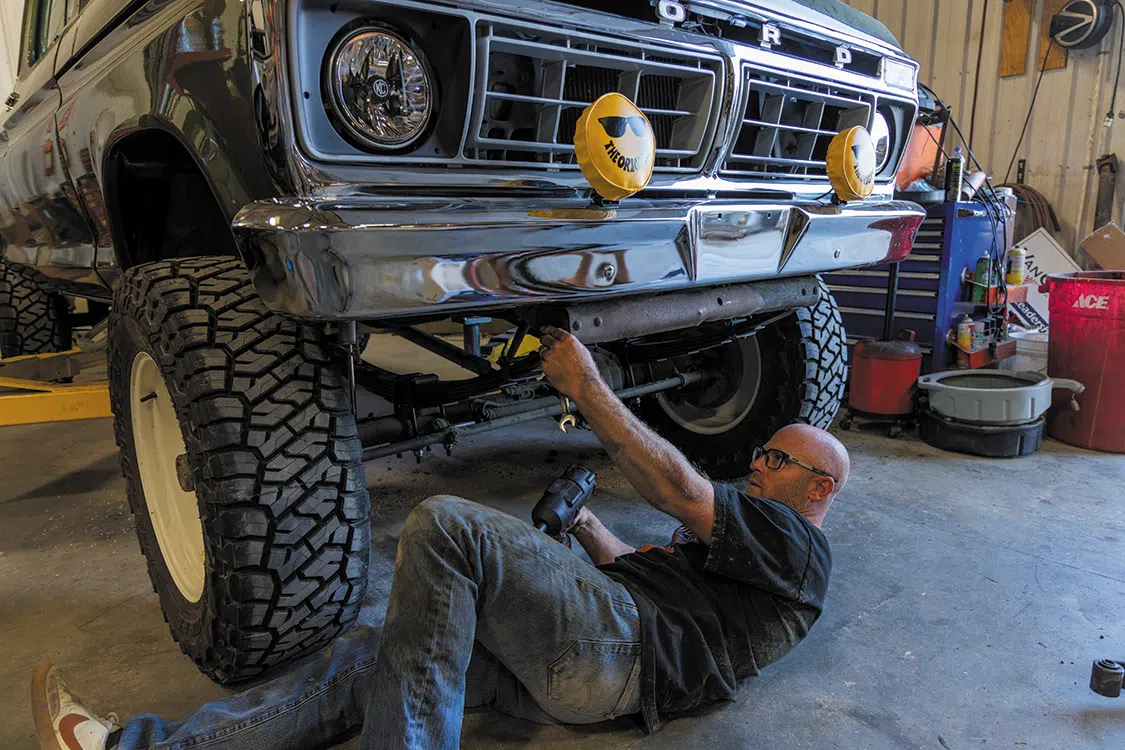
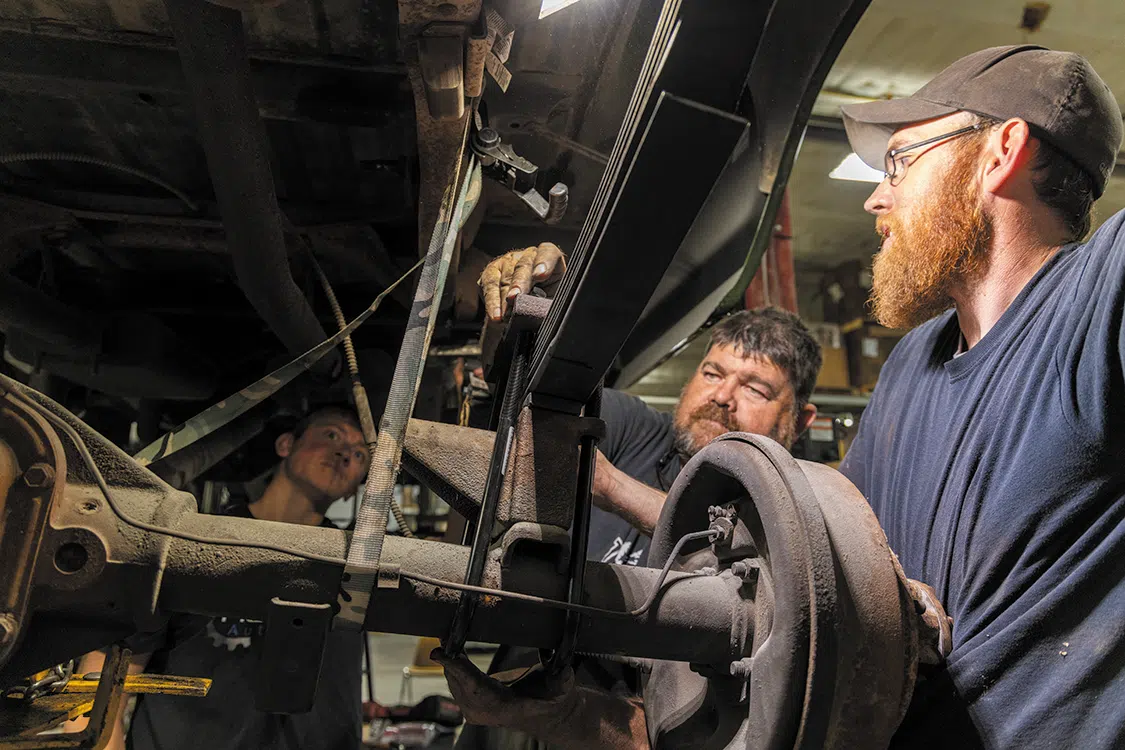
To start, we supported the axle and the old U-bolts, removed from the front leaf springs, and set the plate aside for later.
Next, we removed the front and rear bolts holding the old leaf spring in place. Once these are out, remove the old leaf springs.
The new Skyjacker 4-inch front leaf spring was then set into place and the Softride leaf bushings were installed.
We installed the rear bolts on the front leaf first and left them a little loose so we could work the front leaf into place easier. We will tighten all the bolts down later in the process.
While we were working on getting the front bolt in the leaf spring, we secured a ratchet strap from the axle to the front of the frame. This helped keep everything in place while we were getting the bolt through the leaf spring.
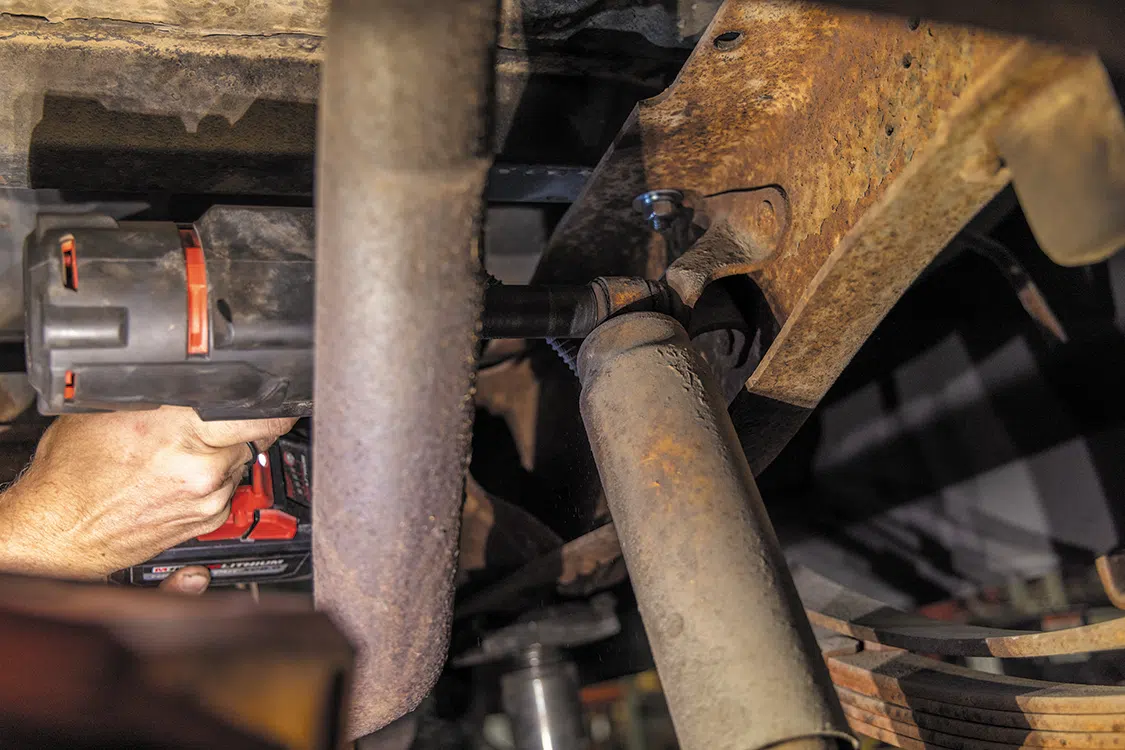
We removed the nut from the bottom of the old shock.
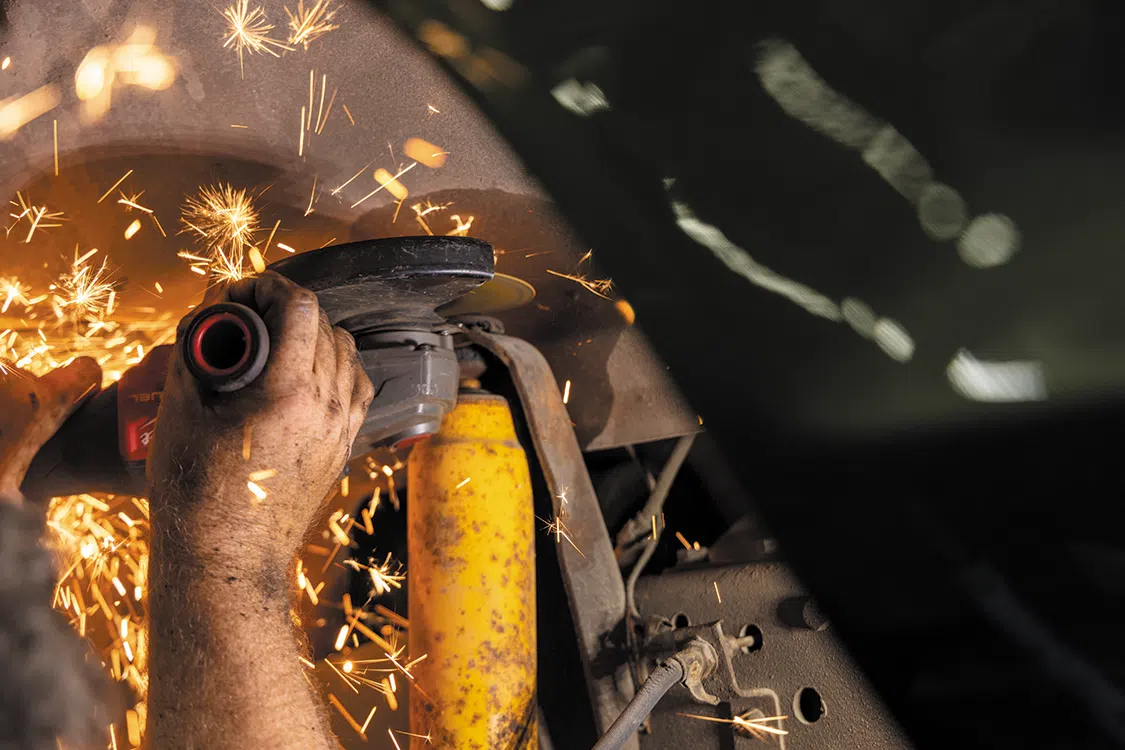
Sometimes when a shock has been on for a long time, it rusts in place and has to be cut off to be removed.
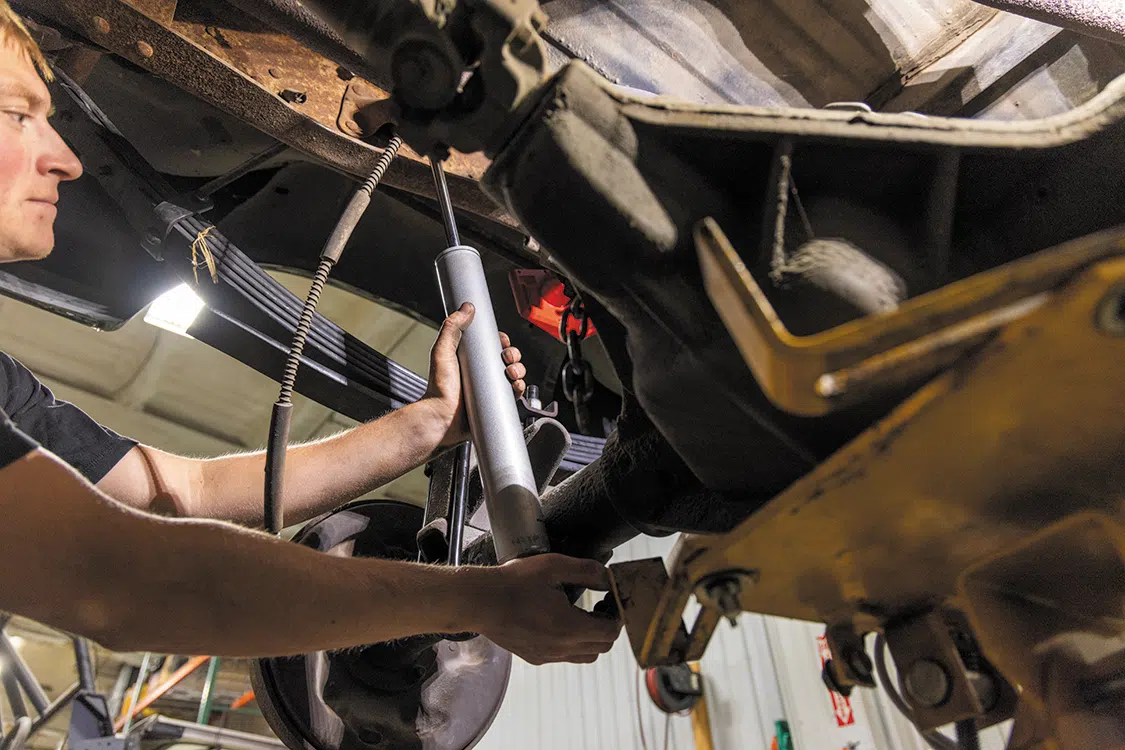
The new M95 mono tube shock was installed and tightened down. I like to start with the top, cut the wire compressing the shock, and guide the bottom into place.
Once everything was in place, I lowered the truck to get the full weight of it back on the ground. I then went back through everything and snugged all the bolts down. This way, everything settles into place before driving the truck.
We then removed the old brake lines.
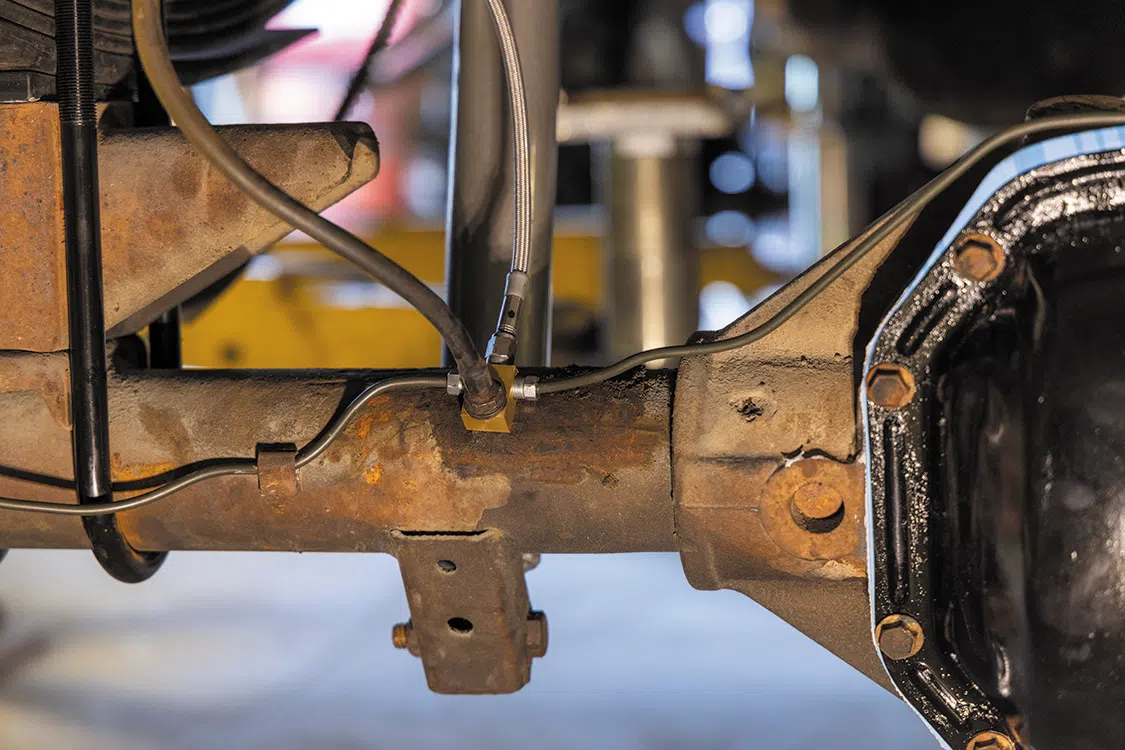
Next, we installed the new extended stainless steel brakes lines to the upper. An adapter is provided in the kit with the brake lines.
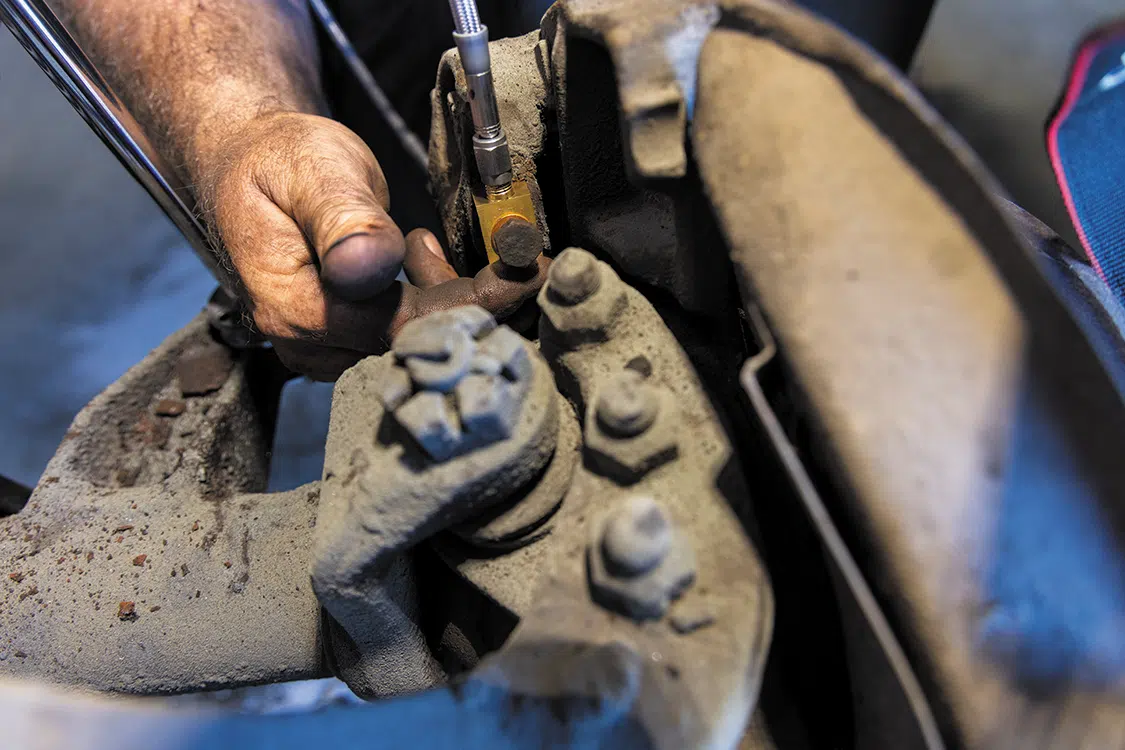
The lower brake line was bolted on the caliper.
The old shock in the rear was removed.
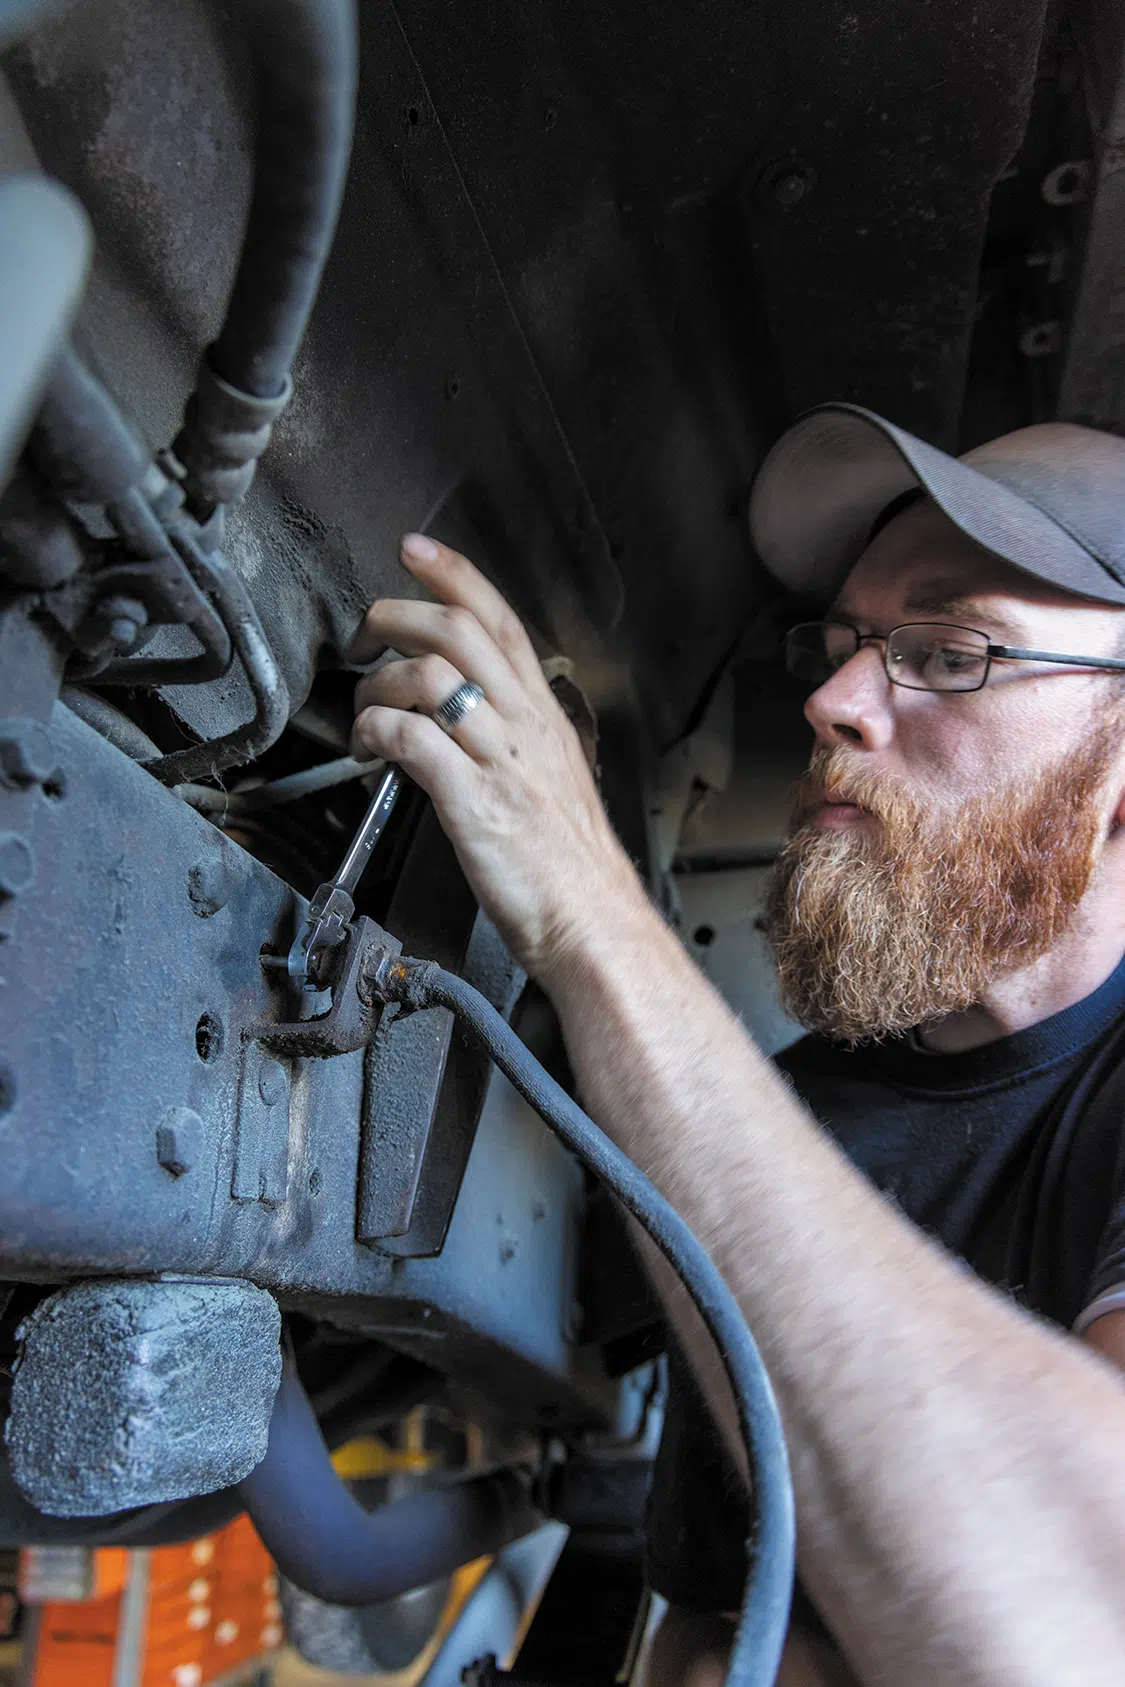
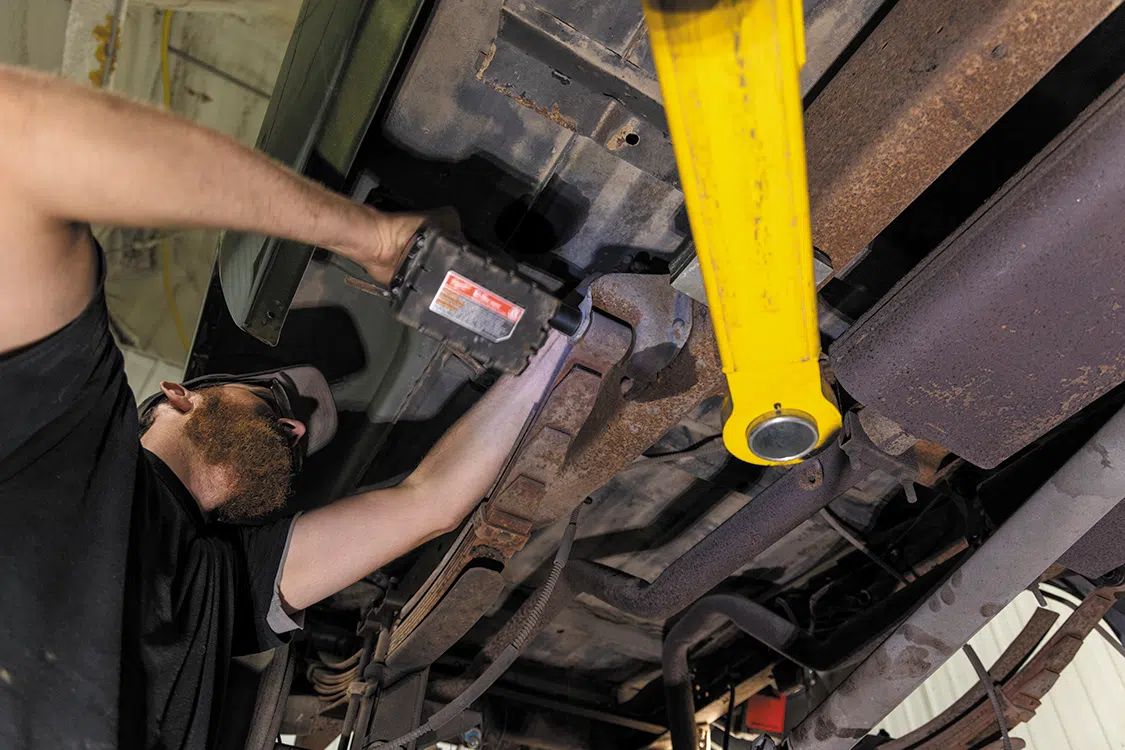
The bolts holding the rear leaf to the frame were undone. There is a nut on the inside you will have to get a wrench on to get it loose.
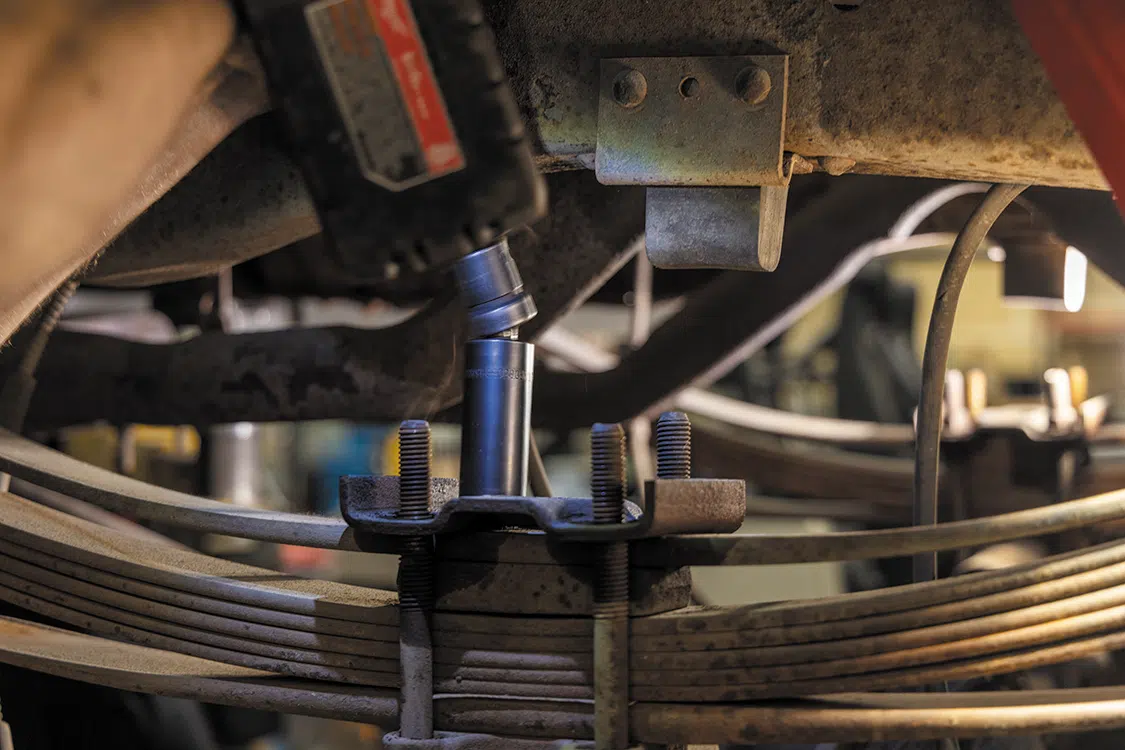
We removed the old U-bolts from the leaf. Using a wobble socket on the rear is a must because it is hard to get to the bolts on the frame with a standard socket.
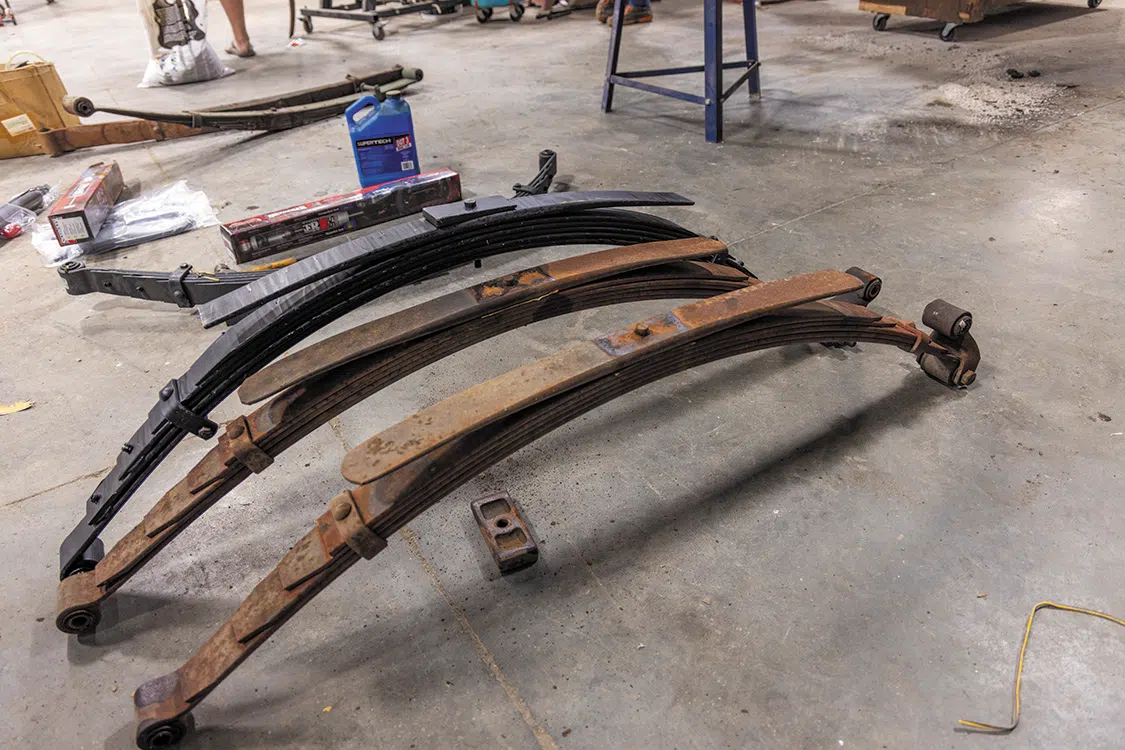
After removing the old leaf, you can see the difference between the new Skyjacker leafs versus the factory ones.
We then set the new leaf into place and installed the new U-bolts.
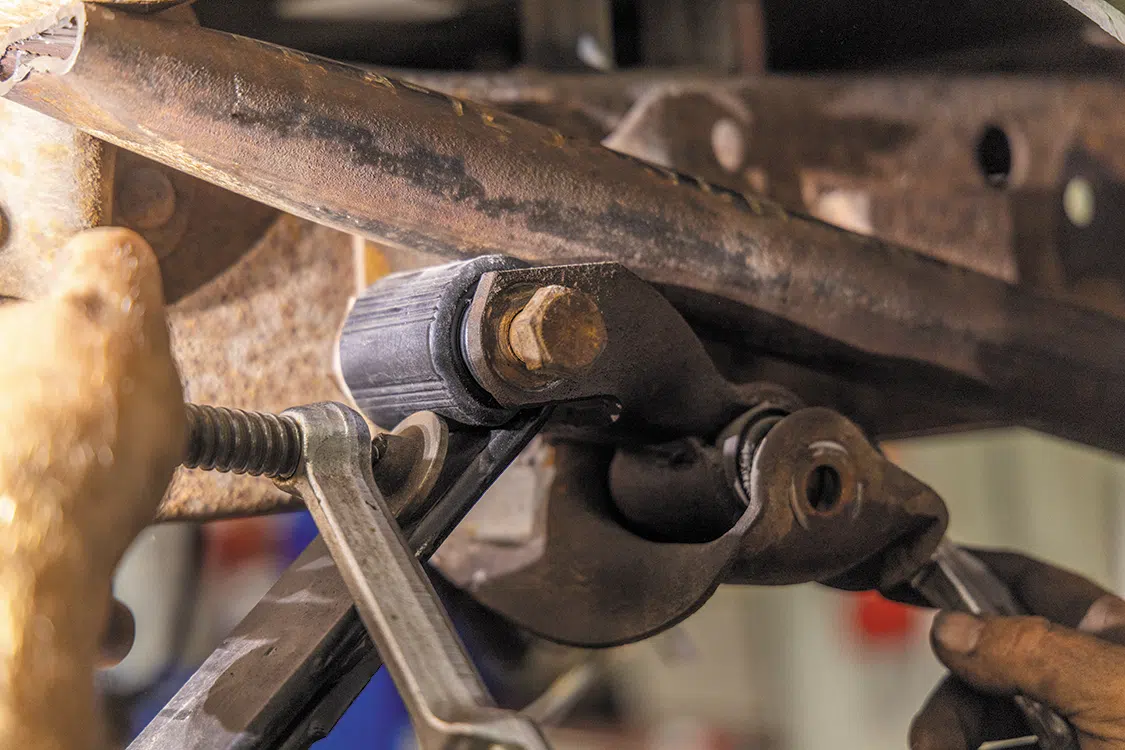
Once you get the front bolt in the leaf spring, getting the rear shackle in place can be tough. A C-clamp can make it a lot easier to get the bolt back in.
Next, we installed the new M95 shock on the rear.
The new extended stainless steel brake line was then installed in the rear.


Photo Credit: Devan Ence

You May Also Like

1969 Chevy C-10 Wheel

’69 C-10 BARNYARD FIND | RUSTY BLUES

Embracing the Past and the Present C-10 have a crazy affect on truck enthusiasts. They remind us of the past, when times were, ostensibly, simpler. […]