 OBS HEADQUARTERS
.
September 28, 2022
.
How to
.

If your truck is anything like ours, the dashboard is either faded, cracked, or has holes in it the size of softballs. Unfortunately, one of the negative trades that came along with this particular GMT 400 truck or obs was a very fragile dashboard, thanks two years of sun and heavy coat of Armor All.
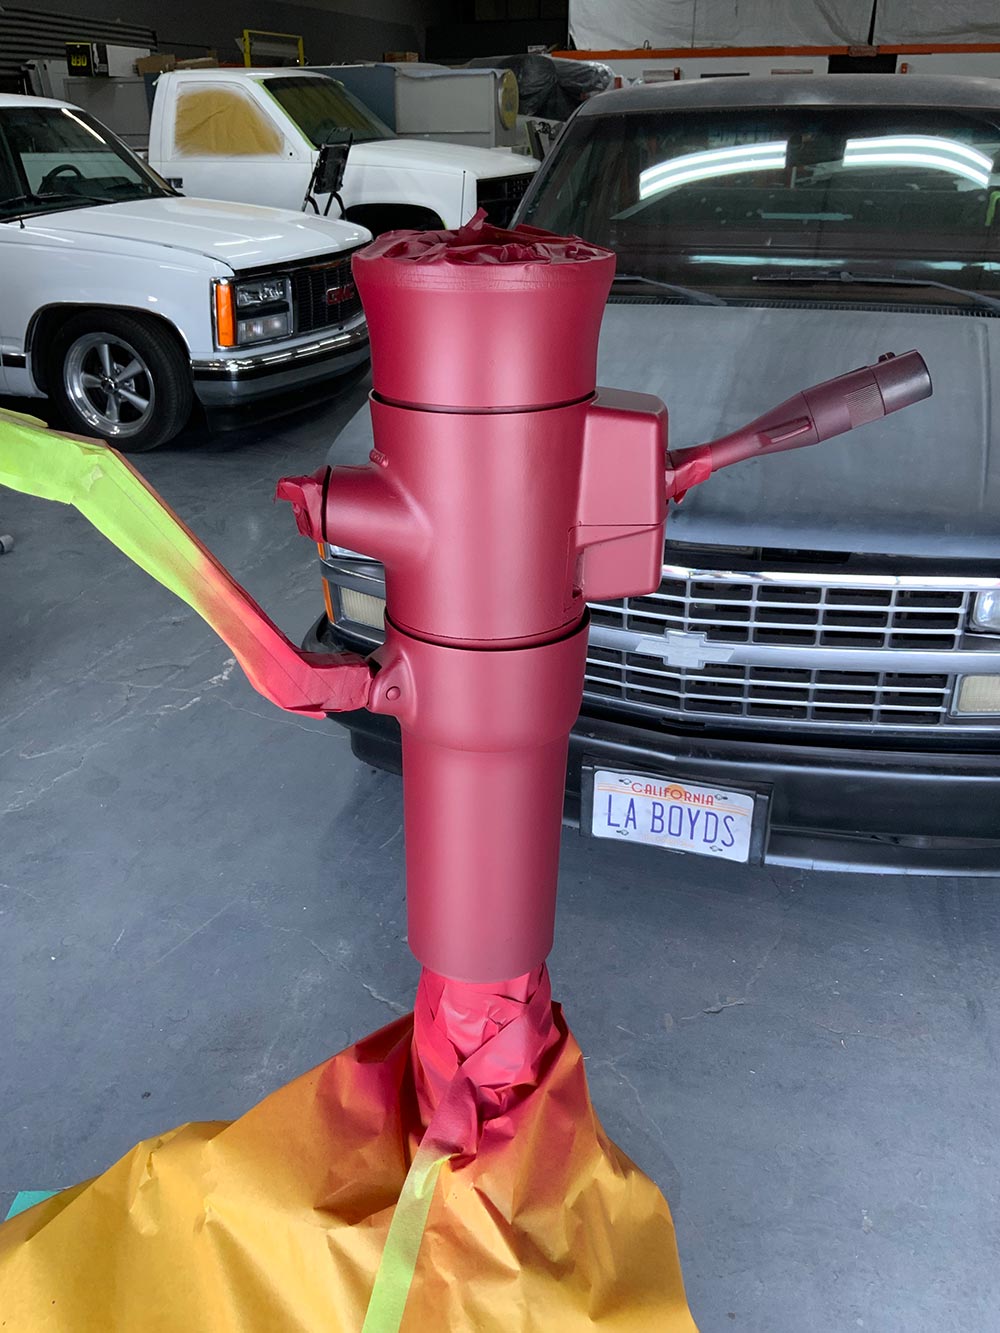
We can no longer take the pain of driving our favorite truck with a smashed-up dashboard, so when LMC Truck announced a factory replacement aftermarket dash, we knew it was go time. After a quick trip to OBS Headquarters, we swapped the old with a new LMC dash on our official 1988 regular cab short box shop truck known as the Billet Beater. Along the way, we customized this project by color matching the steering column, steering wheel, and related dash parts, which were originally gray.
This new dashboard assembly developed exclusively by LMC Truck uses improved heat-resistant thermoplastic compounds to resist shrinking and fading. The dash panel comes complete with the new plastic shell attached with rivets and screws to a zinc-plated metal frame as original. The all-new assembly includes the air duct sealed to the panel as original and ready to accept all your factory components.
The dash arrives gray using paint mixed with an ultraviolet inhibitor to help prevent damage from sunlight exposure. OBS Headquarters prepped and painted the dash panel to match the existing interior using ColorBond spray coating. LMC recommends painting the dash with its exclusive ColorBond, which permanently changes the color of your interior. It sprays on and dries to the touch in 45 seconds, forming a complete bond in 10 minutes. The original grain pattern is never altered or hidden, no matter how many times ColorBond is applied. It will not crack, flake, peel, or rub off from solid or flexible materials because the color becomes part of the surface. ColorBond is a semi-gloss finish that is OEM approved, UV stable, and colorfast. Each 12-ounce can will cover 7 square feet. ColorBond Prep/Cleaner should be used prior to applying ColorBond.
This project is a little more involved, even though only simple hand tools are required. One item not supplied is patience, and a lot of it is needed. It’s not a difficult procedure, but it is time consuming with a lot of small details. To make the process simpler, it’s best to completely remove the seat and steering column. Doing this makes moving around in the cab a lot easier and will save time in the long run. Care must be taken during the disassembly process as many of the parts are reused as the dash assembly is the basic structure in which the cluster surround and glovebox assembly area attached.


Read More: The Major Differences in ’88-’98 OBS Chevy Trucks


You can watch complete video of OBS Chevy Truck Dually Restoration.
Protect and customize your truck bed with the Custom Coat Tintable Spray-On Liner Kit—1.5 gallons of tough urethane coating, easy 3:1 mix, and everything you need to spray, shake, and shoot. Click here: https://amzn.to/43HQEAx
Share Link