 Chris Hamilton
.
March 25, 2022
.
Department

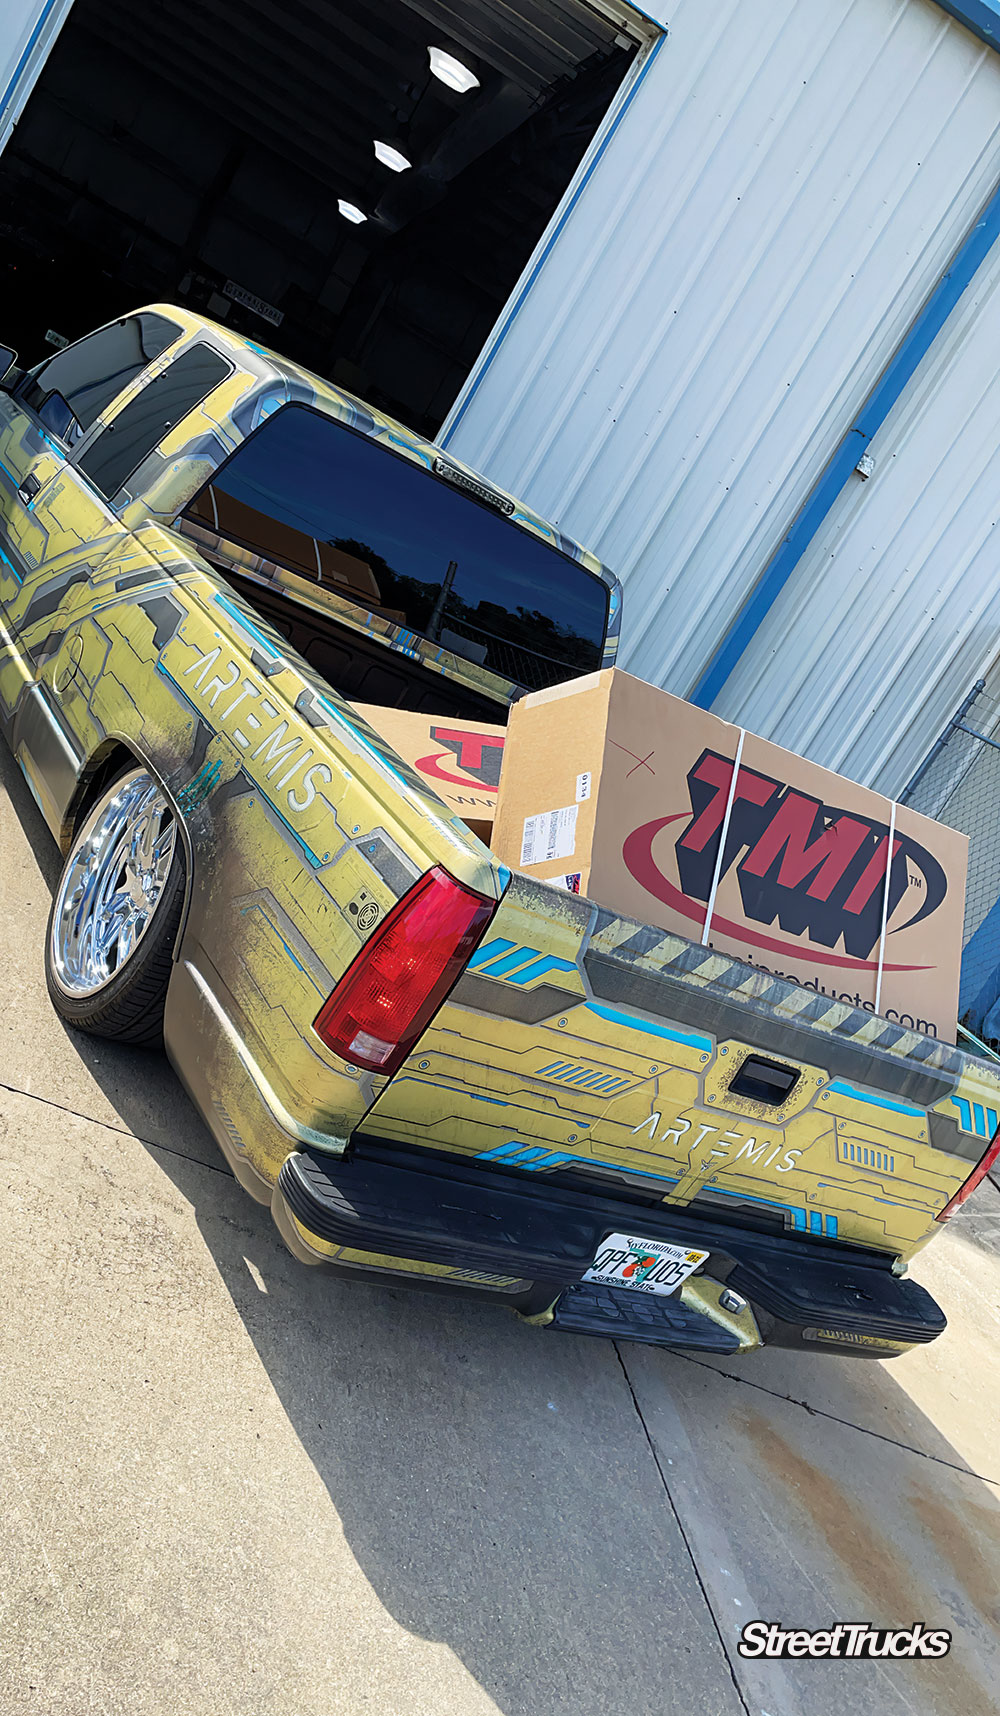
Artemis is complete! The original goal was to build a cool OBS with nothing but bolt-on parts, installing only things that could be removed and returned to factory spec. The suspension from Ridetech was engineered with that in mind, as well as performance and handling. This one-of-a-kind light-up vehicle wrap makes it clear that project Artemis has transformed from a daily driven project vehicle into a covered up, weekend-use-only show truck. In the bed we were able to bolt in a retrofit wood bed floor, and inside the cab we simply replaced the carpet, swapped out the seats and recovered the headliner. A new dash cap from NPD was also installed along with a new billet steering wheel from Eddie Motorsports that was a simple swap using its ’88-’98 Chevy steering wheel adapter.
For the audio system, new MOJO 6 ½-inch subwoofers from Memphis Audio were screwed into the custom-built box, and the new VIV amplifiers can easily produce enough power to handle four of these little subs. We installed a 2200-watt amplifier for the subs and a four-channel amp for the mids and highs, all wired up by a Memphis Audio amp install kit that made everything simple and smooth. The complete amplifier and speaker system is receiving signal and being controlled by a Planet Audio Apple CarPlay Receiver.
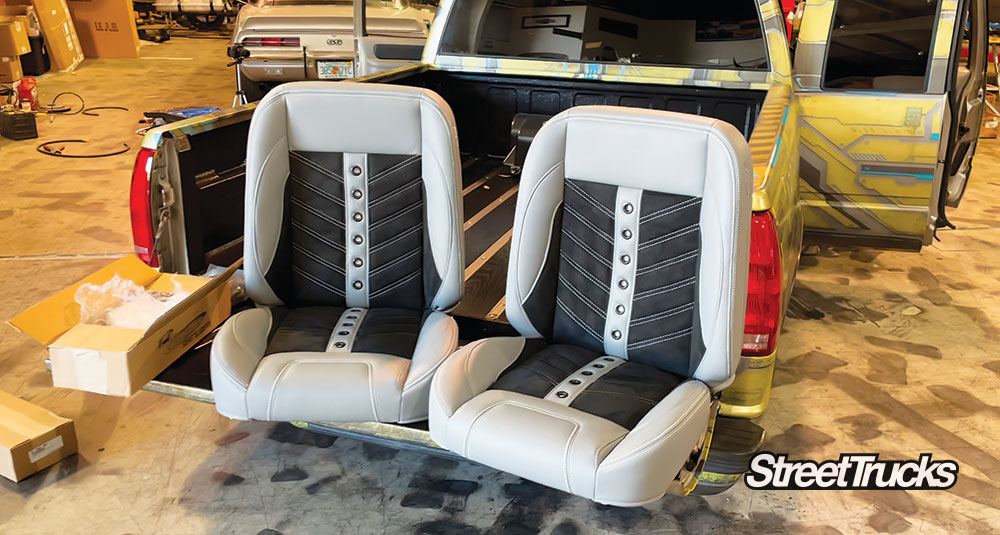
Now the final entry to our Artemis install is a set of TMI Products Pro-Classic Universal Sport-VXR low-back seats. We ordered our seats with black grommets, although you can choose from black, stainless or brass. Suede center inserts give these seats some extra style and fashion. These seats look great and feel comfortable to sit in. Let’s check out the install!
01. With this one-of-a-kind light-up vehicle wrap, complete air suspension and custom wheels, it’s clear that project Artemis has transformed from a daily driven project vehicle into a covered up, weekend-use-only show truck. Now it just needs some nice clean seats to match.

02. We originally had our factory seats wrapped in Roadwire seat covers, which looked OK, but that’s not the look we wanted with this build. So, we need an upgrade!

03. First thing to do is remove the front seats. Gotta love having a pretty helper!

04. TMI Product’s Pro-Classic Universal Sport-VXR low-back seats are a complete replacement bucket design with slider tracks for adjustment. We ordered our seats with black grommets, although you can choose from black, stainless or brass. Suede center inserts give these seats some extra style and fashion. These seats are sold as a pair and come universal to fit most applications.


05. We simply need to install the provided brackets from TMI, along with the seat sliders.

06. Now Nicole can bolt in the new TMI seats with the new brackets. They sit pretty much at the same height as the original.

07. Since these seats have a reclining feature to them, the hinge needs to be covered up with this nice plastic cover that TMI provides with the kit.


08. With the new driver’s seat in, it’s time to move over to the passenger side. These TMI seats look great!

09. Both seats went in smoothly and simply thanks to the great engineering and product quality that comes with TMI Interior Products.

10. Here you can see how well the seats recline forward, and don’t forget they also slide front and rear!

11. TMI Seats come with the company’s logo embroidered into the side, which gives a quality brand to your seats, as well as some added value with a great company name!

12. Do you know what these are from? If not, we recommend watching “Ready Player One”!

13. Nice top-down view of the completed interior including our new NPD dash cap, the Planet Audio Apple CarPlay receiver, and our new Eddie Motorsports billet steering wheel.

14. One last thing to do before its 100% complete, Artemis needs a wash!

15. A completed project is a very satisfying sight, and this one went quick since it was all bolt on. What do you think?

16. The exterior light-up panels look the part now with this fully themed truck. We love the final look and are proud to have everyone involved.

17. These 20-inch U.S. Mag Bullet wheels are shiny and easy to clean. Those EBC brakes are pretty special too!

18. If you don’t remember, the rear panels light up as well. Glarb Wrapped and We Print Wraps did an amazing job!

19. Now that we are complete with our “Ready Player One” themed truck, it’s time to buy the second book and get some inspiration for the next build. Project Percival maybe?

Share Link