Up next 1,000HP Boosted ’59 Chevy Apache from Standard Speed Shop Published on February 01, 2023 Author DEVAN ENCE Share article Facebook 0 Twitter 0 Mail 0 Installing John Rods Drop Beams on a 1974 F-100 Having Fun with Custom Panels Words and Photos by Devan Ence 
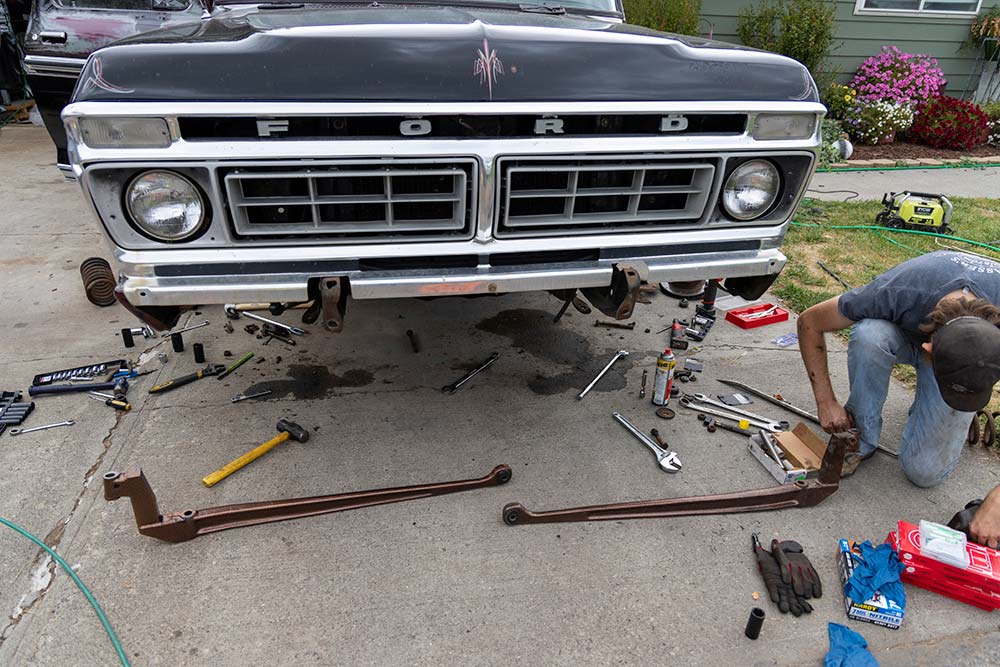
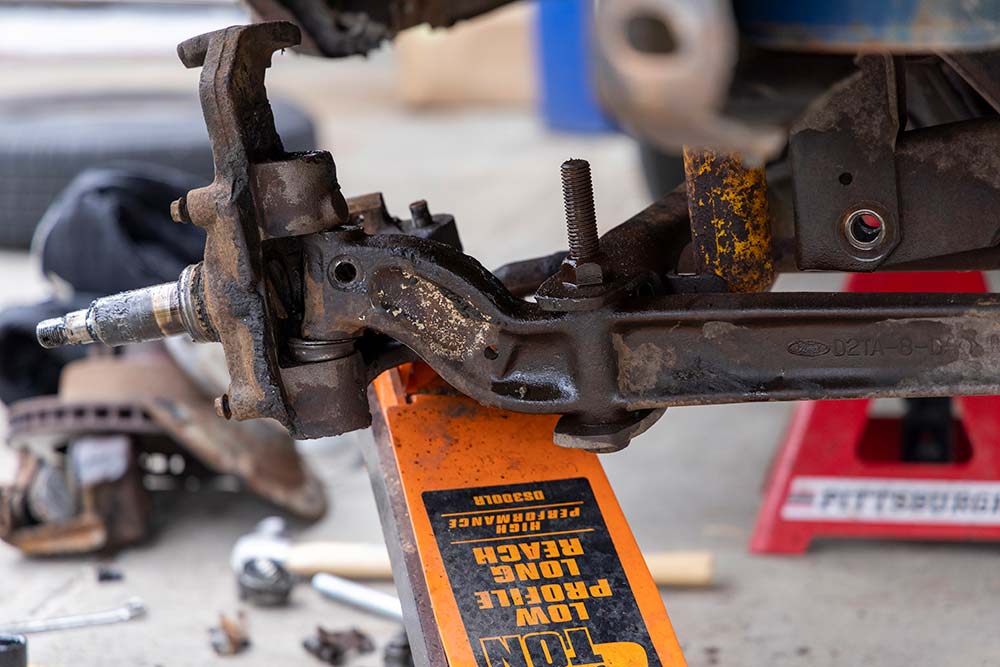
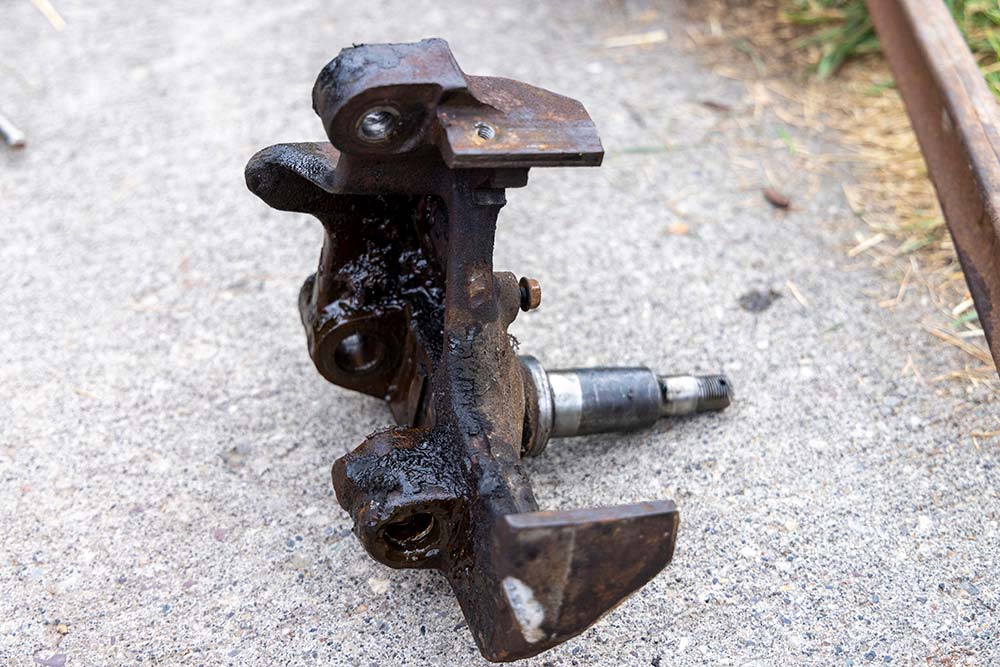
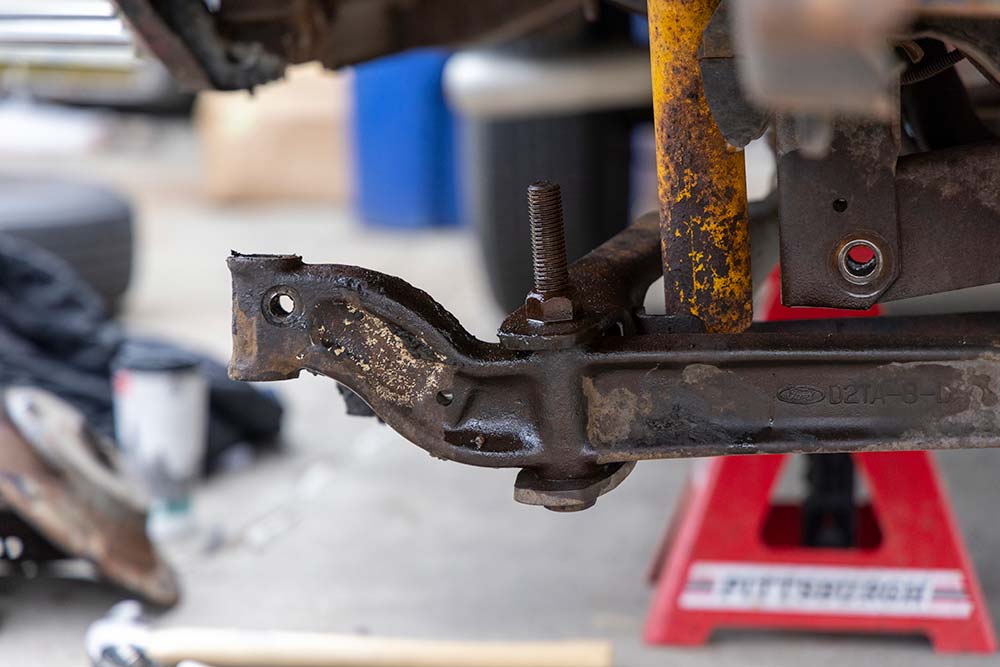
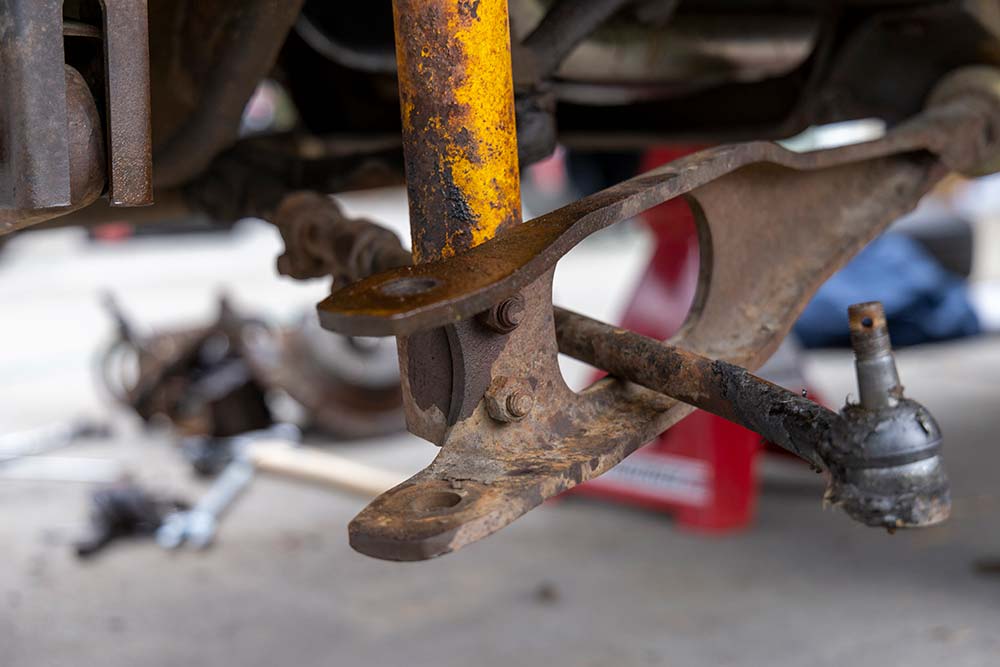
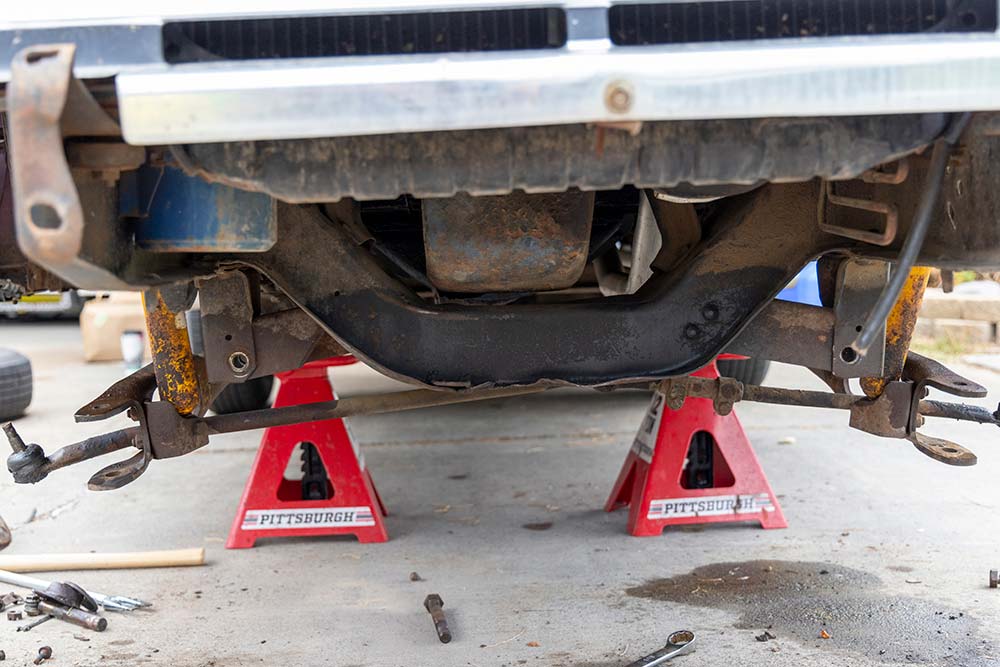
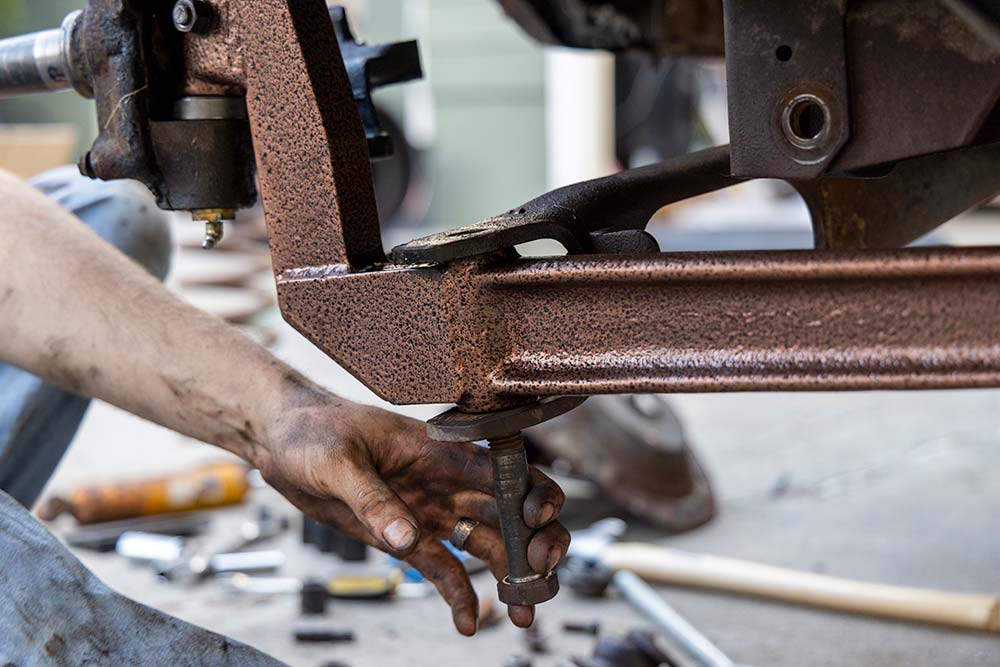
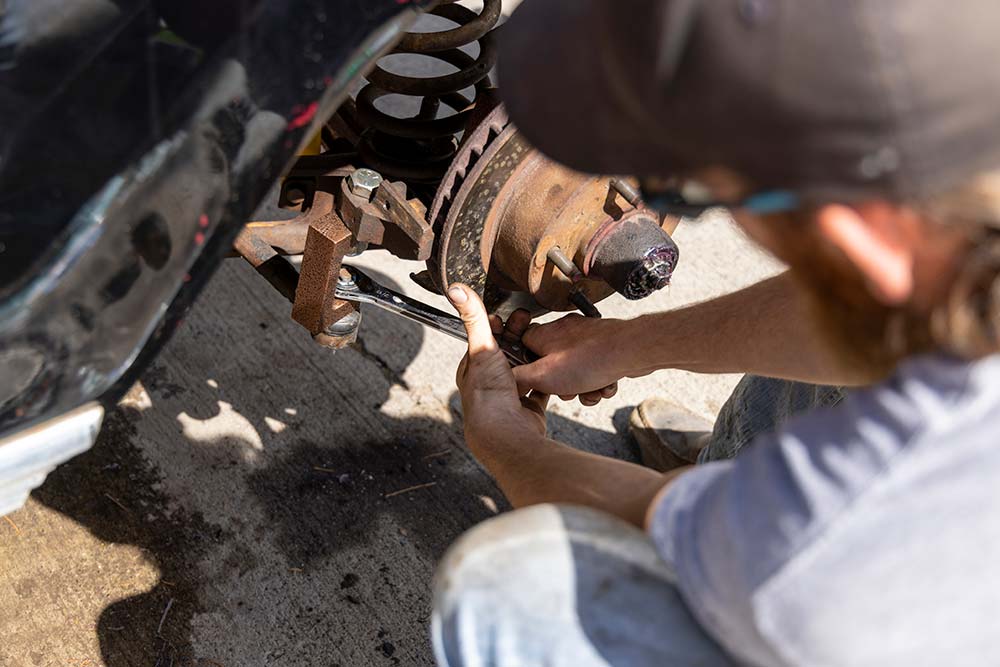
We all strive to build a truck with its own attitude. A fast way to make that adjustment is by installing a set of John Rods Drop Beams. John put a lot of thought into modifying the original beams that came with these trucks to get the perfect 4 1/2-inch drop up front.Subscribe to our weekly newsletter 
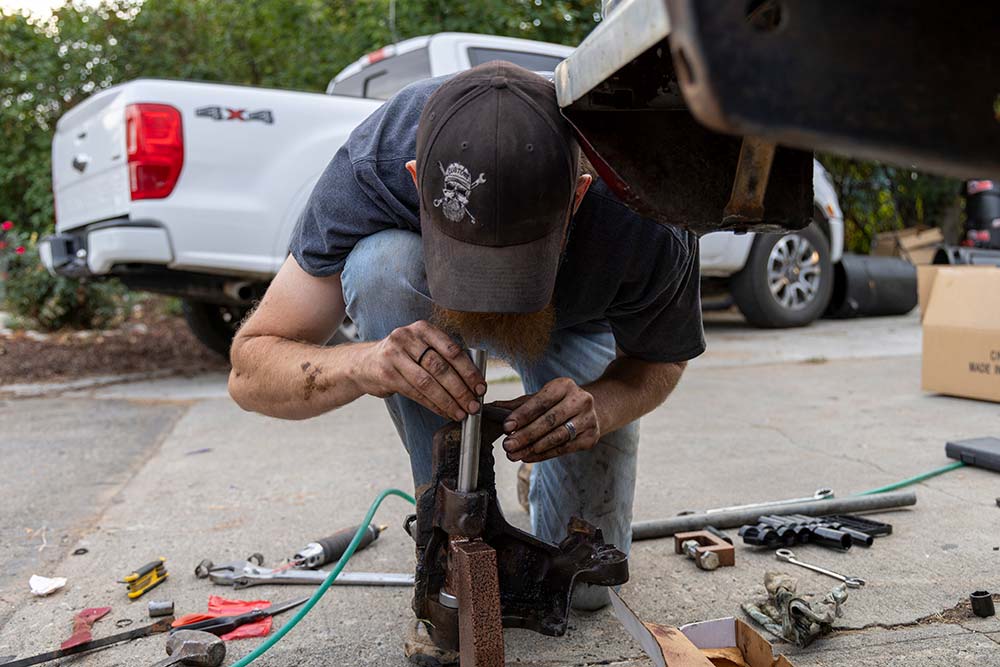
Now, you might be thinking this could be a really challenging install. However, it can be done in a few hours in a shop with all the proper tools or in your driveway over a long weekend with some friends. 
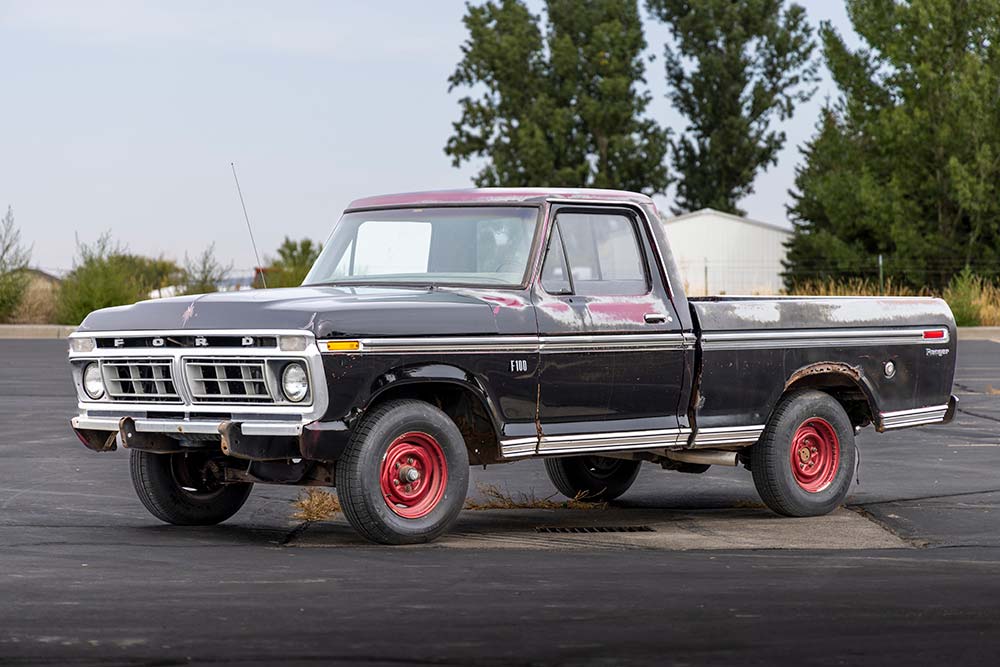
The steps below take you through the process of installing a set of the John Rods Drop Beams on a 1974 F-100. When doing the install on trucks from different years, you may come across a few differences, but all-in-all, these steps will make your install go smoothly. Here is our truck’s starting ride height. Pull the tire and remove as much of the years of build up using engine degreaser. Remove castle nut and knock tie rod loose. Remove nut from kingpin centering pin and knock it out of the I-beam. Remove grease caps for kingpin from spindle. Remove top nut from inside the springs. Remove brake caliper and rotor, and knock out the kingpin with a punch and a hammer. Remove spindle from I-beam. Now your I-beam should be ready to be removed. Break the nut loose on the nut and bolt that hold the radius arm to the I-beam. The I-beam has been removed from the truck. Both I-beams are removed from the truck. Laying out the new John Rods Drop Beams. Make sure you have the correct kingpin set for the new beams (it should include new sleeves, kingpins, grease caps, and grease certs). Remove the old sleeves from your spindle. Drill your spindle out to ¾ inch. (I used a step bit to get the hole close to ¾ inch and then took a true ¾-inch drill bit and ran it through to make sure the fit was going to be right.) : Install the new kingpin and sleeves through the spindle and the new beams. Install the new centering pin into the I-beam. Install the new grease caps and grease certs to spindle. Install your beams on the truck and run the radius arm bolt through the beam. Re-install everything you removed to get the old beams off and install the C-shaped drop bracket from the spindle to the tie rod. This is included with the new Drop Beams. Double check that everything is tight and grease your kingpins. Final ride height after drop beams are installed with a 6-inch axle flip in the rear.
Rusty Nail, Dewey Dougherty’s 1965 International Loadstar “My wife had seen this 1965 International Loadstar for sale, and she fell in love with it immediately,” Dewey says. “She envisioned the truck done […] John Mata Jr. April 19, 2022 Blood Sweat and Gears Department Editor Features HEADLINE Latest Reader Rides
Readers Rides! The Latest Collection of ’88-’98 Reader Rides from Around the Country! We love our readers, and we want to know what you are working on, […] Chris Hamilton September 30, 2021 Department Editor Features Latest OBS Builders Guide Profiles Reader Rides
Countdown to SEMA 2024: Inside the Trade Show and Vegas Kickoff Events Info From an Industry Insider As I compose this column, it is almost time for SEMA 2024. It is often said that “SEMA is not […] Jason Odb Ballard October 04, 2024 Department Show
Old Ford Crew Cab Meetup 2022 Community Get-Together in Arizona If you’re reading this magazine, then you already know that the cream of the Ford crop is a F-250 crew cab. […] SOLOMON LUNGER September 10, 2022 Department Editor F100 Builders F100 Builders Guide HEADLINE Industry News Latest Reader Rides Show