 DEVAN ENCE
.
August 07, 2024
.
Features
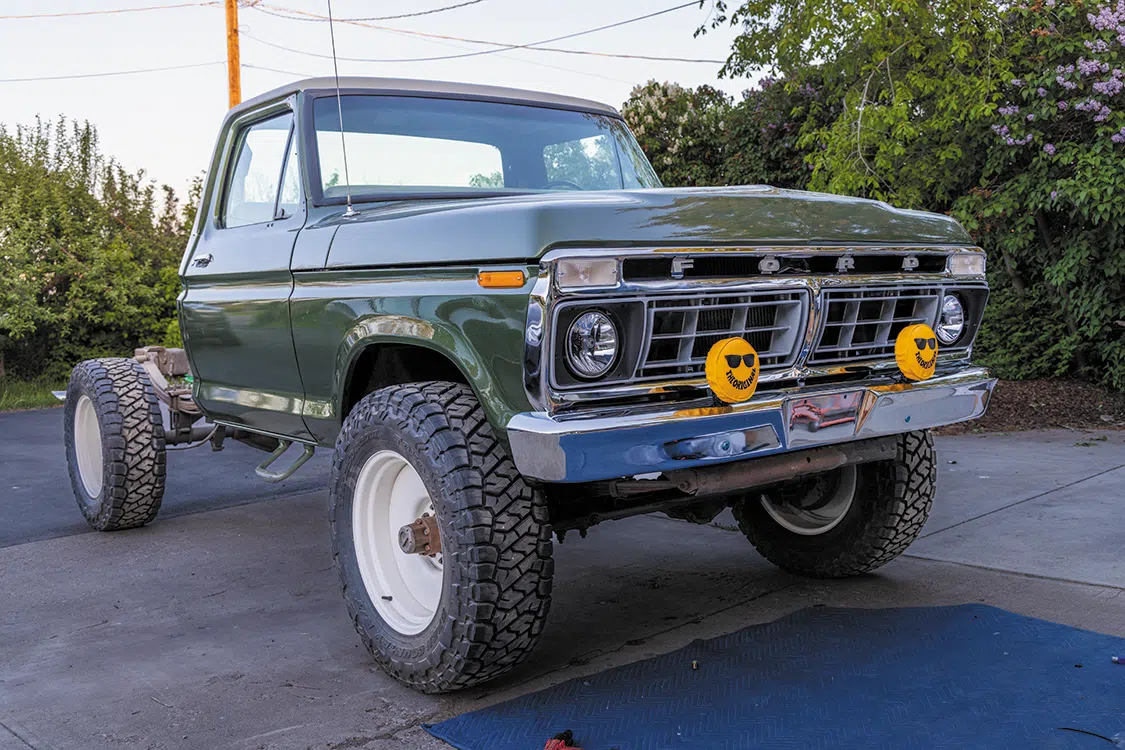
I’m super excited to share the progress on the Green Giant with all of you! Last time it was still stuck in paint jail and now it is starting to look like a truck again. To keep the project moving forward, I had to finish the body and paint work on the cab, which always seems to take longer than you think it should.
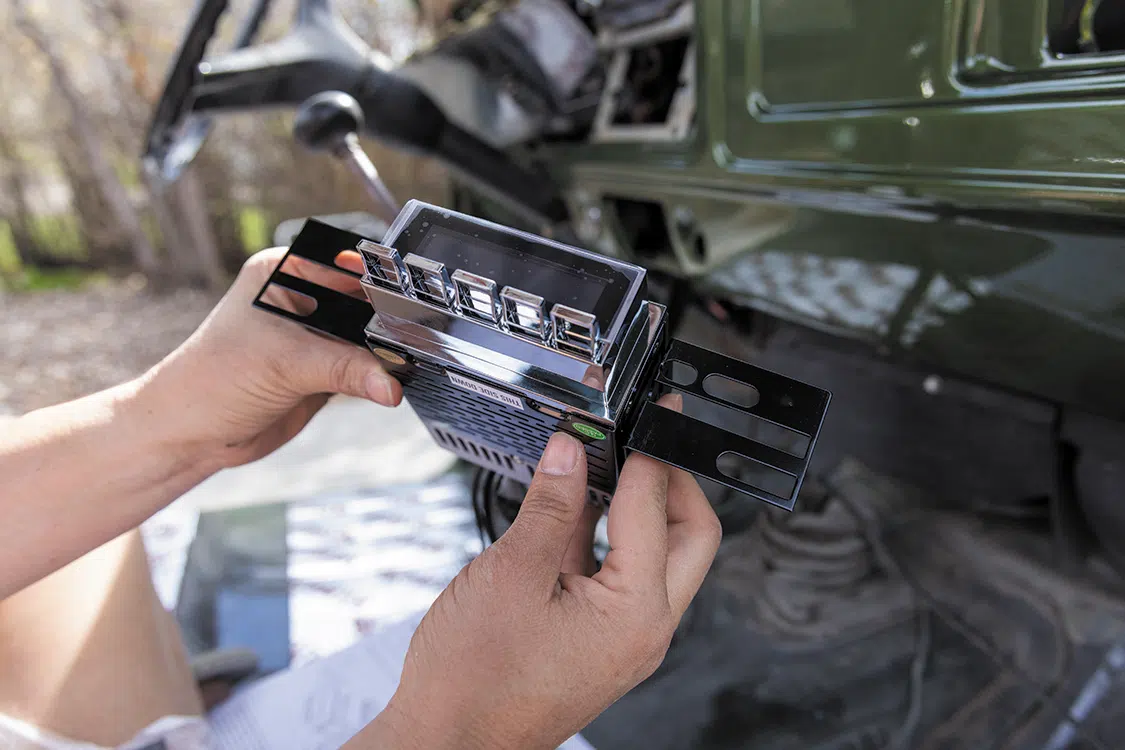
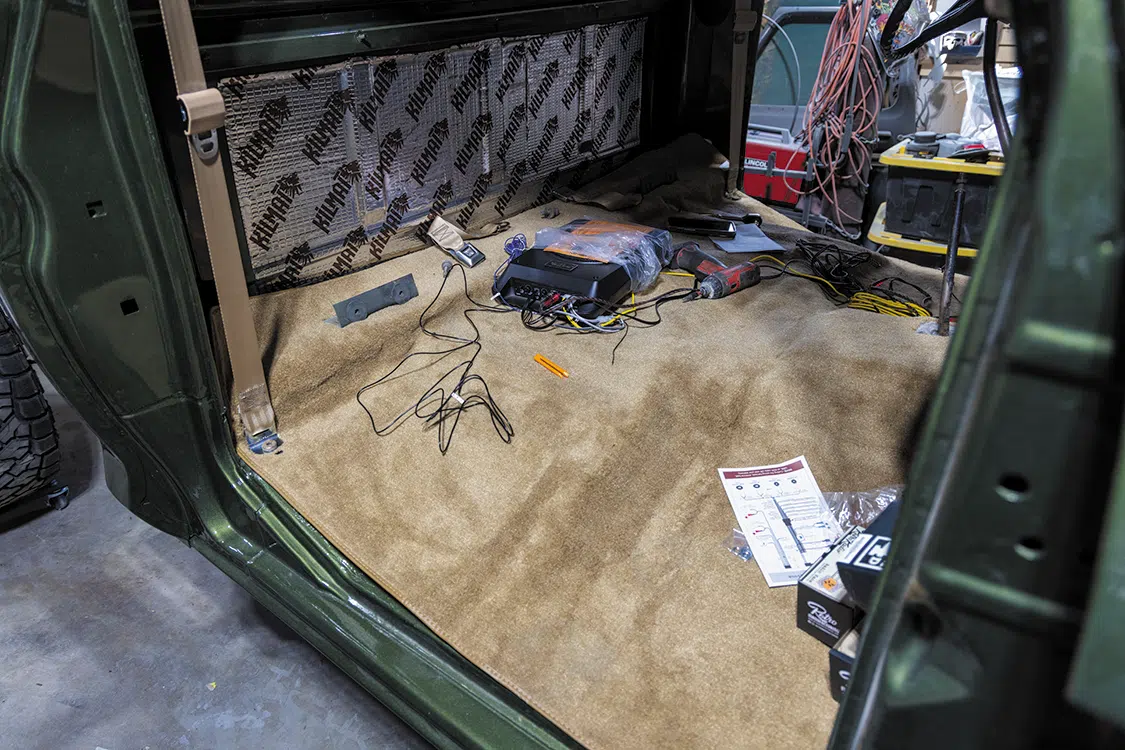
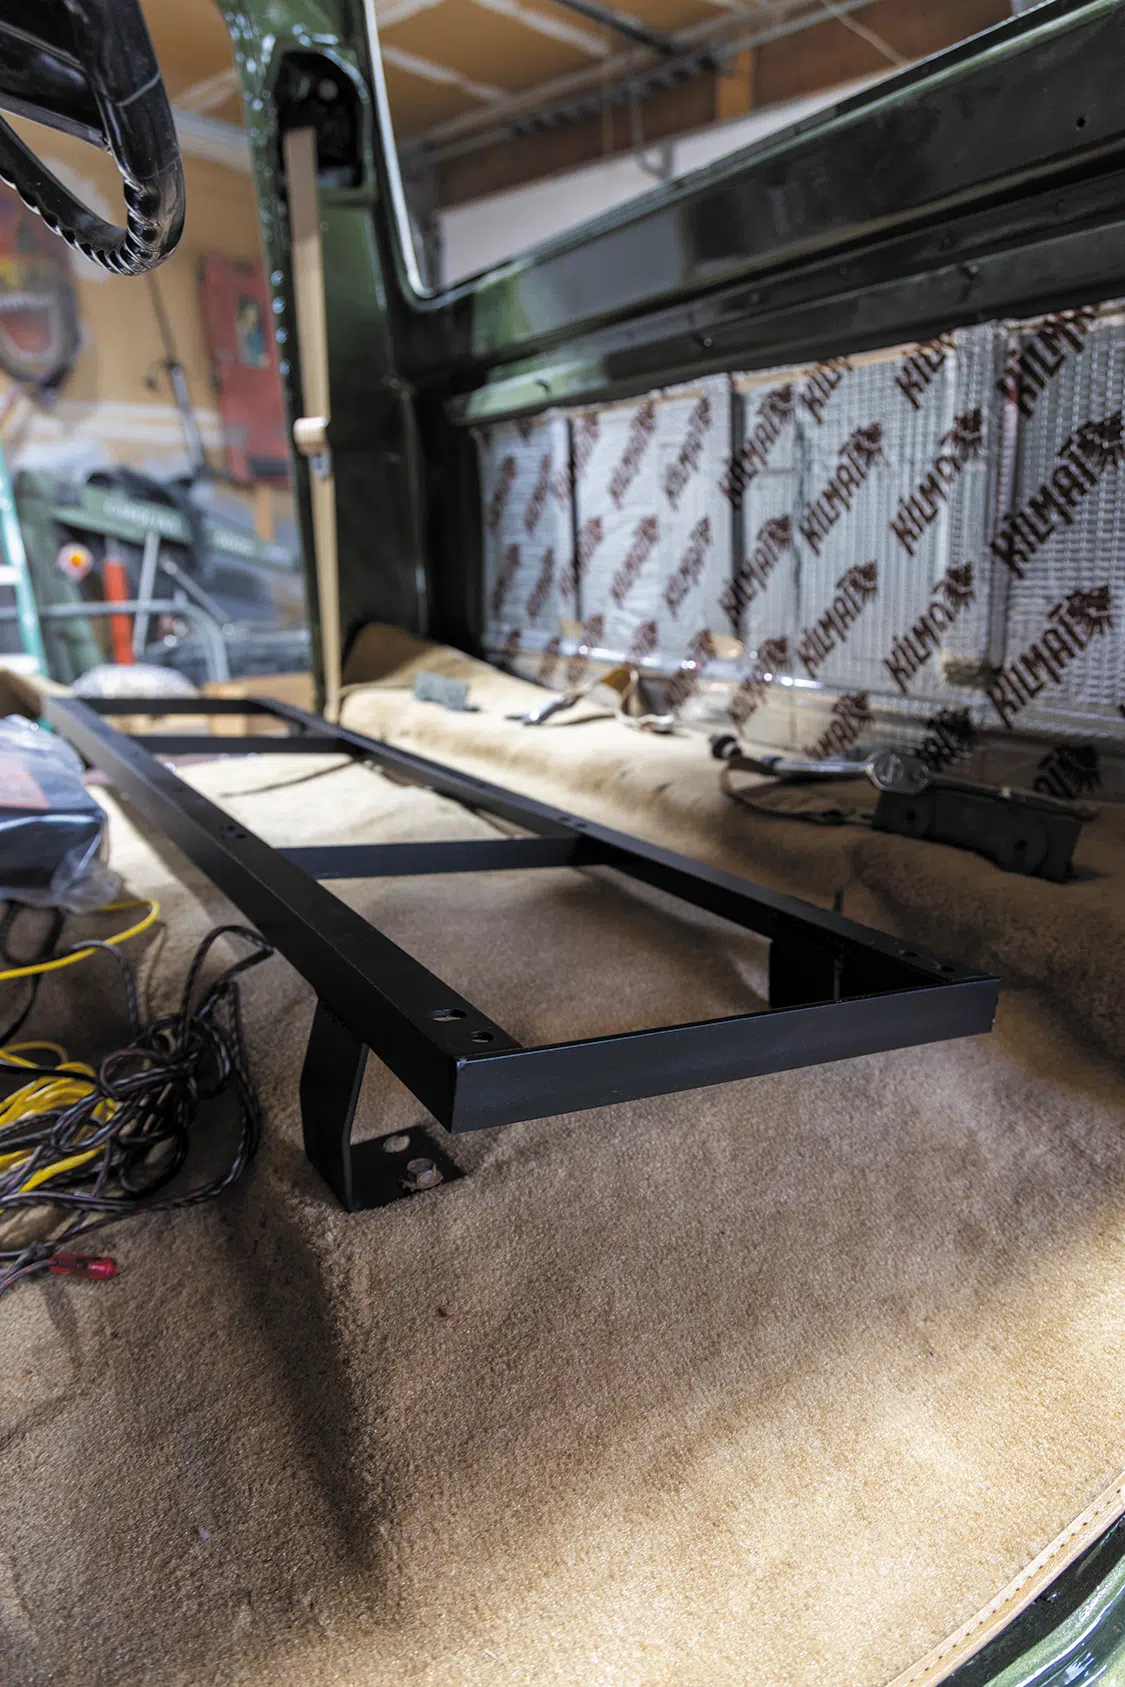
With the paint work being wrapped up, it was time to start putting the interior together. I started by putting down sound deadening material in the floors and the roof to make the ride a bit more enjoyable. While I was doing that, my wife Jasmine started wiring in the new RetroSound head unit. Next up was getting the carpet from LMC Truck laid in so the holes for the transfer case and transmission shifter could be cut and we could make a plan for running the subwoofer wires under the carpet. Part of that process was getting the TMI bench seat bracket installed so we knew exactly where the subwoofer was going to live and where we wanted to cut the holes. It started to come back together super quick, which was fun to see.
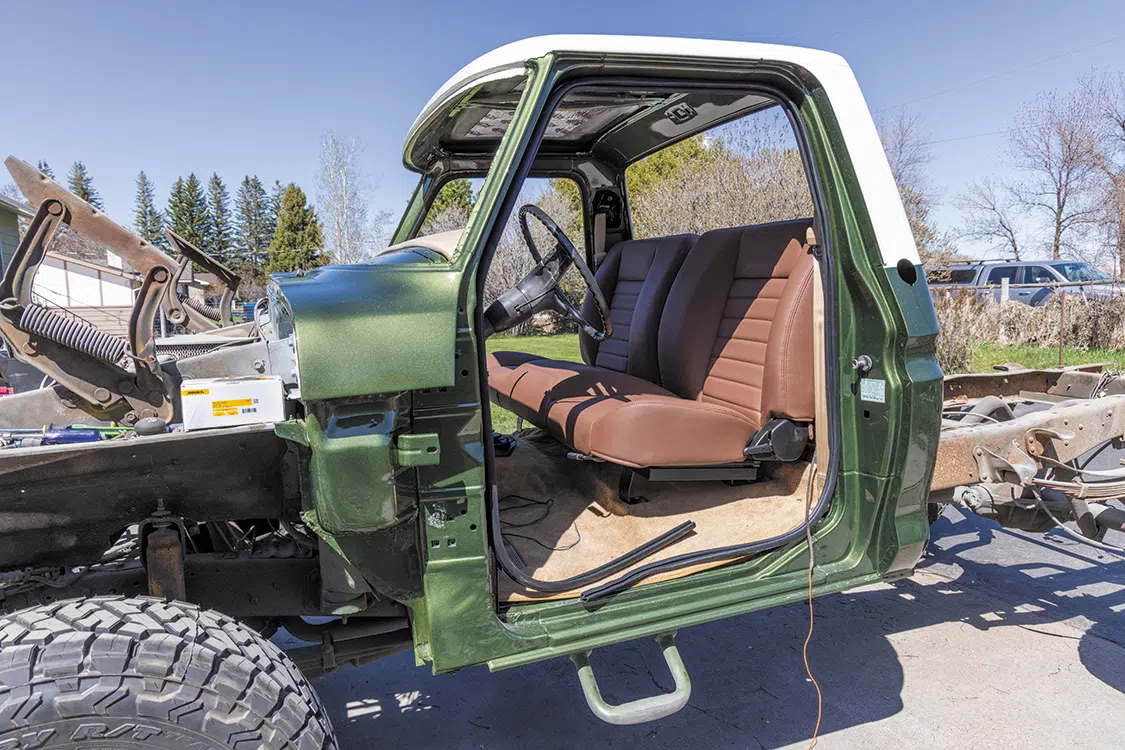
After all the wires were pulled and the sub was secured to the floor, it was time to put the TMI Cruiser Series seat in the truck. The seat is super comfortable, and I really like the adjustability with the backrest.
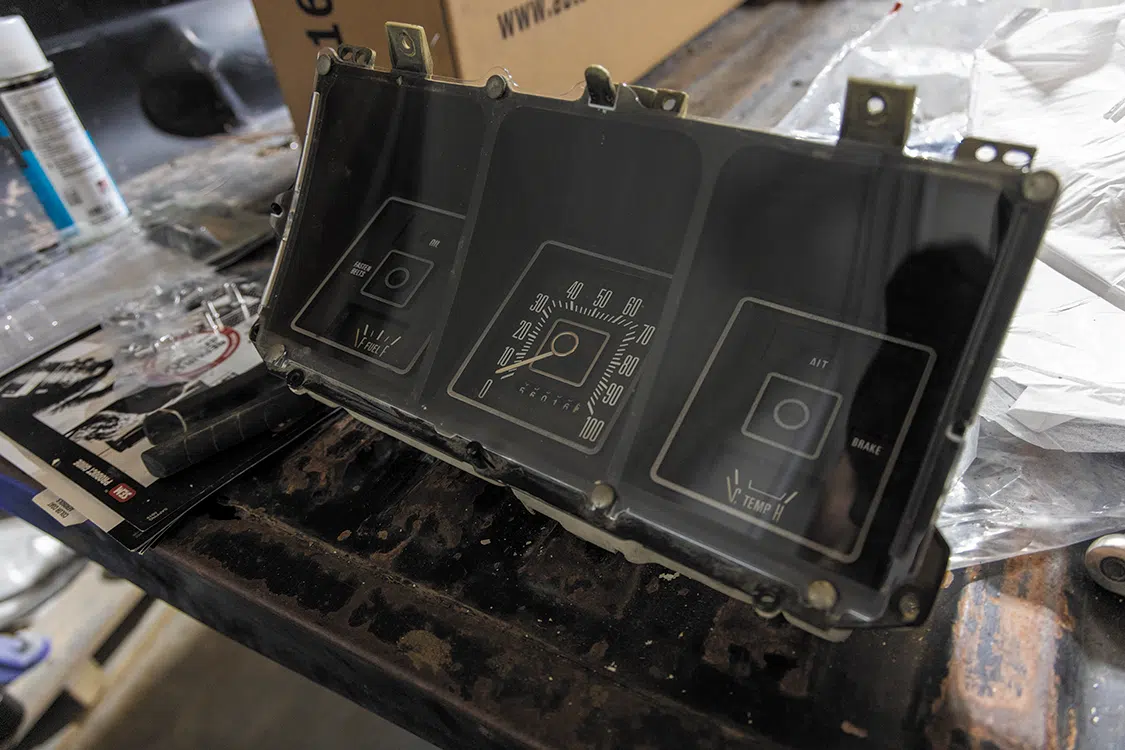
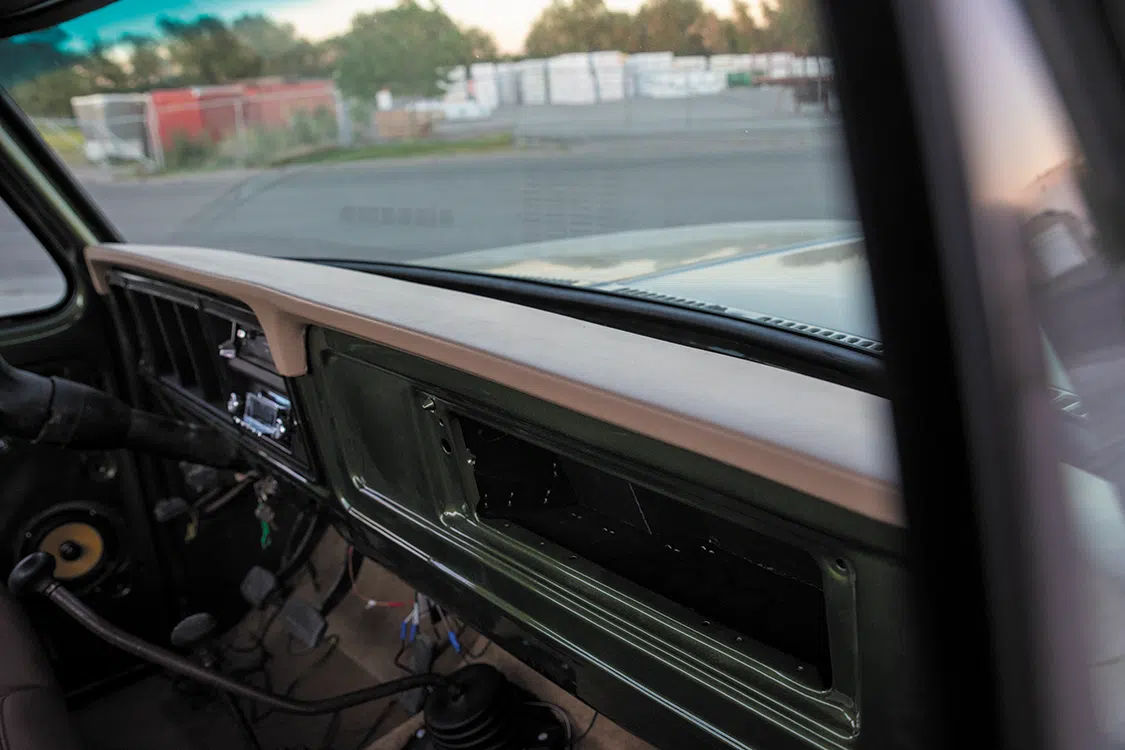
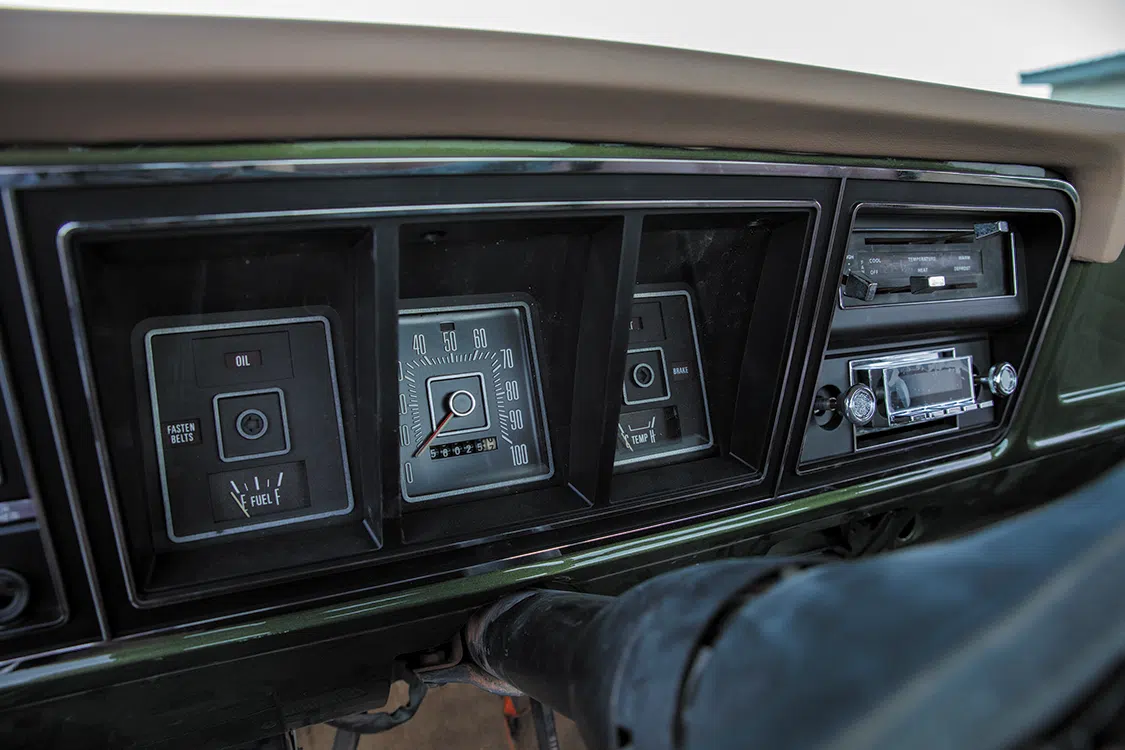
Next, we started to reinstall the rest of the dash components. First was the new dash pad and bezel from LMC, then I swapped out the old gauge cluster lens for a new one from Auto Metal Direct. It’s wild how much of a difference that made in the interior.
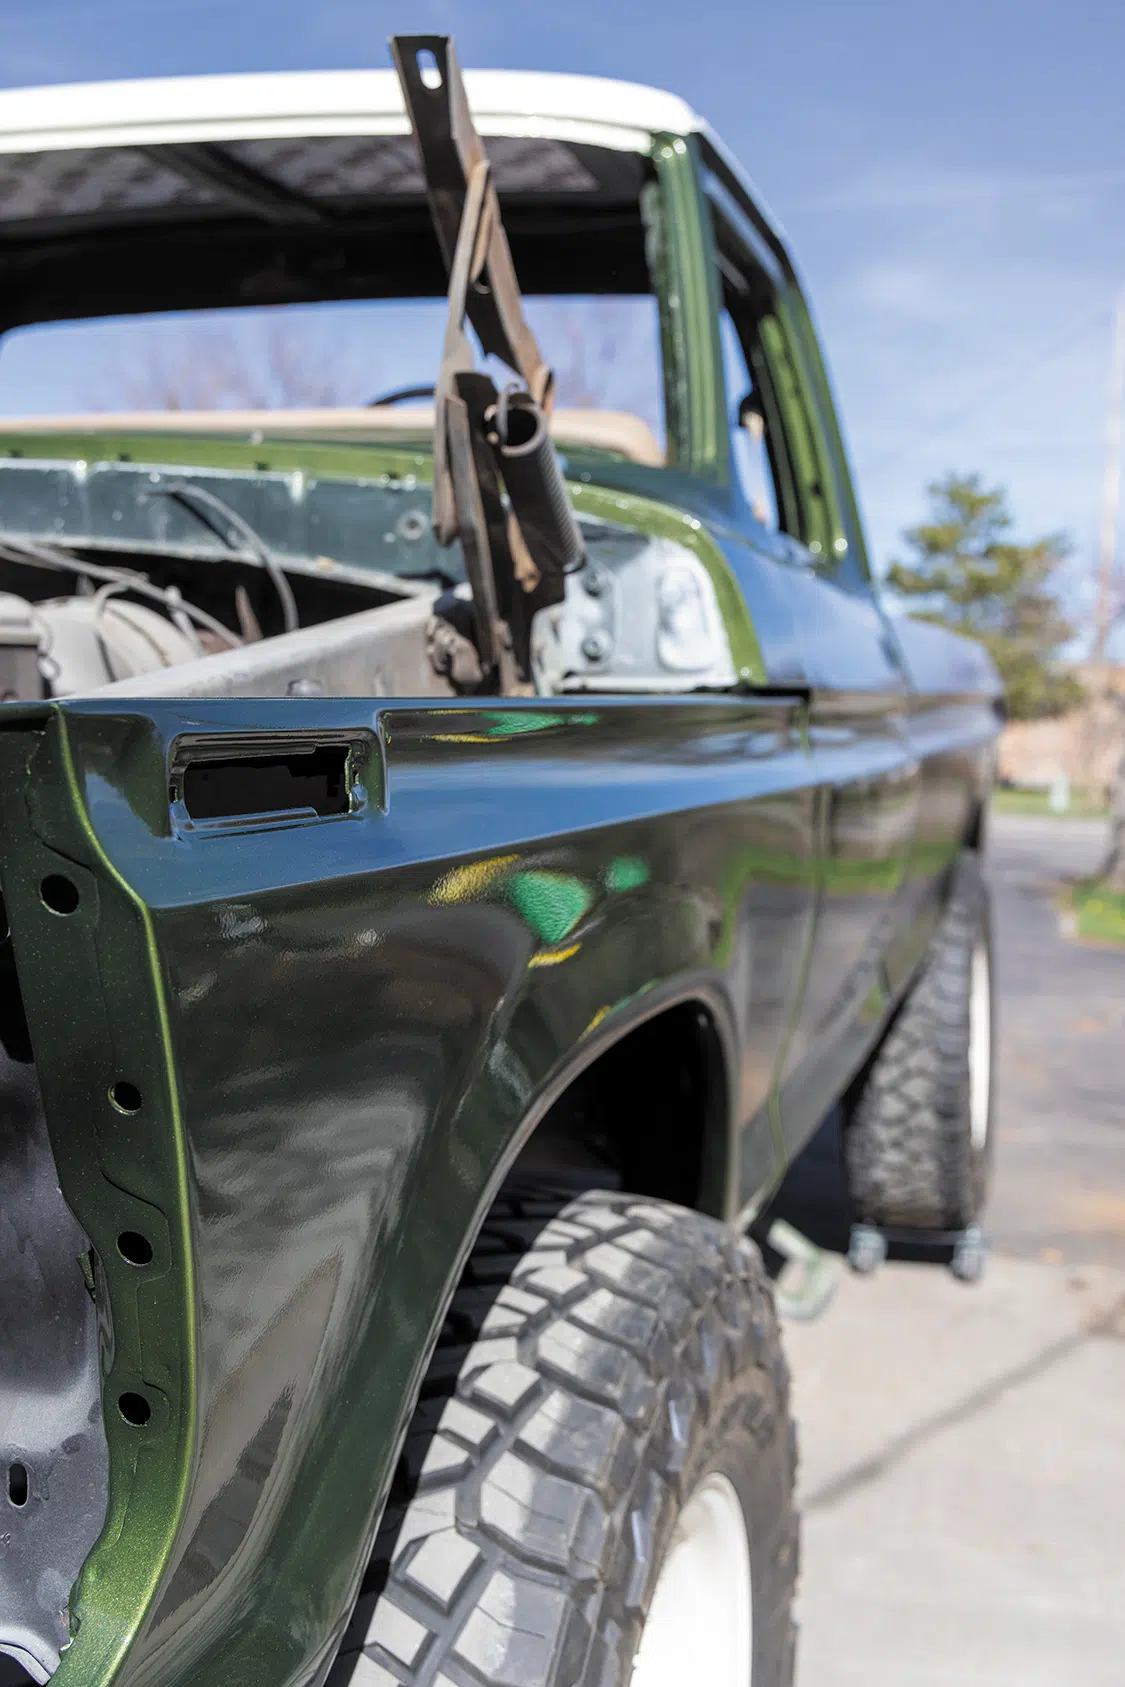
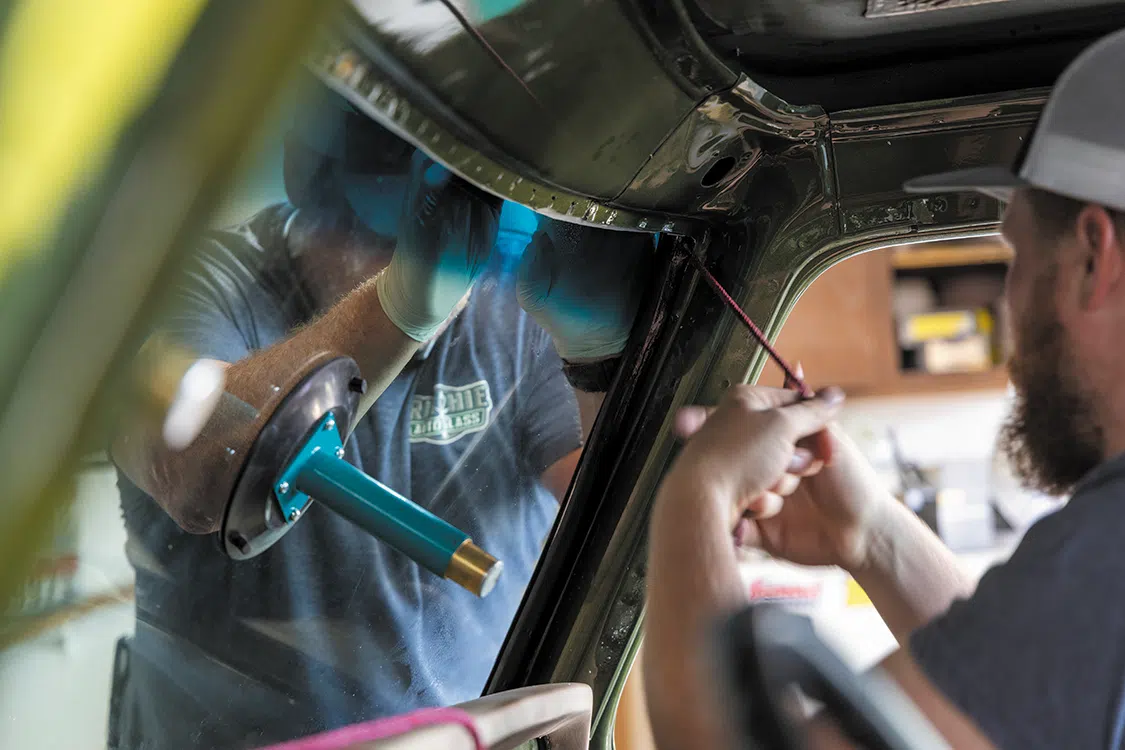
From there, I got the doors and fenders hung, then put sound deadener on the inside of the doors before I began installing the windows. I had Ritchie’s Auto Glass come over to install the windshield and back glass from LMC in the cab. You can do this on your own by roping them in, but I wanted to make sure I didn’t have any issues and I wanted to support a great local company.

With all the glass and doors installed, the first thing we had to do was test out the new RetroSound system we had installed. I hooked up the battery and cranked it up! Wow, I have to say I was blown away by the quality of the audio.
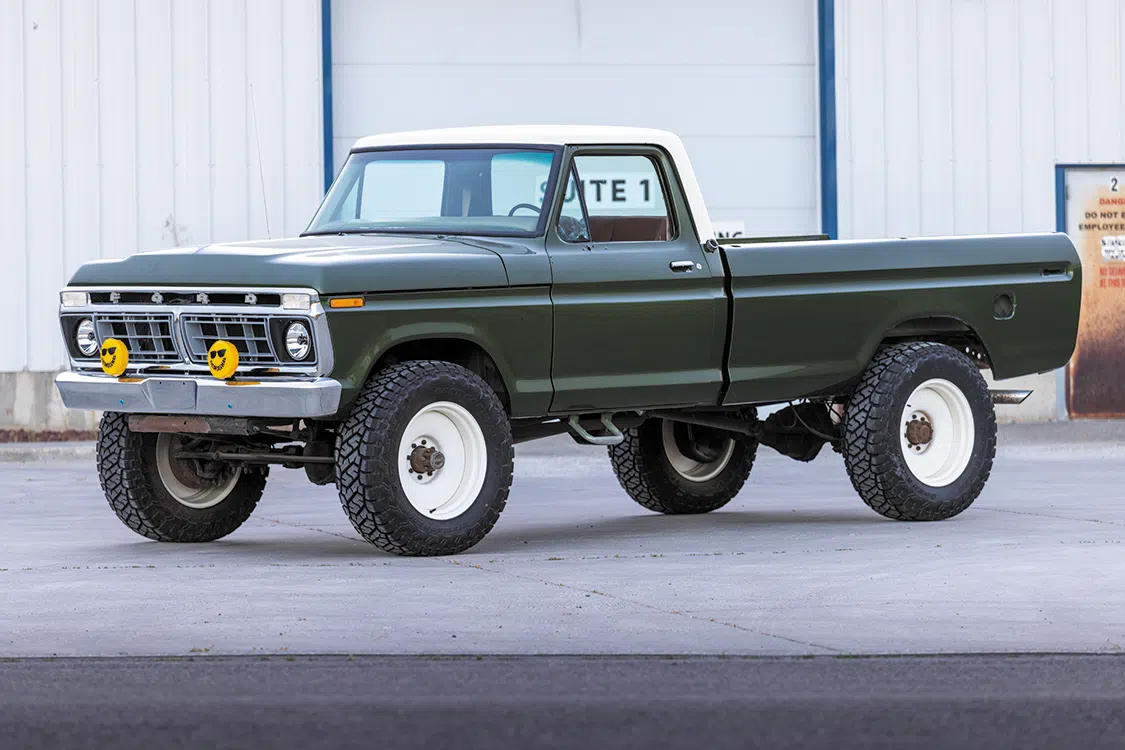
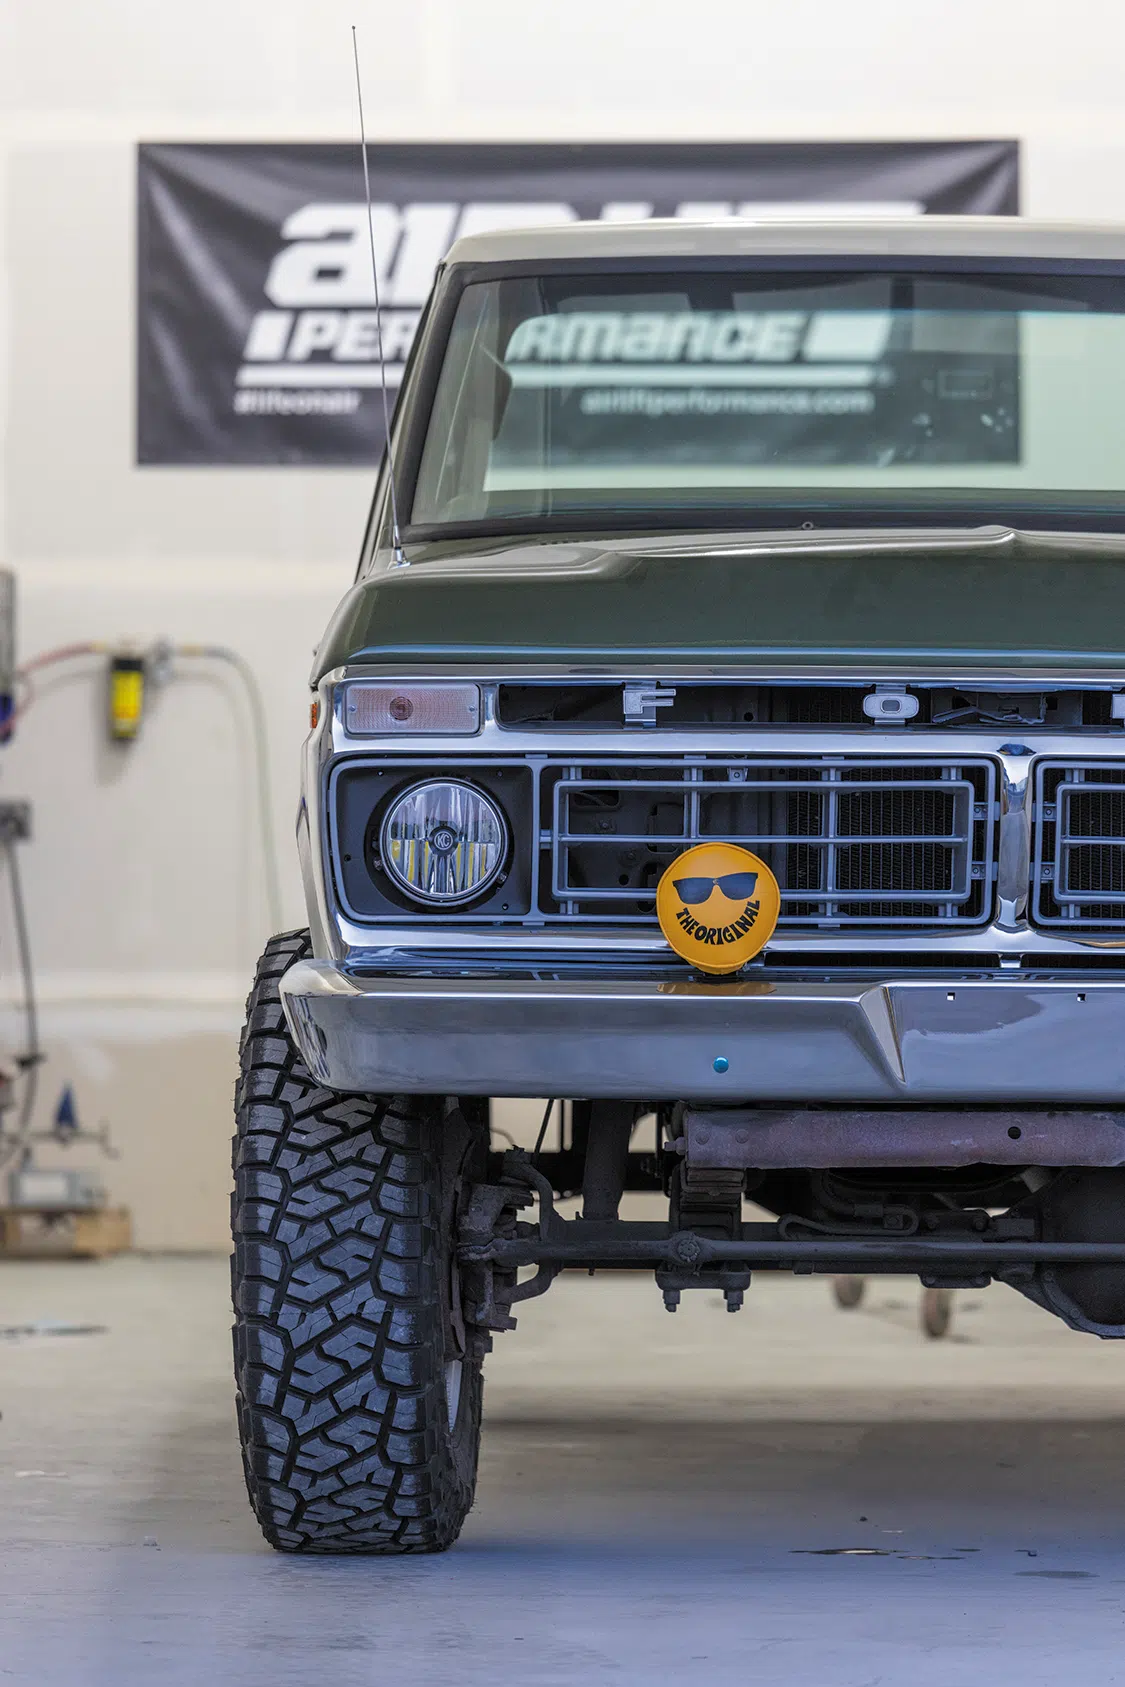
Now that it was starting to feel like a truck again, it was time to get the rest of the front clip installed. We put the hood on and pulled out the new steel grille shell from Auto Metal Direct out of the box to get the face of the truck installed. The fit on the grille shell was spot on and really added some bling to the truck. Next, the grille inserts from LMC went into the grille shell. It was soon time to bring a little light to the truck and I couldn’t think of a better fit then the 7-inch Gravity LED headlights KC HiLites! But we couldn’t stop there. I bolted up the fresh chrome bumper from Auto Metal Direct and topped it off with the 6-inchSlimLite LED and Retro Vinyl Cover from KC HiLites to give it the perfect throwback look.
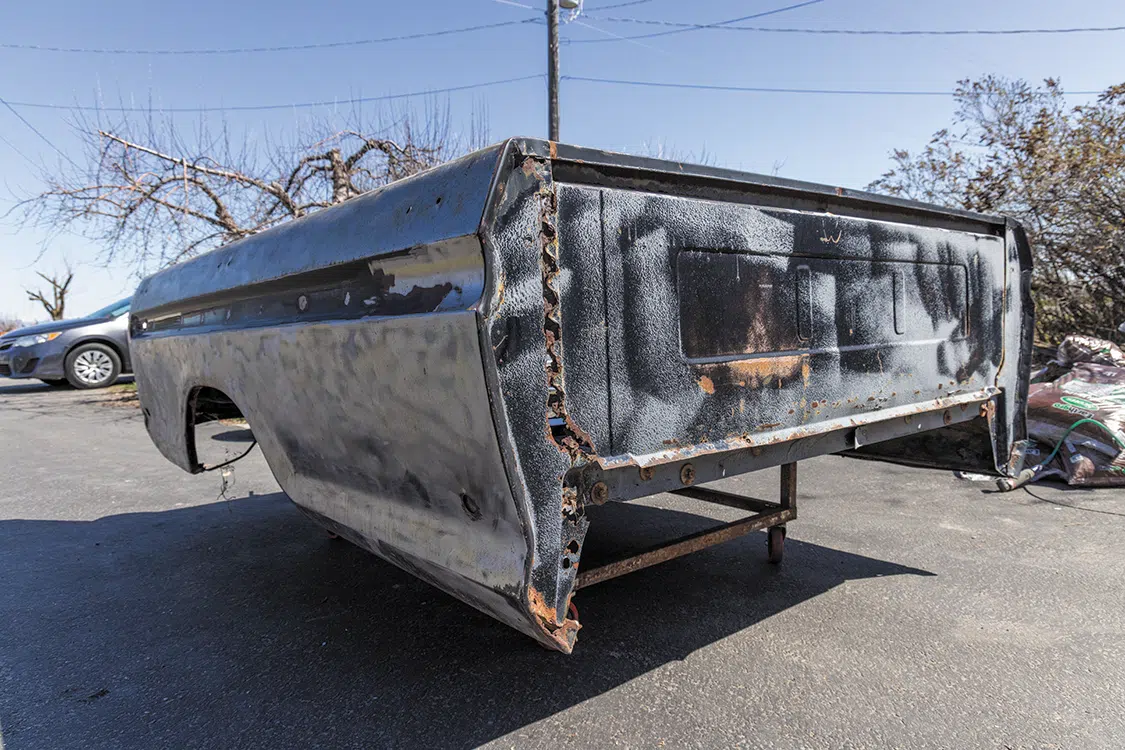
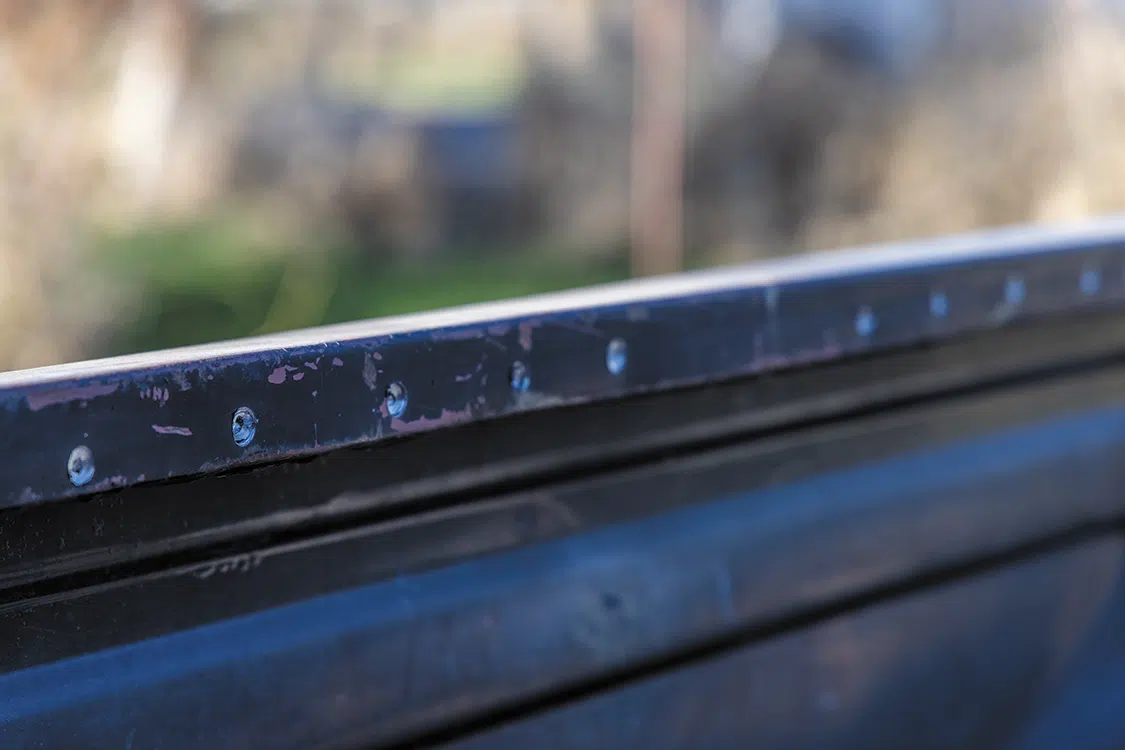
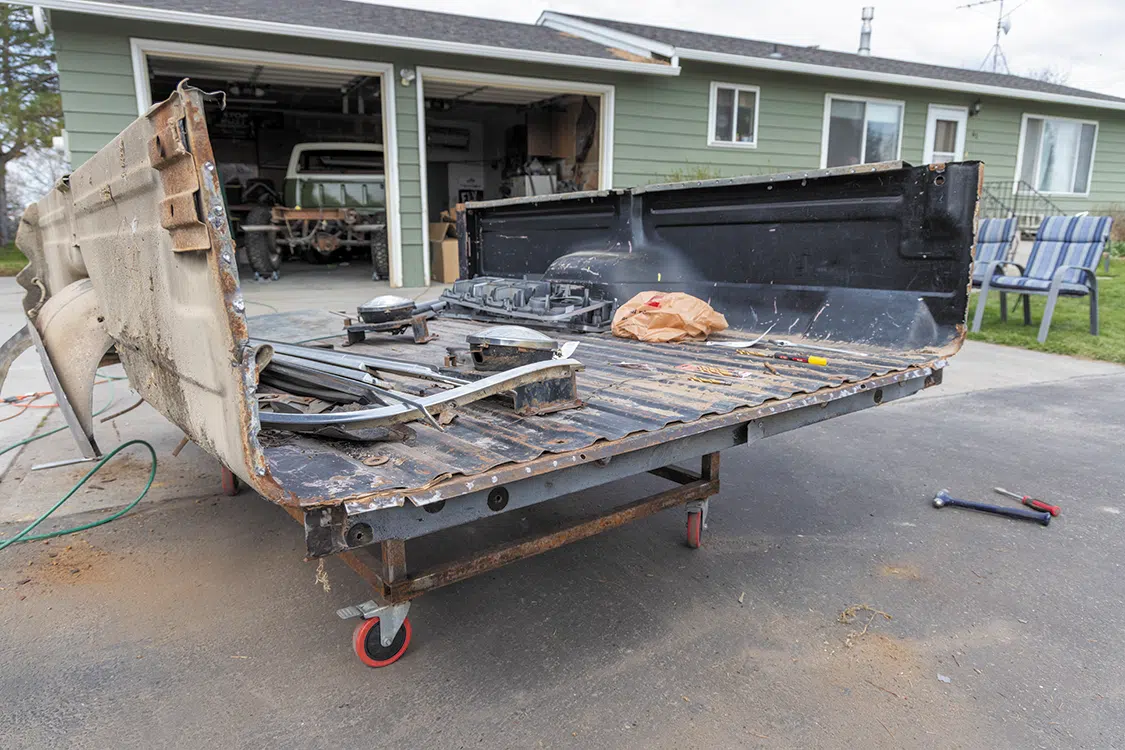
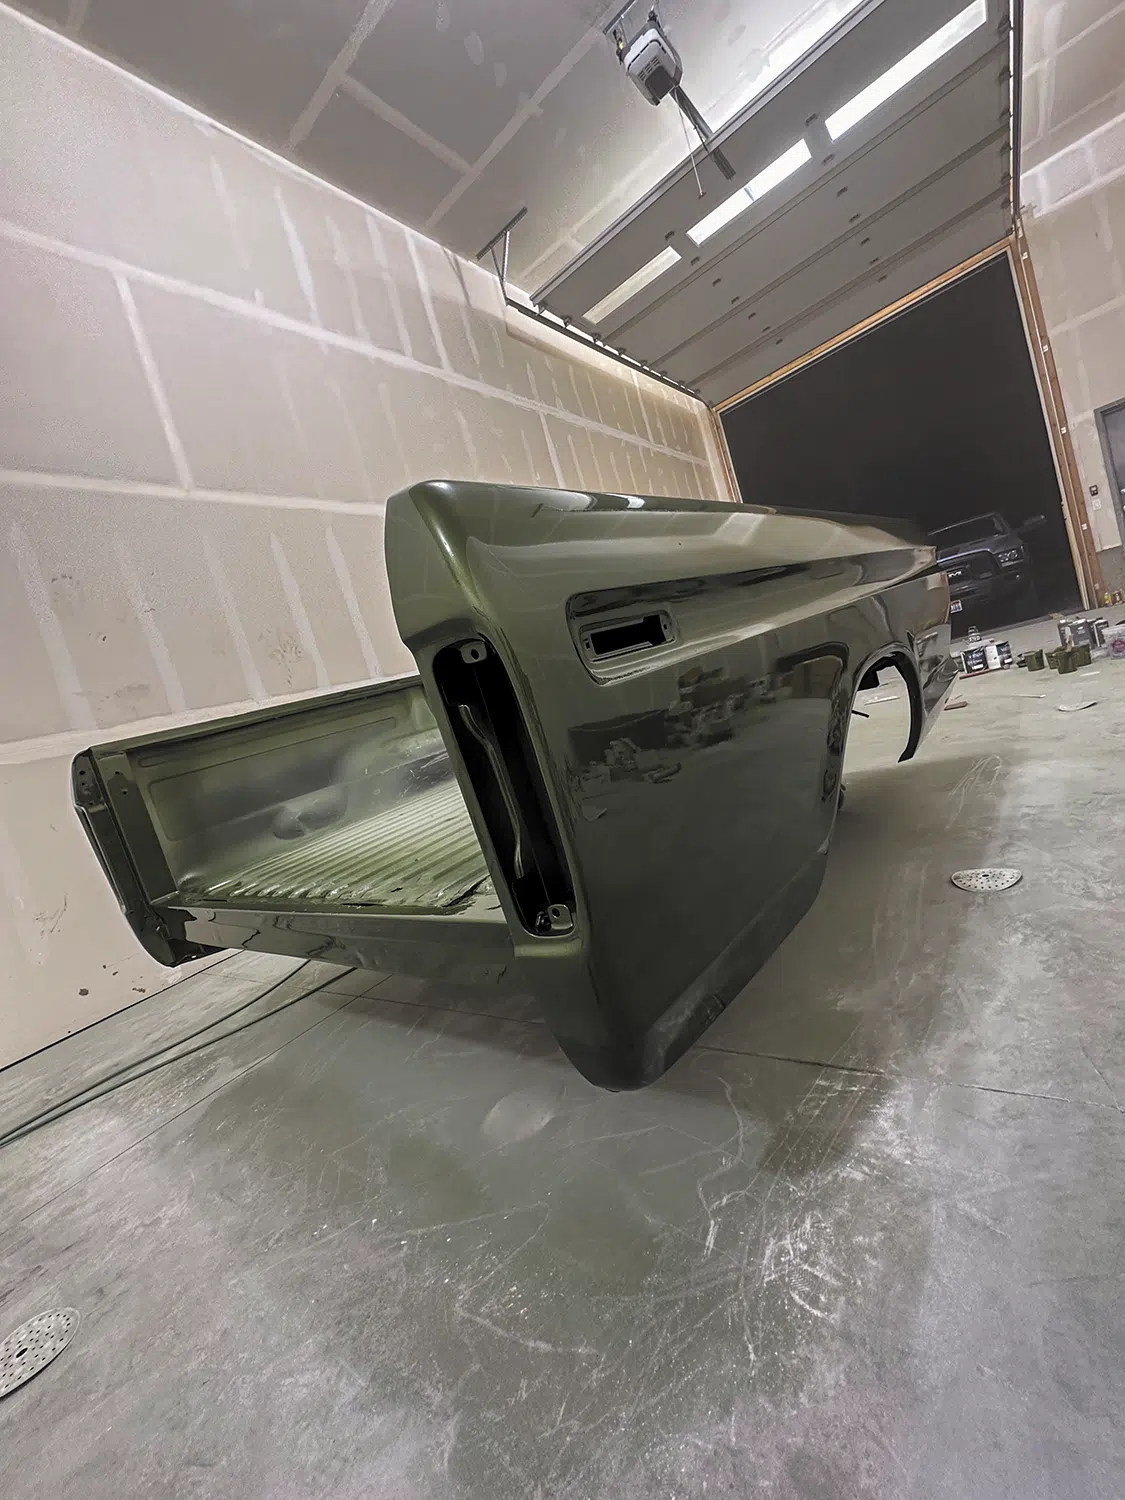
Now that the front of the truck was buttoned up, it was time to tackle the bed. The first order of business was to drill out all the spot welds and get the old bedside removed along with the beat-up header panel. Then I got the new sheetmetal from AMD mocked up on the bed so I could test fit the bed on the truck before welding it all together. All the body lines landed exactly where they should, so it was time to get it final welded and start the bodywork and paint process. During all of this, I secured a bigger shop, so I moved the bed down there to finish this process. After a few days of sanding and laying down high build, it was finally time to get some color on the bed.
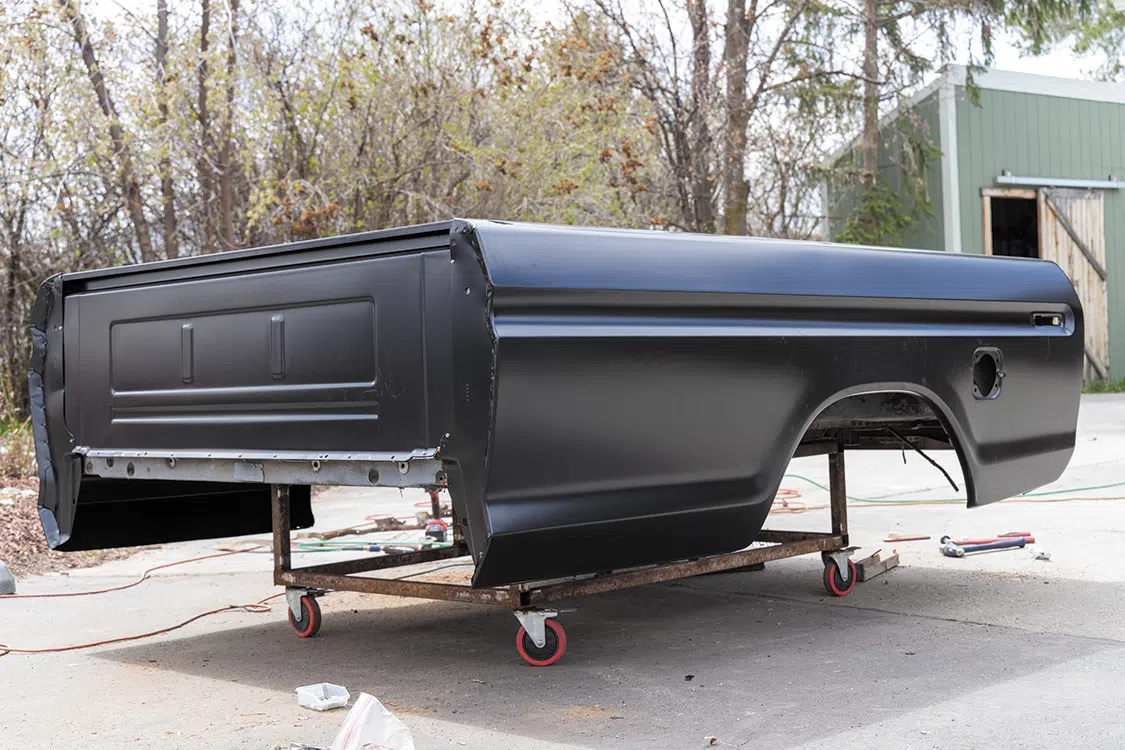
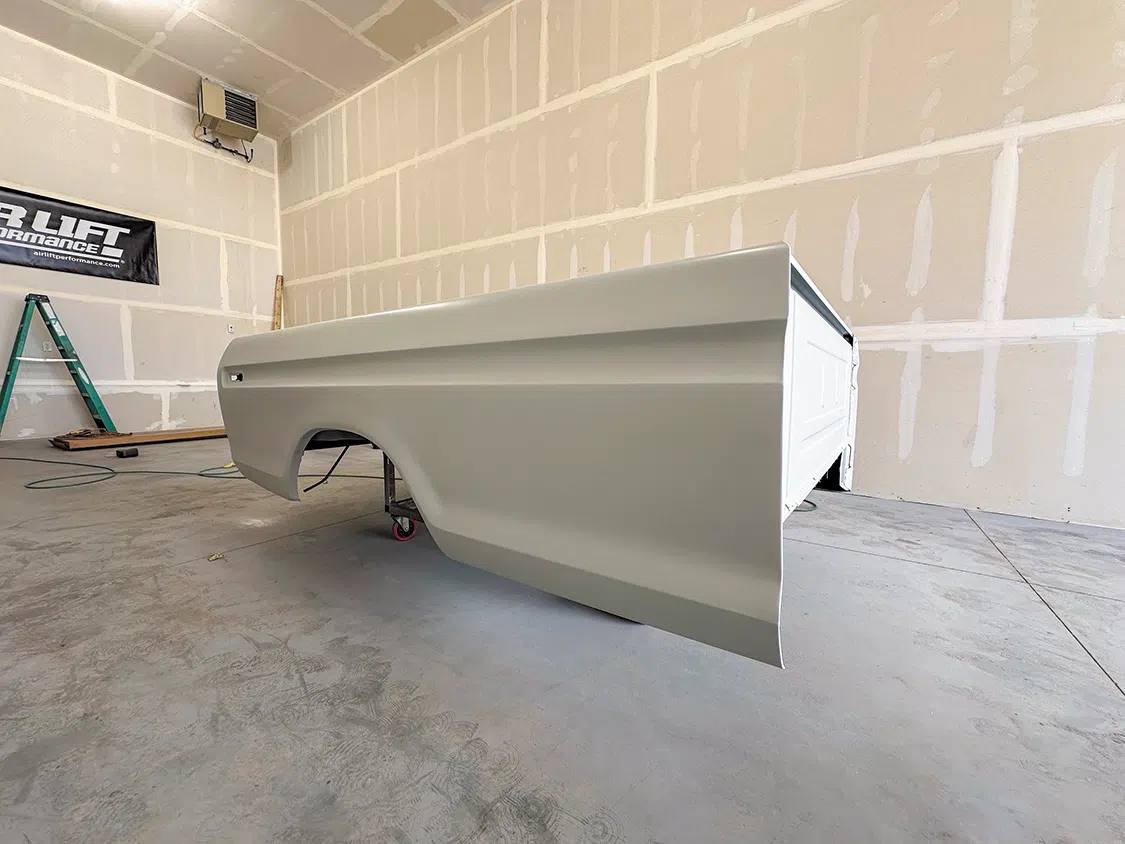
With the bed being painted, my son Emmett and I took the truck for its first cruise from the house to the shop so we could get it installed. It was a special moment to be behind the wheel and have my boy sitting in the same spot I spent so much time in as a kid. We blasted the radio and just enjoyed the moment.
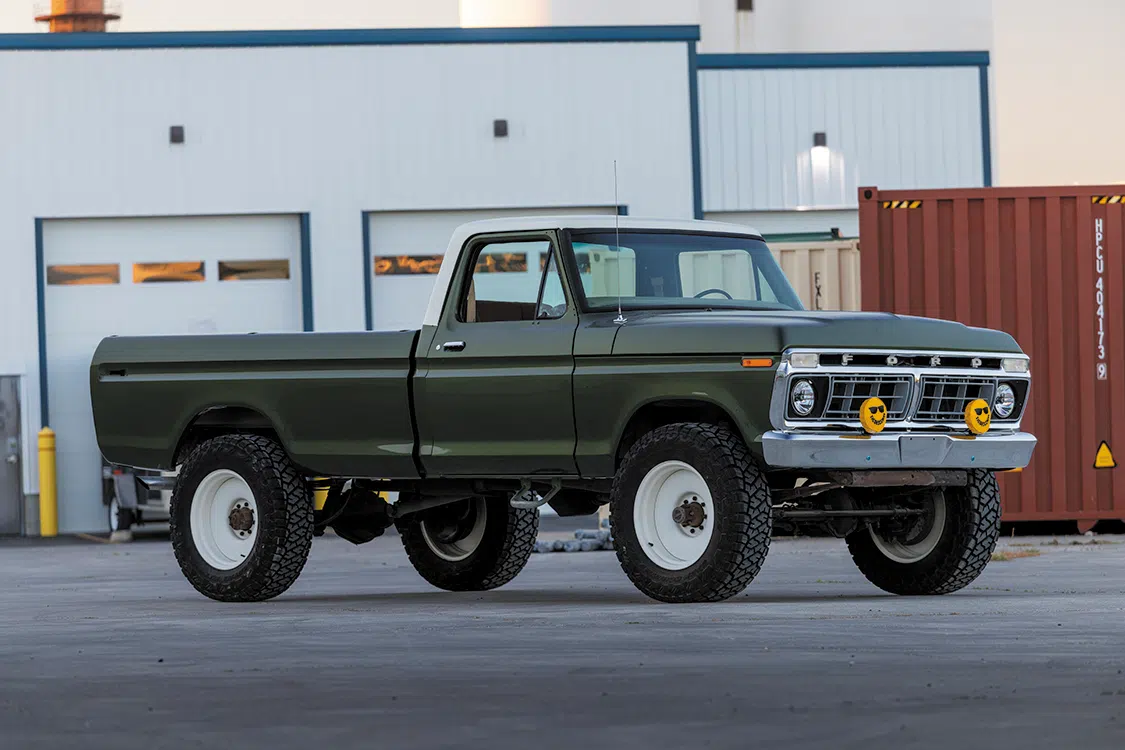
With the truck down at the shop, I had a few buddies come over and give me a hand setting the bed in place. I pulled it out of the shop and got to see it all as one color for the first time and I couldn’t be more pumped.
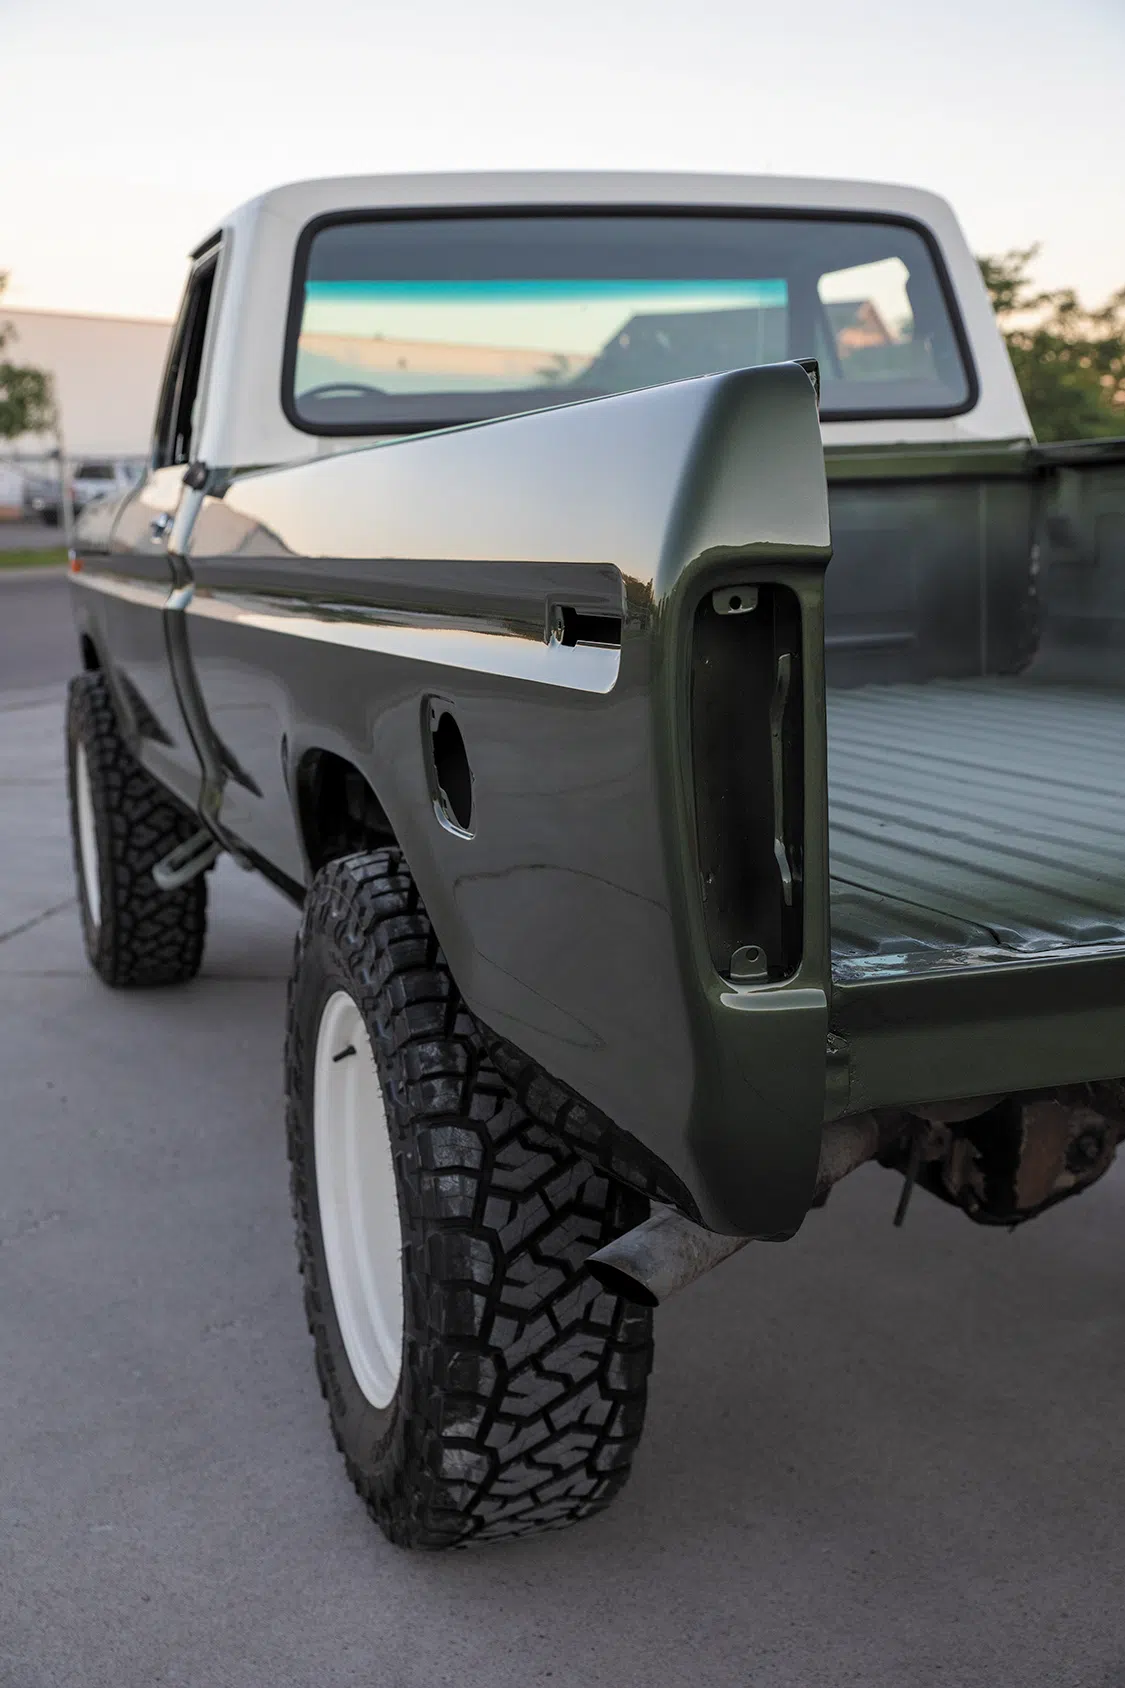
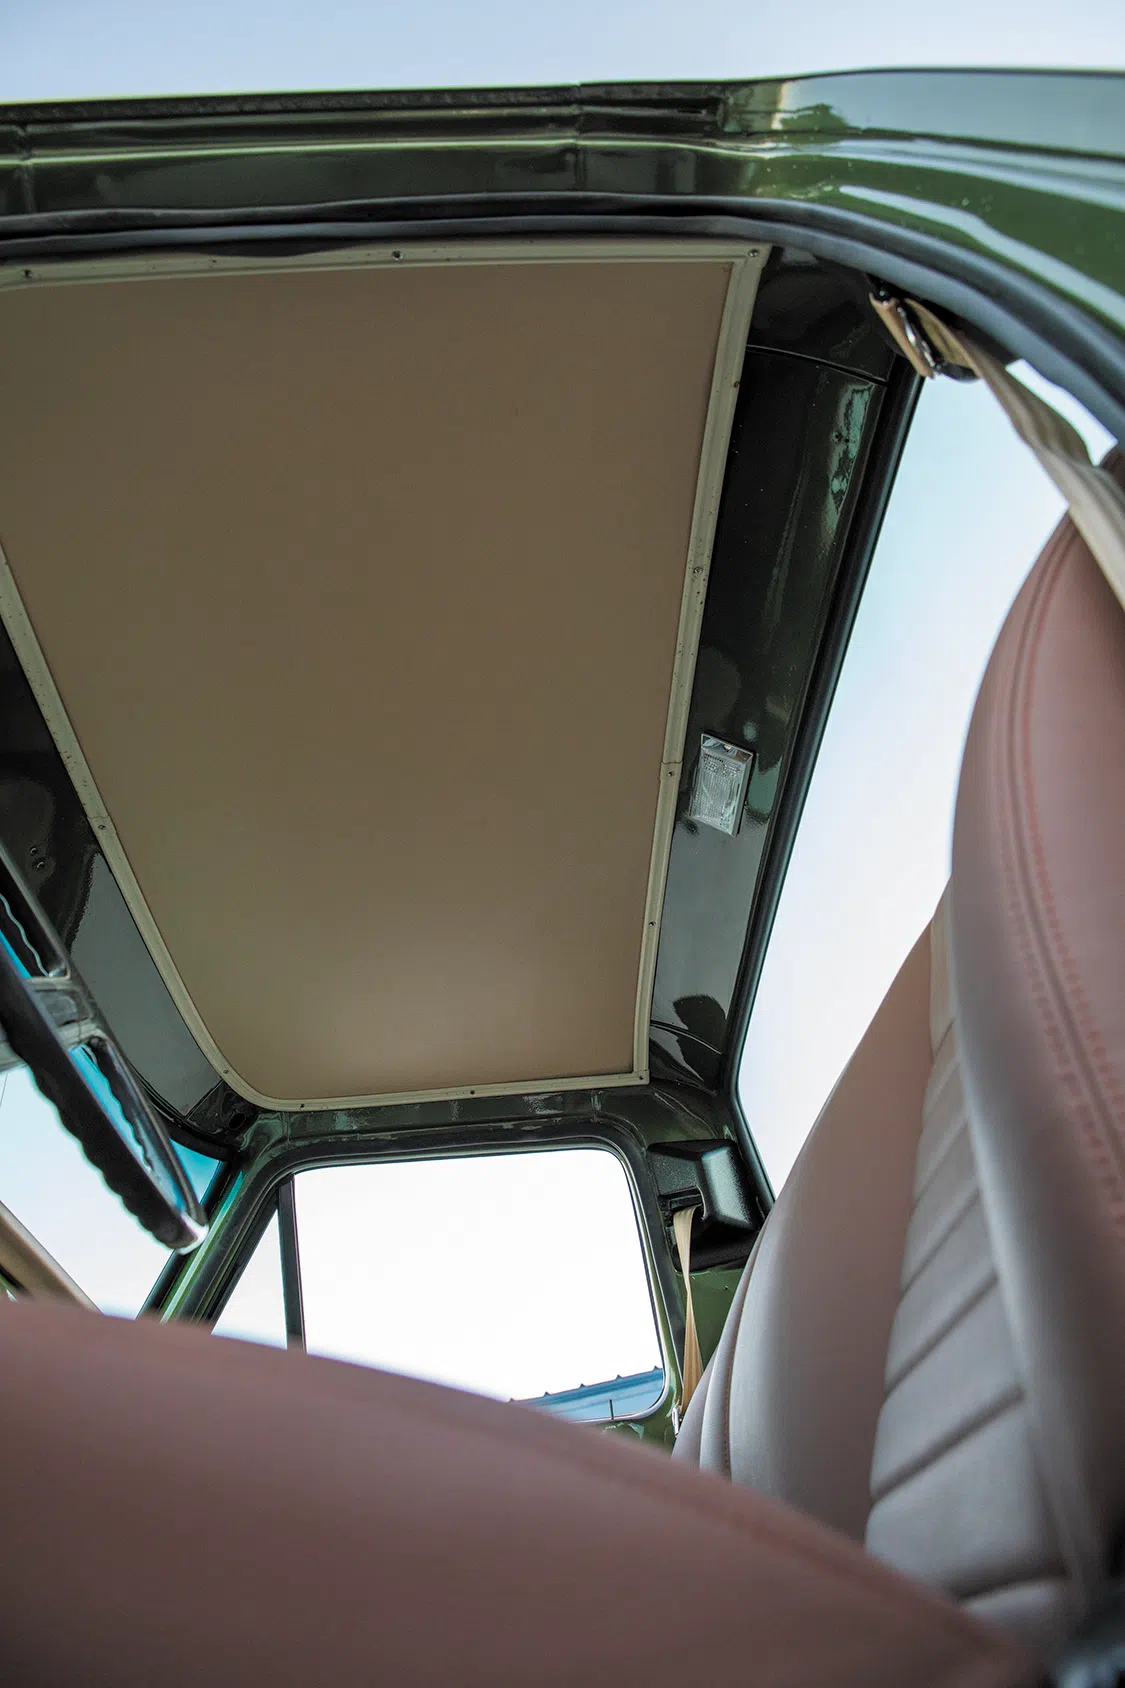
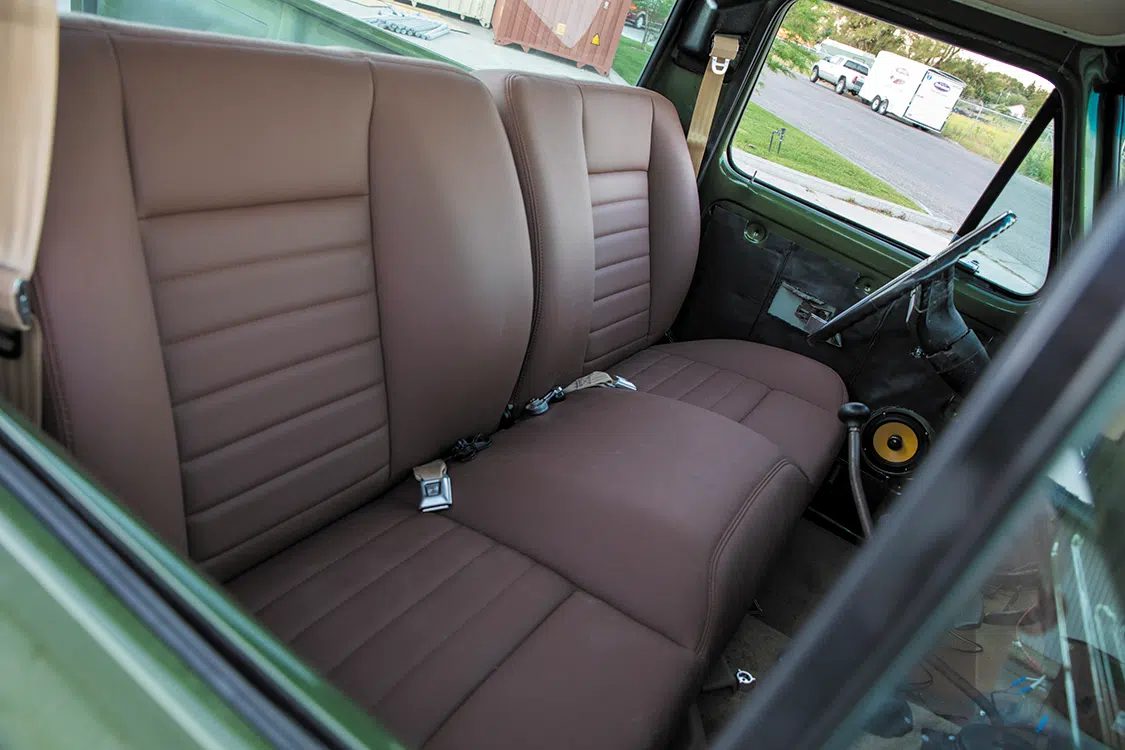
There are a few things that still need to be done before the truck is complete. I have a 4-inch lift from SkyJacker that will get the truck sitting at the right height, and there are a couple of things that need to be buttoned up in the interior. The tailgate still needs to be painted and installed, and the new rear bumper and the bedliner still need to be finished. There are so many fun things to come for this truck and I can’t wait to share it with you all. Bringing this family heirloom back to life has been a blast.
Share Link