 John Mata Jr.
.
October 17, 2023
.
Features

Nothing can ruin an enjoyable cruise faster than the surprise illumination of dash warning lights. Aside from running low on fuel or air pressure in the tires triggering an alert, there may or may not be much to worry about. Usually, when the check engine light pops up out of nowhere, the natural next symbol that comes to mind is “$”. But before you start sweating and stressing out, just take a deep breath, and remember—these trouble lights are meant to give you the soonest heads up of an issue that could have a simple, inexpensive solution IF addressed in a timely manner and not left to worsen over time. Let that last point sink in, and let’s keep rollin’.
“Out of sight, out of mind” is an all-too-familiar “fix” for dash lights. With the ability to plug in a code scanner and “clear” trouble lights, a lot of truck owners think that turning a light off cures whatever is going wrong underneath the hood or anywhere else that could pose a problem from bumper to bumper. Code scanners are extremely helpful—don’t get us wrong. They are great for helping pinpoint the exact code or problem that makes the dash light pop up, but they should be used as diagnostic tools and not as an off switch.
Instead of sweeping the problem under the rug, understand why the lights on your later model Chevy and Ford truck’s dash are illuminating and what the heck the lights even mean. If you haven’t taken a good look at your gauges and examined all of the symbols, they can be a bit confusing and read like some weird alien language; it must be tough to create a single symbol that represents a major system of your truck. Some of them are familiar since they haven’t changed much over the years and actually make visual sense at first glance. Others, especially the ones that correspond to more modern conveniences, can be a little trickier to understand.
With increased on-board functions and safety features, there are bound to be more problems with all those factory-installed bells and whistles. So when your dash starts lighting up like a Christmas tree, you’ll have a better grip on what your truck is trying to communicate to you through all the bright symbols and indicators. While not each and every light is explained here, some of the most common and troubling dash indicators have been expanded upon to help with understanding what your truck is telling you.
COLORS
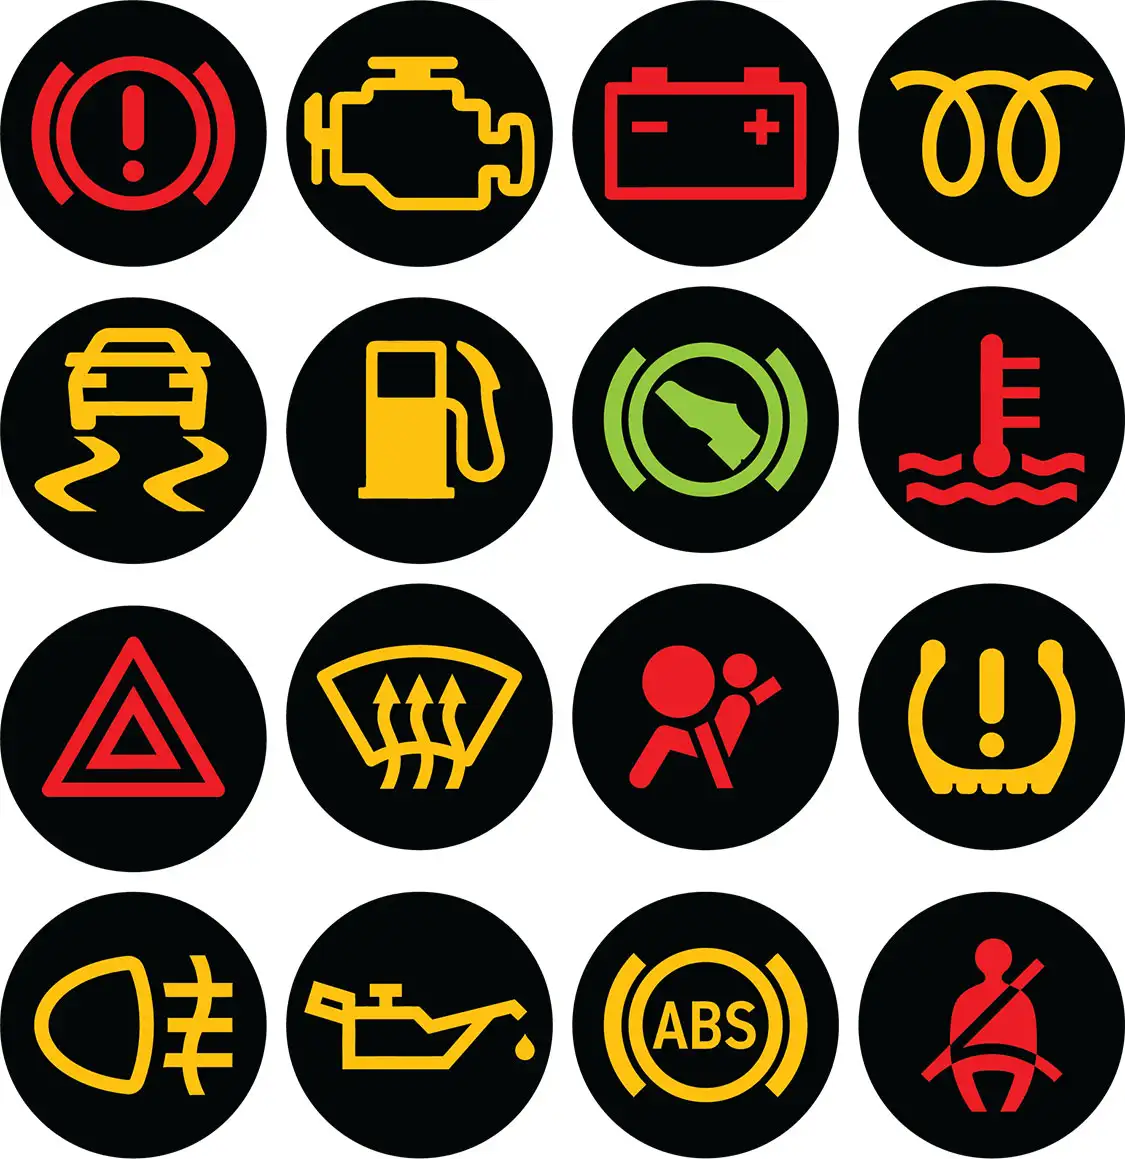
Maybe you have noticed over the years—or maybe you haven’t paid that close attention—that the colors of the indicator lights vary. The red lights usually indicate the more serious issues that you’ll want to tend to immediately, if possible. There are a combination of yellow and orange lights that will pop up every once in a while, and these are usually less urgent, but still important to address. Green (and sometimes blue) lights are the least stressful and may mean that a system is on or they’re reminders to buckle up or that one of the doors isn’t closed all the way. So when you see a symbol light up, first address what the problem is and then its severity based on its color.
THE USUAL SUSPECTS
The check engine light is the single most intimidating alert to pop up on the dash, except for the low fuel light, that always seems to pop up as soon as you pass the last gas station for miles. The engine light can mean a long list of things, from something as trivial as a gas cap that has been improperly placed back on after refueling to more serious problems like misfiring or an improper fuel mixture.
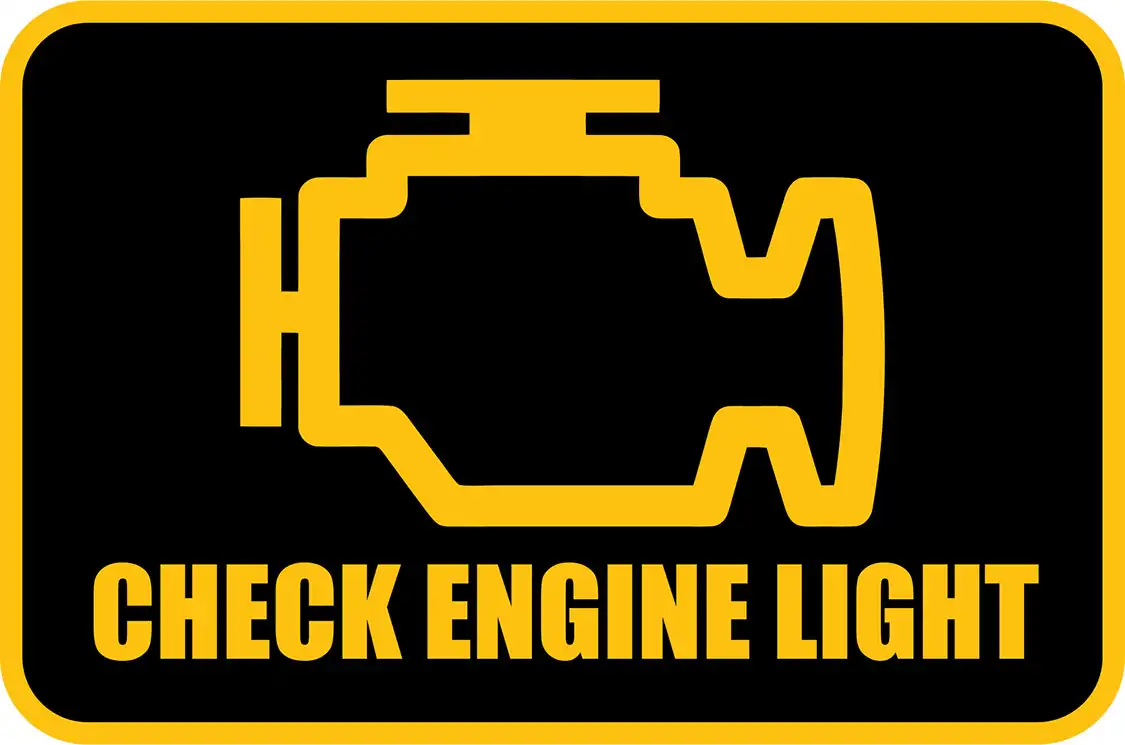
The Check Engine symbol has been given another indicating function by staying lit when there is a less urgent issue and flashing when immediate attention is necessary. If the light is blinking, turn off any unnecessary accessories that could be drawing from the engine, and decrease speed or safely pull over is possible. These simple steps can save the engine from working harder than it needs to when the light is on. Thinking of towing? Don’t do it—at least not until the problem has been accurately detected and remedied.
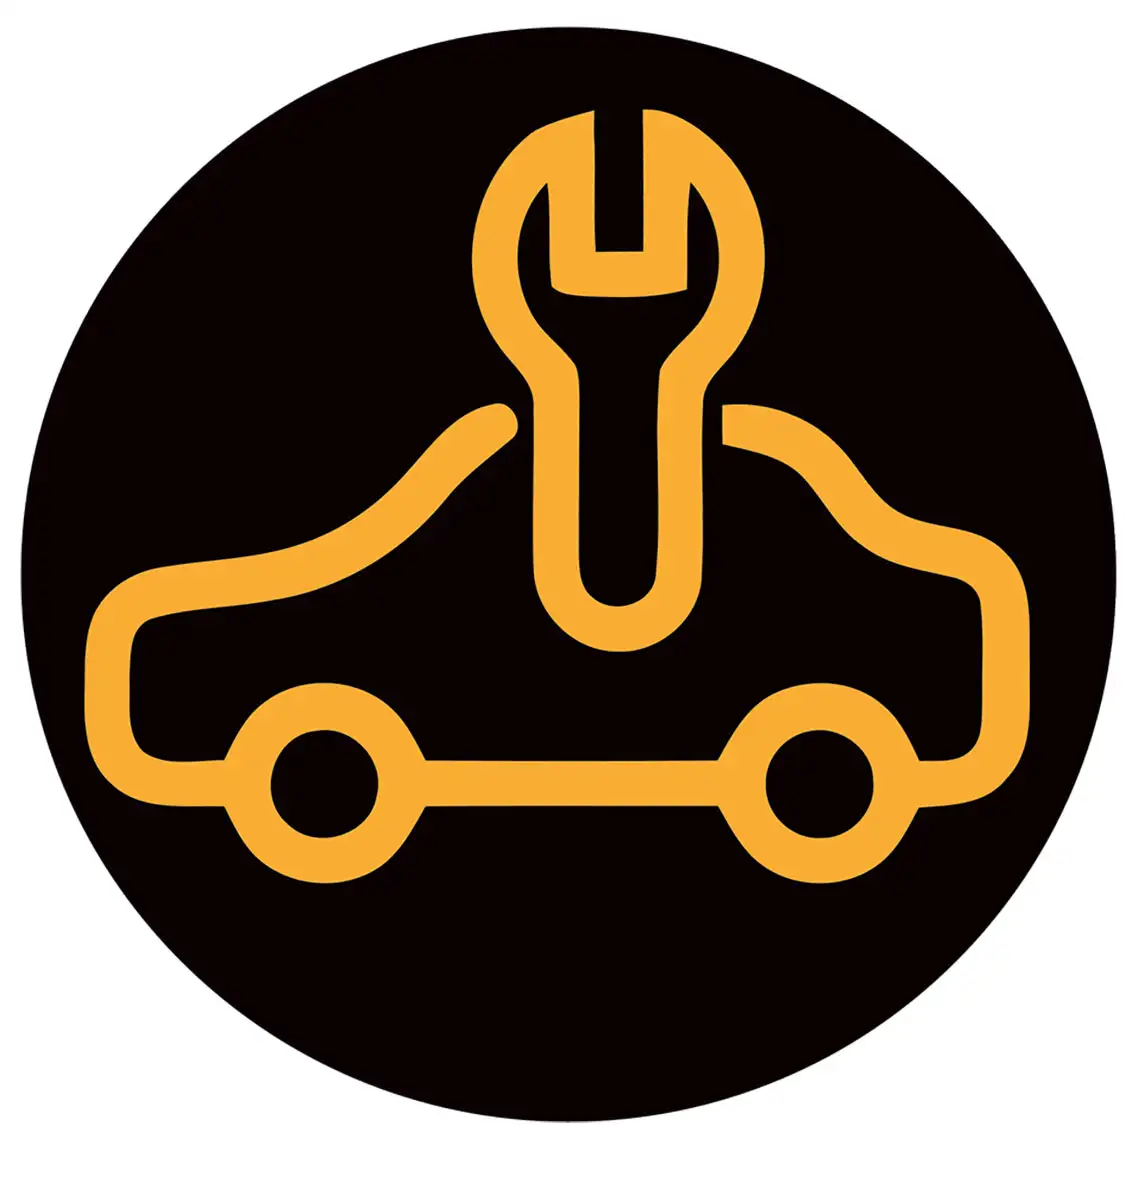
A Service Vehicle Soon light is different from the check engine light, as it is connected to the body control module. It detects lamp malfunctions such as headlights to taillights and turn signals, as well. Like the check engine light, it can mean a multitude of things, some of which are purely electrical communication errors within a system, or have to do with sensors that you’d never be able to guess without the help of a diagnostic tool or having a dealership or repair shop assess the issue.
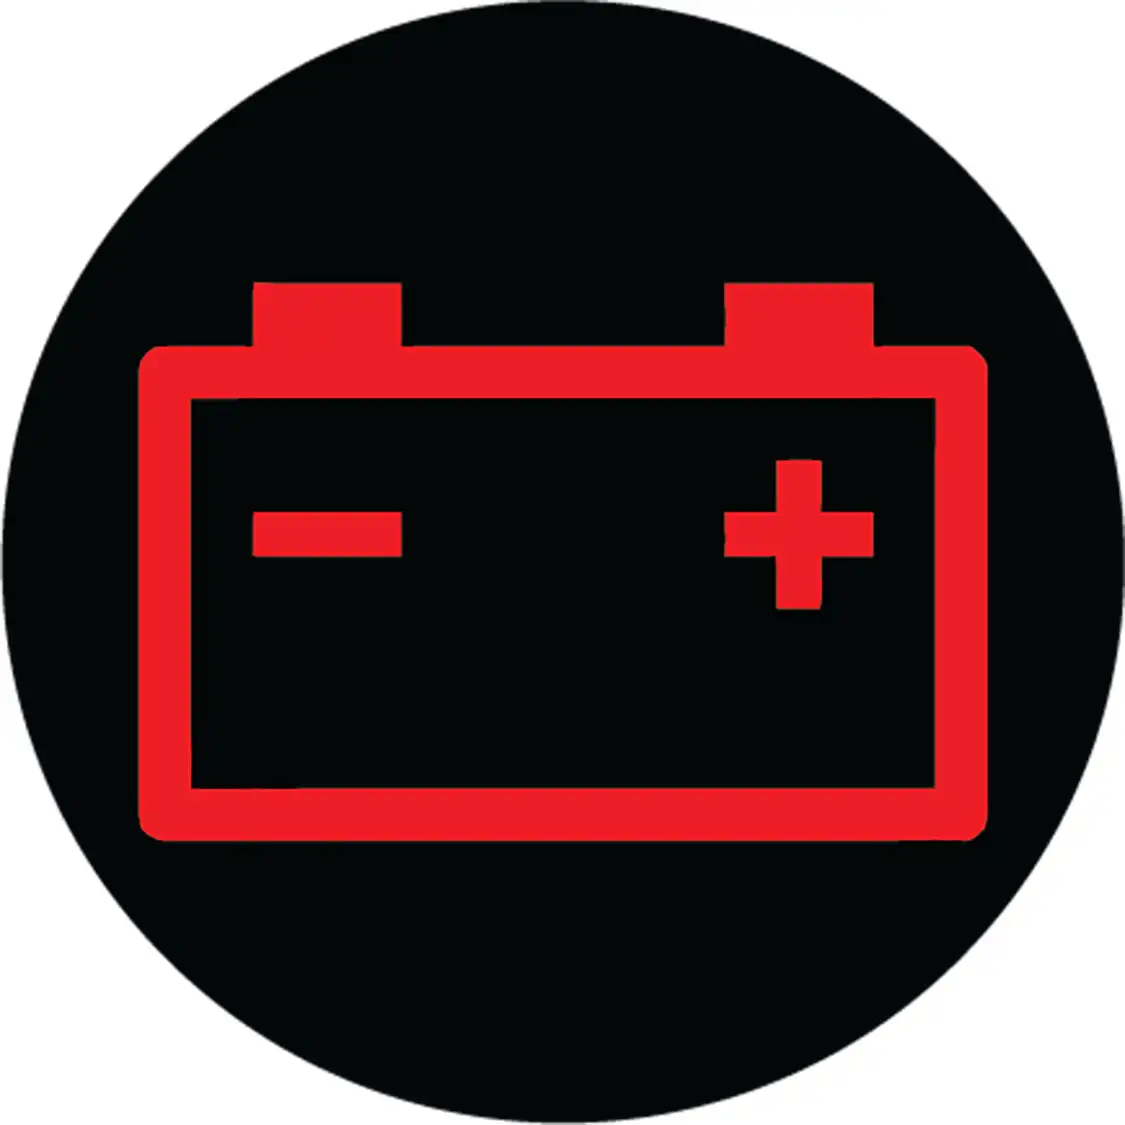
You’ll find that the Battery Service warning is always red and can mean a number of things about your truck’s charging system. There could be an issue at the battery terminals, a problem with the alternator, or simply that the battery is low on voltage and needs replacement. Don’t chance driving around and making too many unnecessary stops, or else you’ll more than likely end up stranded and have to phone a friend—or AAA.
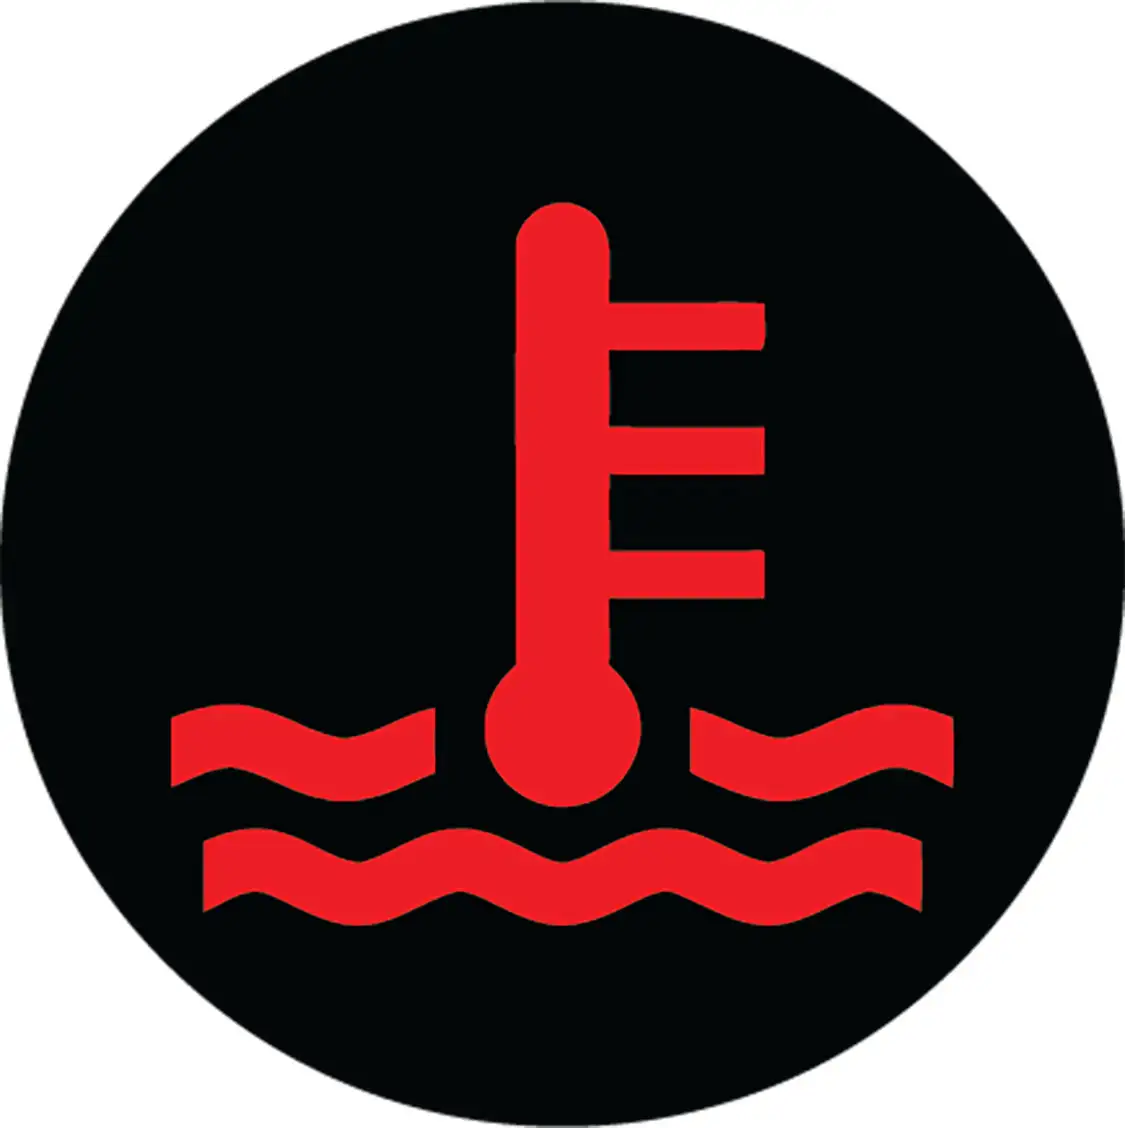
When the Temperature warning symbol lights up, you’d better pull over and pull over fast. The last thing you need is for you truck’s engine to overheat. Let the truck cool down, and check the coolant level, look for possible leaks, and make sure the fan and thermostat are operating correctly. Don’t push your truck when this light is on—consider it to be a stoplight.
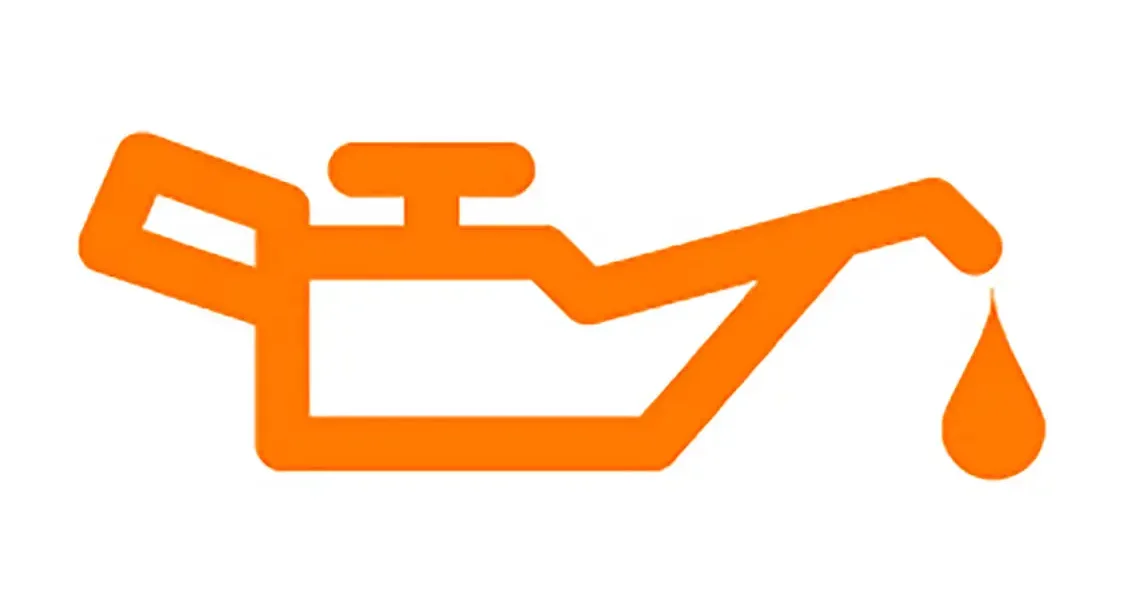
The Oilcan indicator is one of the simple lights to decipher. If it stays illuminated, that means there is a lack of oil or loss of oil pressure in the system, or simply a faulty sensor. Since oil is the lifeblood of your engine, you’ll want to take a look into this ASAP by first adding oil if needed, and then have it looked at if the light doesn’t go away.
Another oil light that can illuminate on the dash is an oil change reminder. A shop will usually slap a sticker inside of the windshield with a date and odometer reading to plan the next oil change. There’s nothing too tricky here; all the indicator means is that the life of the old oil has run its course, and it’s time for another oil change service. If this is the only light you have to worry about, consider yourself lucky.
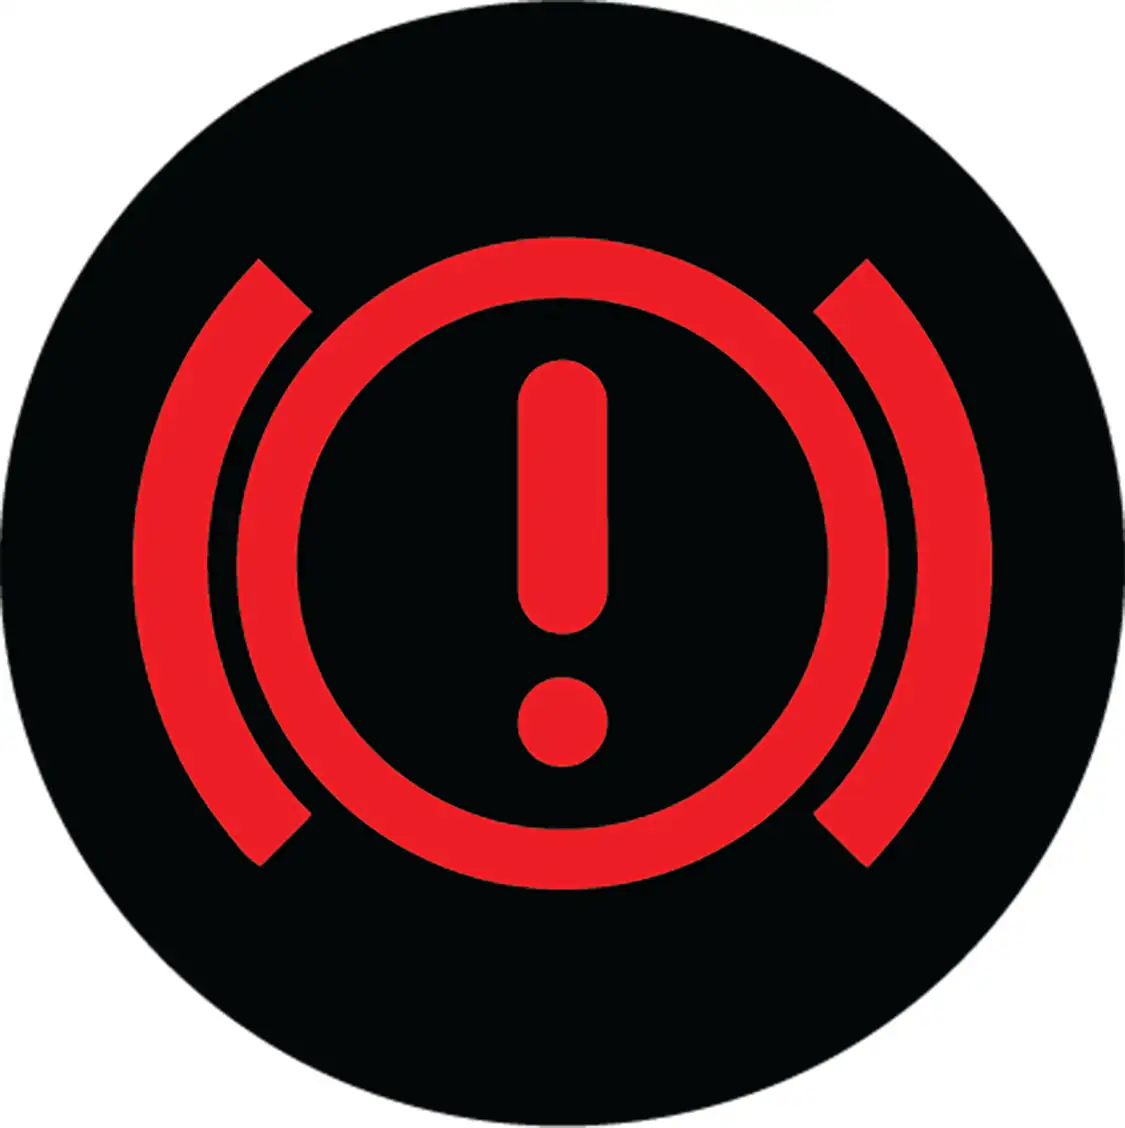
Brake symbols can mean a few things that will require your attention at your earliest convenience. Brake fluid could just be low, the parking brake could still be on or there may be an issue with the truck’s ABS system (which should have its own light on the dash, but if it doesn’t, do take notice to the general brake light). You don’t want to chance not having properly functioning brakes, so this is one of the sensitive lights to address.
Modern vehicles are now equipped with a Tire Pressure Monitoring System (TPMS) at each tire that will alert when inflation pressure dips low. These sensors can sometimes be overly sensitive and become annoying with the alerts on the dash. When the light illuminates on the dash, add some air to the tires to the suggested pressure level. If you’ve recently swapped out the factory wheels and tires with aftermarket sets, it’s suggested to install the factory sensors to the new wheels. If not, be prepared for the TPMS light to be on at all times, and make it a point to eyeball tire inflation levels like we used to do it in the “old days.”
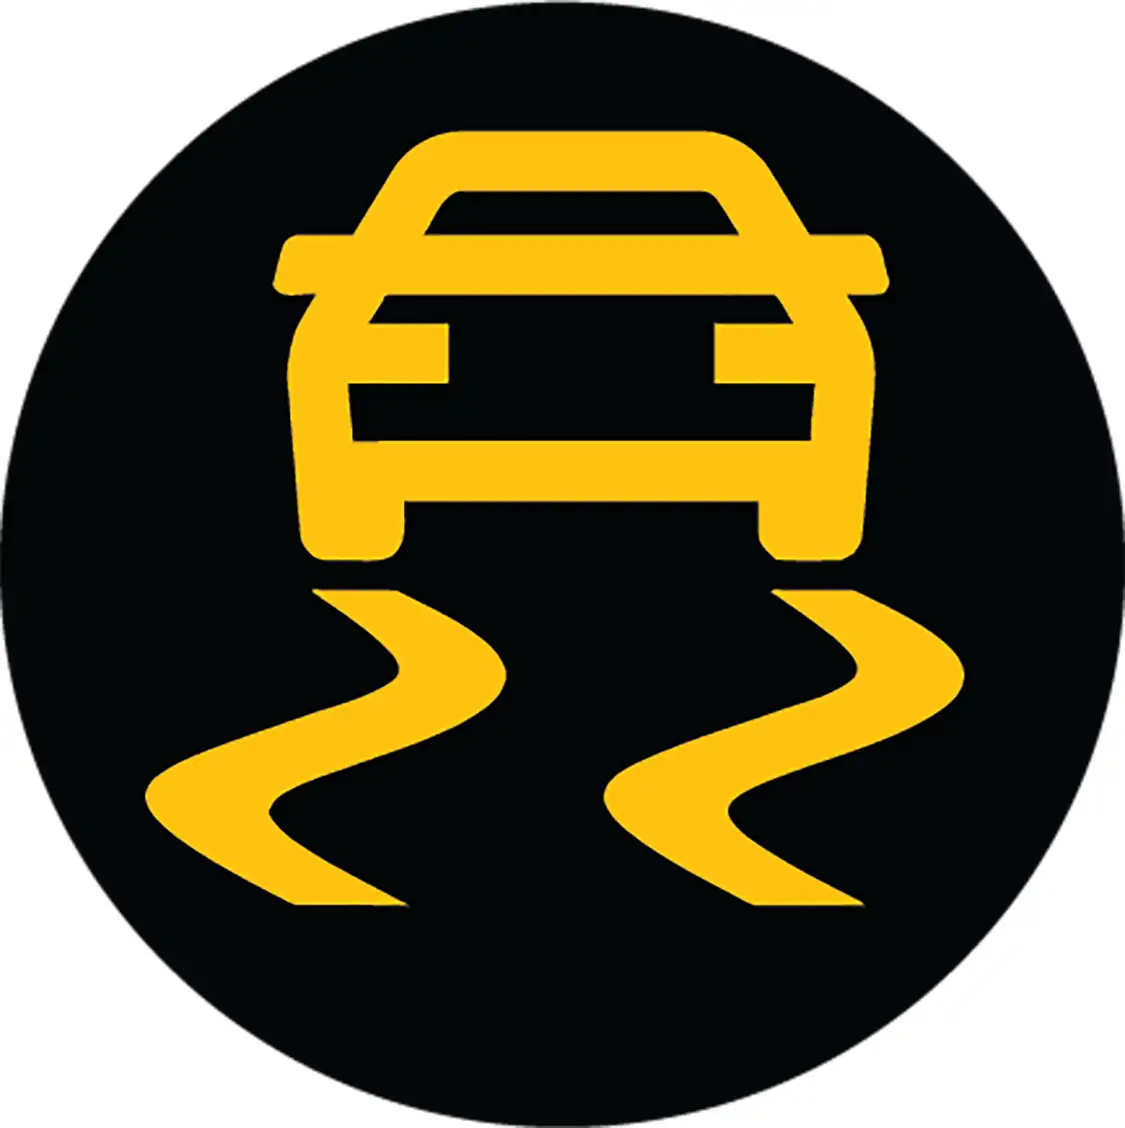
Traction Control, which helps prevent wheels from spinning on slippery surfaces, will automatically engage and the light on your dash will appear when your wheels start to slip. Turn off Traction Control if stuck in mud or snow and need to rock the car, or when you want to light up the rear tires and make a smoke show.
We break down the most common Chevrolet truck engine codes and show you how to check them.
When retrieving Chevy trouble codes with an OBD II scan tool, proceed as follows:
1. Connect scan tool to the 16-pin data link connector (DLC) located underneath the steering column. The connector may have a removable cover.
2.Turn the ignition on.
3.Follow scan tool manufacturer’s operating instructions to access the Diagnostic Trouble Codes (DTC’s).
Remember, these are manufacturer specific codes only. Refer to a Generic OBD II code list for definitions on all other Chevy diagnostic trouble codes.
DIESEL TRUCKS

Gasoline drivers might get thrown off right away by additional symbols that diesel users are used to. Since the fuel system is dramatically different, there are issues that uniquely belong to diesel engines.

One symbol that will pop from time to time is the Glow Plug light, which indicates that the engine’s glow plugs are in the process of warming up. It is suggested to wait until this light turns off before attempting to start the engine. Duramax engines are equipped with glow plugs, while Cummins engines have grid heaters. Both can be started without these components being engaged, but the engine will start much easier in the cold with them primed and ready to go.
The DPF (diesel particulate filter) light, which corresponds to the diesel particulate filter, will illuminate when the filter fails its test and must be serviced. Introduced in 2007, this filter was designed to regenerate, or clean itself. If the system fails to do so, it must be done manually to prevent a reduction in engine power. If this red light comes on, it may also trigger the check engine light along with it.

Diesel exhaust fluid (DEF) creates a catalytic reaction that extracts harmful particles from the exhaust. When this fluid is low, the corresponding light may appear on the dash, telling you to add fluid to the system, or that the fluid that is in the system is contaminated. In that case, the fluid must be replaced.
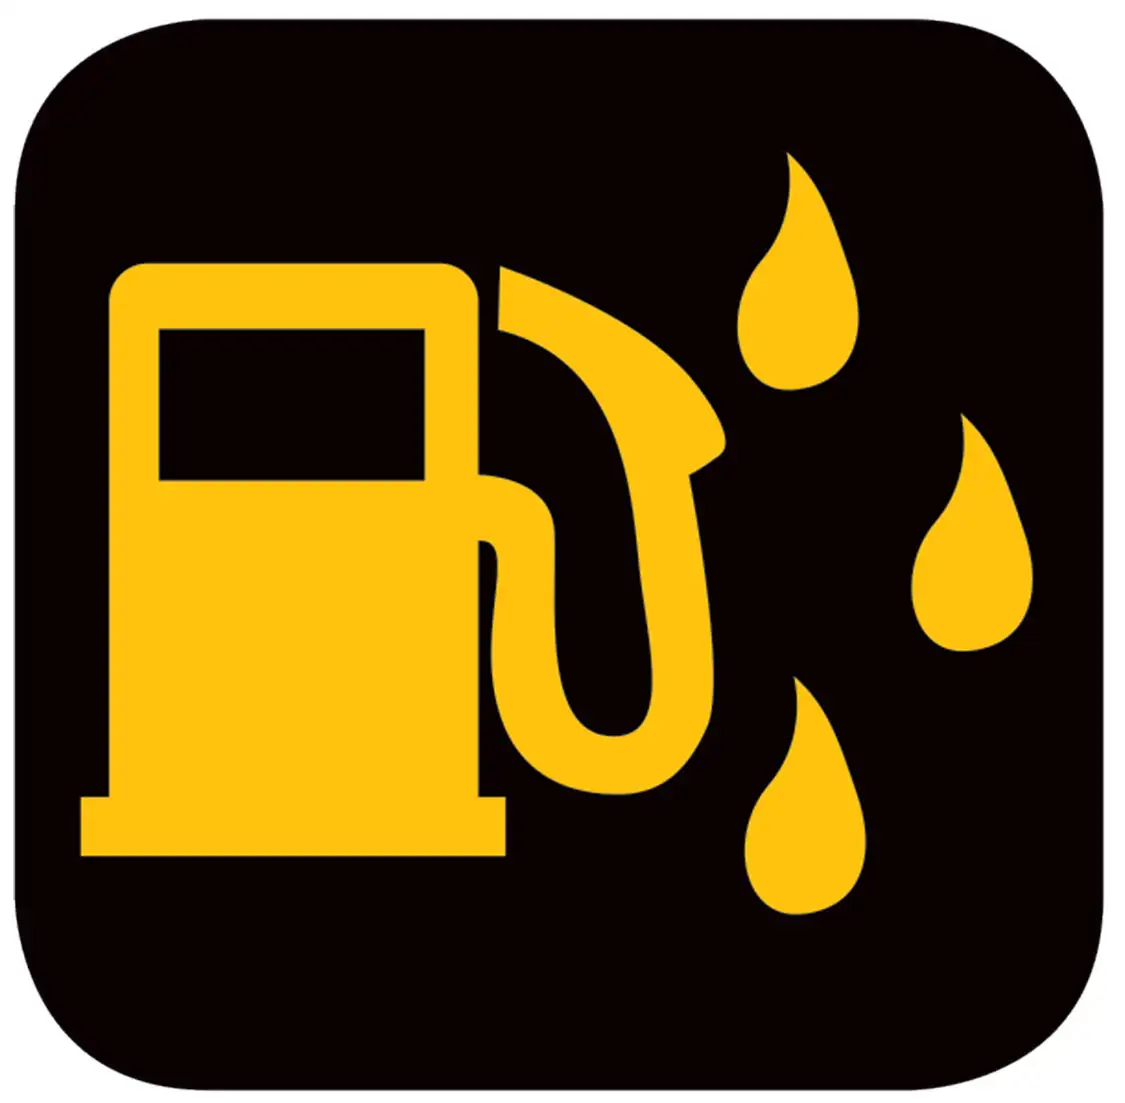
Water in the fuel is also a big problem that diesel drivers face. There are multiple versions of symbols that translate this problem on the dash, but they will all alert to the same issue. A filter is designed to separate water from diesel fuel, when water sneaks its way into the fuel, you should see this alert, which will most likely warrant the changing of the fuel filter and draining of the fuel tank.
Note: All makes and models function differently, and use variations of symbols that pretty much mean the same things. Whatever you drive, you should be able to detect the problem by either referring back to this handy issue of your favorite magazine, flipping through your truck’s owners manual, making a pit stop at a local dealership, or spending some time with Google.
What does a check engine light with codes 25 and 12 indicate on a 2017 Kenworth T680?
When your 2017 Kenworth T680’s dashboard displays a check engine light accompanied by diagnostic codes 25 and 12, it’s crucial to delve into what each code signifies to address the issue effectively.
The appearance of code 25 indicates that the transmission has entered the product diagnostic mode. This mode is triggered to help identify any underlying issues with the transmission system. It may suggest that there’s a need for a thorough evaluation using specialized diagnostic tools to pinpoint the exact problem within the transmission unit.
Meanwhile, code 12 highlights a problem related to the Transmission Electronic Control Unit (TECU) configuration. Such issues often arise if there have been recent updates to the engine calibration or if there have been fluctuations in the electrical systems, such as voltage irregularities. These factors can disrupt the transmission parameters and require adjustments.
To resolve these issues, it’s essential to:
Addressing codes 25 and 12 promptly will ensure your Kenworth T680 continues to operate smoothly without further potential damage to the transmission system.
What does engine code 88 mean for the check engine light on a 2017 Kenworth T680?
If you’re seeing an “88” on the dashboard of your 2017 Kenworth T680, don’t worry—it’s generally a standard power-up display test. This code doesn’t signal any specific issue with your engine or system. Instead, it’s part of the initial check the vehicle performs when you start it up.
By following these steps, you should be able to determine the cause behind the check engine light and address any potential issues effectively.
What does a DPF full light indicate on a Kenworth T680?
A “DPF full” light on a Kenworth T680 indicates that the Diesel Particulate Filter (DPF) has reached its capacity for storing soot and needs to be regenerated or cleaned. This warning typically suggests that the system has not been able to perform a regeneration process automatically while the truck is in operation.
By addressing the DPF full light promptly, you can avoid potential performance issues and maintain compliance with emissions standards.
What could cause a flashing wrench light on startup in a Kenworth T680?
The flashing wrench light on your Kenworth T680 typically signals an issue that needs your attention. Here are some common causes to consider:
If you’re dealing with a recurring issue and can’t immediately resolve it, visiting a professional technician for a more detailed diagnosis is advisable. Addressing the problem sooner rather than later can prevent minor issues from becoming major headaches.
What issues can cause a P0094 code on a Kenworth T680?
The P0094 code on a Kenworth T680 is an indicator of a fuel system leak, specifically noting a small leak detected. When this code appears, several issues could be the culprit:
Addressing a P0094 code promptly is crucial to prevent more severe issues, such as engine performance decrease or increased emissions. If necessary, consult a professional mechanic to ensure accurate diagnosis and repair.
What does code 135103 indicate on a 2017 Kenworth T680?
Code 135103 on a 2017 Kenworth T680 typically indicates an issue related to the truck’s air system, often pointing to problems such as moisture accumulation or pressure anomalies. This code might suggest a malfunction or blockage in the air dryer or an issue with the air compressor itself.
Here’s a step-by-step approach you can take to address this issue:
If these steps don’t resolve the issue, it might be necessary to conduct a more detailed diagnostic or consult with a professional technician familiar with Kenworth trucks for further assistance.
Can a low voltage issue affect the performance of a Kenworth T680?
Absolutely, a low voltage issue can significantly impact the performance of a Kenworth T680. Here’s how:
Addressing low voltage issues promptly can help maintain the optimal performance of your Kenworth T680, ensuring reliability and efficiency on the road.
What could cause the VGT actuator fuse to blow in a Paccar MX13 engine?
If you’re experiencing issues with the VGT (Variable Geometry Turbocharger) actuator fuse blowing in your PaccarMX13 engine, several factors could be at play. Addressing these issues promptly can prevent further complications and costly repairs.
By systematically checking each of these potential issues, you should be able to pinpoint the root cause of the problem and take appropriate corrective action.
How should a crankcase air pressure issue be approached in a 2017 Kenworth T680?
Experiencing a crankcase air pressure issue in your 2017 Kenworth T680 can be challenging, but addressing it methodically can lead to a swift resolution. Here’s a step-by-step guide to help you troubleshoot and resolve this problem:
Tackling crankcase air pressure issues systematically ensures your Kenworth T680 remains in top condition. By following these steps, you’ll enhance the truck’s performance and reliability on the road.
What is the voltage requirement for a dashboard DEF light on a Kenworth T680?
To determine the voltage requirement for the dashboard DEF light on a Kenworth T680, it’s important to understand how the lighting system operates. The Central Electronic Control Unit (CECU) manages this, receiving signals from the dashboard dimmer switch.
Here’s a breakdown of testing and voltage expectations:
By ensuring these voltage conditions are met and testing the respective pins, you’ll confirm that the wiring and control for the DEF light are functioning correctly.
Are there issues with other electronics in the vehicle?
Mechanic: Have you inspected the fuses linked to the instrument cluster? Are you experiencing any malfunctions with the vehicle’s other electronic components?
Customer: The instrument panel is the sole concern right now; the rest of the electronic systems are functioning properly without any issues.
What can be done to stop loud beeping in a truck?
Loud beeping in trucks can be irritating and distracting for drivers. Fortunately, several steps can be taken to address this issue:
By following these steps, drivers can usually pinpoint the cause of the loud beeping and take appropriate measures to stop it. Regular maintenance and attentive checks can prevent such issues from arising unexpectedly.
What might be the reason a truck won’t start due to a brake pressure switch issue?
A truck failing to start can be frustrating, especially when it’s linked to something less obvious like a brake pressure switch issue. Here are some reasons why this component could be the culprit:
Addressing these issues can be a practical step in diagnosing and solving your truck’s starting problems, saving time and potentially costly repairs.
How can I fix the dashboard lights not working on a 2017 Kenworth T680?
If your 2017 Kenworth T680’s dashboard lights are not functioning properly, it may be an issue with the CECU module or the dash dimmer switch. Here is a step-by-step guide to diagnose and potentially fix the problem:
To conduct a more hands-on check, use a multimeter:
By following these steps, you can diagnose and potentially resolve issues with dashboard lights on a Kenworth T680. If problems persist, consider consulting a professional technician for further assistance.
Why does a truck go into derate mode when it rains?
If you’ve ever noticed your truck entering derate mode during rain, you’re not alone. This can be a perplexing issue, but several key factors contribute to this phenomenon:
Trucks are equipped with numerous sensors that monitor engine and exhaust conditions. Moisture from rain can seep into sensors, particularly the DEF (Diesel Exhaust Fluid) system, causing them to malfunction. This often results in inaccurate readings, prompting the truck to enter derate mode as a preventive measure.
The DEF system is critical for reducing emissions in diesel engines. Exposure to rain can cause DEF quality sensors or connectors to become contaminated or short-circuited. When the system detects issues with DEF quality or flow, it may trigger a derate to signal that emissions control isn’t functioning optimally.
Rain can also lead to corrosion or short-circuiting in wiring harnesses, connectors, and other electrical components. Malfunctions in communication between the engine management system and these components can trigger derate mode as a precaution against potential damage or failure.
Moisture can make its way into the exhaust aftertreatment systems, leading to faults in components like the Diesel Particulate Filter (DPF) or Selective Catalytic Reduction (SCR). When these components fail to operate as expected, the truck is programmed to go into derate mode to prevent further damage.
To minimize the risk of your truck entering derate mode during rainy conditions:
By understanding these factors and taking proactive steps, you can reduce the likelihood of unexpected derates and keep your truck running smoothly, rain or shine.
How can a new battery affect the issues in a Kenworth T680?
Installing a new battery in a Kenworth T680 can significantly influence the overall performance and address a variety of issues. Here’s how:
By ensuring a stable and adequate power source, a new battery plays a pivotal role in minimizing issues associated with low voltage in the Kenworth T680.
How do I test the voltage at the dimmer connector pins in a Kenworth T680?
If you’re looking to test the voltage at the dimmer connector pins in your Kenworth T680, follow these steps to ensure accurate readings:
Ensure all connections are secure, and take necessary safety precautions while performing these tests. This method will help you diagnose any issues with the dimmer circuit efficiently.
How do I monitor the response of the dash dimmer switch in a Kenworth T680?
Monitoring the response of the dash dimmer switch in your Kenworth T680 involves examining the output from the CECU (Cab Electronic Control Unit) module. This process can help ensure your dashboard lights are functioning correctly. Follow these steps to accurately assess the dimmer switch:
By following these steps, you can confidently monitor and troubleshoot the dash dimmer switch’s performance in your Kenworth T680.
What should you do if a yellow dashboard warning light appears?
When a yellow warning light pops up on your dashboard, it’s signaling that something needs your attention, though it may not be an immediate emergency. Here’s how to address it effectively:
By promptly addressing yellow warning lights, you’re ensuring your vehicle remains reliable and safe on the road.
How can green and blue dashboard lights be interpreted differently from red or yellow lights?
Maybe you have noticed over the years—or maybe you haven’t paid that close attention—that the colors of the indicator lights vary. The red lights usually indicate the more serious issues that you’ll want to tend to immediately, if possible. There are a combination of yellow and orange lights that will pop up every once in a while, and these are usually less urgent, but still important to address.
Green (and sometimes blue) lights are the least stressful and may mean that a system is on or they’re reminders to buckle up or that one of the doors isn’t closed all the way. These colors are used more so to indicate that a system or function is turned on, such as high beams or the engine fan, rather than signaling a malfunction. This distinction helps ease the driver’s mind, knowing that these lights often signify normal operation rather than urgent issues.
So when you see a symbol light up, first address what the problem is and then its severity based on its color. Understanding the color codes can not only aid in quick assessment of the situation but also ensure that you’re responding appropriately to what your vehicle is trying to communicate.
Are green and blue lights associated with any urgency or stress?
Generally, these lights are not associated with urgency and are considered informational rather than a cause for concern.
How should one interpret the appearance of a green or blue light?
The appearance of these lights should be interpreted as a notification that a feature is active rather than a warning.
What might be an example of a function indicated by these lights?
An example of a function could be the activation of high beams or the engine fan.
Do green and blue lights indicate a malfunction?
No, these lights do not indicate a malfunction; they simply show that a system is operational.
What do green and blue dashboard lights indicate?
Green and blue lights signify that a system or function is currently turned on.
What are the possible implications of a red dashboard warning light?
Maybe you have noticed over the years—or maybe you haven’t paid that close attention—that the colors of the indicator lights vary. The red lights usually indicate the more serious issues that you’ll want to tend to immediately, if possible. These red warnings are not to be ignored, as they often signal critical problems such as engine overheating, brake failure, or other malfunctions that could compromise your vehicle’s safety and performance. Immediate attention is required to prevent potential damage or unsafe driving conditions.
There are a combination of yellow and orange lights that will pop up every once in a while, and these are usually less urgent, but still important to address. They often serve as warnings for issues like low fuel, maintenance reminders, or tire pressure alerts, allowing you some time to schedule necessary repairs or checks.
Green (and sometimes blue) lights are the least stressful and may mean that a system is on, or they’re reminders to buckle up or that one of the doors isn’t closed all the way. These lights typically indicate normal operation or simple reminders that help enhance your driving experience.
So when you see a symbol light up, first address what the problem is and then its severity based on its color. Knowing what each color signifies can help you prioritize your actions and maintain your vehicle’s reliability and safety on the road.
How urgent is the situation when a red light appears?
The situation is urgent and demands immediate attention.
What does a red light signify?
A red light signifies a more serious issue that needs to be addressed.
What do the different colors of dashboard warning lights indicate?
Maybe you have noticed over the years—or maybe you haven’t paid that close attention—that the colors of the indicator lights vary. The red lights usually indicate the more serious issues that you’ll want to tend to immediately, if possible.
Red lights are a signal of urgency, often pointing to critical issues that require immediate action to prevent damage or ensure safety. It’s essential to stop driving and investigate these warnings as soon as they appear.
There are a combination of yellow and orange lights that will pop up every once in a while, and these are usually less urgent, but still important to address. Yellow lights are cautionary alerts, suggesting that something needs attention soon, but not necessarily right away. Think of them as a call to schedule a check-up or to monitor a particular system more closely.
Green (and sometimes blue) lights are the least stressful and may mean that a system is on or they’re reminders to buckle up or that one of the doors isn’t closed all the way. These colors typically indicate that a feature is active, such as high beams or cruise control. They serve as helpful reminders rather than warnings.
So when you see a symbol light up, first address what the problem is and then its severity based on its color. Understanding this color-coded system can help you prioritize vehicle maintenance and ensure a safer driving experience.
Does the color of the light relate to the urgency of the issue?
Yes, the light’s color correlates with urgency: red is more urgent than yellow, while green and blue are not warnings.
What do green and blue indicator lights signify?
Green and blue lights typically show that a system or function is currently active, not malfunctioning.
What do yellow indicator lights signify?
Yellow lights suggest issues that are less urgent but still need to be addressed.
What do red indicator lights signify?
Red lights often signal serious problems that demand immediate attention.
What is the purpose of the different colors of dashboard lights?
The colors signify either the severity of a warning or indicate that a system or function is activated.
Where can you find information about your vehicle’s dashboard warning lights?
Note: All makes and models function differently, and use variations of symbols that pretty much mean the same things. Whatever you drive, you should be able to detect the problem by either referring back to this handy issue of your favorite magazine, flipping through your truck’s owner’s manual, making a pit stop at a local dealership, or spending some time with Google.
For those who prefer a more direct approach, start by checking your vehicle’s owner’s and operator’s manuals. These are usually tucked away in your glovebox, ready to be your first line of defense against those puzzling dashboard lights. If you prefer digital resources, many manufacturers offer online manuals and support sections on their websites, providing easy access to detailed information specific to your vehicle’s make and model.
Is there an online resource where I can find this information?
Yes, the information is available online in the Resources & Support section of the Peterbilt website.
Where exactly can I find the manuals for my vehicle?
You can find the owner’s and operator’s manuals in your vehicle’s glovebox.
Share Link