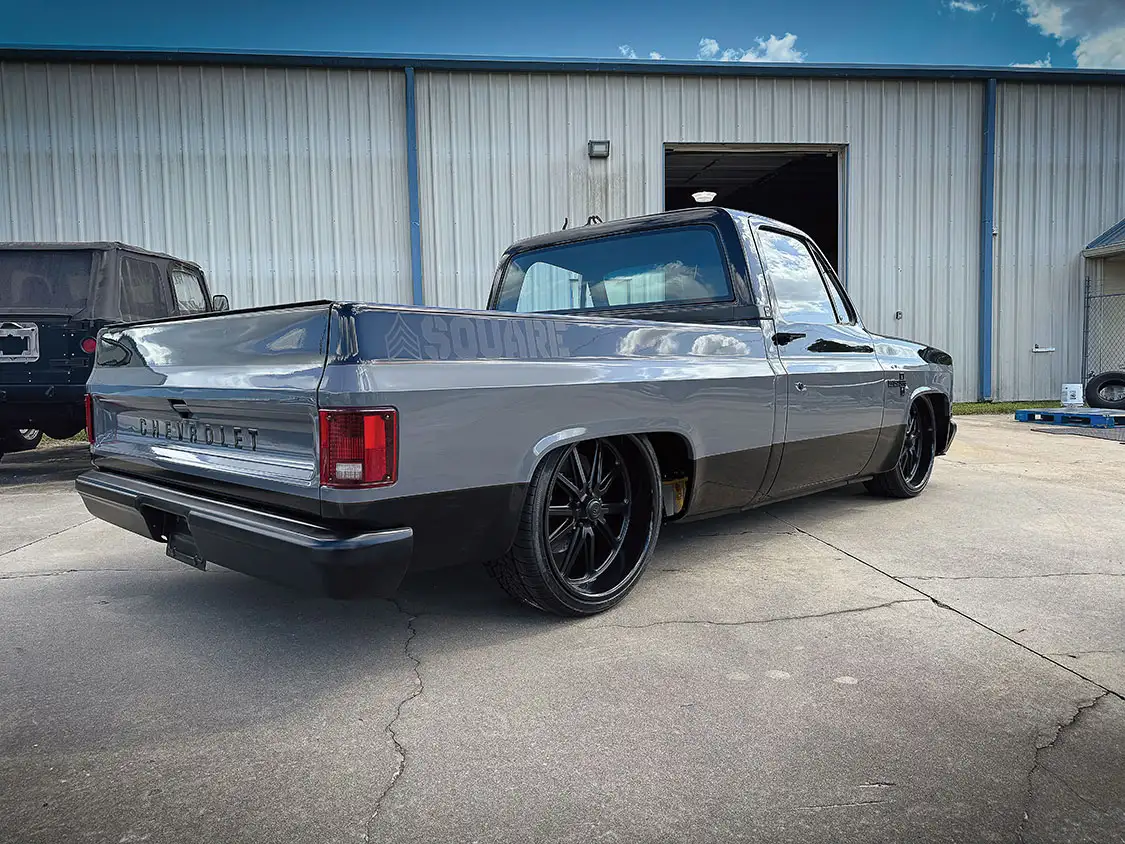
Installing the New Vintage Air Gen 5 A/C System in Sergeant Square
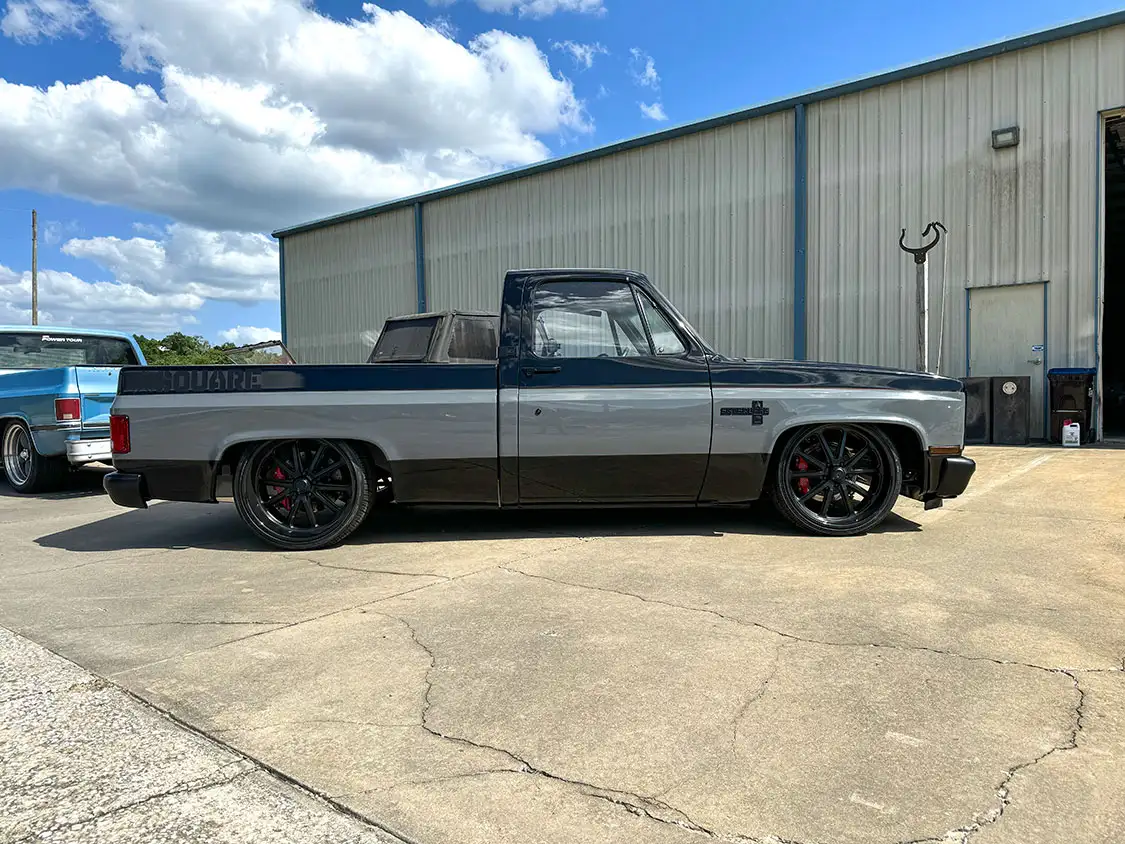
When it comes to aftermarket parts for our military charity build known as Sergeant Square, we’re always on the lookout for the latest and greatest products to include on this next-level project. This truck has been on an exciting journey of restoration and innovation, and we’re excited to test out the brand-new Gen 5 climate control system from Vintage Air.
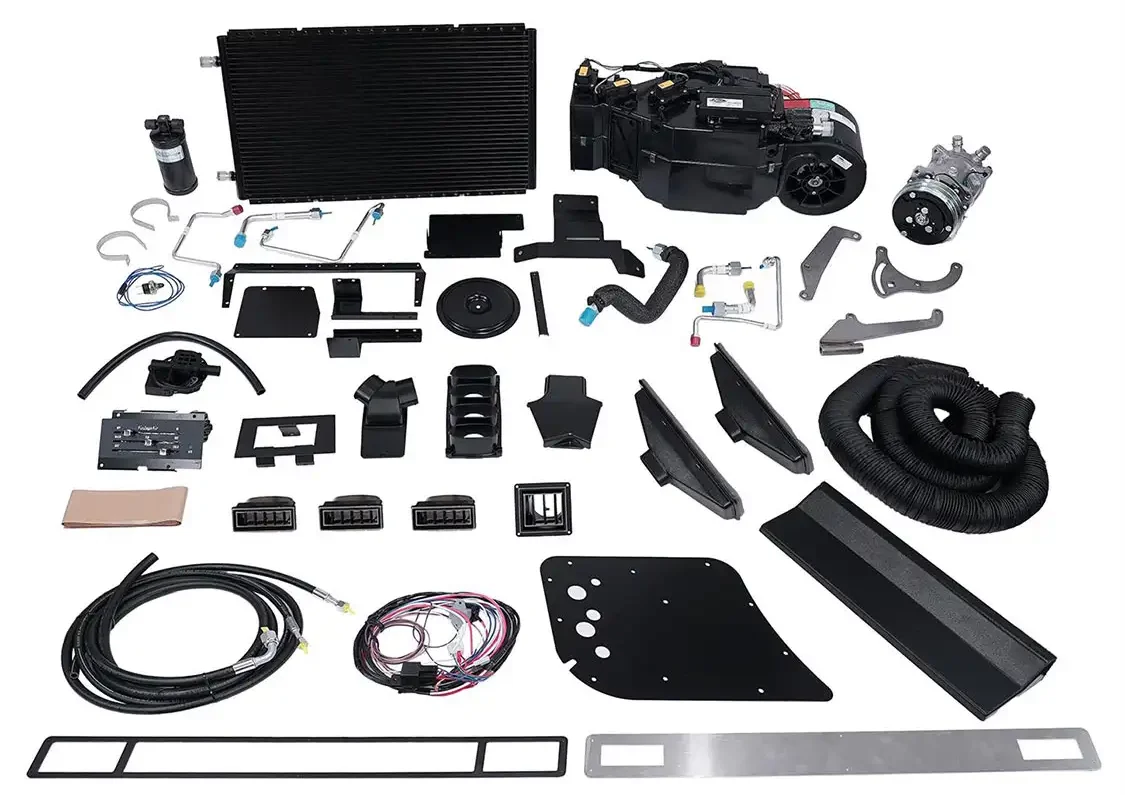
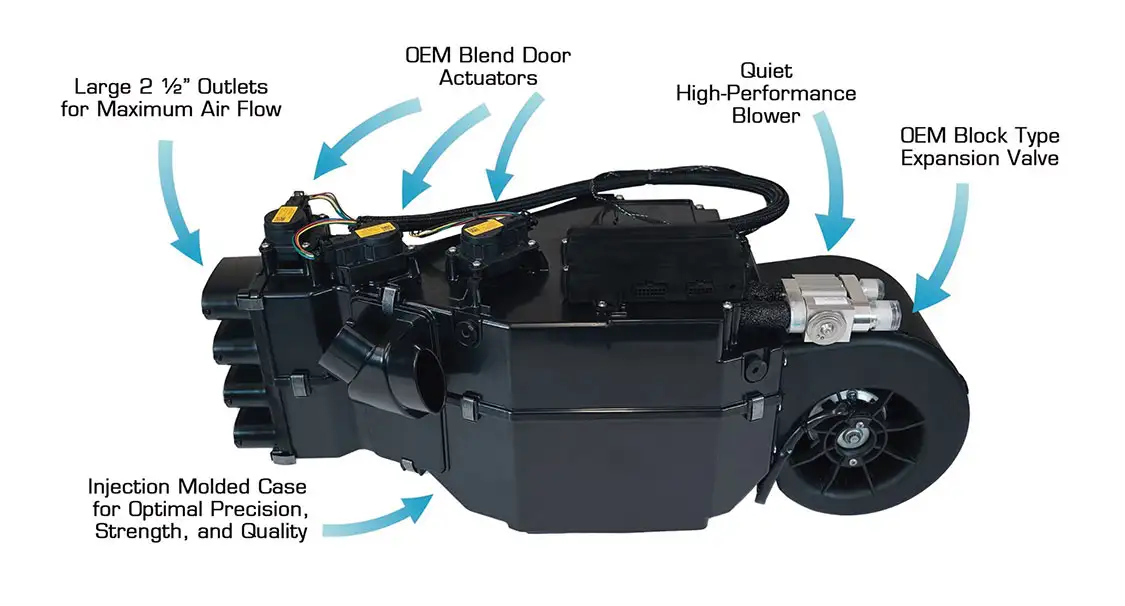
Vintage Air has once again raised the bar with its Gen 5 climate control systems. Entirely electronically controlled, these systems incorporate several new OEM-quality features, including injection-molded case assemblies, new higher-torque actuator motors, and rubber over-molded blend air doors for increased durability and efficiency.
The Gen 5 system incorporates a Super Magnum Evaporator, which features Vintage Air’s largest blower ever. This powerhouse delivers 20% more cubic feet of air per minute (CFM) than the standard Magnum’s blower, ensuring superior cooling capacity. Despite its impressive performance, the system’s compact design frees up valuable under-hood space, making it an ideal replacement for outdated air-conditioning components.
This powerhouse delivers 20% more cubic feet of air per minute (CFM) than the standard Magnum’s blower, ensuring superior cooling capacity.
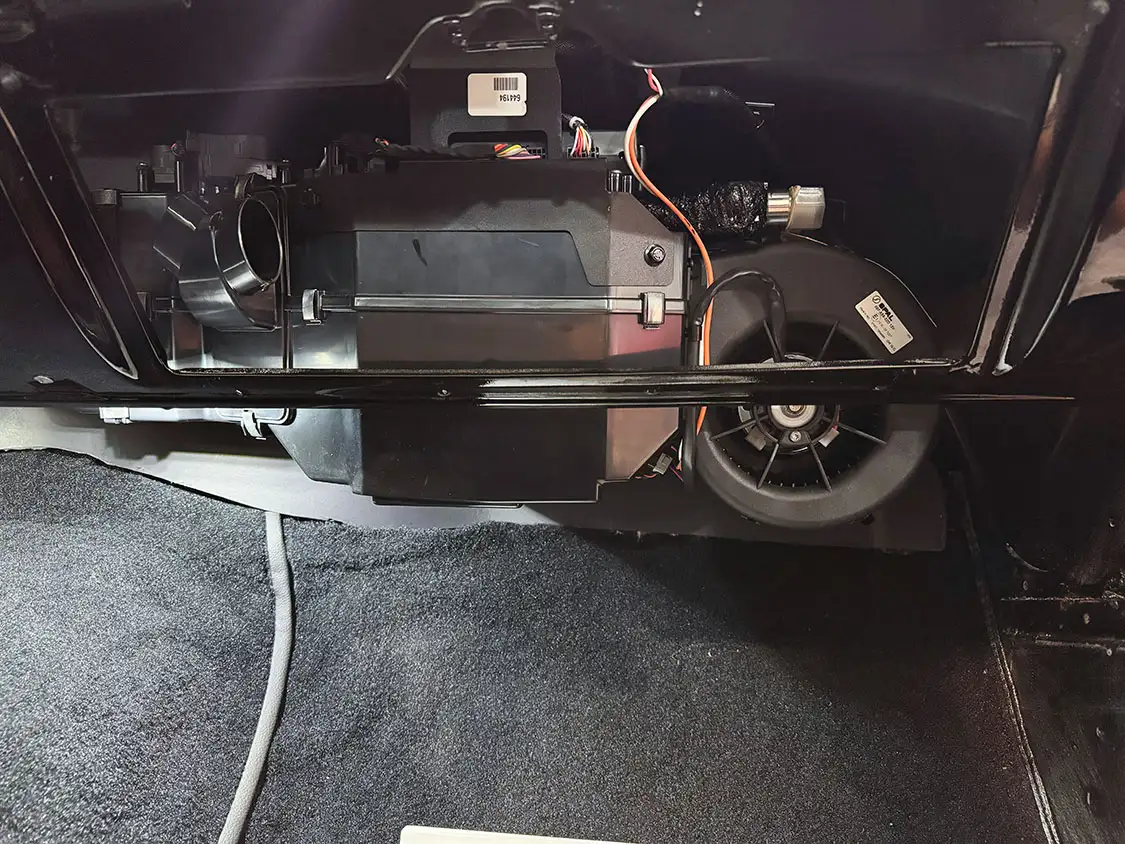
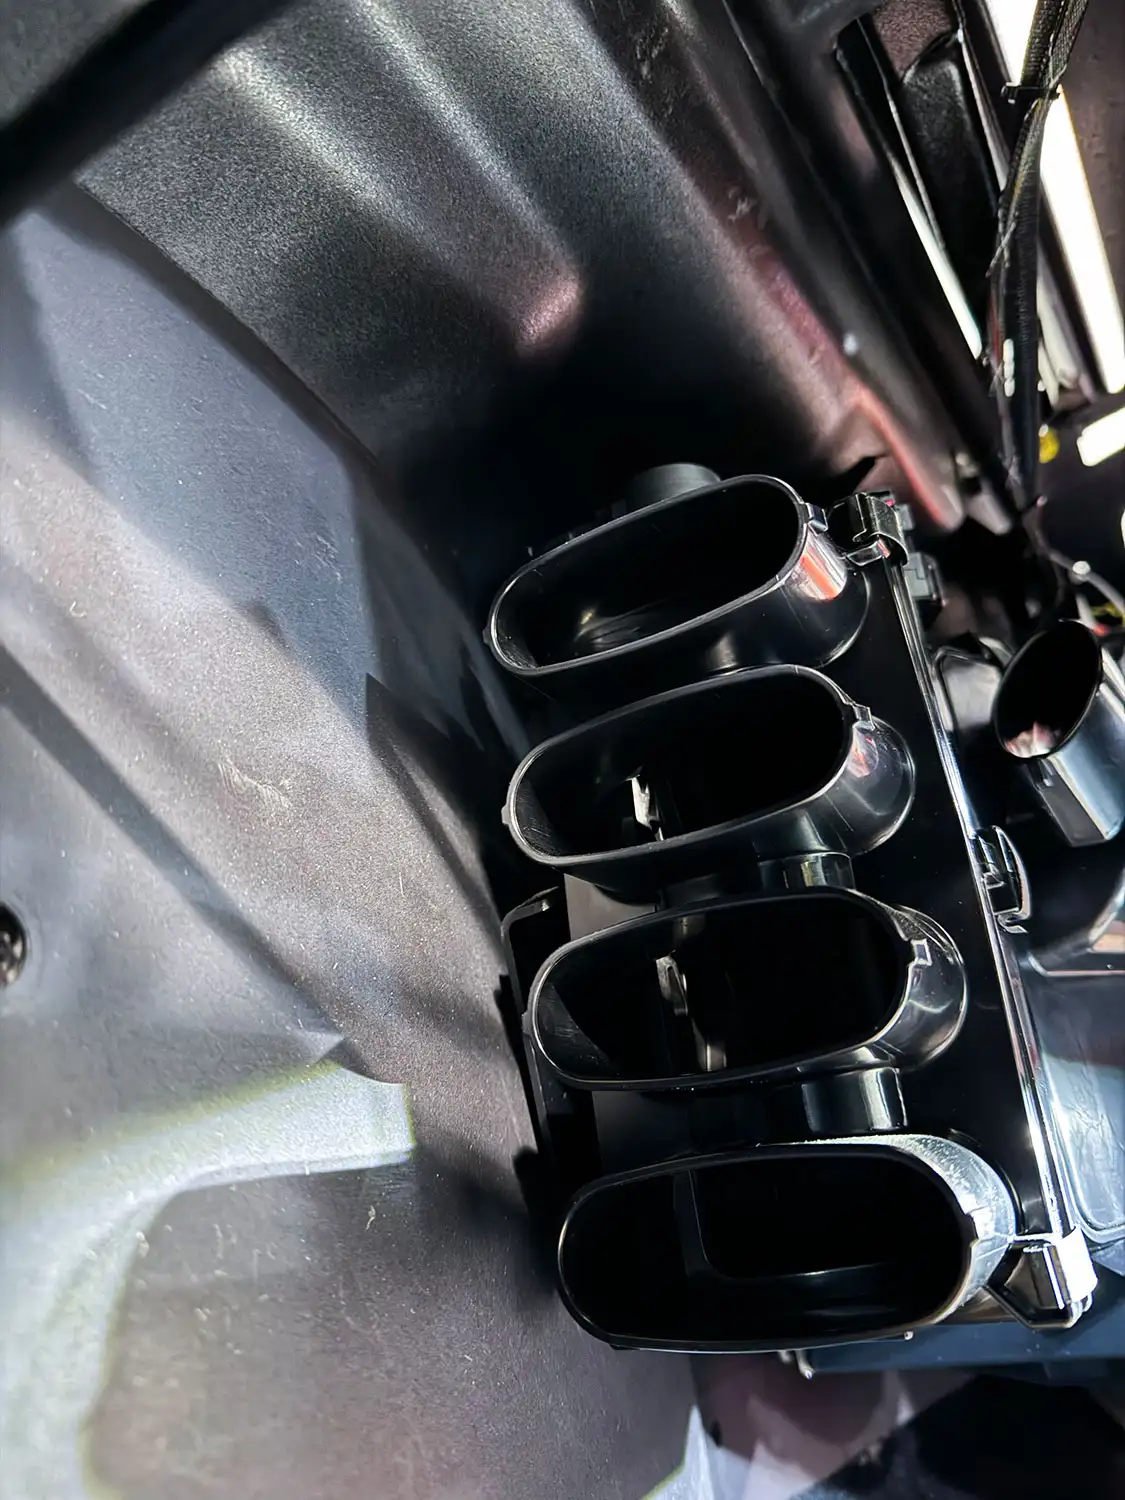
01. The Gen 5 system boasts an entirely electronic microprocessor control system, eliminating the need for cables or vacuum connections. This innovation not only simplifies installation but also enhances system reliability.02. The system includes a separate high-capacity parallel-flow heater coil and aluminum plate-and-fin cooling coil, providing outstanding performance with infinite “just right temperature” air blends, blower speed adjustments, and high-volume dehumidified defrost.03. After carefully removing the old air-conditioning components, the new system’s compact design made the installation process straightforward, even in the tight confines of our Squarebody’s interior.
04. The injection-molded case assemblies and high-torque actuator motors fit perfectly, with no need for additional modifications.
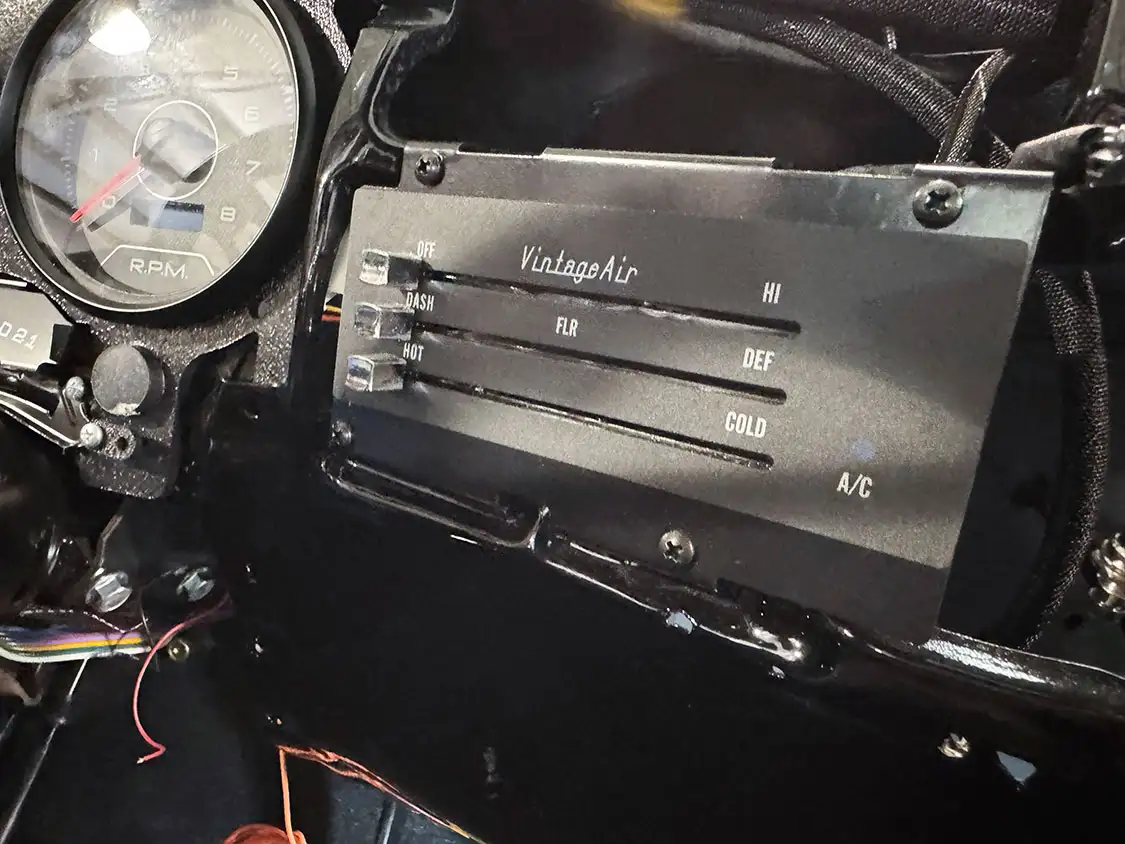
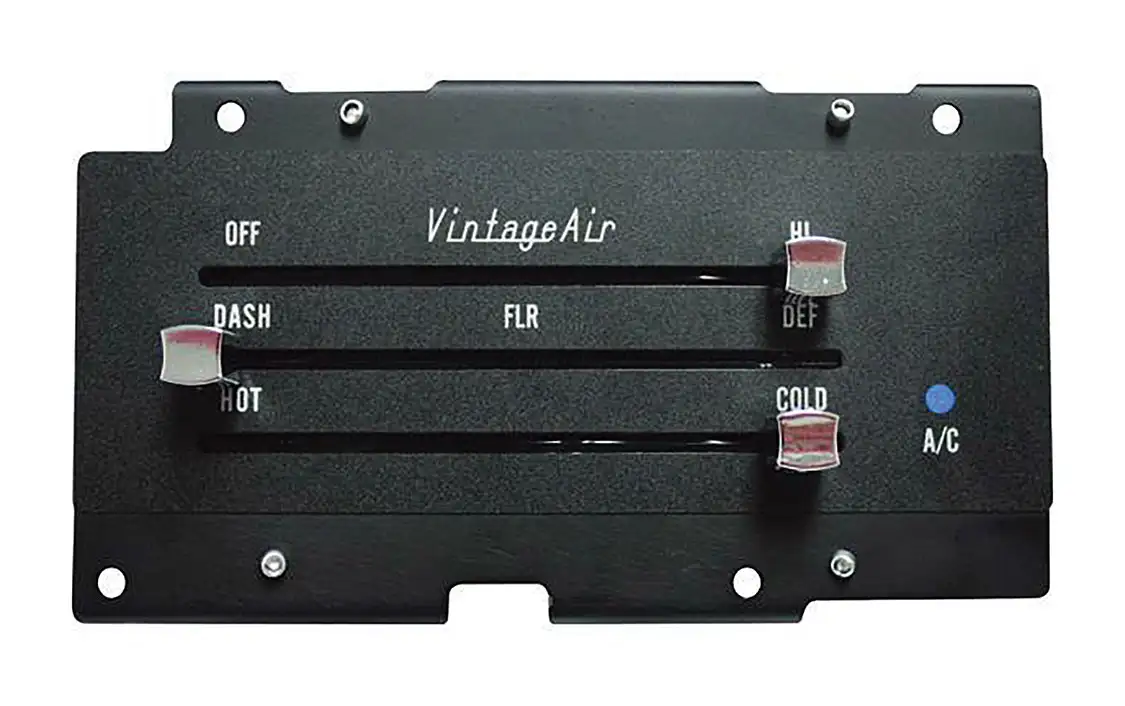
05. The new Gen 5 electronic control panel looks like it was originally in this truck from the factory with the functionality of a modern vehicle. Best of all, it bolts directly into the factory location.
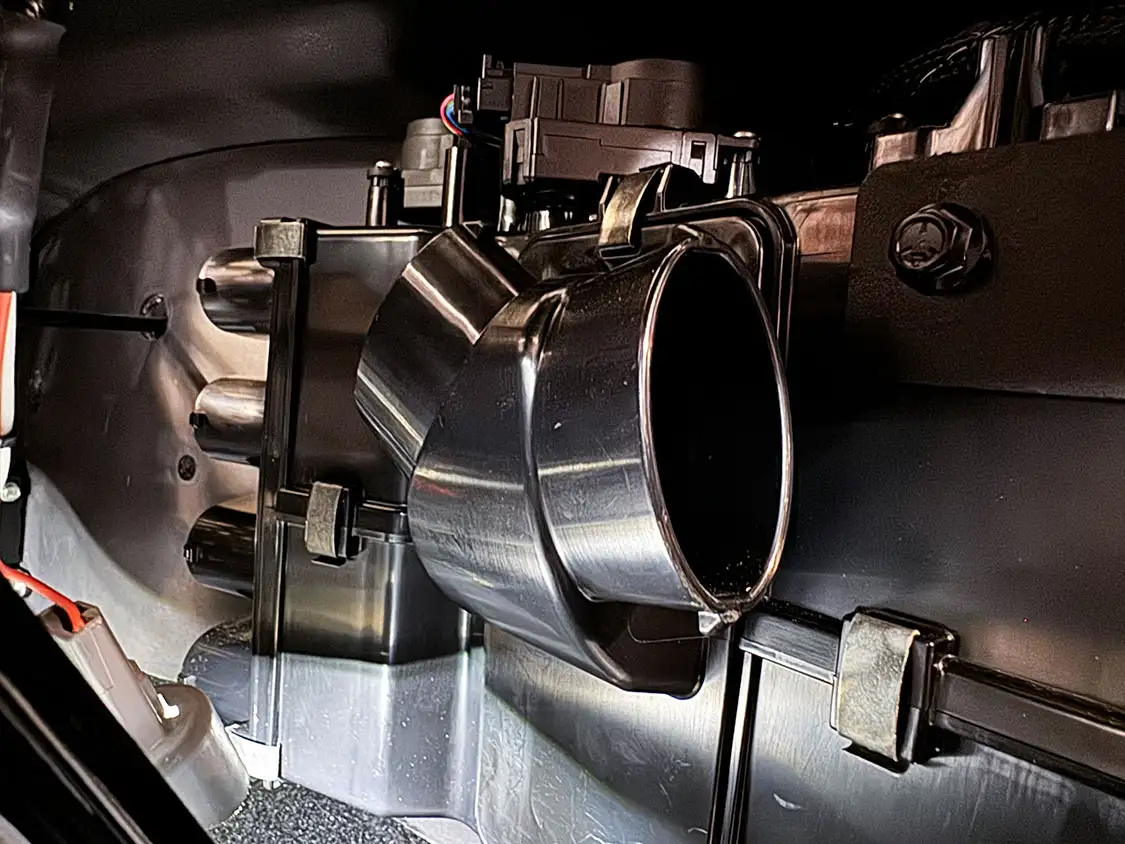
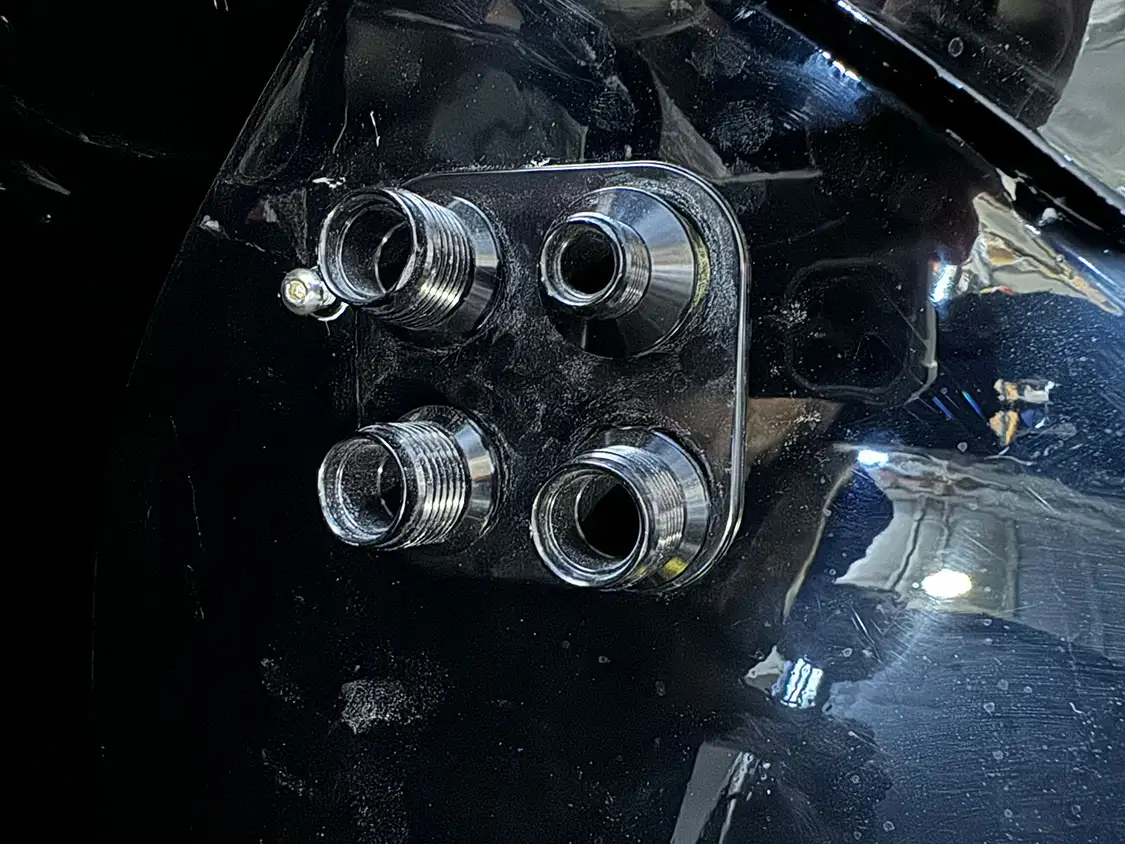
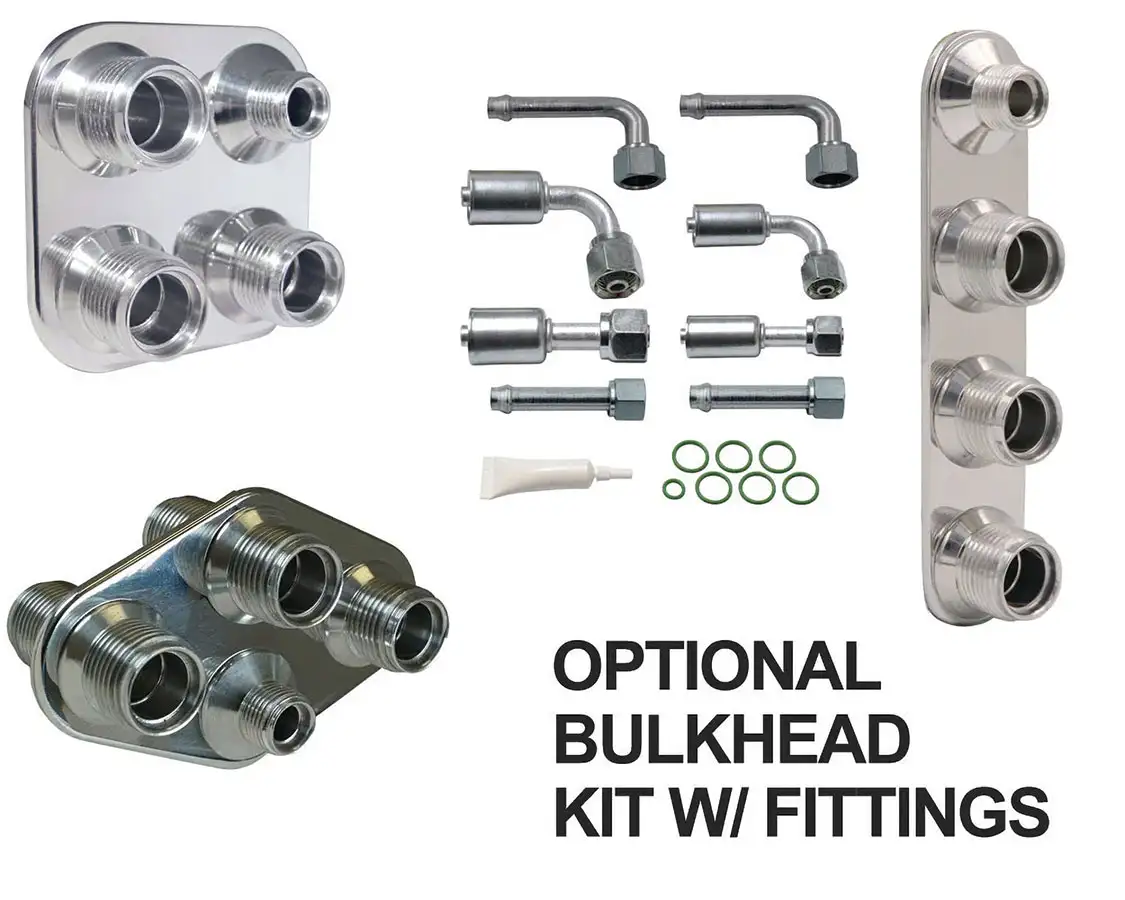
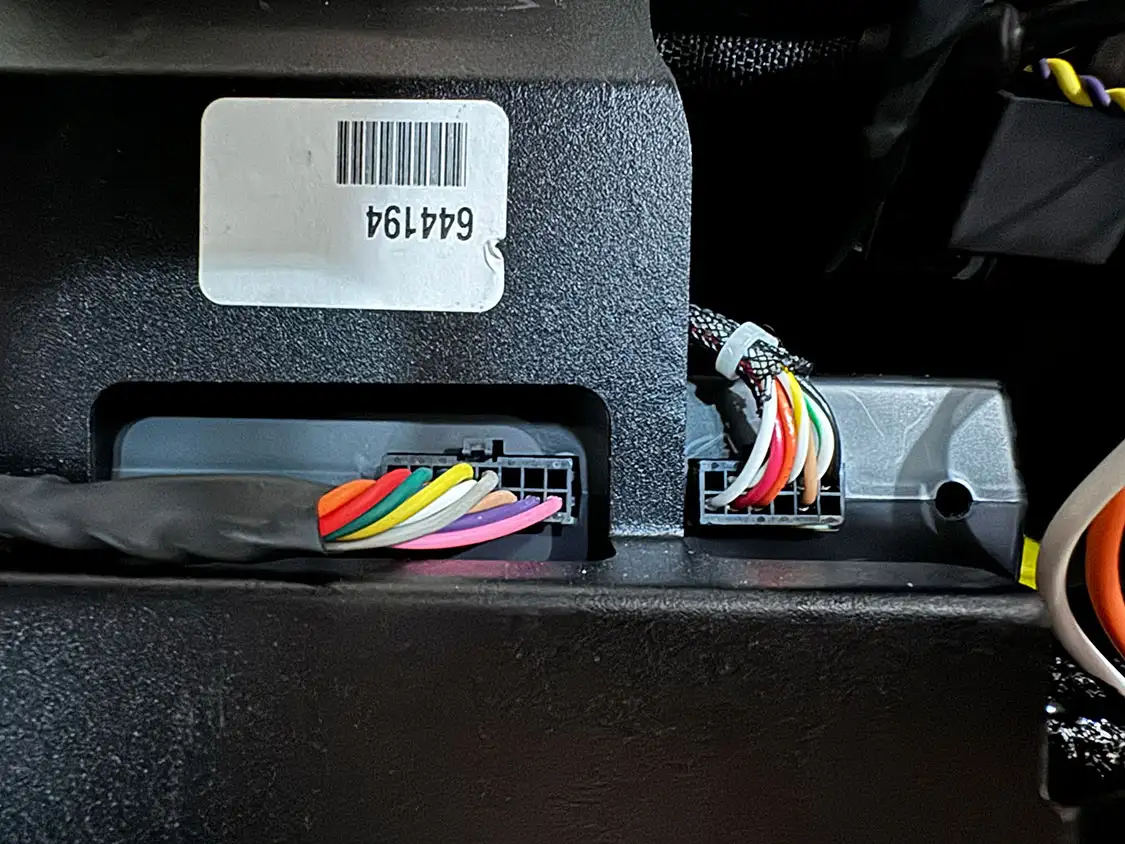
06. We chose a polished aluminum four-way square bulkhead plate for A/C and heater that uses 6-10 male O-rings. This gives our connections a lower profile look and an easier installation. The separate heater coil and cooling coil were then installed, ensuring that the system could deliver optimal performance under all conditions. The final step involved calibrating the electronic microprocessor control system, ensuring seamless operation and precise climate control.07. The next step was to connect our Painless Performance wiring harness to the Vintage Air kit.08. We then moved into the engine bay to connect the rest of the Gen 5 Vintage Air kit.
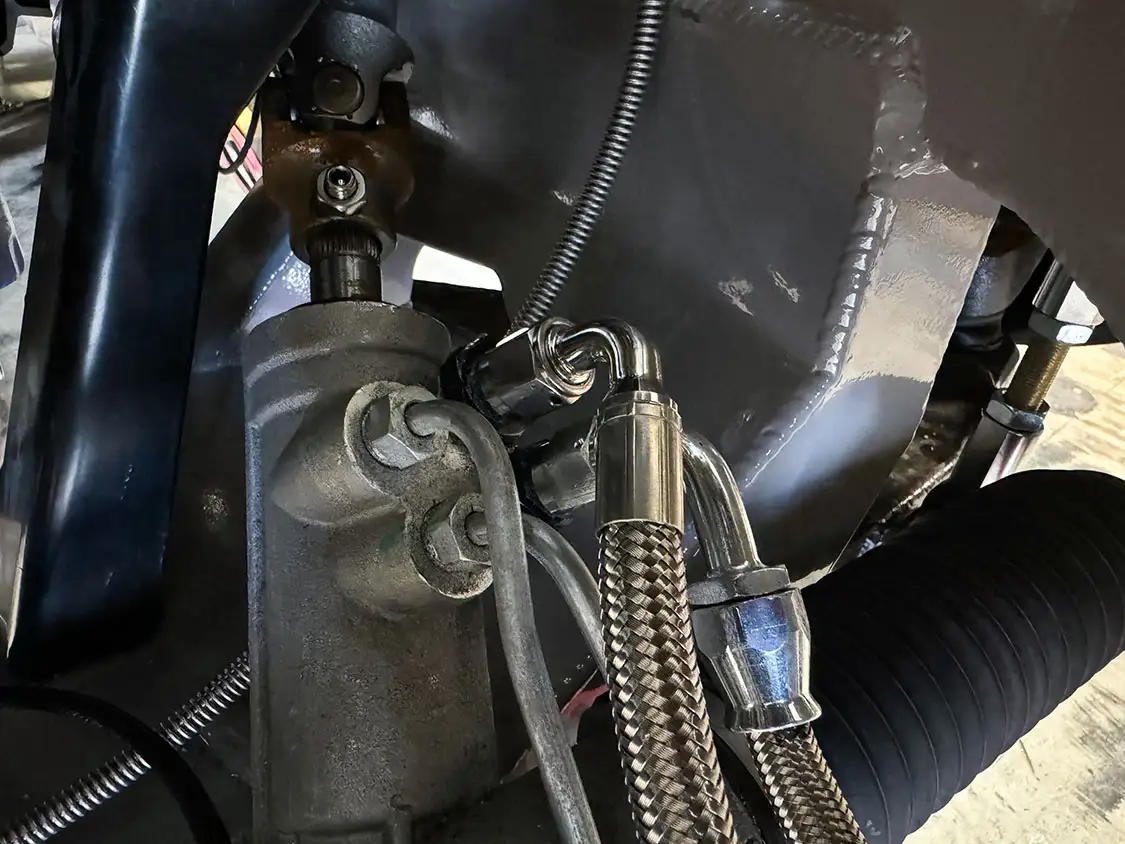
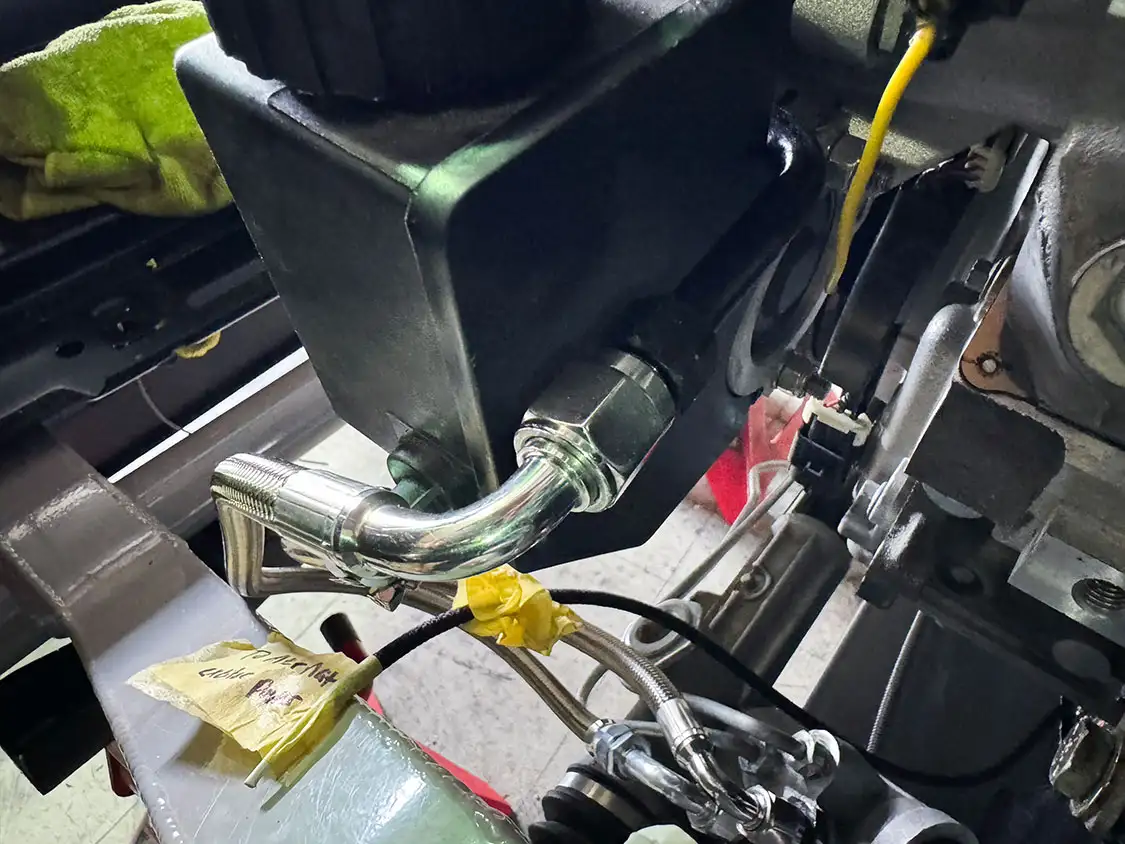
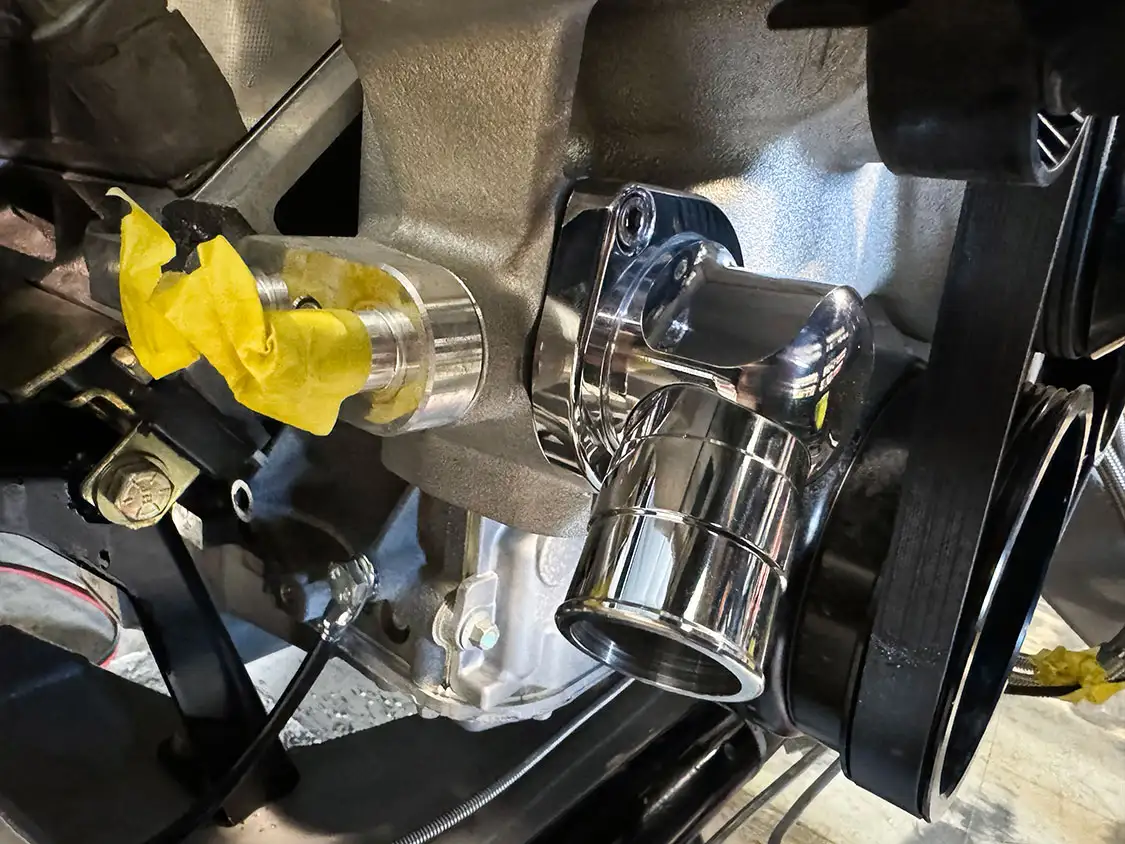
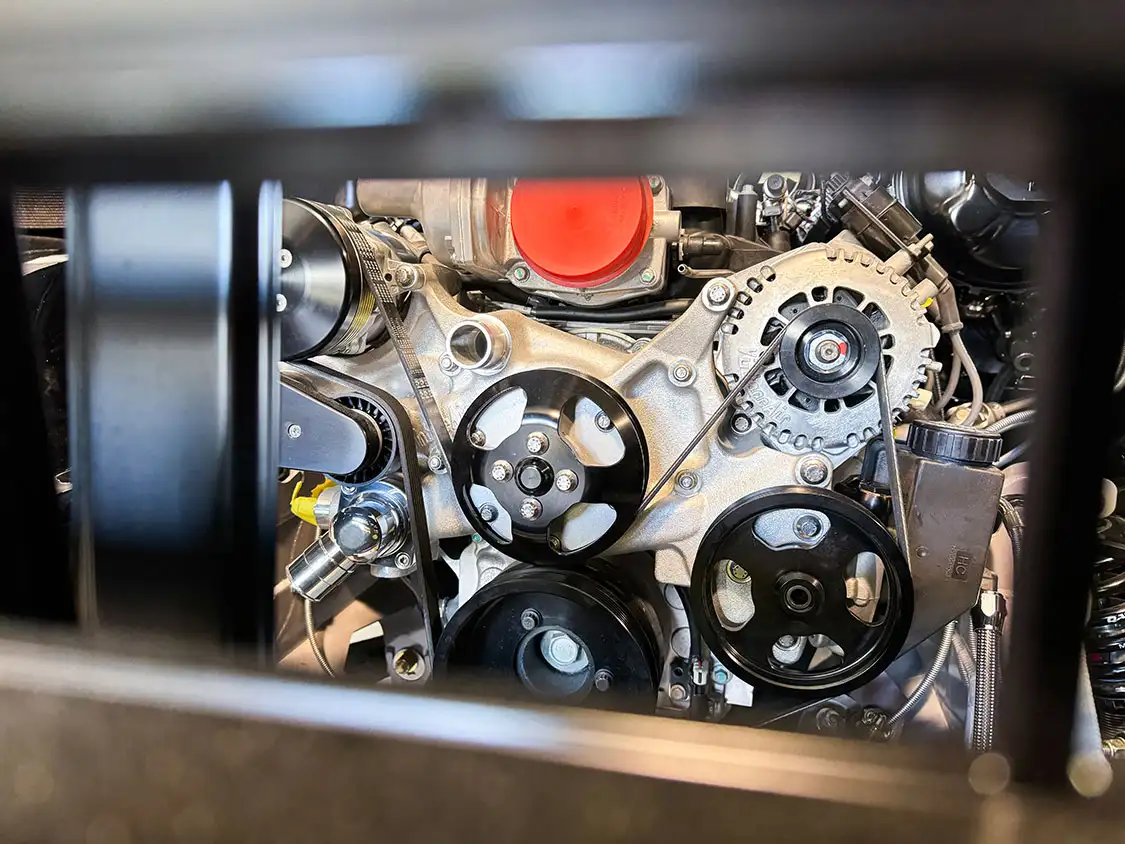
09. Our Detroit Speed power-steering hose kit from Vintage Air is a high-quality stainless steel hose kit that is Teflon lined to handle the high pressure demands of the steering system.10. We also ordered a Proline LS swivel water neck from Vintage Air. This neck is specifically designed to work with our Vintage Air Front Runner accessory drive system. It offers a full 90-degree rotation and comes in a polished aluminum finish.
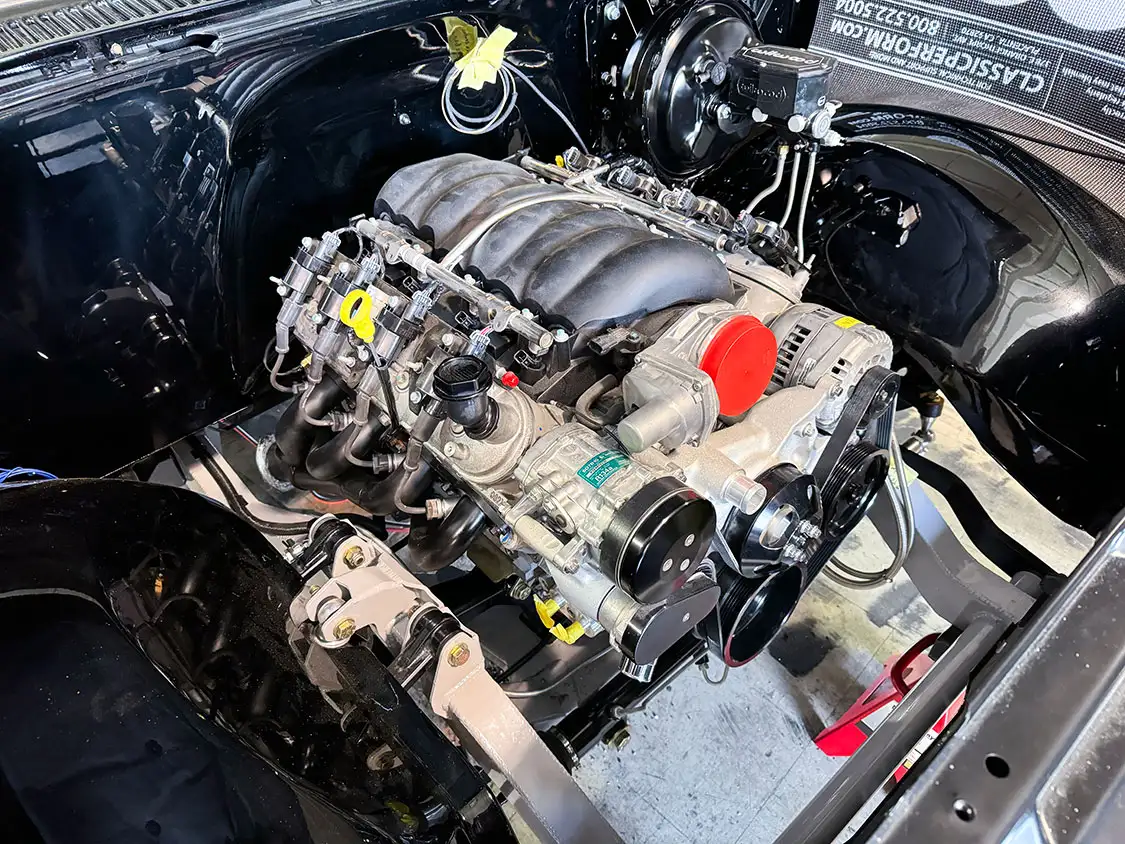
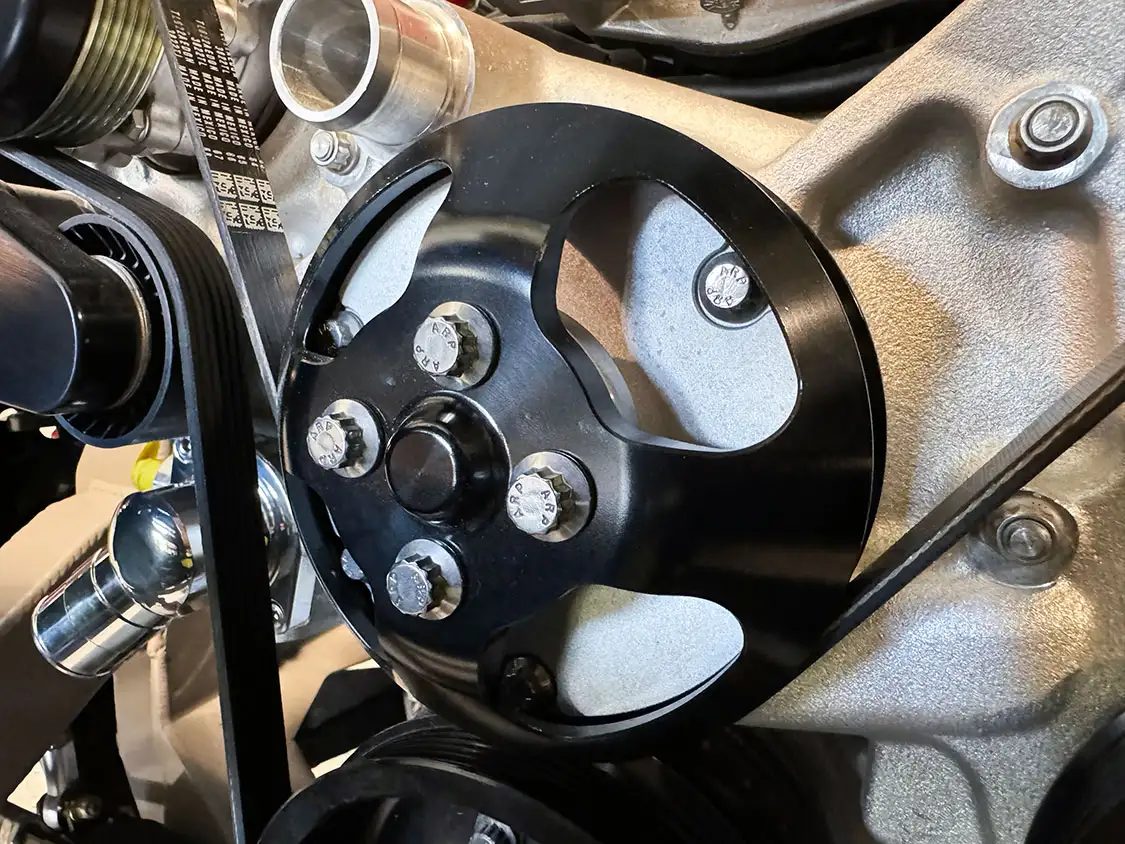
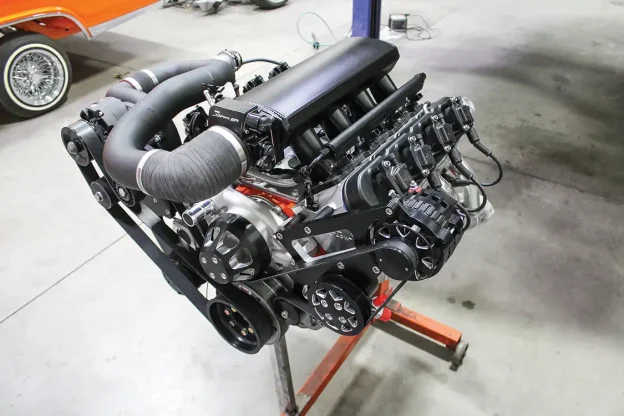
11. The Front Runner kit from Vintage Air eliminates all mounting points beyond the engine block itself and has a super-compact component package that will overcome any intake, exhaust, or cylinder head option problems. By offering a more compact compressor and alternator, plus standardizing to a high-performance water pump, Vintage Air created the smallest drive package ever available.
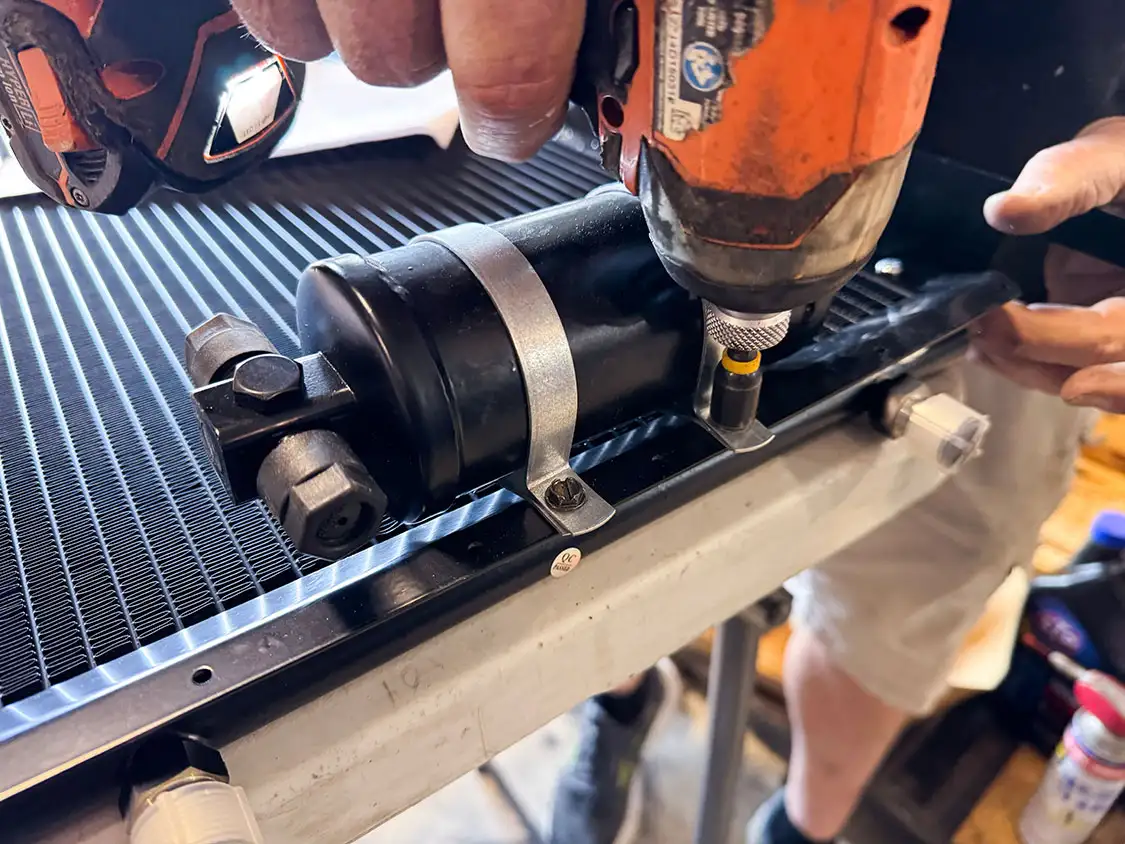
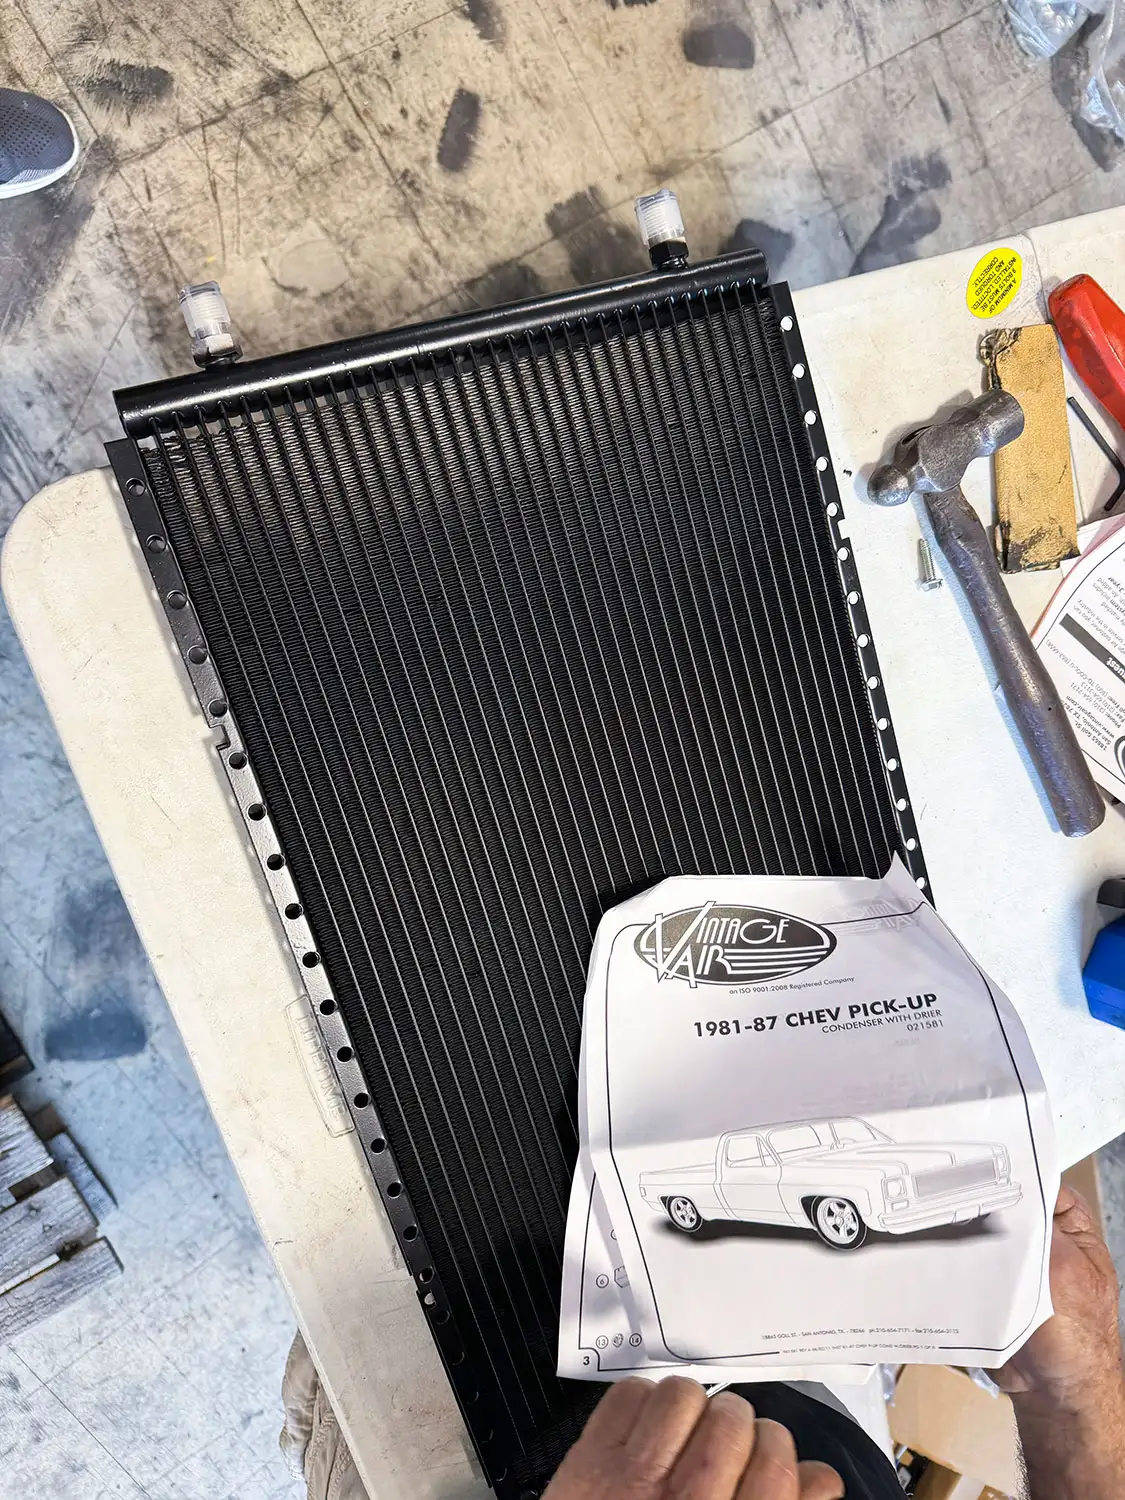
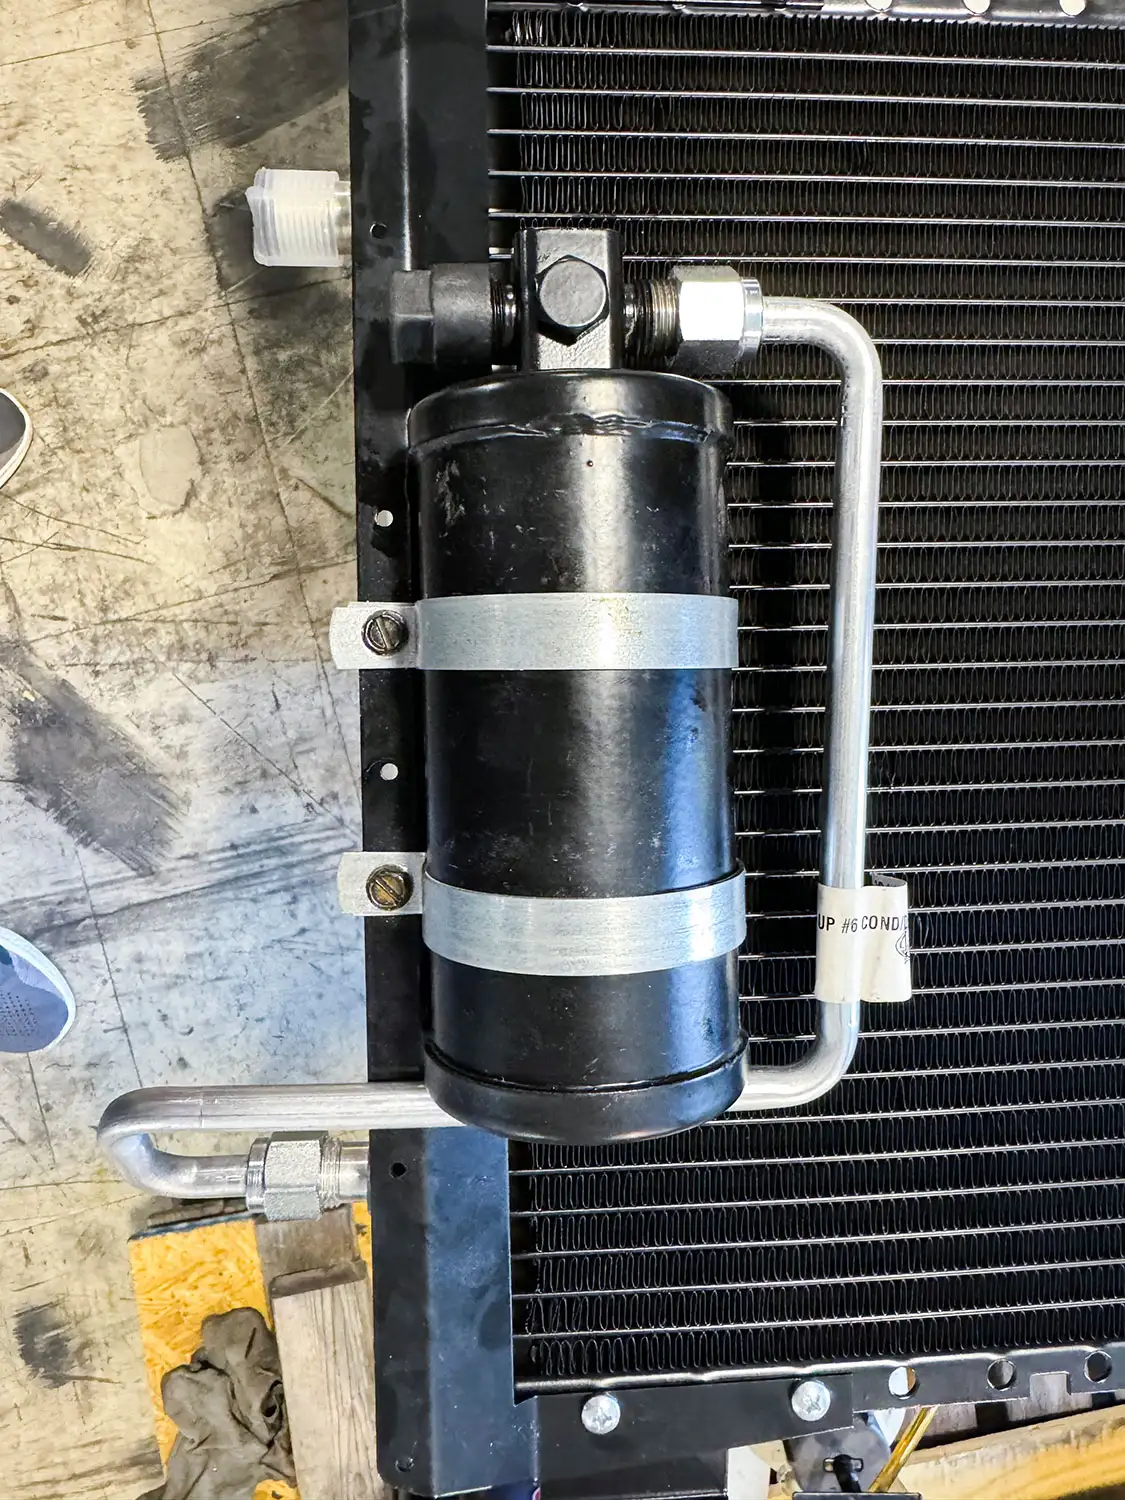
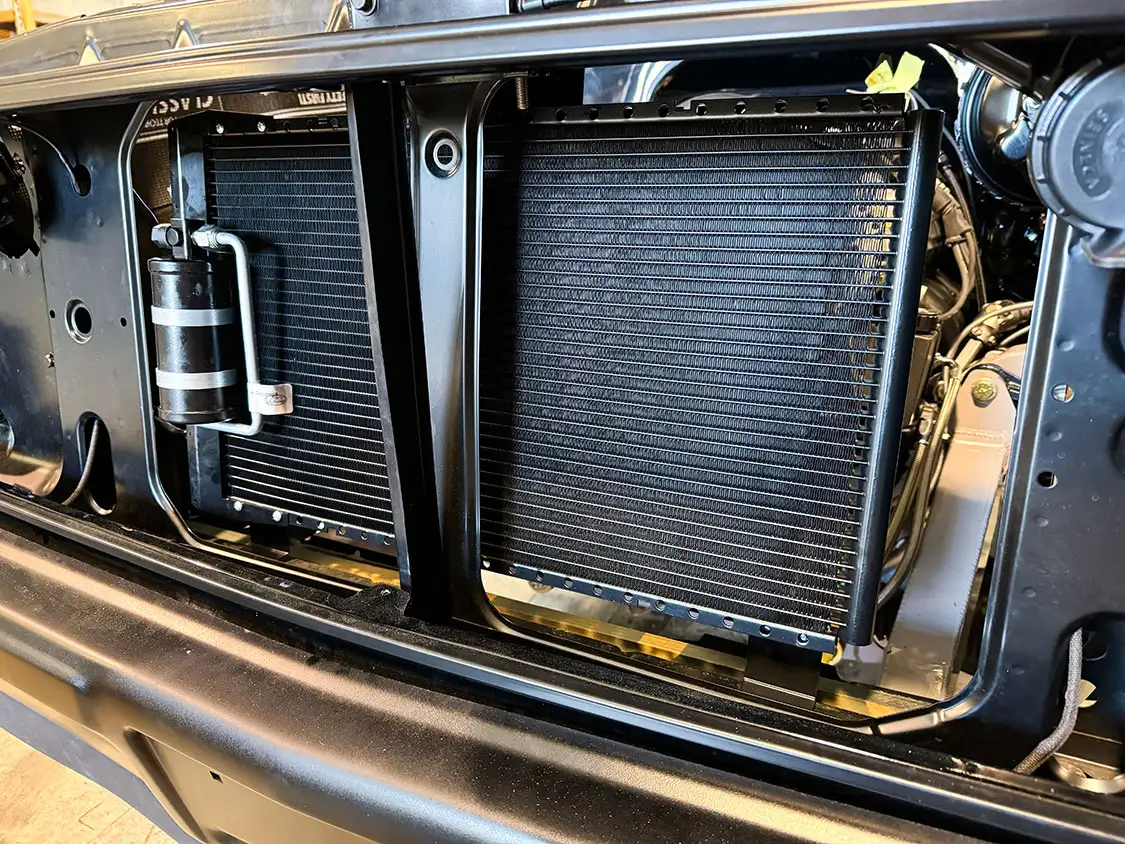
12. Moving on, we assembled our condenser kit. Everything bolted together easily thanks to the well-written instructions. This kit even mounts to the truck using factory holes and locations. No drilling needed!13. The hoses are pre-bent and can be installed to the condenser before installing it into the truck.14. Now we could set the completely assembled condenser into the truck.
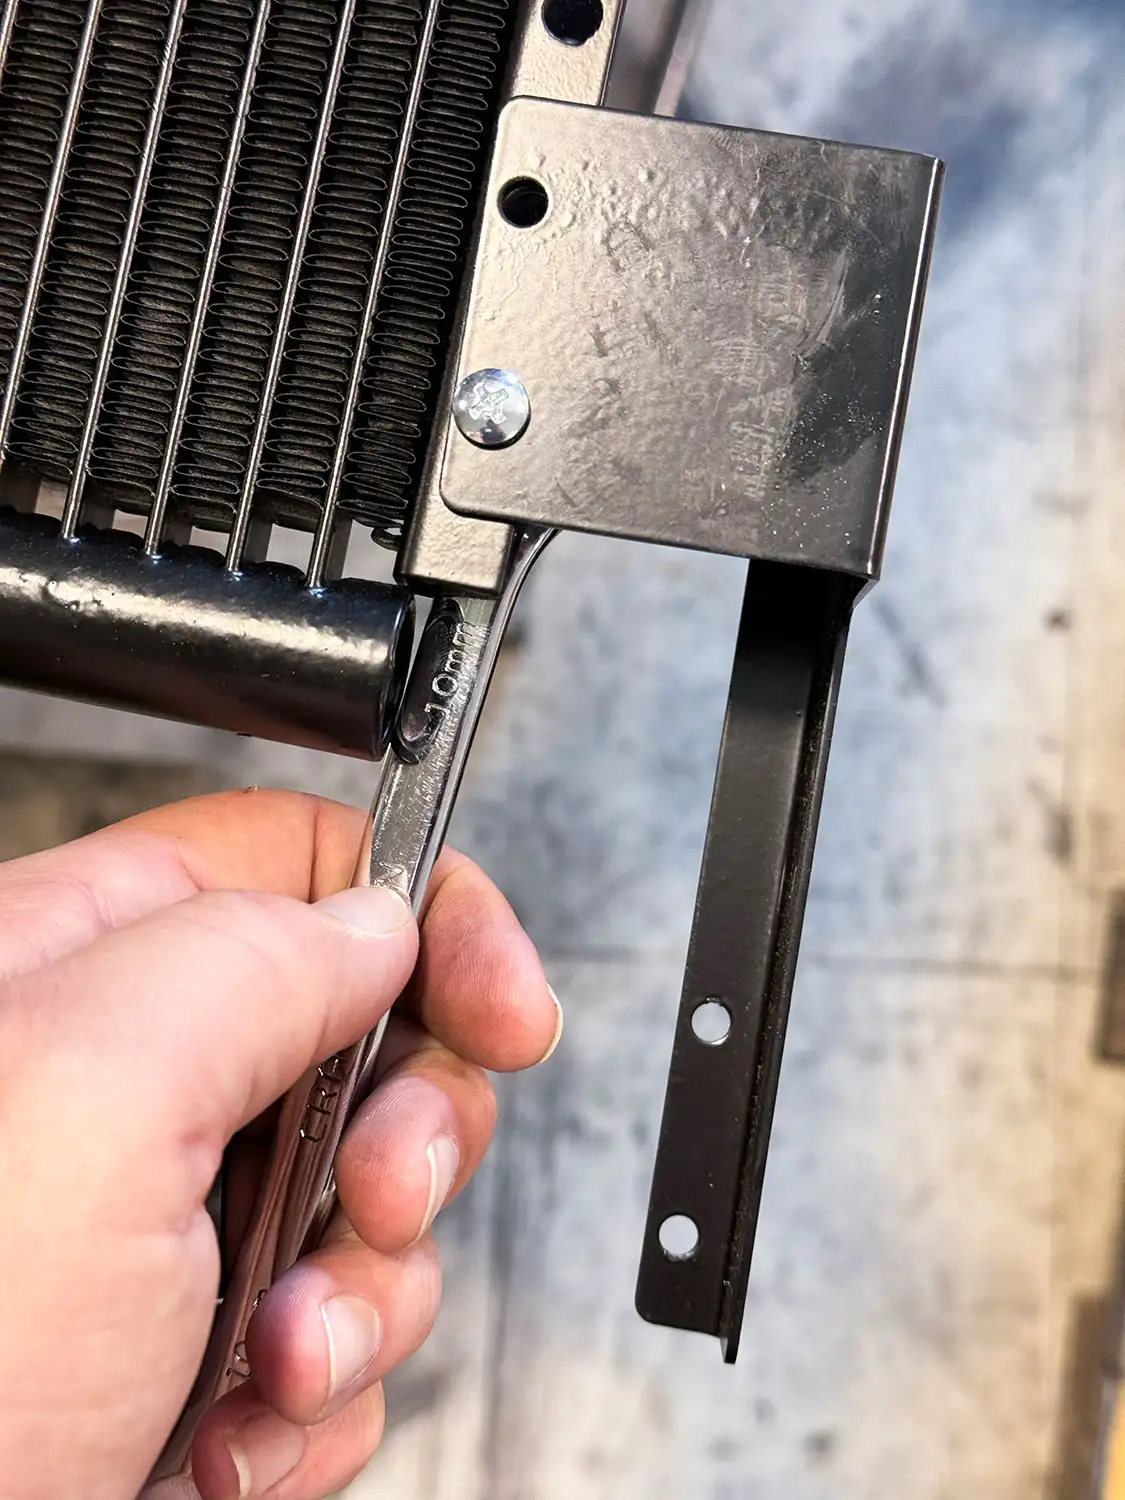
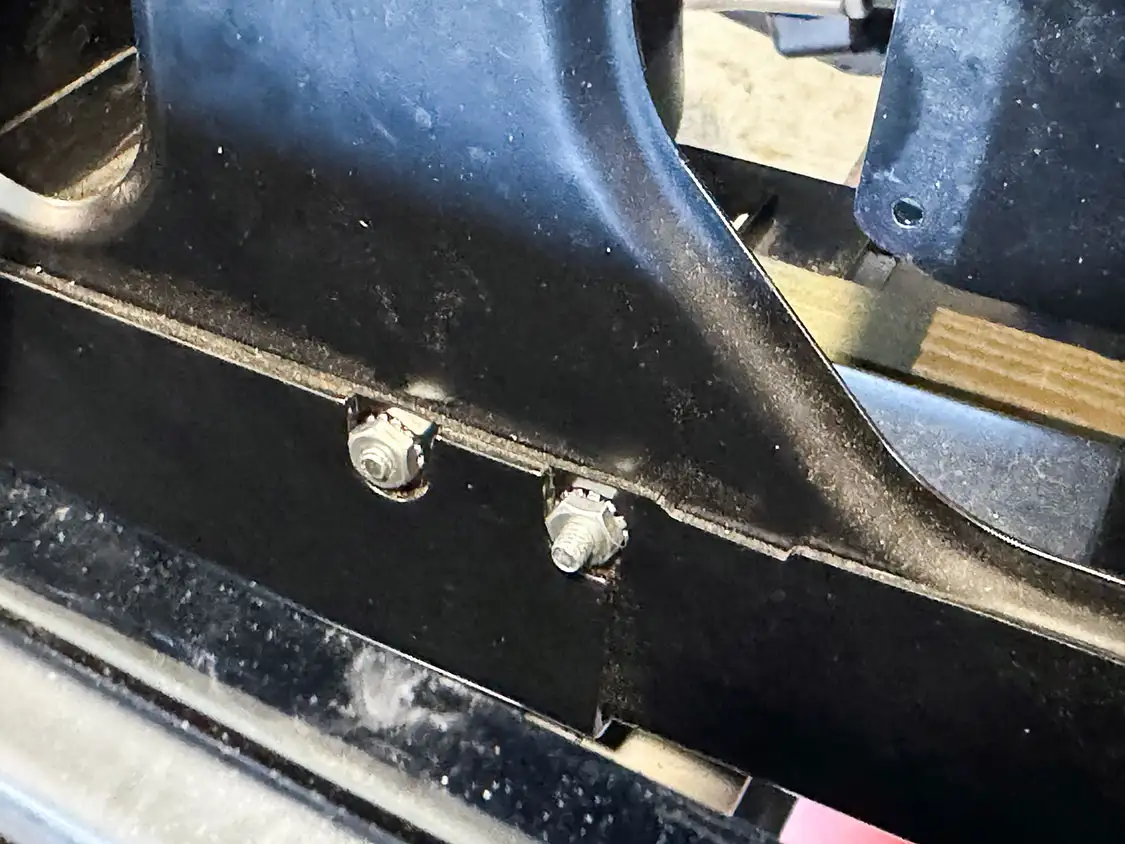
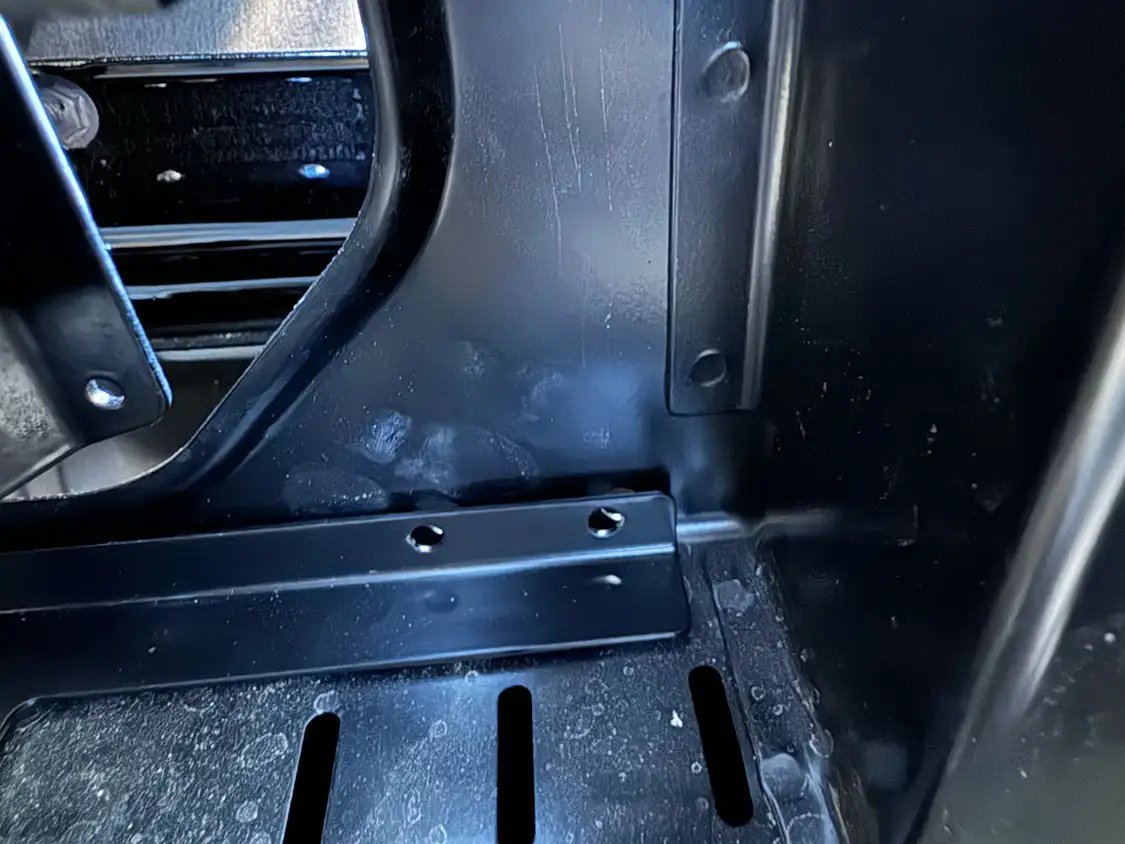
15. The condenser mounted to the truck using these factory supplied holes and hardware that come with the kit.
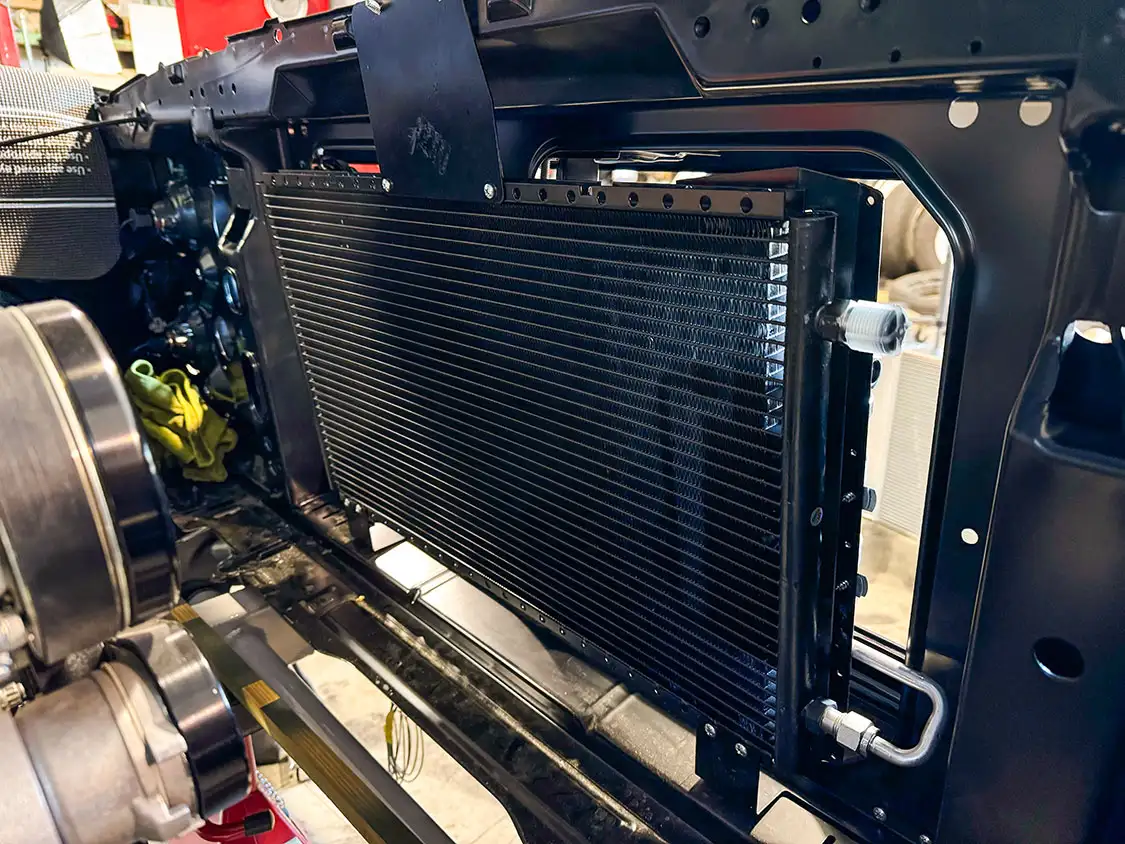
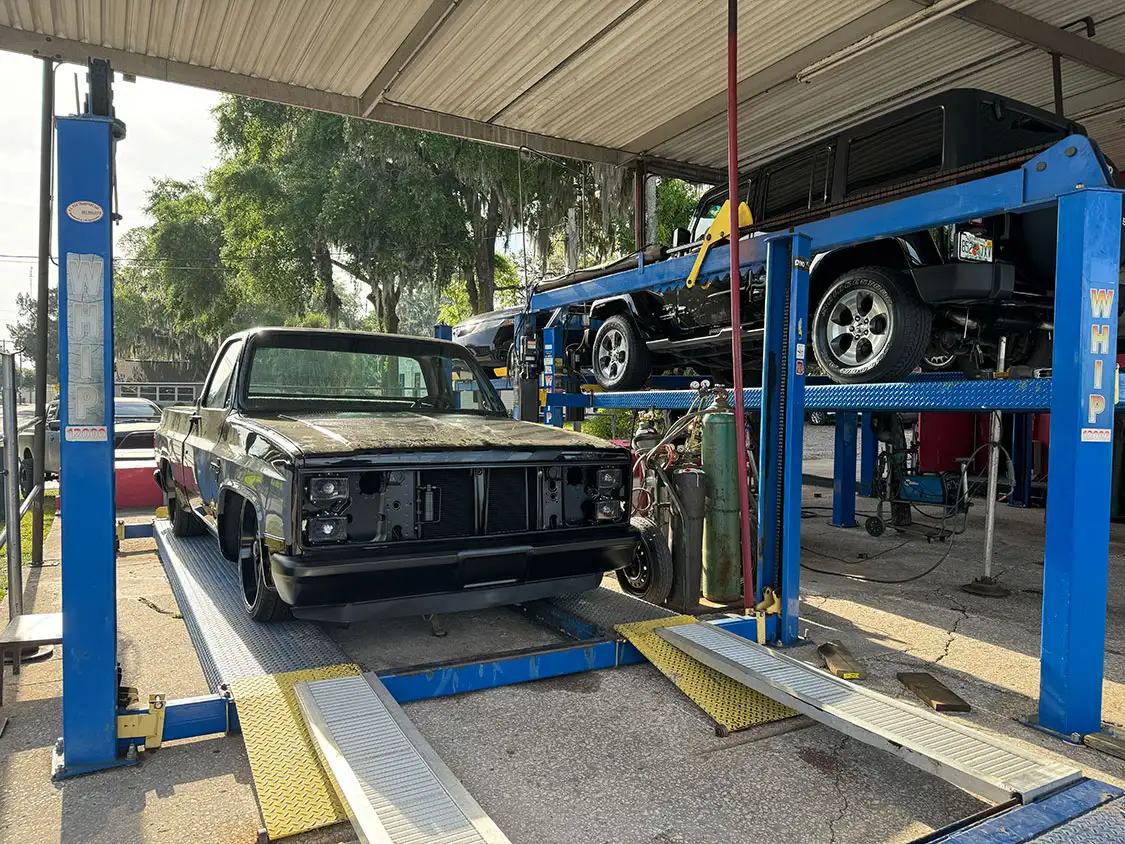
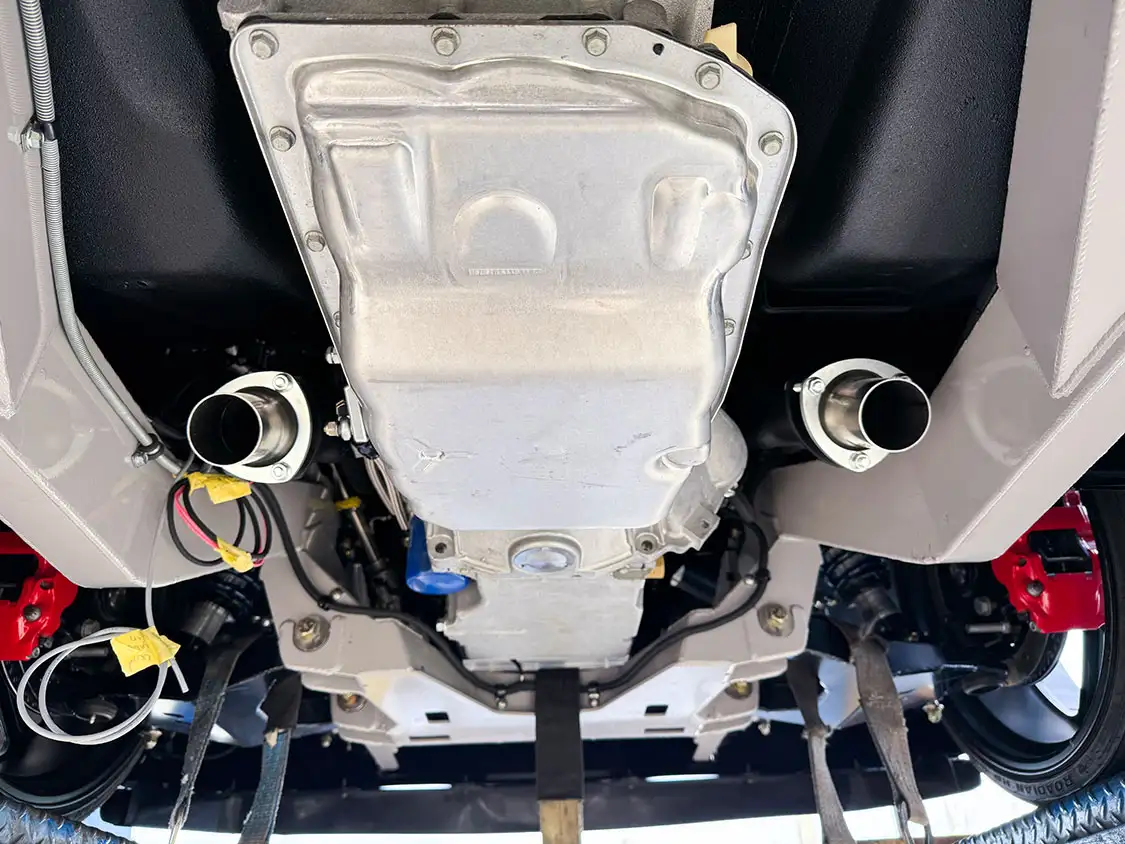
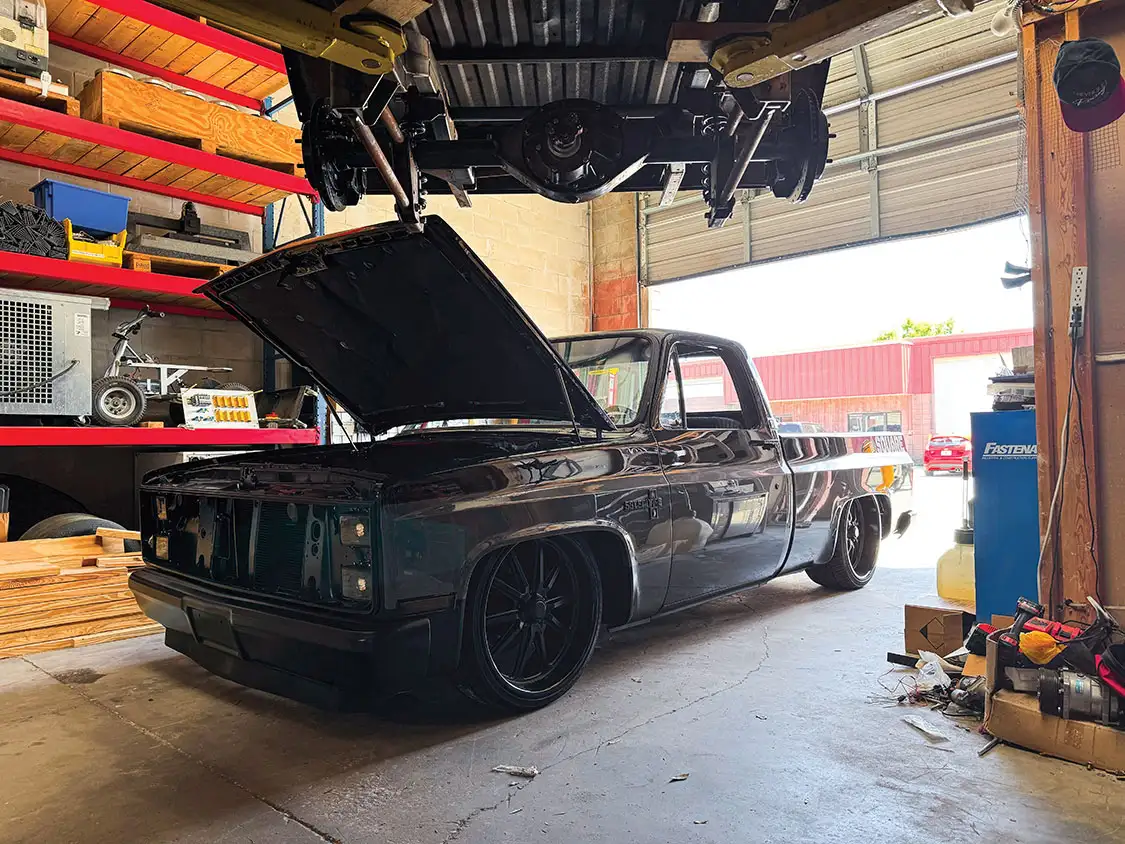
16. Here is an inside and outside look at the fully assembled and installed condenser kit. Now we could simply install the radiator and hook up the hoses from the bulkhead.17. The engine bay was complete and ready to get the new Current Performance engine harness installed. First, we needed to get the exhaust installed so we headed over to Modern Muffler in Ocala, Florida.18. After speaking with the crew at Modern Muffler, we pushed the truck onto the lift and let them get to work.
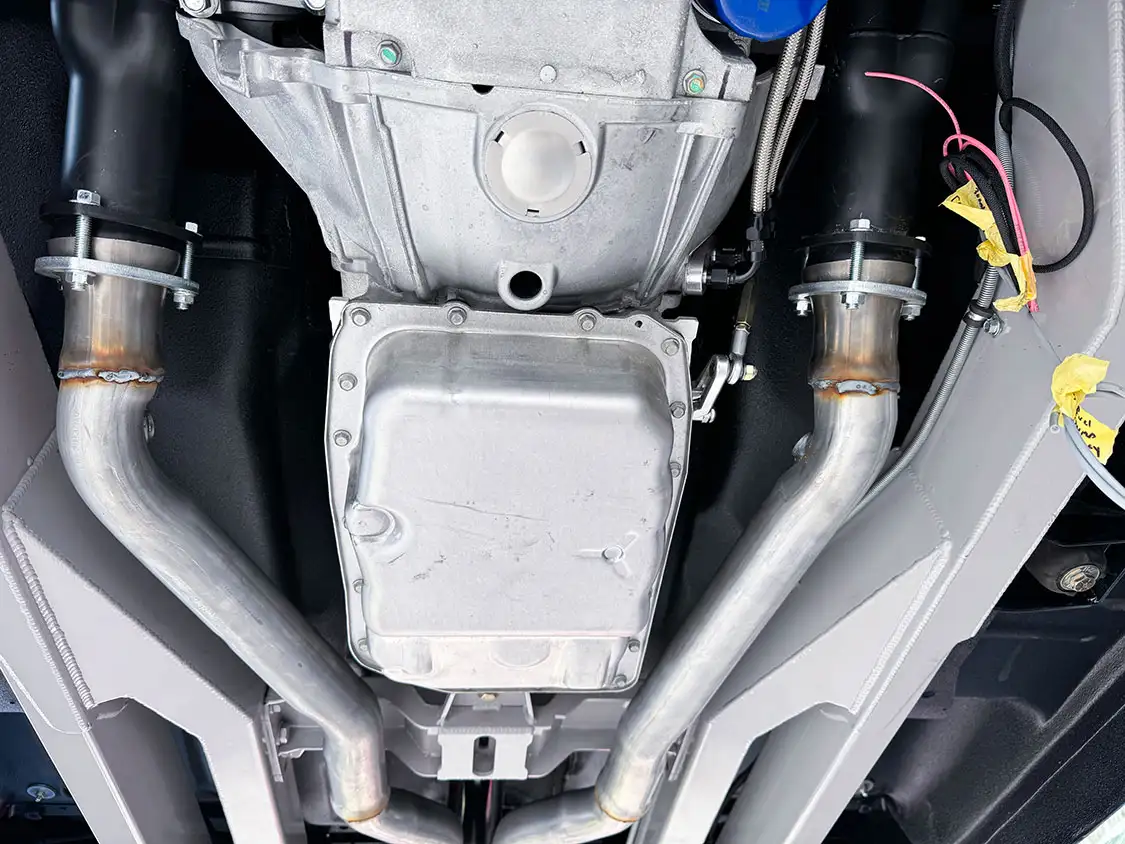
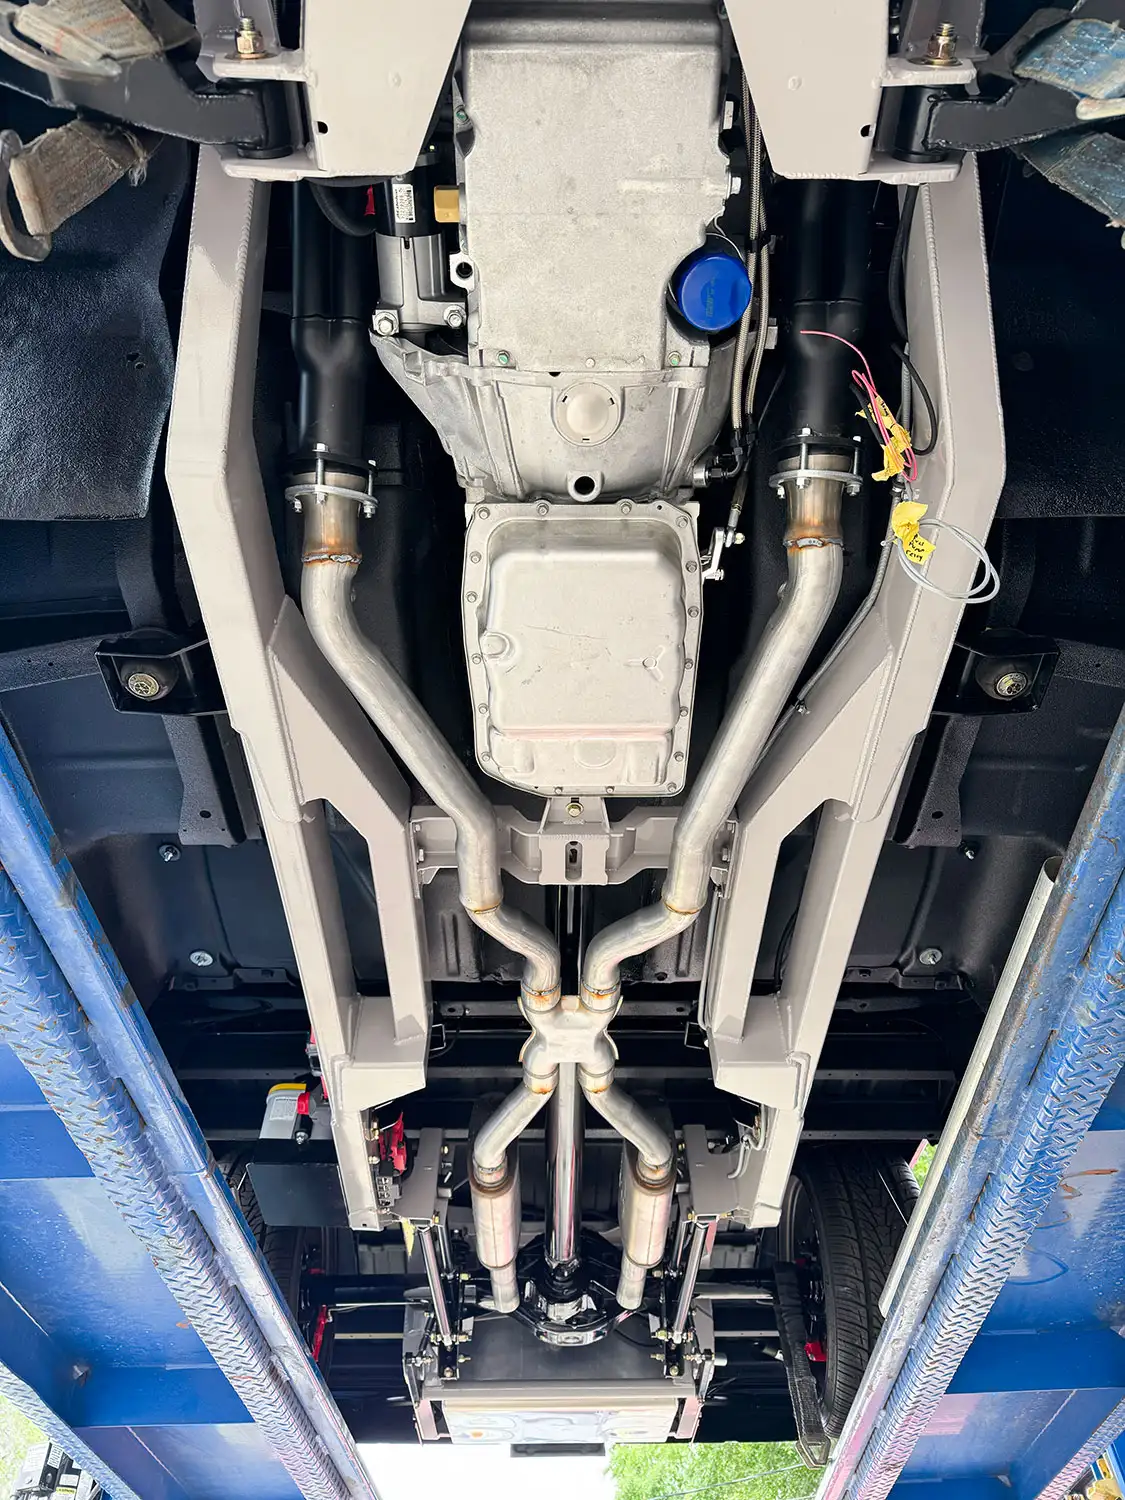
19. Here is a good before and after look of the connections to our Hedman headers.
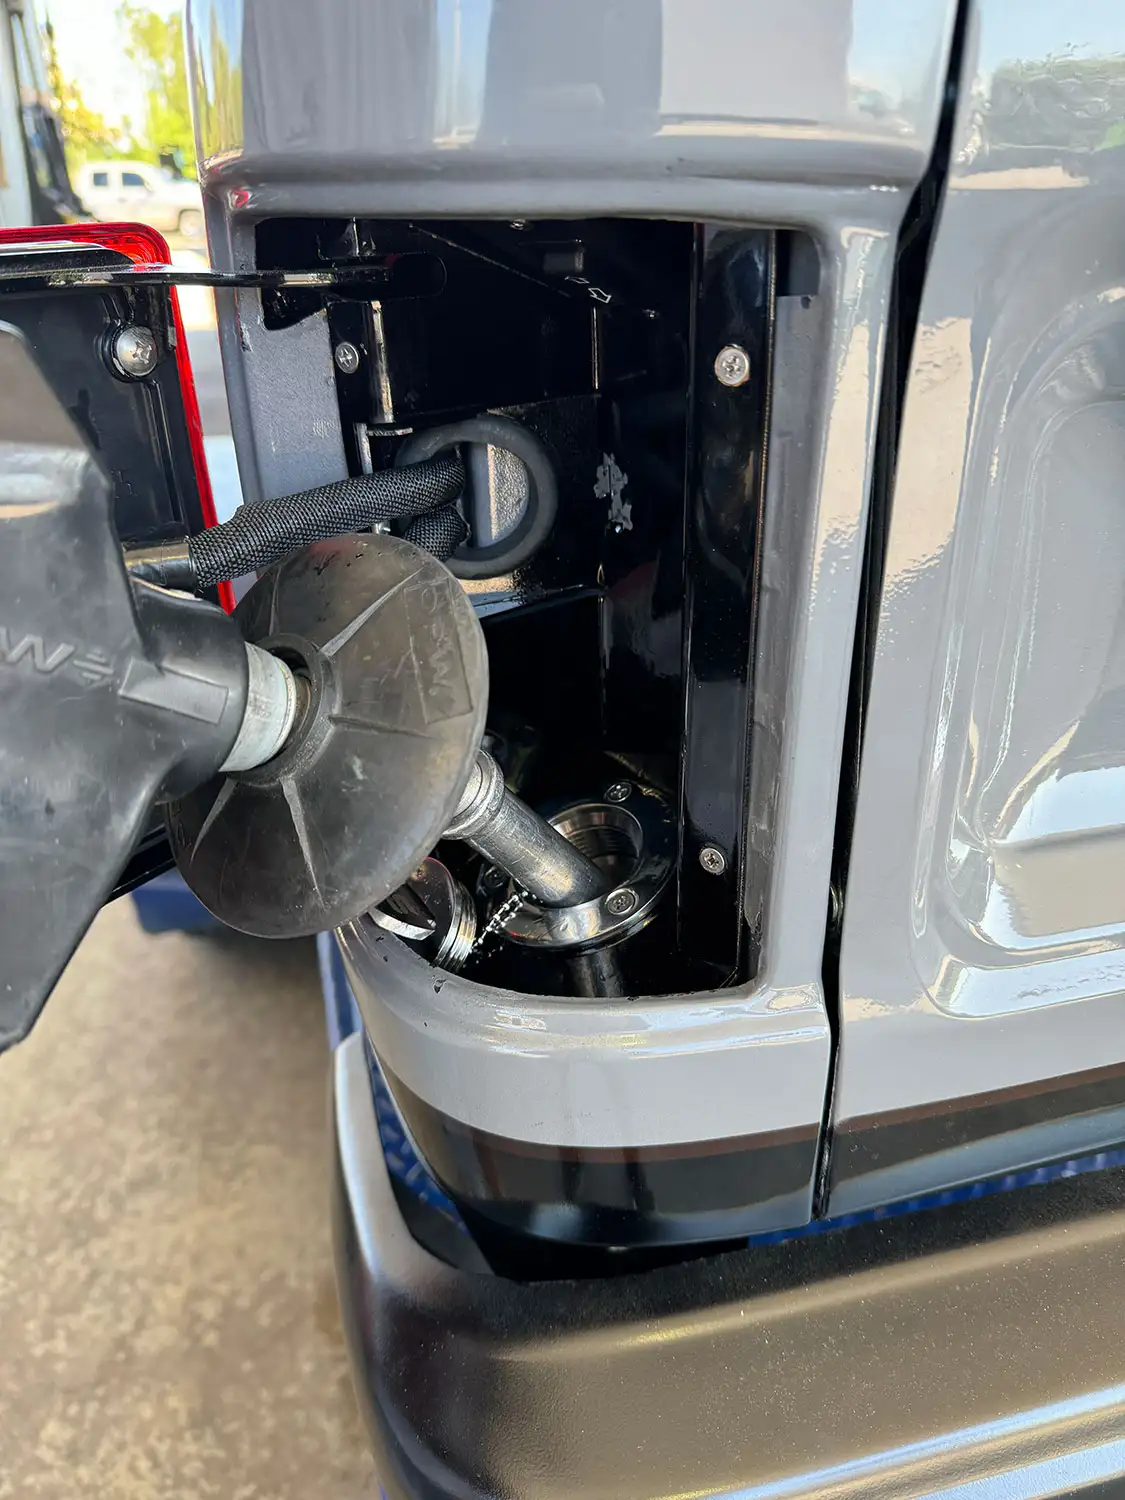
20. With the exhaust complete, it was time to get the truck over to the team at Current Performance. First, we needed to add some gas for the first time through our trick taillight fuel filler door.21. In the next issue, we will show you how simple the team at Current Performance has made the process of installing a LS swap engine harness. See you then!
IN THE NEXT ISSUE, we will show you how simple the team at Current Performance has made the process of installing a LS swap engine harness. See you then!
We use cookies to enhance your browsing experience, serve personalized ads or content, and analyze our traffic. By clicking "Accept All", you consent to our use of cookies. Visit our Cookie Policy for more info.
 Chris Hamilton
.
July 01, 2024
.
Features
Chris Hamilton
.
July 01, 2024
.
Features


Share Link