Up next Apex Leather: Small Town Roots, Big Industry Impact Published on September 26, 2024 Author Corey Decker Tags Auto FX, ClapD2Slapd, Kicker, NET Audio, Sony, Share article Facebook 0 Twitter 0 Mail 0 Revamping A 2004 Chevy Silverado’s Audio: A Step-by-Step Guide Transforming a 2004 Chevy Silverado into a Mobile Concert Hall 
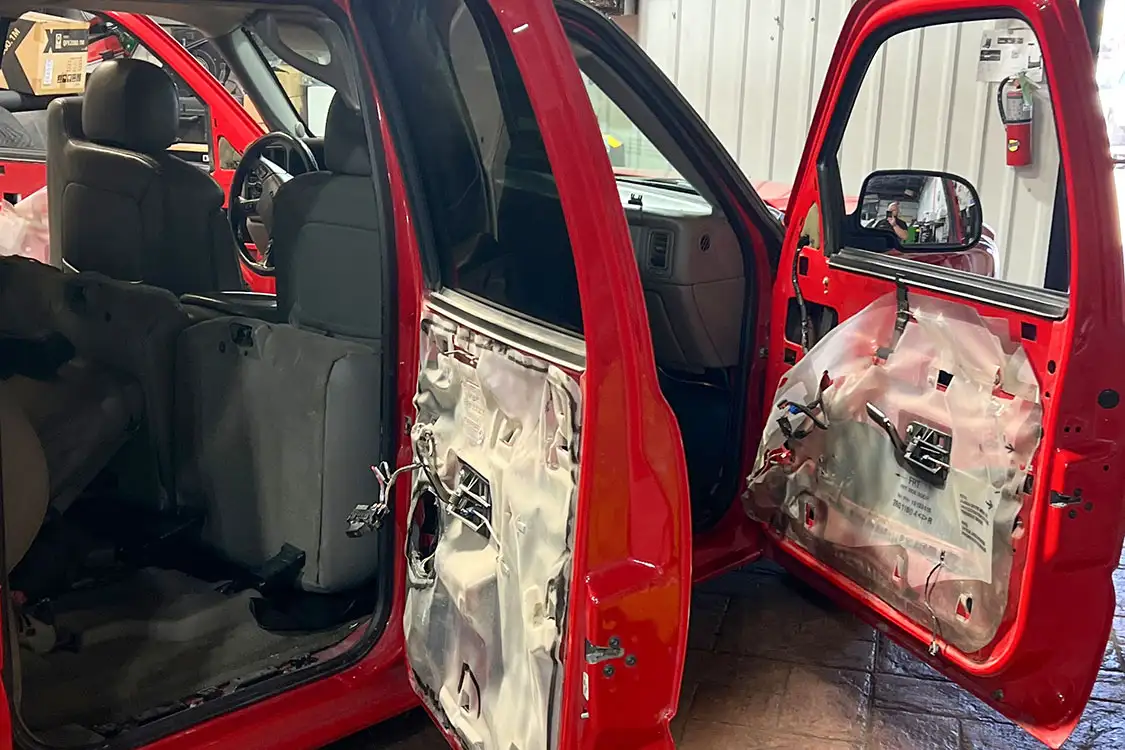
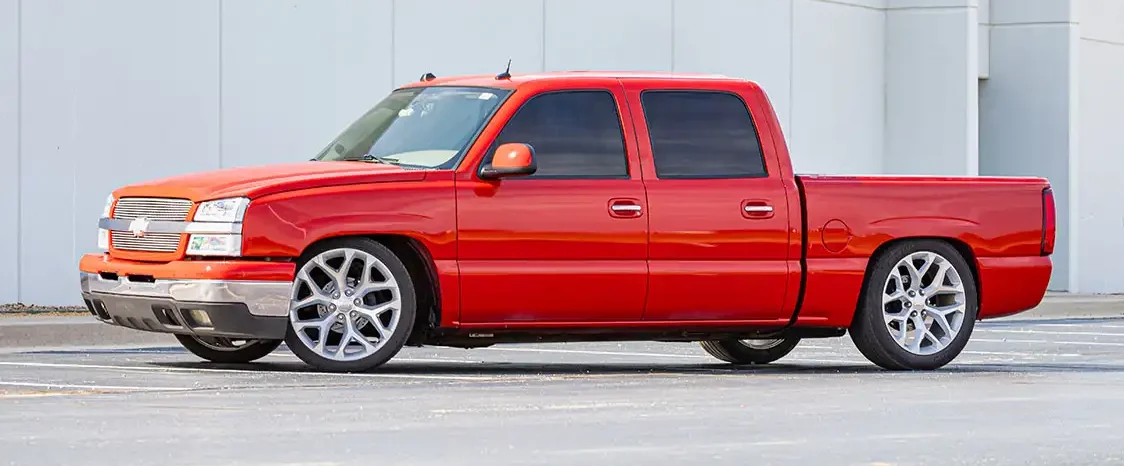
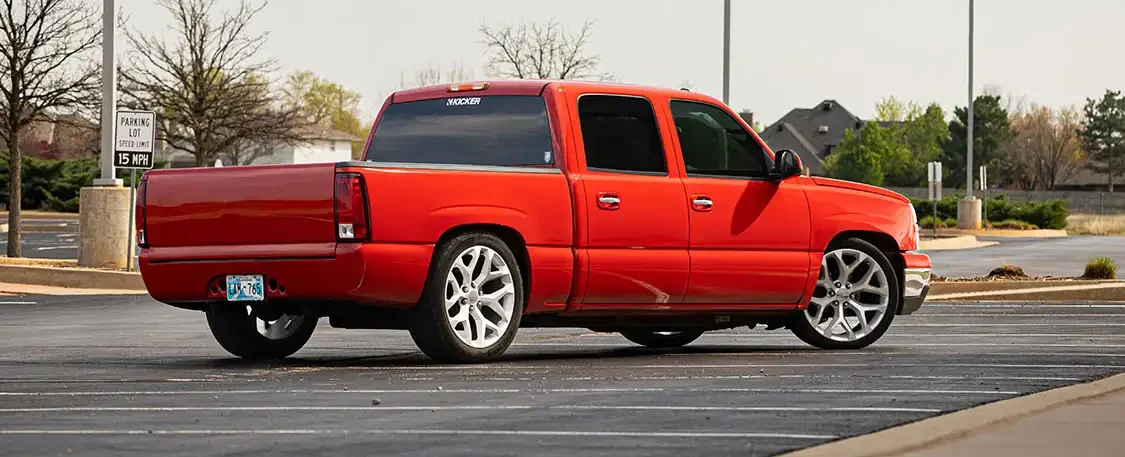
Upgrading the audio in my 2004 Chevrolet crew cab, affectionately named ClapD2Slapd, has been a long-awaited project. For many, a vehicle is merely a mode of transportation, but for enthusiasts like myself, it serves as a canvas for self-expression. Despite its age and lack of modern features, I cherish every moment spent in my truck and sought to enhance its audio experience. 
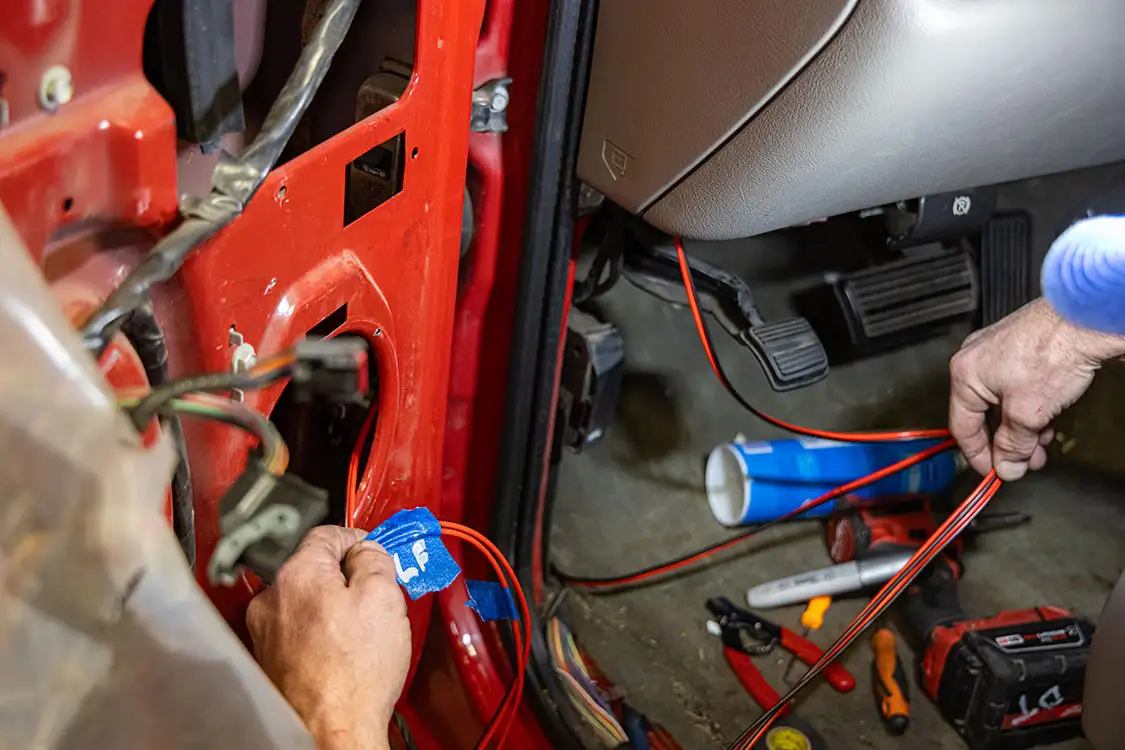
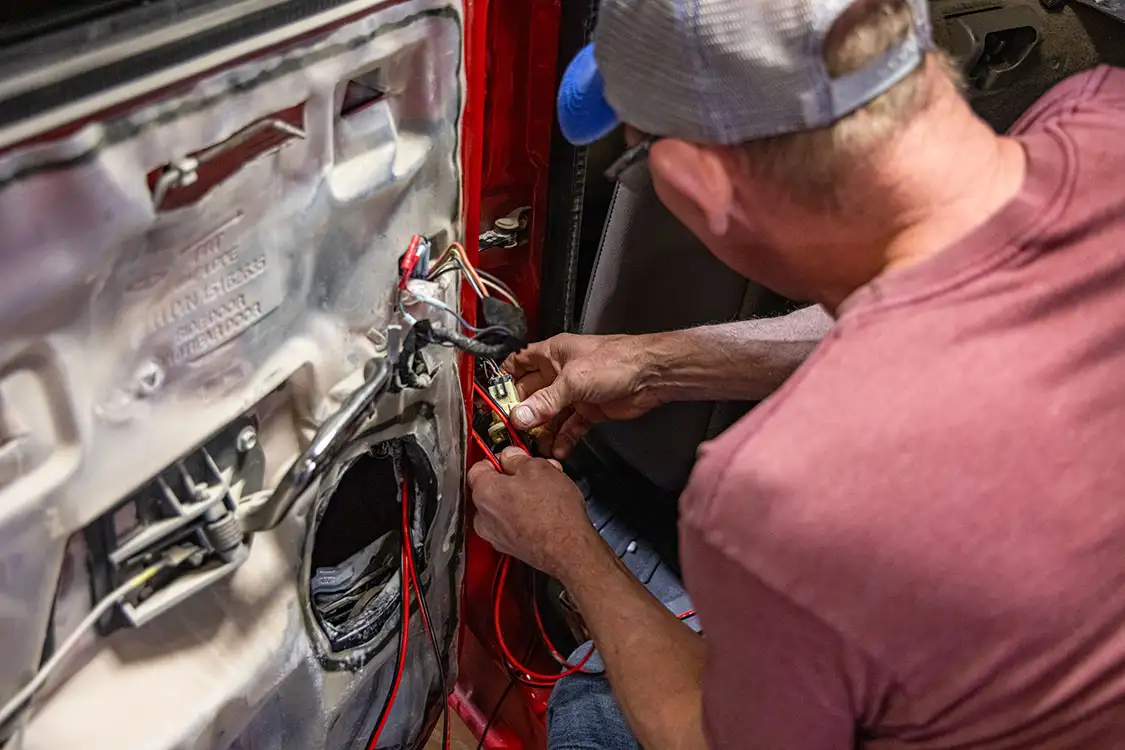
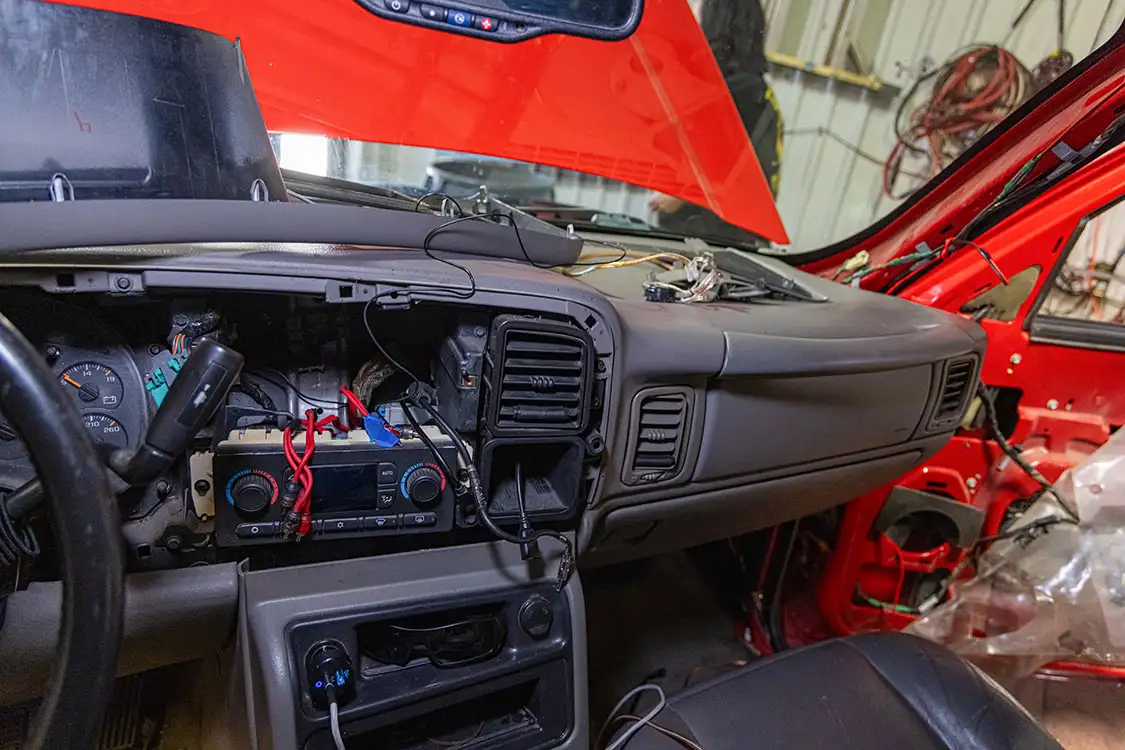
Early on, I realized that upgrading the stereo system would be challenging due to limited airspace and subwoofer placement options. I aimed to avoid major modifications because I have a family and wanted to be able to utilize my entire back seat. My priority was to remove the outdated subwoofer from the back seat, upgrade the door speakers for premium sound quality, and integrate wireless Apple CarPlay for seamless connectivity.Subscribe to our weekly newsletter 
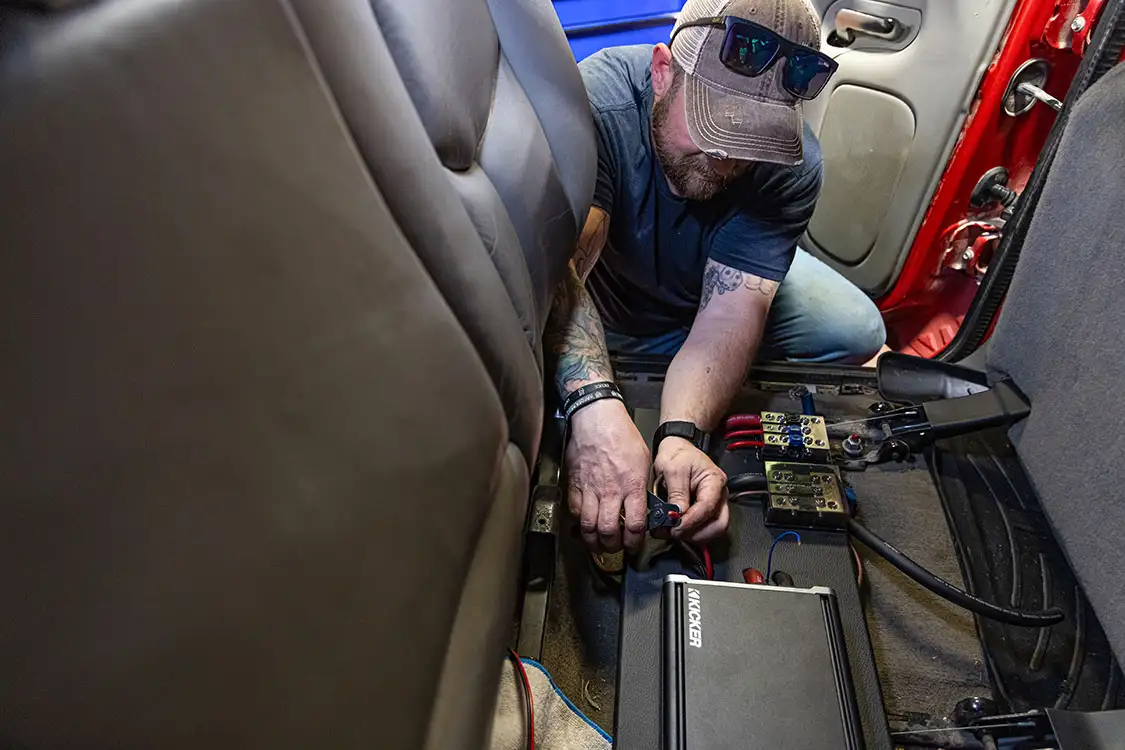
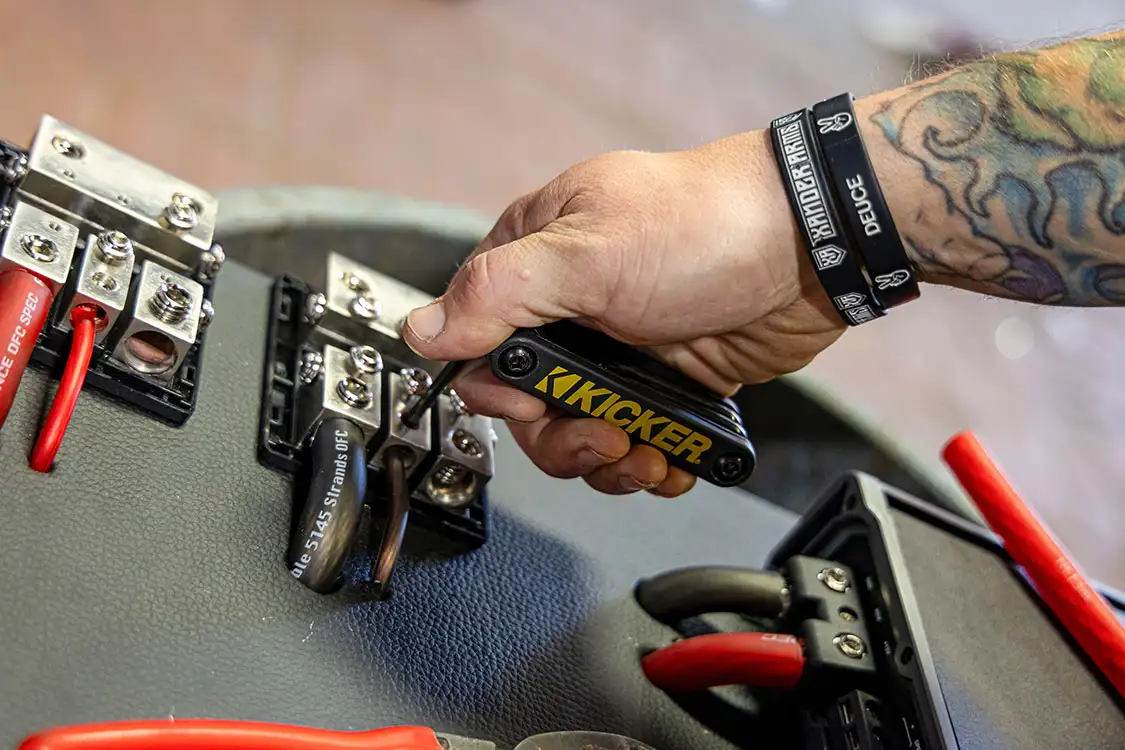
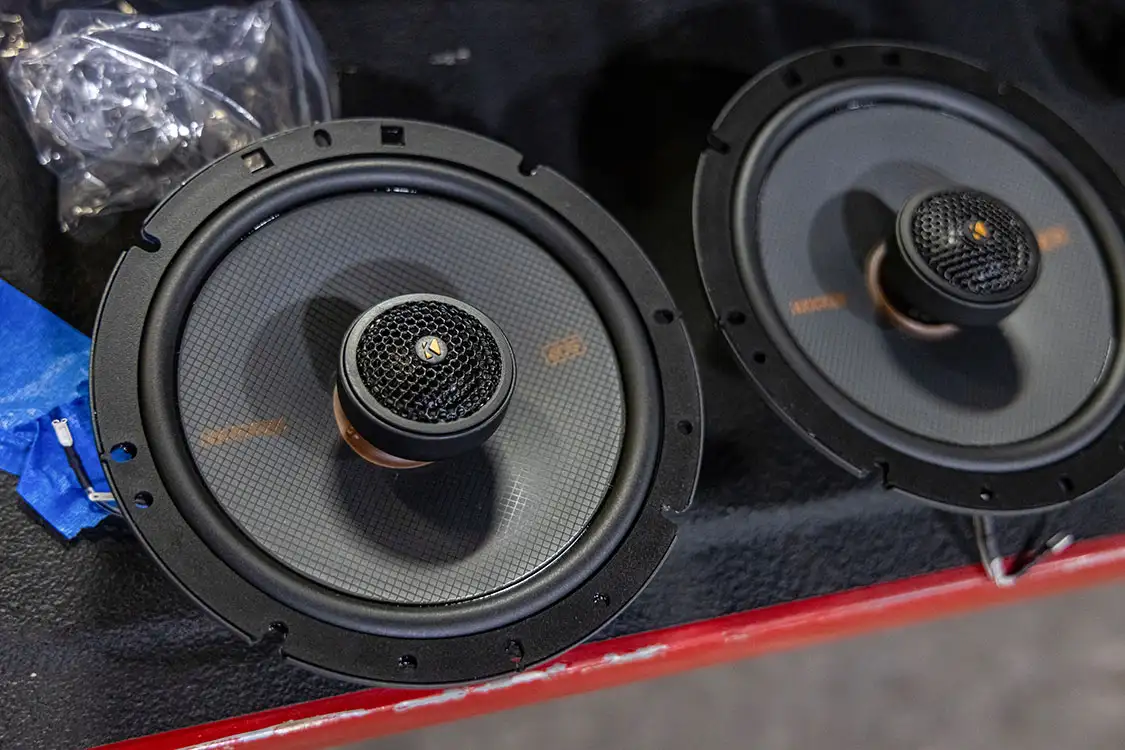
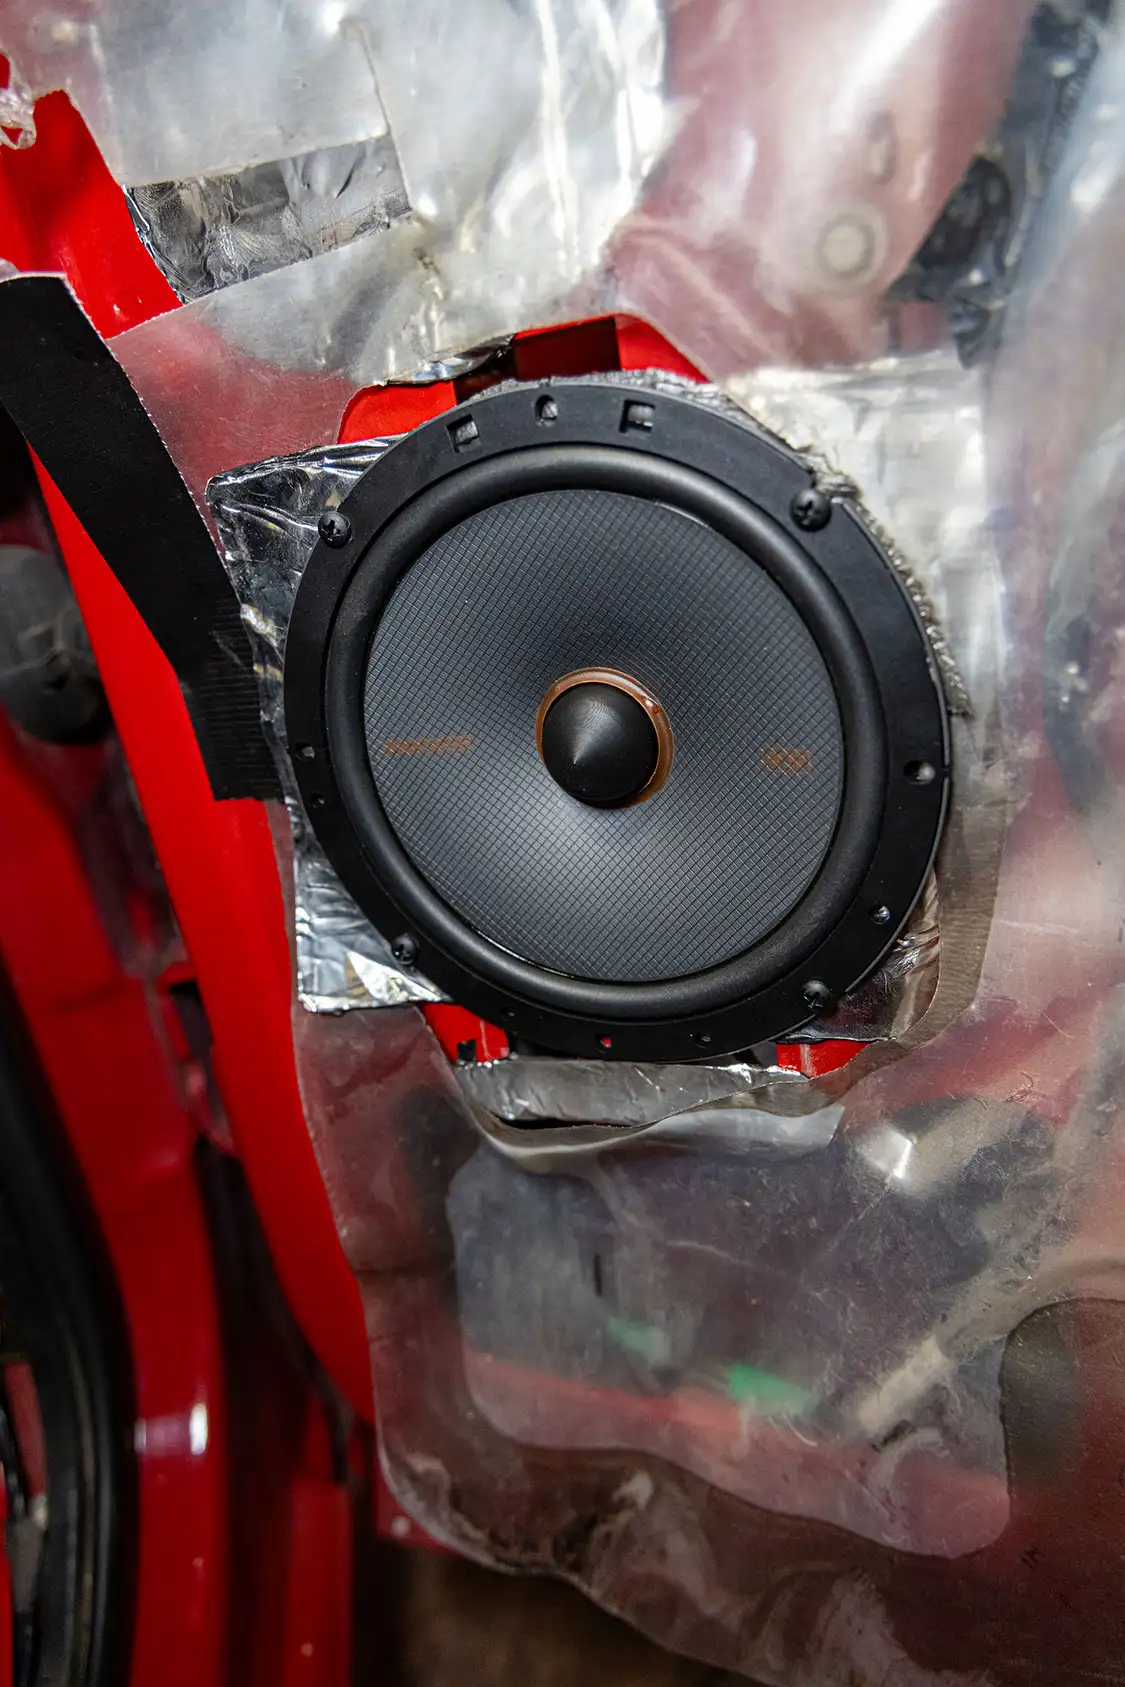
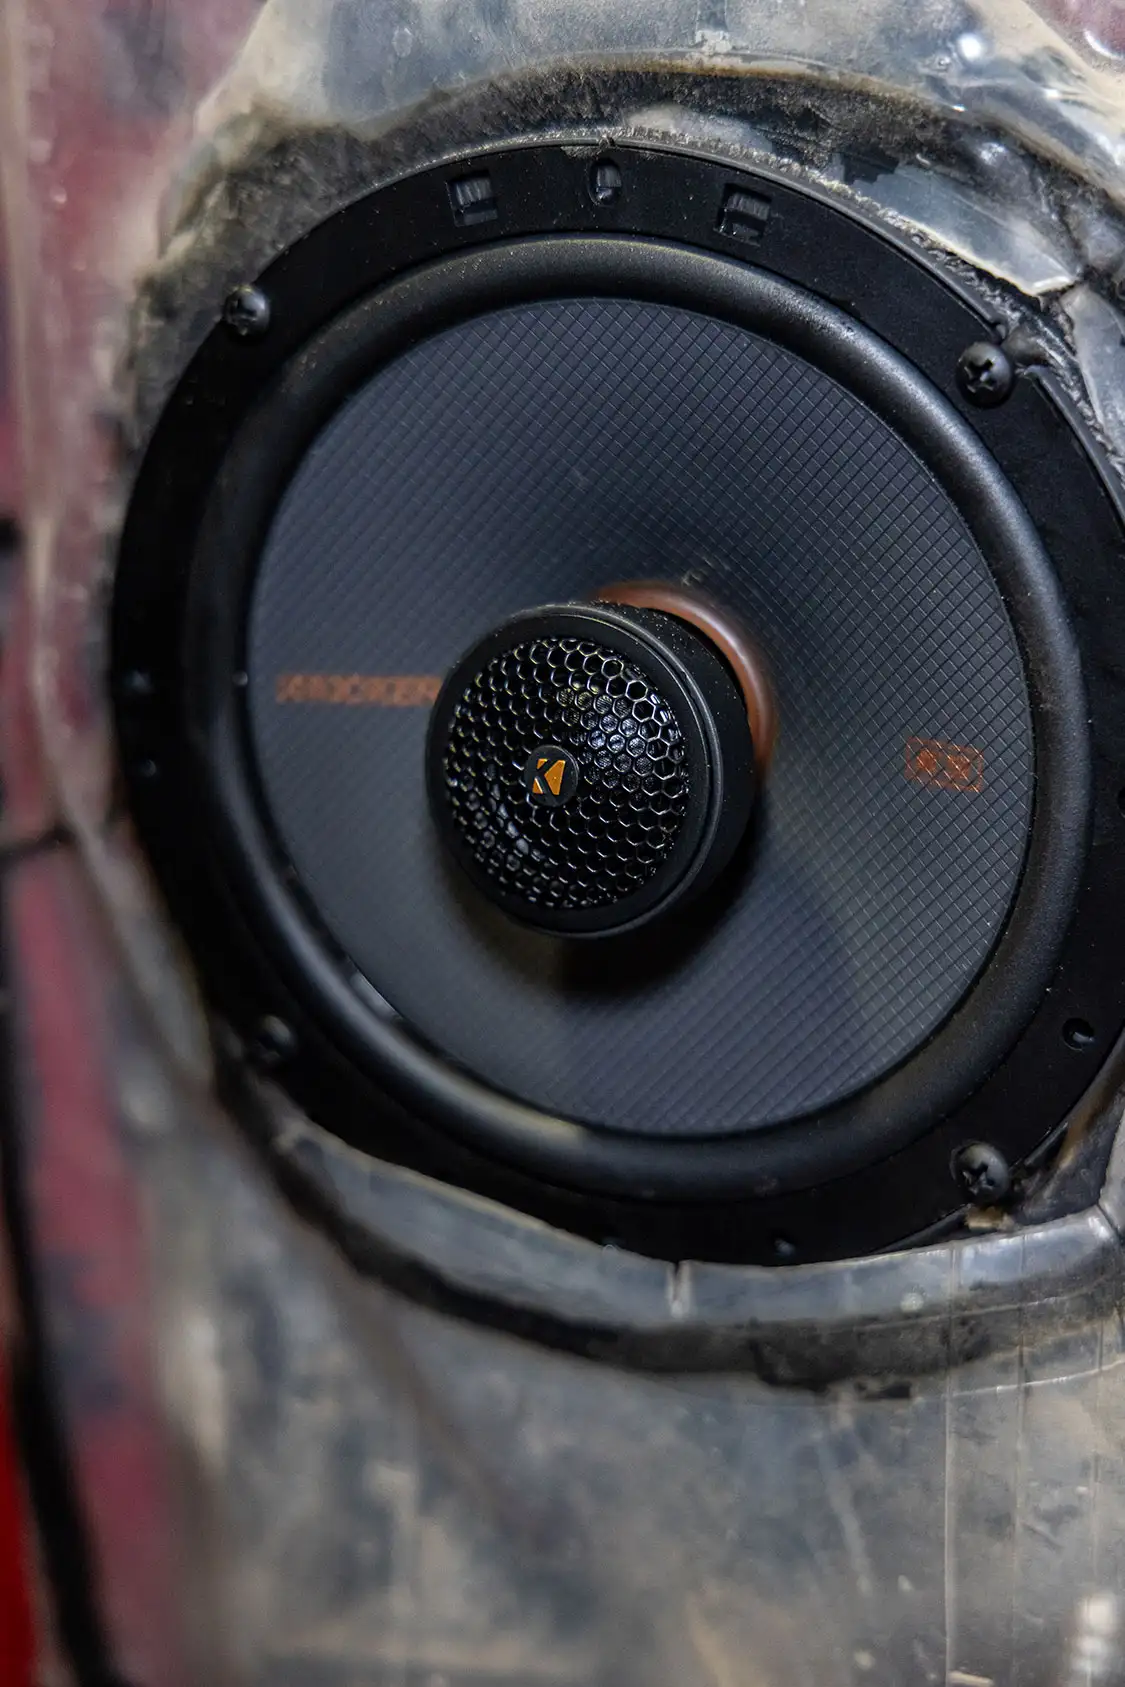
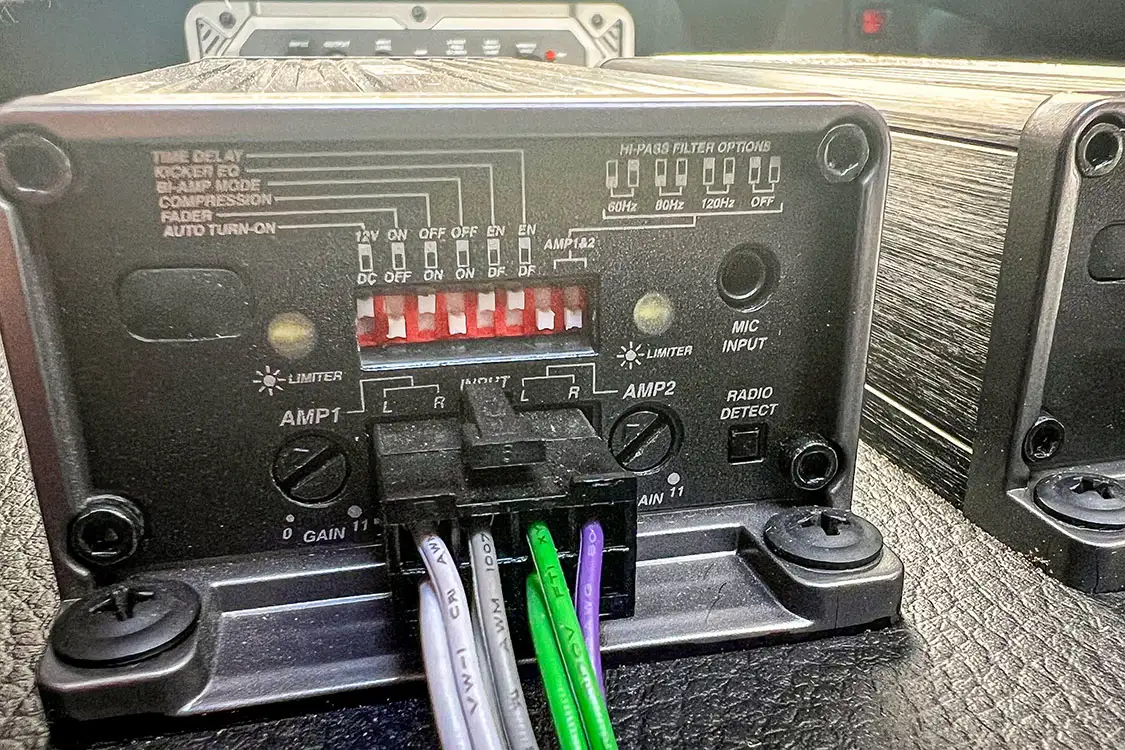
First, I worked with Tim at Kicker to piece together the best package for my truck’s anatomy. A walled-off back seat was not going to be feasible, considering this is my daily driver that I take my kids to school in. We went with two sets of the KSS670 6.75-inch component speaker systems and a KEY200.4 Smart 4-channel amplifier for each set for the mids and highs. 
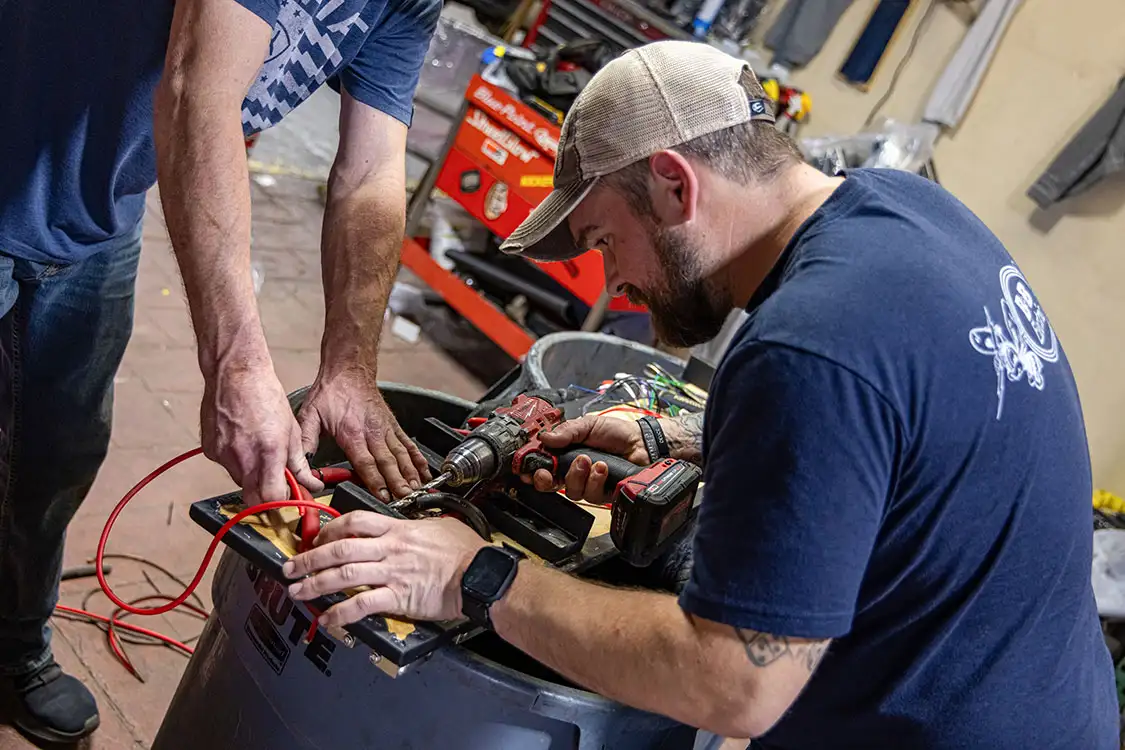
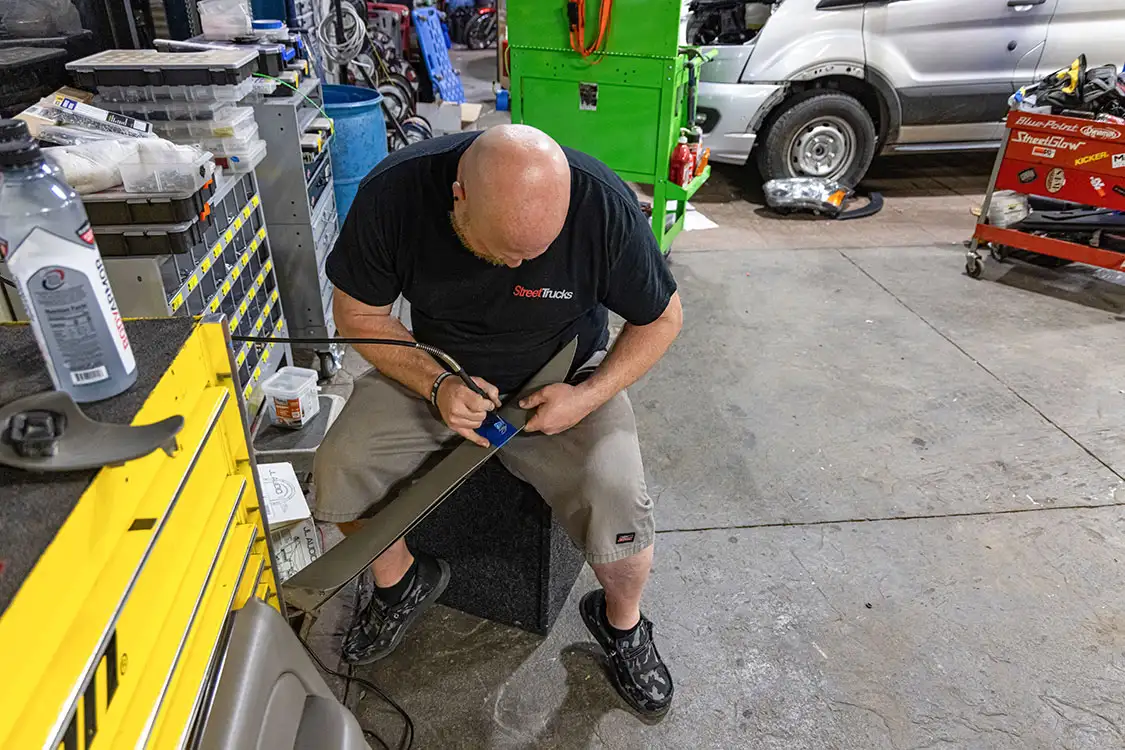
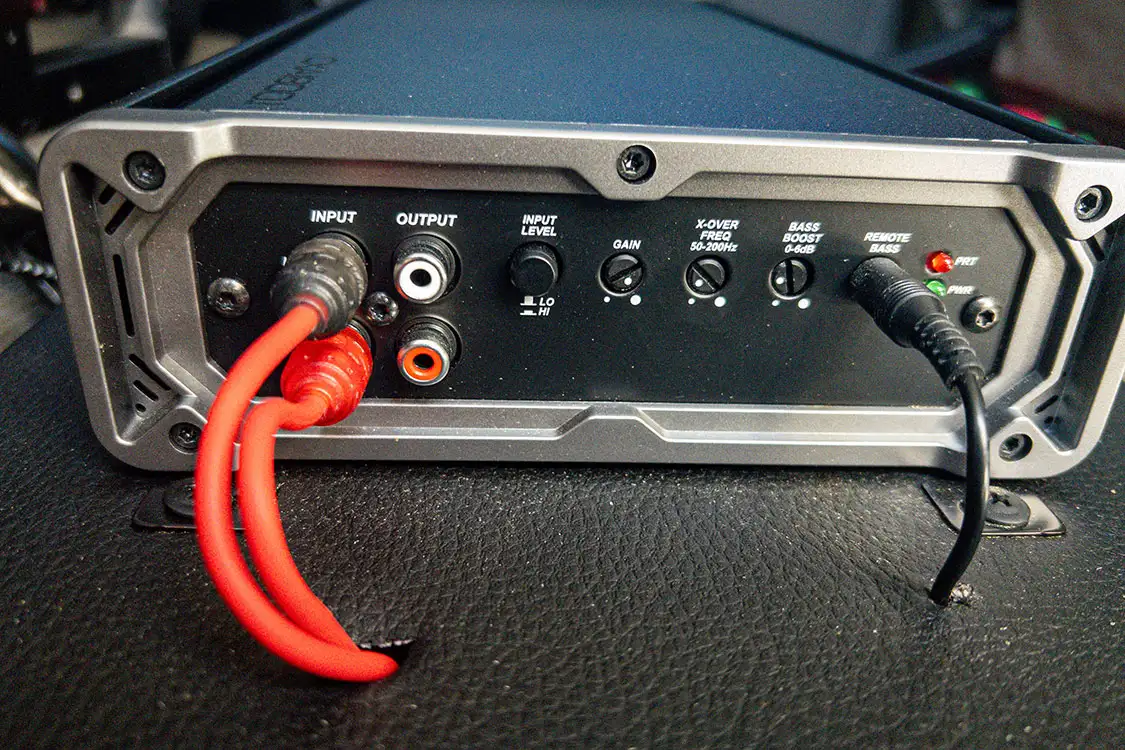
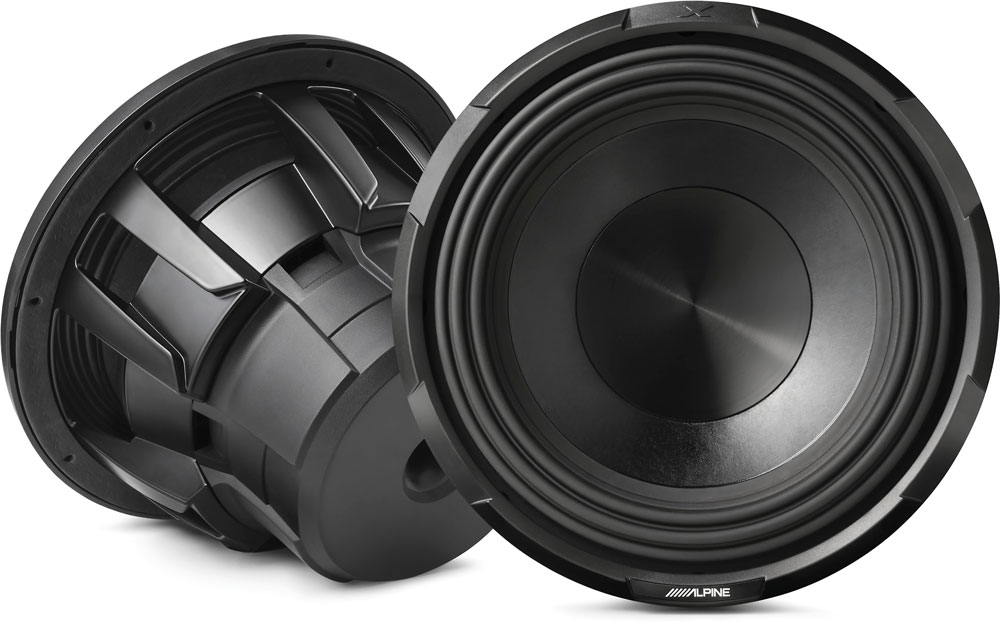
Then, we had to look at the bass. I have always been a fan of the sound of a 12, but there are not many 12-inch subwoofers out there that will fit in such a small space. That led me to Paul Morgan at NET Audio, who is renowned for his expertise in airspace management. Paul has been building sub boxes for trucks for over 20 years. When I told him my idea for two 12-inch L7Ts, he was able to tell me right away that I had just enough space to make that happen. Tim said if the 12s are the route we are going, the CX1800.1 was the amp to power them. 
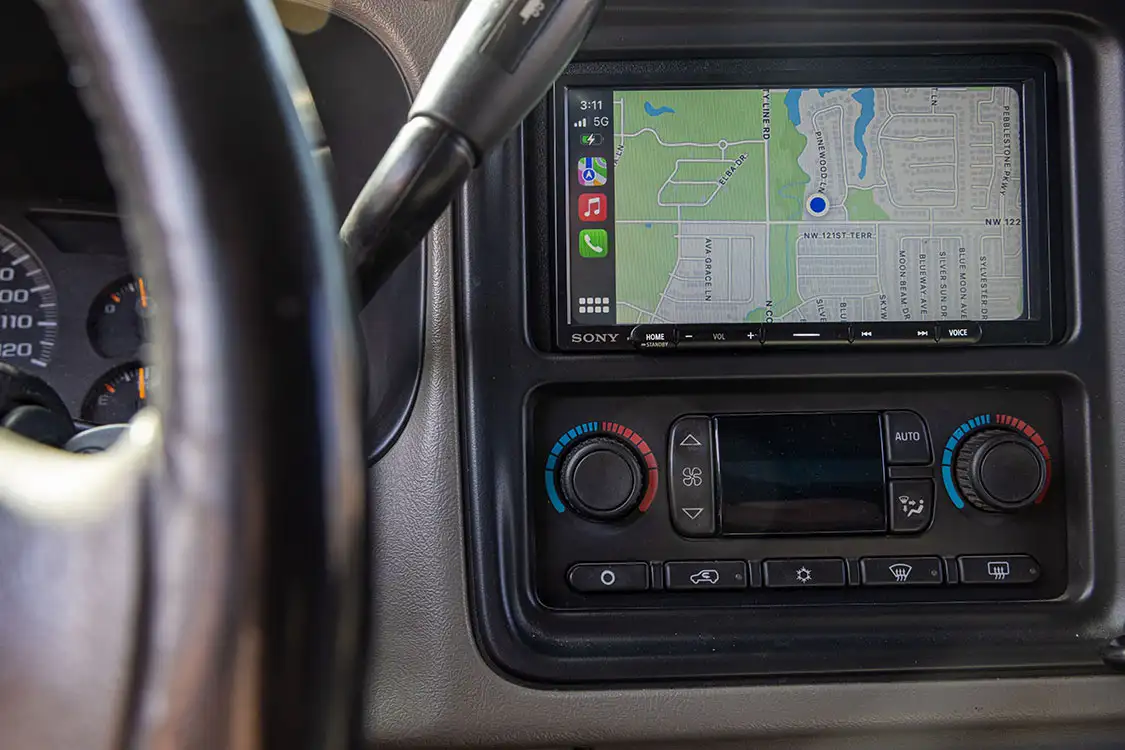
I reached out to Sony to discuss my plans and what I was hoping to accomplish. After our conversation, Sony promptly sent out a head unit that was sleek and up-to-date, and was equipped with wireless Apple CarPlay and Android Auto functionalities. Sony’s responsiveness and provision of a cutting-edge product demonstrated its commitment to meeting my needs and ensuring a seamless driving experience. My final stop was at Auto FX—my trusted local audio shop owned by my friend Billy. With his assistance and the high-quality components from Kicker, NET Audio, and Sony, I successfully assembled a premium audio system. With this guide, you too can achieve concert-grade sound in your own truck. Here’s a step-by-step breakdown to help you get started. REAR Build an amp rack and assemble the amplifiers onto it. Pre-wire the amplifiers before bringing the vehicle into the shop. Disassembly and Safety Precautions Disconnect the power and ground to ensure there is no electricity running through the vehicle during the installation process. Wiring Installation Run wires from each door and A-pillar to the location where the amplifiers will be installed. Ensure proper routing, especially through the firewall, for power and signal wires. TIP: Label each wire as you go to prevent confusion. Tweeter Integration Attach tweeters to the rear speakers to create a coaxial setup, simplifying installation and placement for the rear speakers. Add the tweeters into the A-pillars for the front speakers. Ensure proper alignment and secure mounting of the tweeters to maintain optimal sound quality. Install speakers into the doors and wire them up, ensuring correct polarity and secure mounting. Head Unit Installation Wire up the new head unit and install it into the dashboard, following manufacturer instructions for proper connections. Amplifier Connection Connect all components to the amplifiers, including speakers, head unit, and any other audio sources. Testing Test the entire system to ensure all components are functioning properly before proceeding. Reassembly Reassemble the vehicle’s interior, including door panels, trim pieces, and any other components that were removed during installation. Amplifier Tuning Use switches to configure key amplifier settings according to your setup. The key amps autotune themselves. However, they must be done individually, ensuring other components are turned off during the tuning process. Subwoofer Tuning Fine-tune the settings for the subwoofers to achieve optimal sound quality. Enjoyment Sit back and enjoy your newly installed stereo system with improved audio quality and functionality. Sources Kicker www.kicker.com IG: kickeraudio Sony electronics.sony.com/audio/c/car-marine-audio IG: sonycaraudiousa NET Audio netaudio.com IG: netaudiowf Auto FX FB: AutoFXYukon405 405-350-1588 Photo Credit: COREY DECKER
DIY Trailer Outfitting for the Perfect Tow For a truck enthusiast, a trailer is an inevitable need. There will always be the debate about whether a truck should be driven to or […] JEREMY RICE January 08, 2020 How to Latest Product Reviews Tech Uncategorized
New Product! Direct Fit Silicone Hoses and PERFORMANCE ALUMINUM RADIATOR for 2014+ Silverado 1500 Rubber is out, and silicone is in for your 2014+ Chevrolet Silverado 1500 radiator hoses! A leaking radiator hose can lead to serious engine damage […] Chris Hamilton January 28, 2020 How to Industry News Latest Product Reviews Tech
Parts Counter | Latest Gear for your Truck Full Seat Replacements The new Cruiser Collection from TMI Products is perfect for the automotive enthusiast who wants modern comfort with a clean and […] Brandon Burrell August 15, 2023 Department How to Industry News Latest Product Reviews Reader Rides Tech Uncategorized
Dropping a Dually | Installing a Belltech Suspension Kit On A Dodge Ram Dually! Making its debut at the 1993 North American International Auto Show, the redesigned ’94 Ram was a sales success and named “Truck of the Year” […] Chris Hamilton October 22, 2020 HEADLINE How to Latest Product Reviews Tech Truck Reviews Uncategorized