 Jasmine Ence
.
August 09, 2024
.
How to
Jasmine Ence
.
August 09, 2024
.
How to
I have been watching my family put love and energy into our 1976 Highboy, wondering how I could help contribute to the project. I don’t have experience restoring these beautiful trucks. However, I have done a couple of simple DIY electrical projects with great success (meaning I have never felt the sting of the electrical current). This gave me the confidence to try the install of the new RetroSound radio and subwoofer.
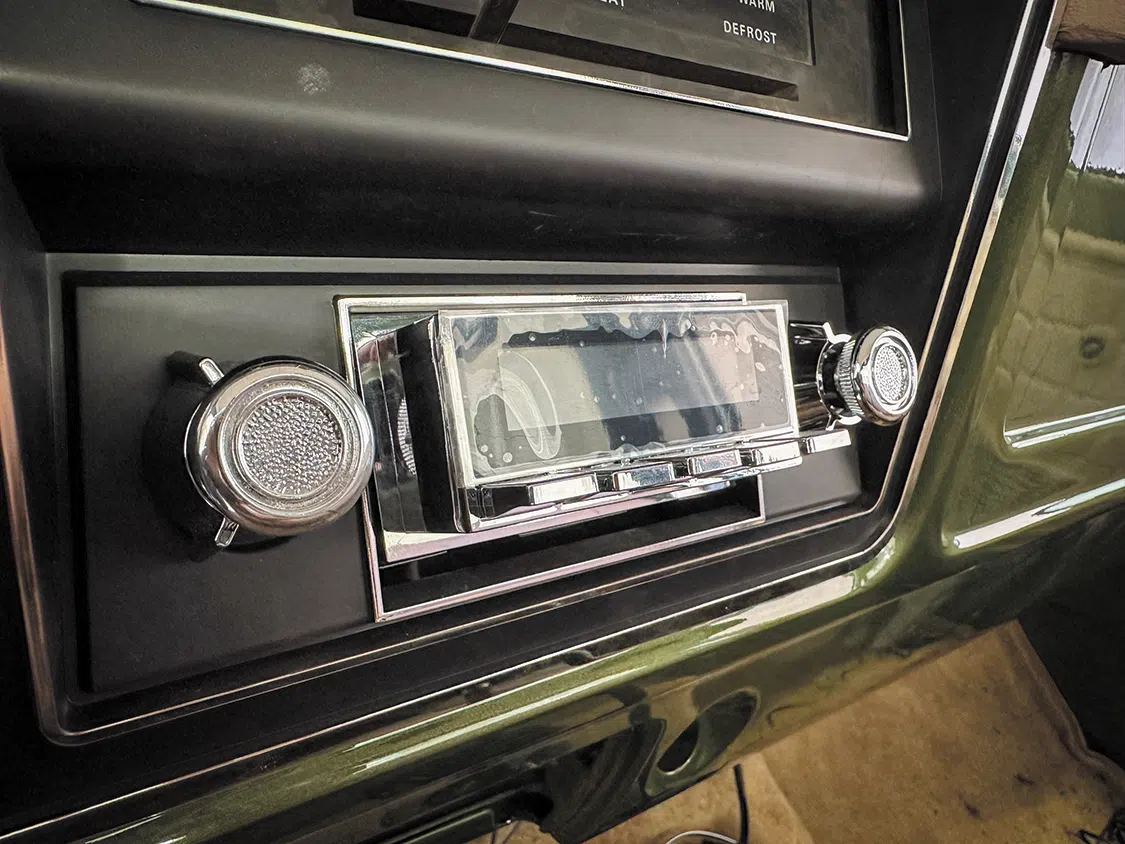
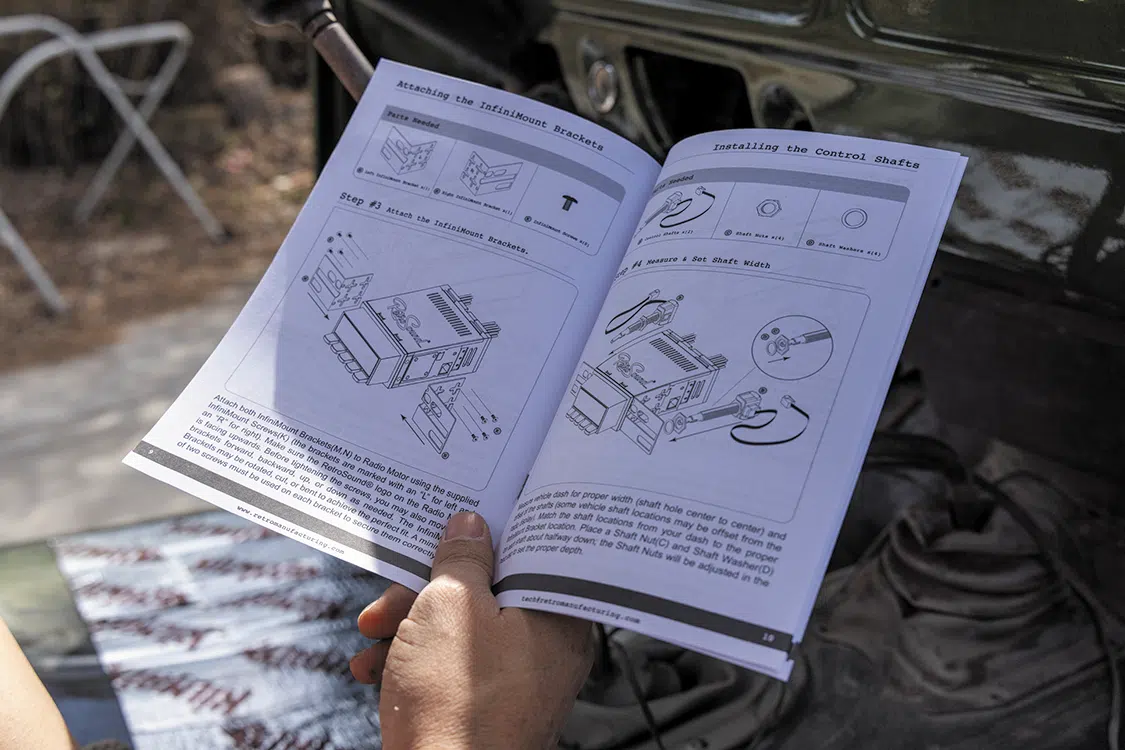
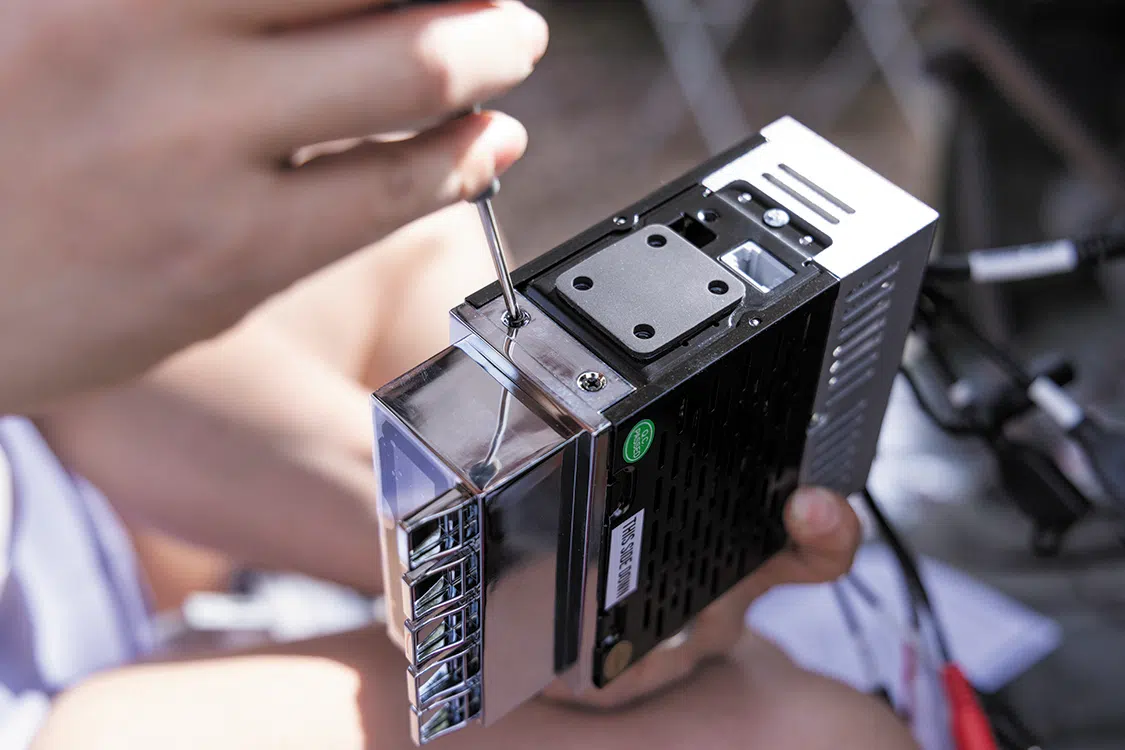
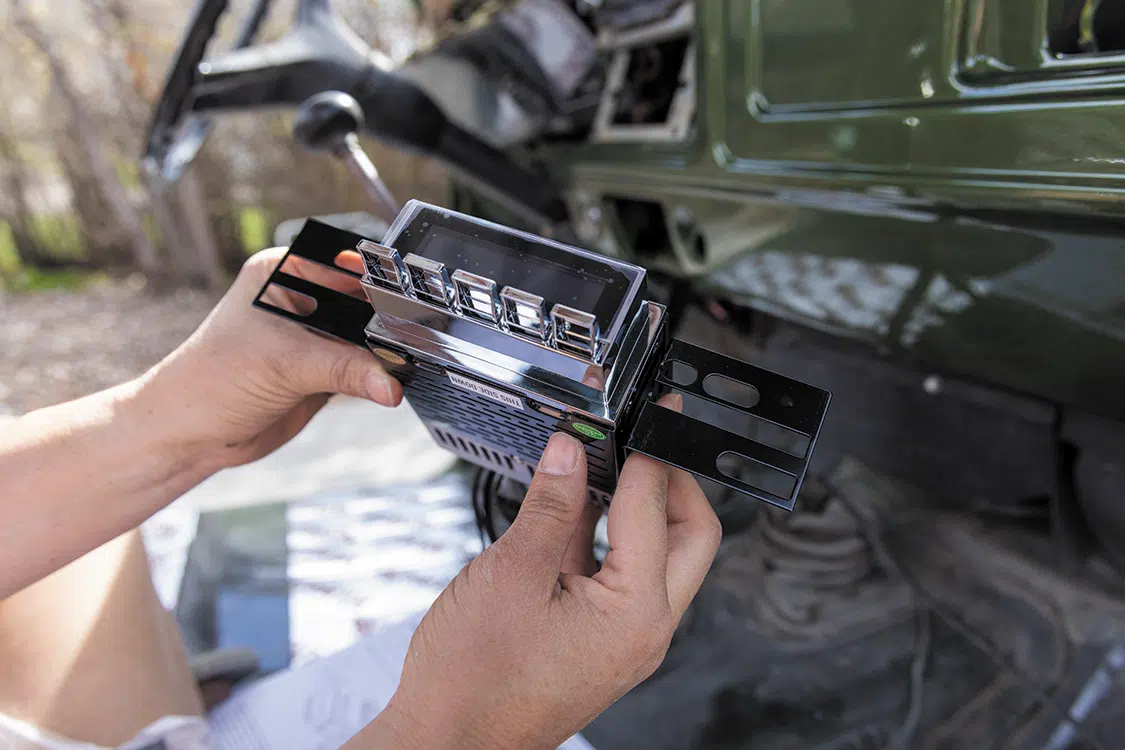
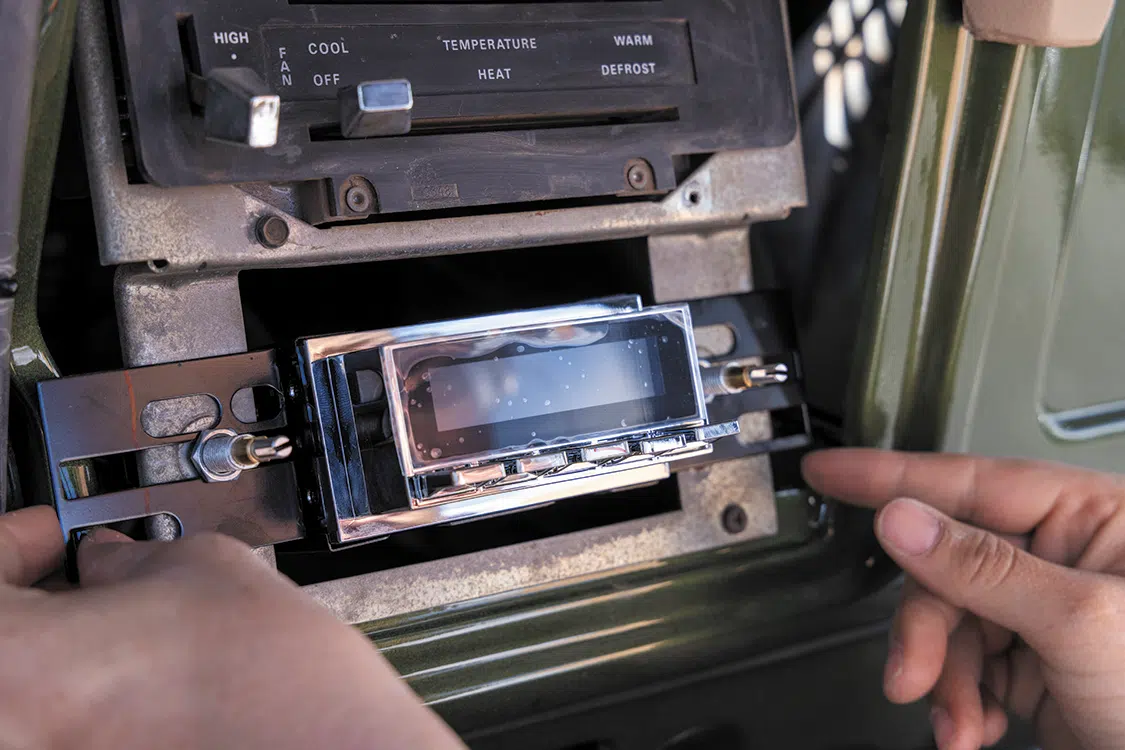
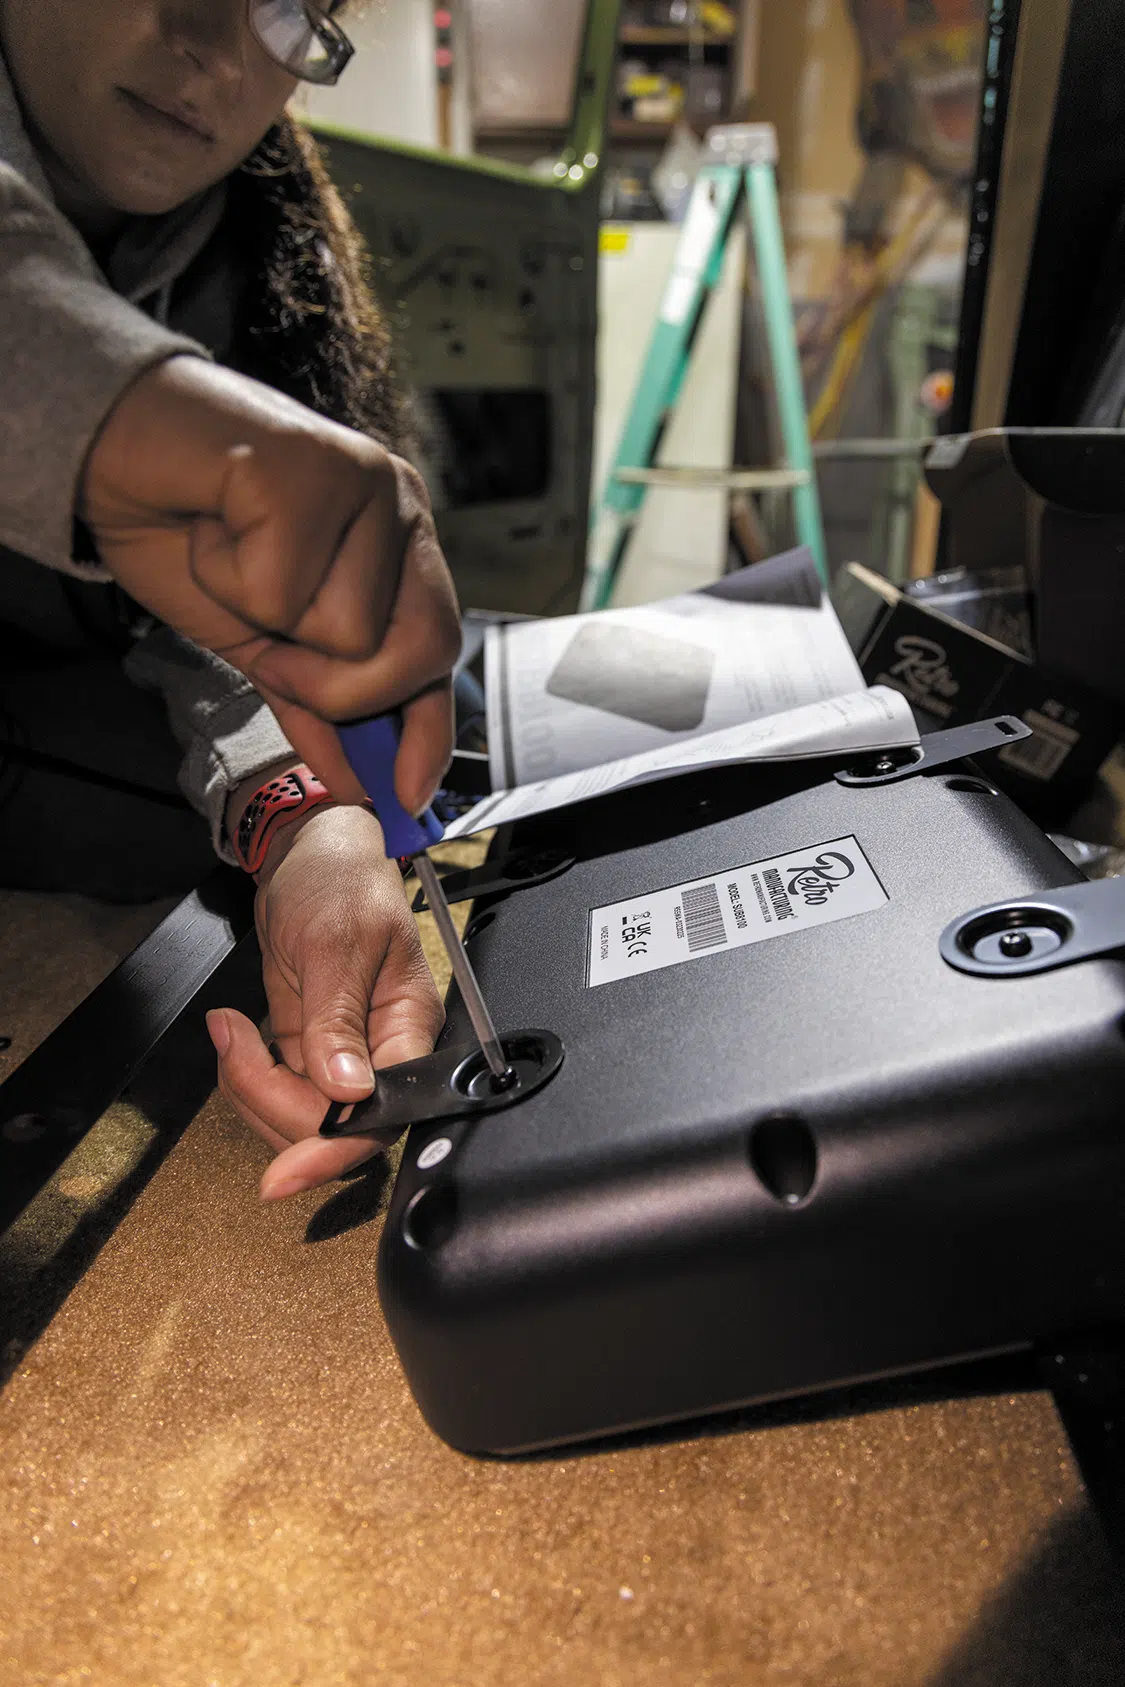
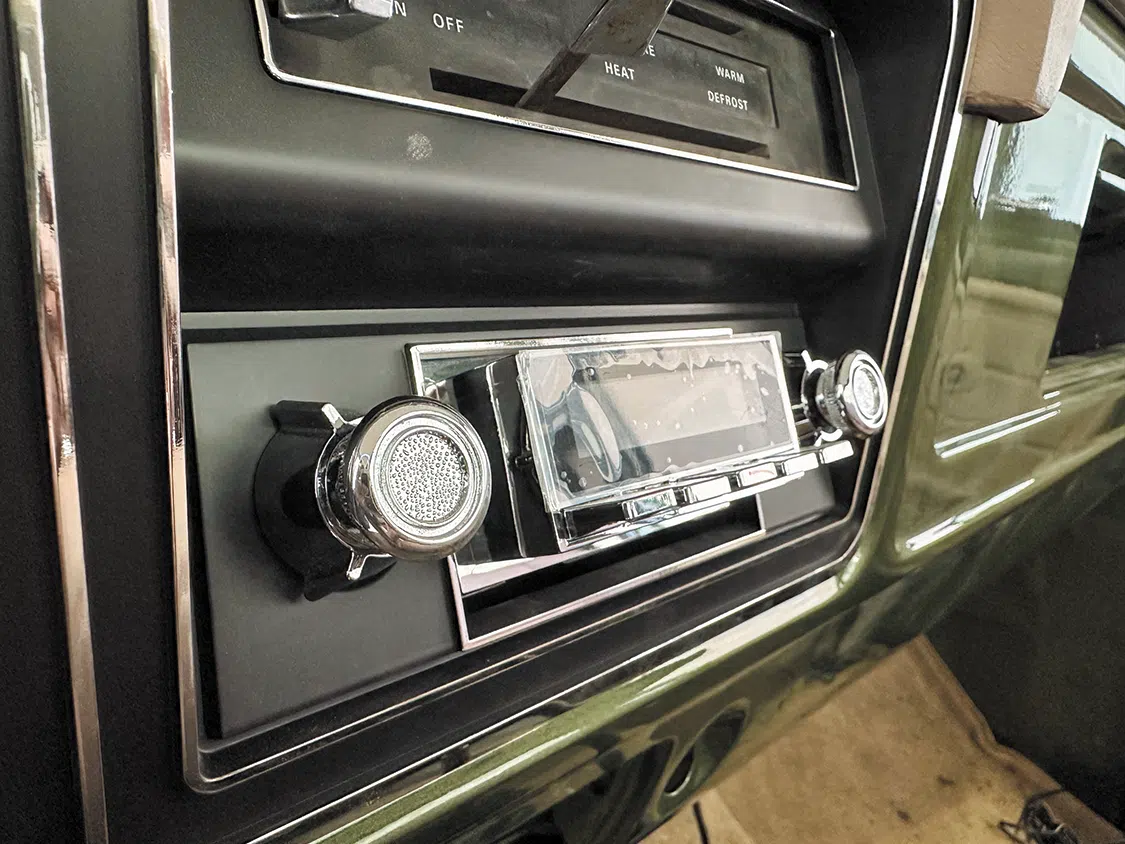
The assembly for the radio was simple and very straightforward thanks to the installation manual giving perfect step-by-step directions. The only time-consuming part was the placement of the face into the dash. It took several attempts of minor adjustments to put the InfiniMount Brackets in the correct position for proper depth and centered location.
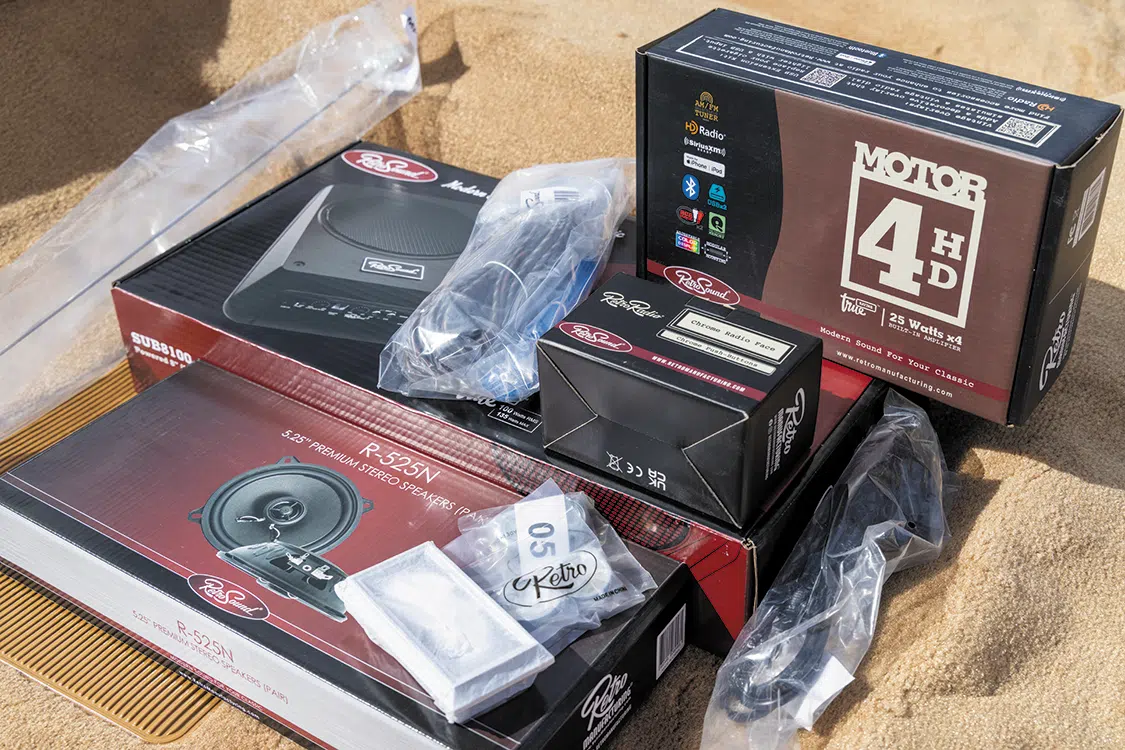
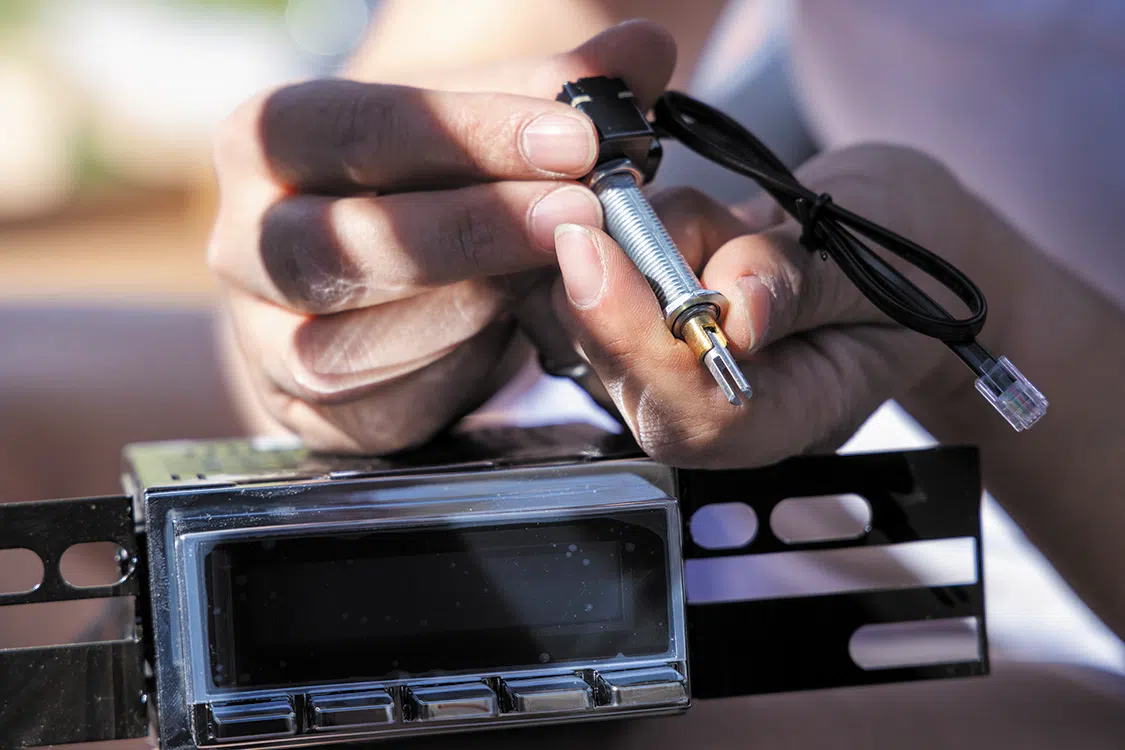
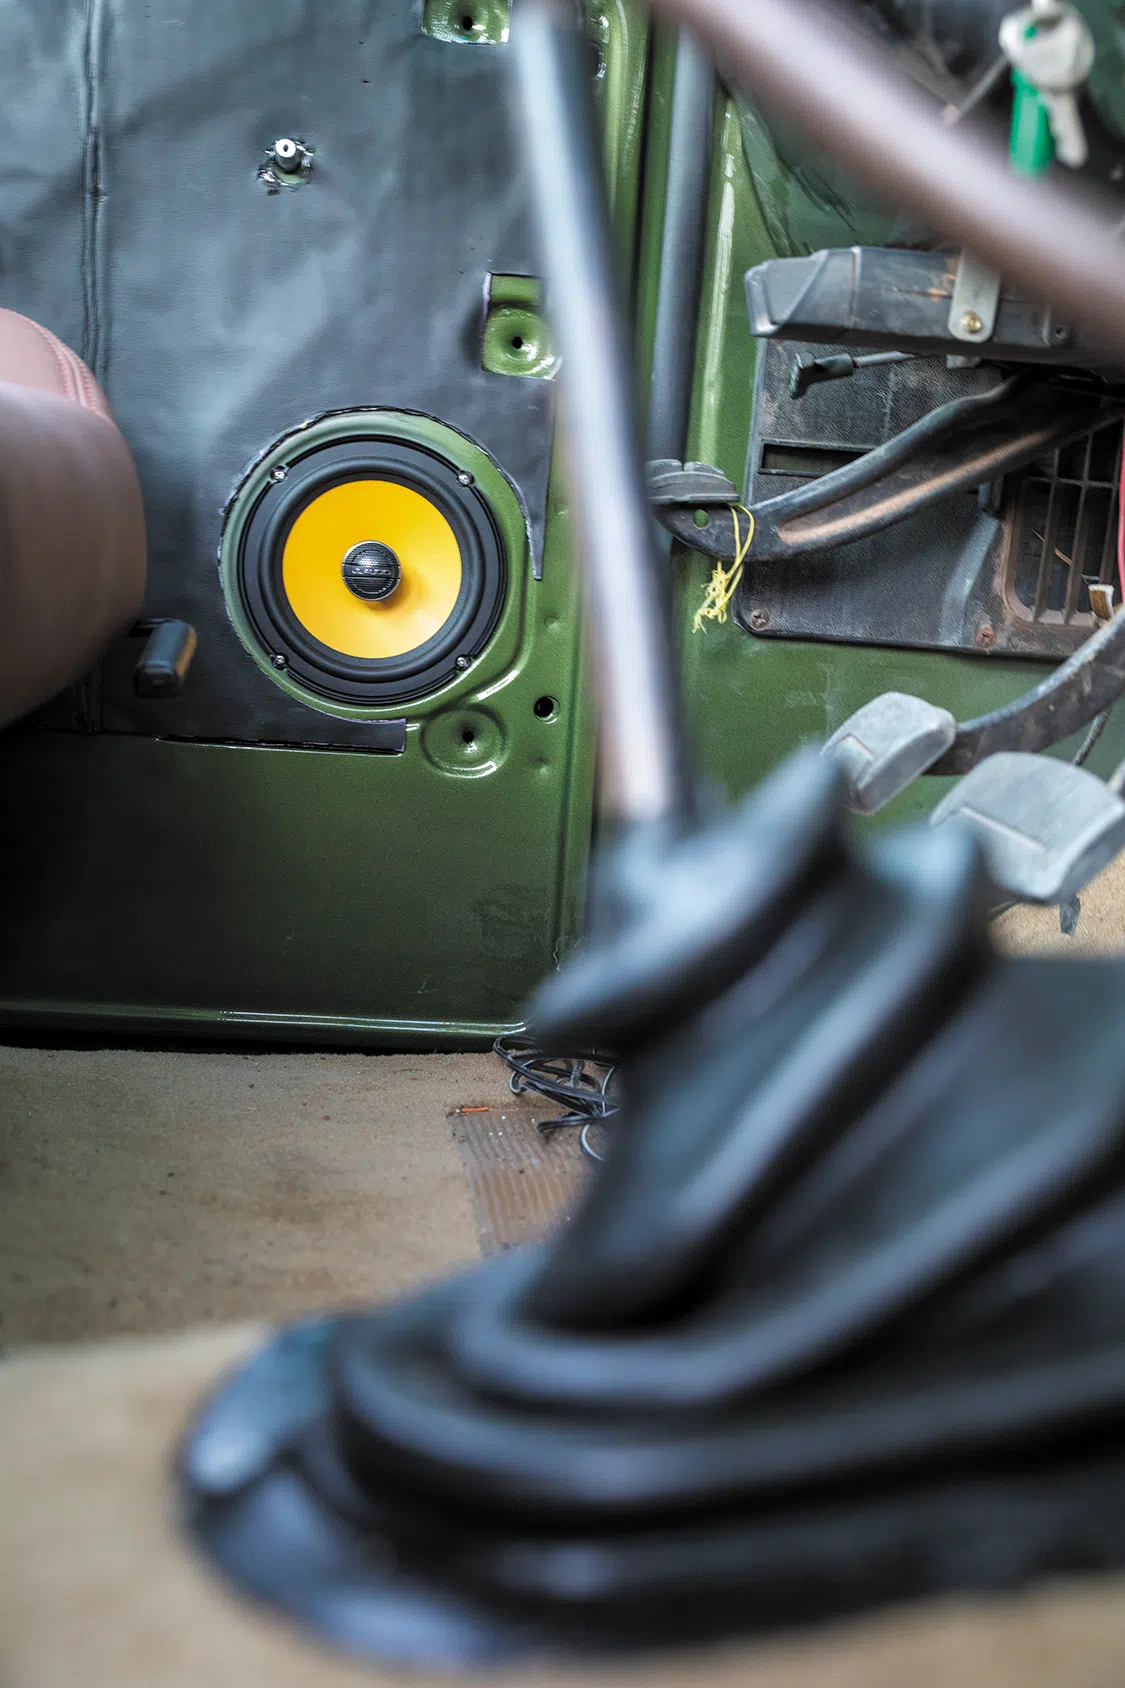
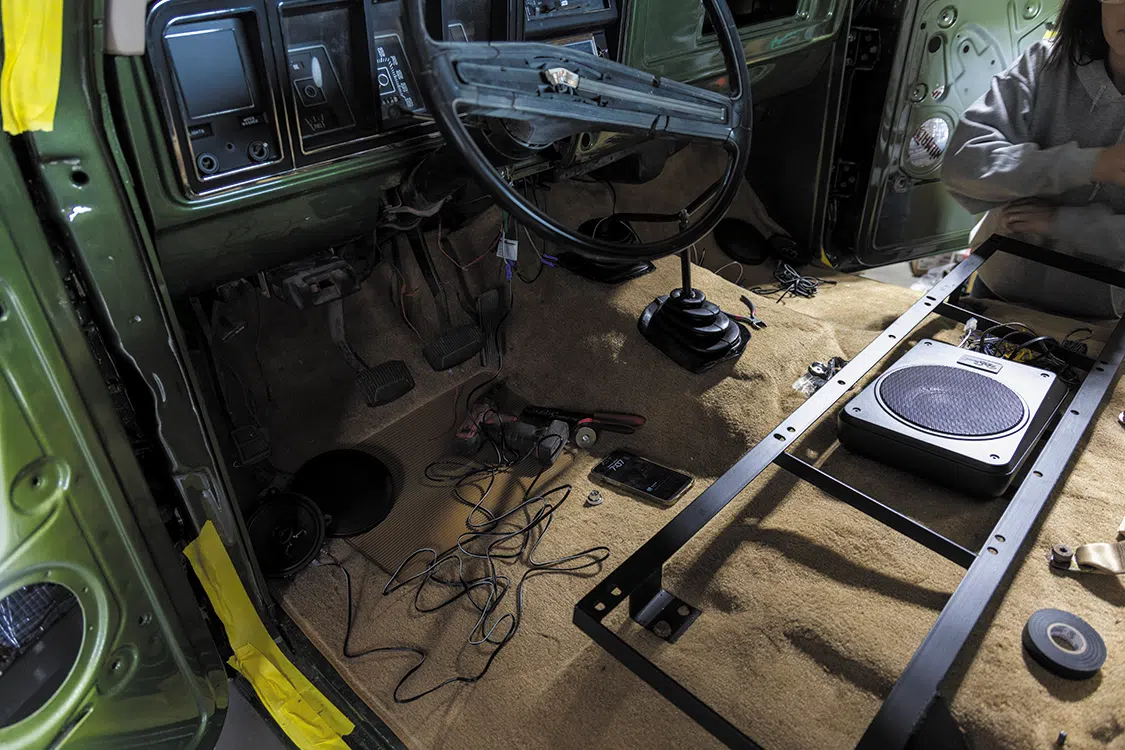
Next, we had to find the best place in the cab for the subwoofer. For the 8-inch SUB 8100 from RetroSound, the only place we had room in our truck was under the driver seat. Here we were able to still adjust the controls on the front panel and easily run the wires under the carpet and behind the dash to connect with the radio. This subwoofer is designed to easily connect with the Retro Radio, and is outfitted with wiring for other options. Another easy feature to install was the remote gain control, which attaches directly into the dash to allow easy adjustments to the subwoofer.
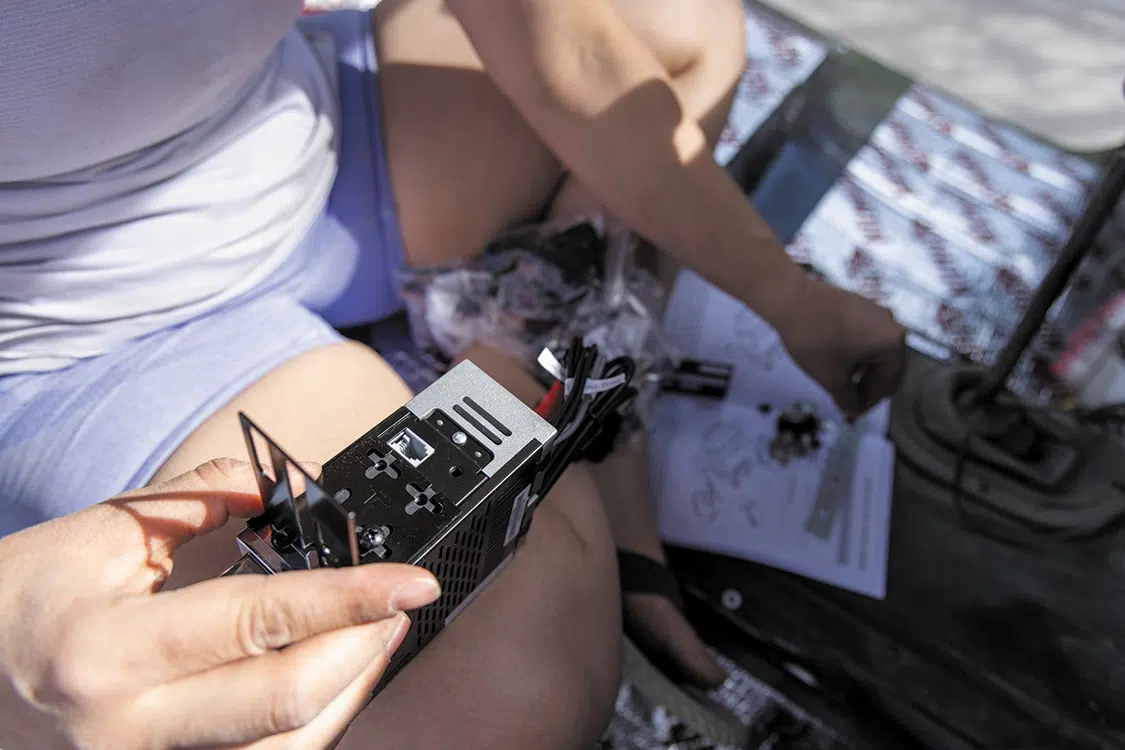
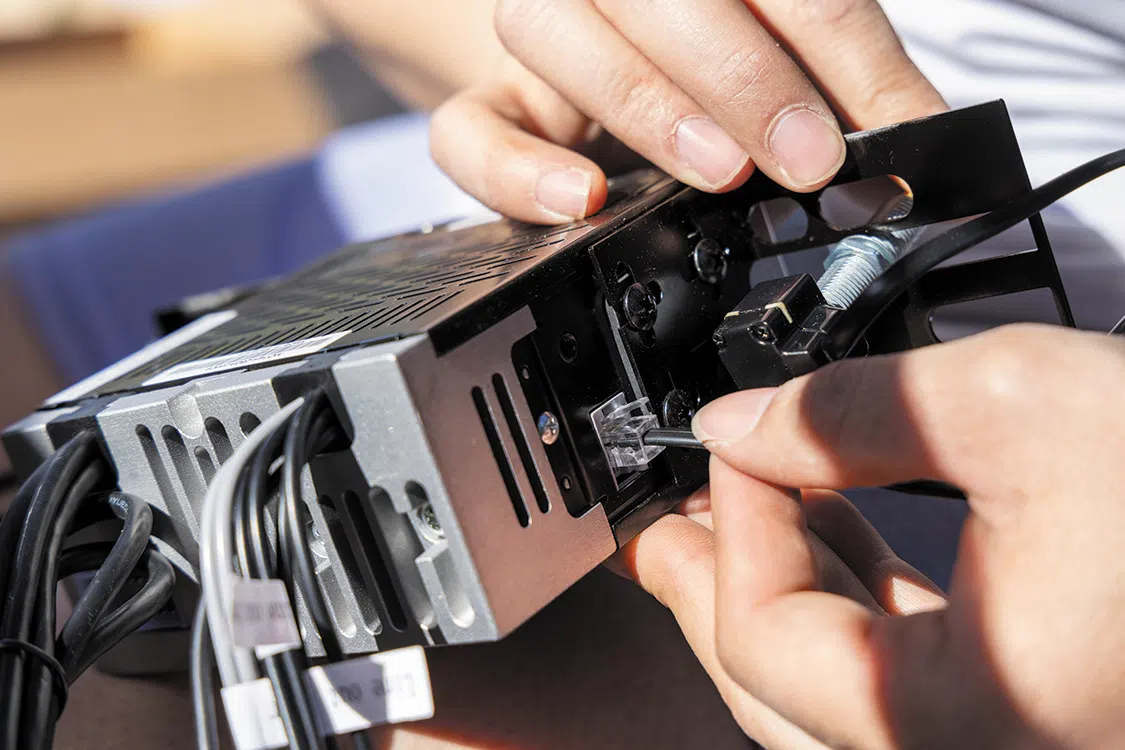
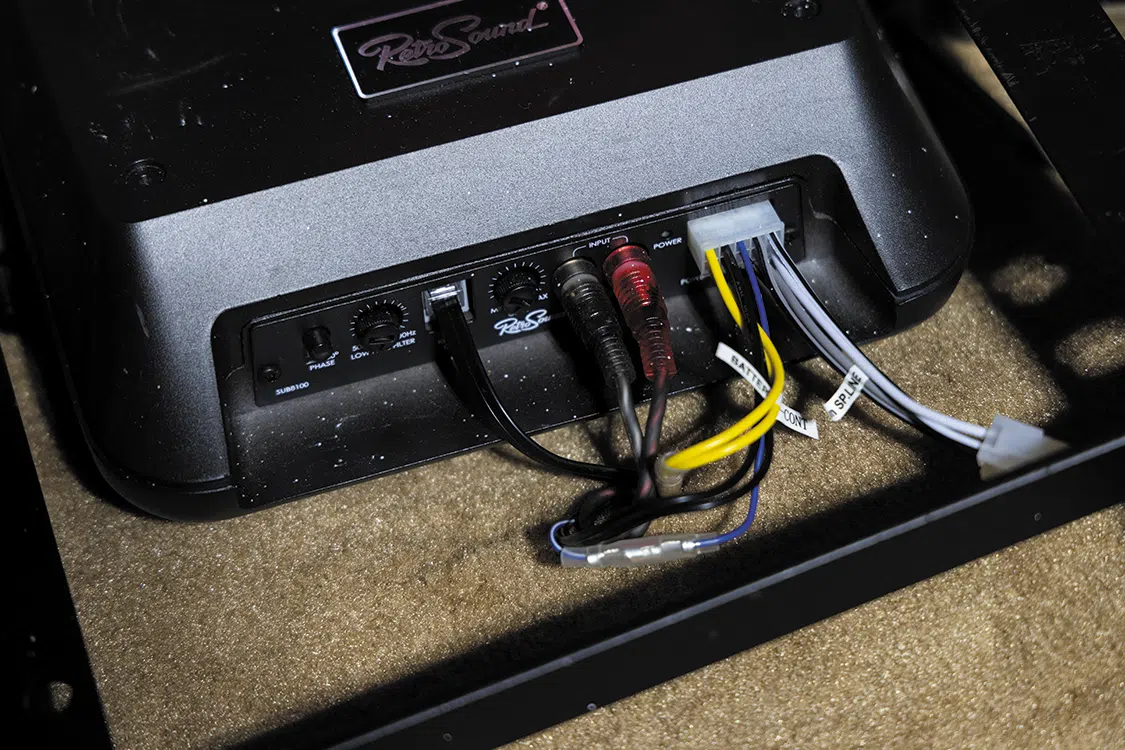
Now that the hardware was installed, it was time to connect the wiring harness. I have to admit, at first glance, this was overwhelming. There were really three components we had to consider during install. First, we needed to determine which wires needed to be run through the firewall. These would end up connecting directly to the battery.
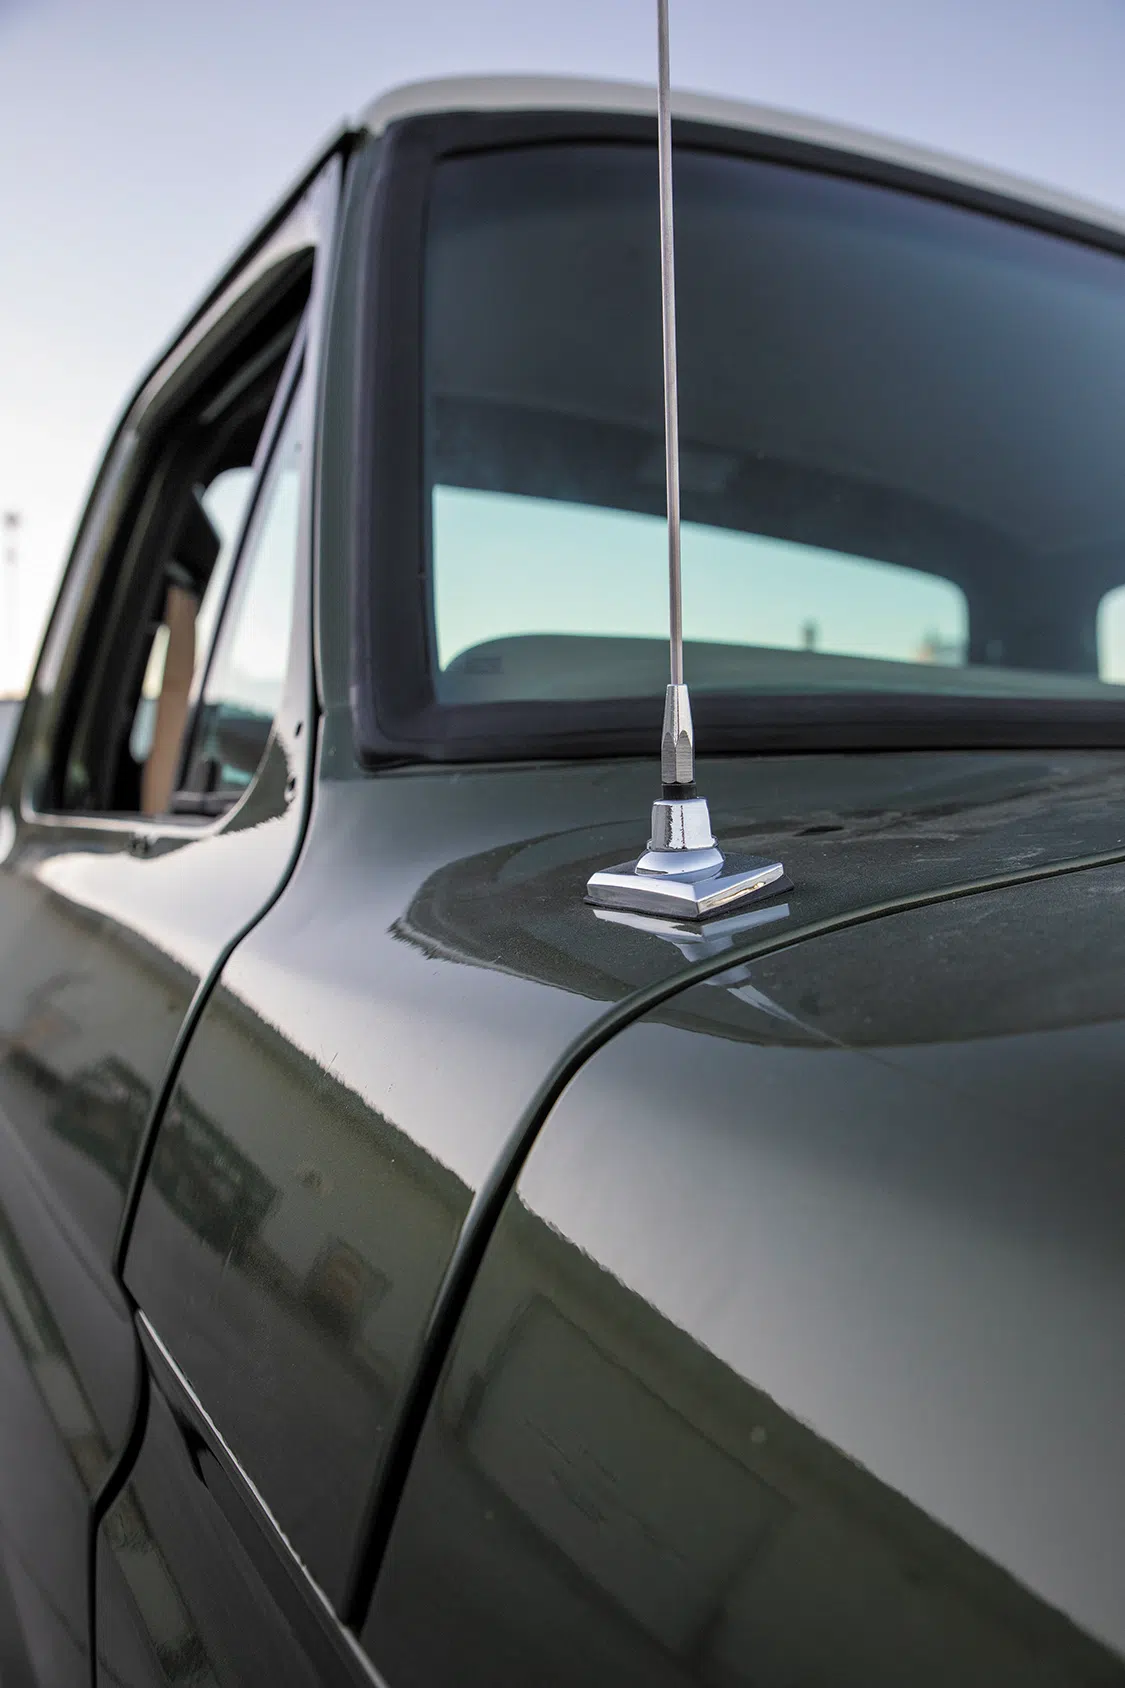
Second, we had to figure out which features we wanted to use. This system offers many options and has all the wiring available for them. So there were some that were irrelevant to our build but still there if we wanted to add them in the future. For example, we only added front speakers, but the wiring is available for left and right rear speakers too. We got a beautiful new antenna that kept the look of the original and had its own connection. Other features included Bluetooth microphone input, USB inputs, AUX inputs, RCA lines, and Sirius XM input.
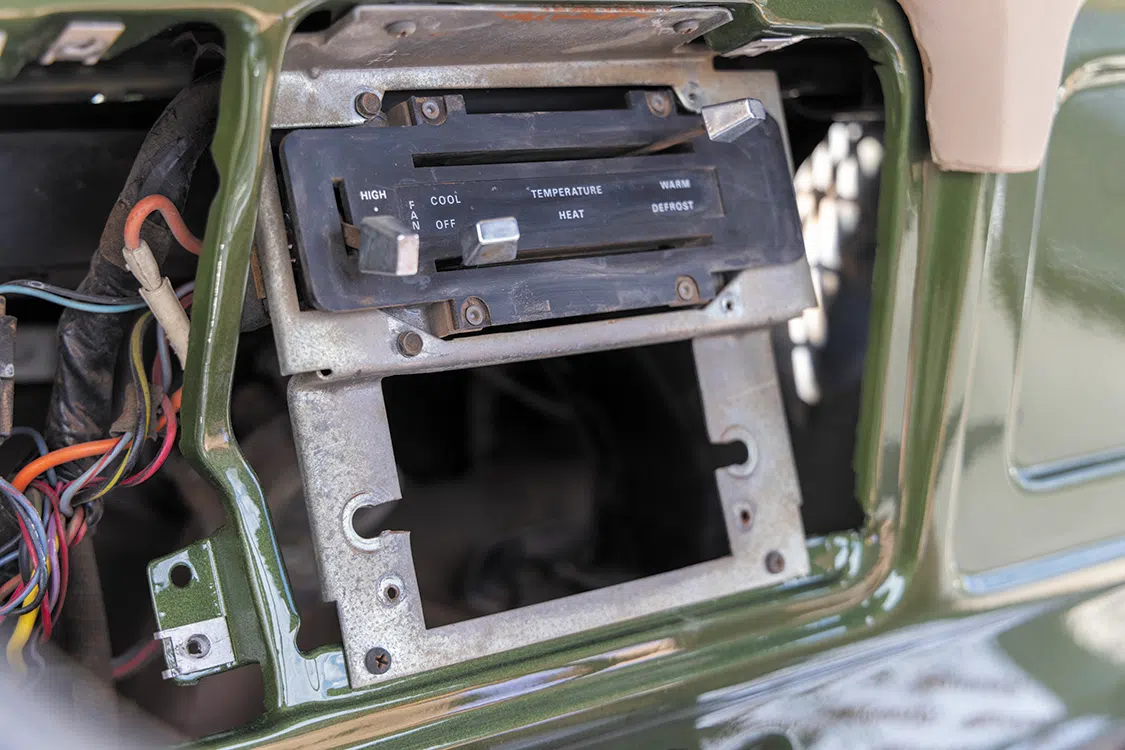
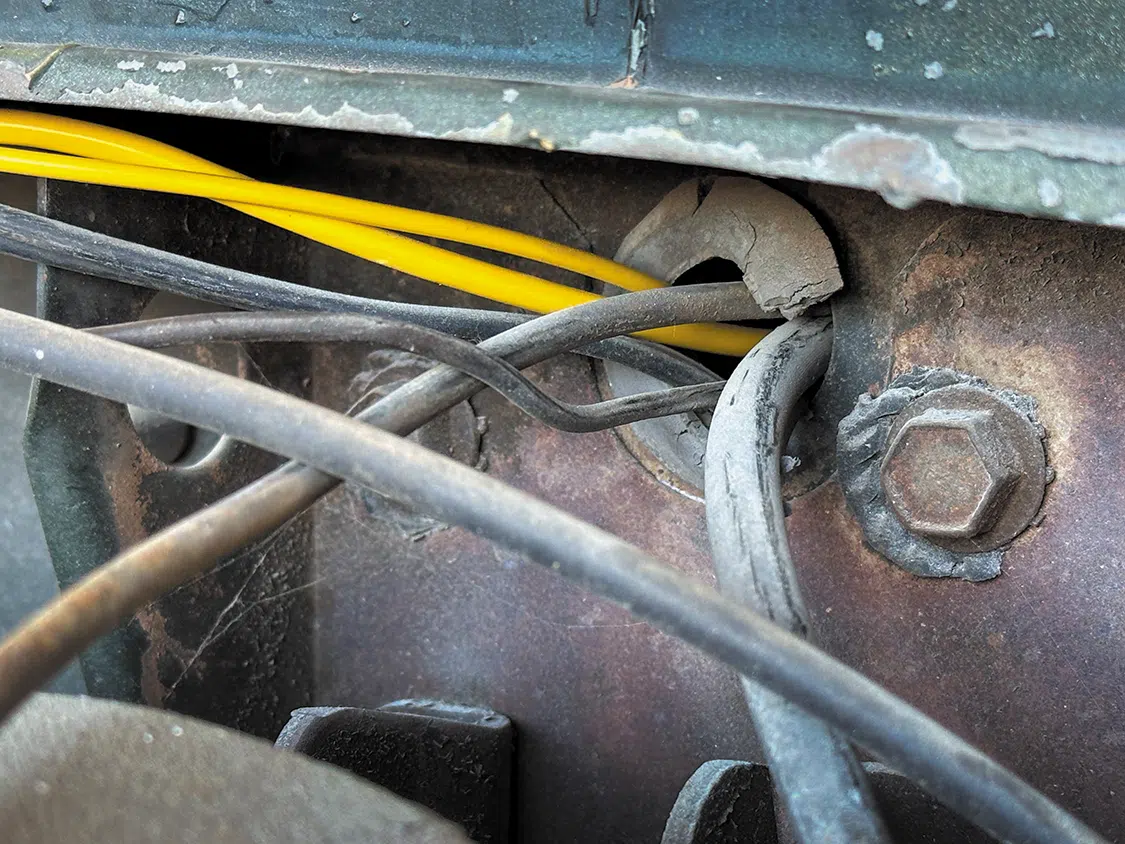
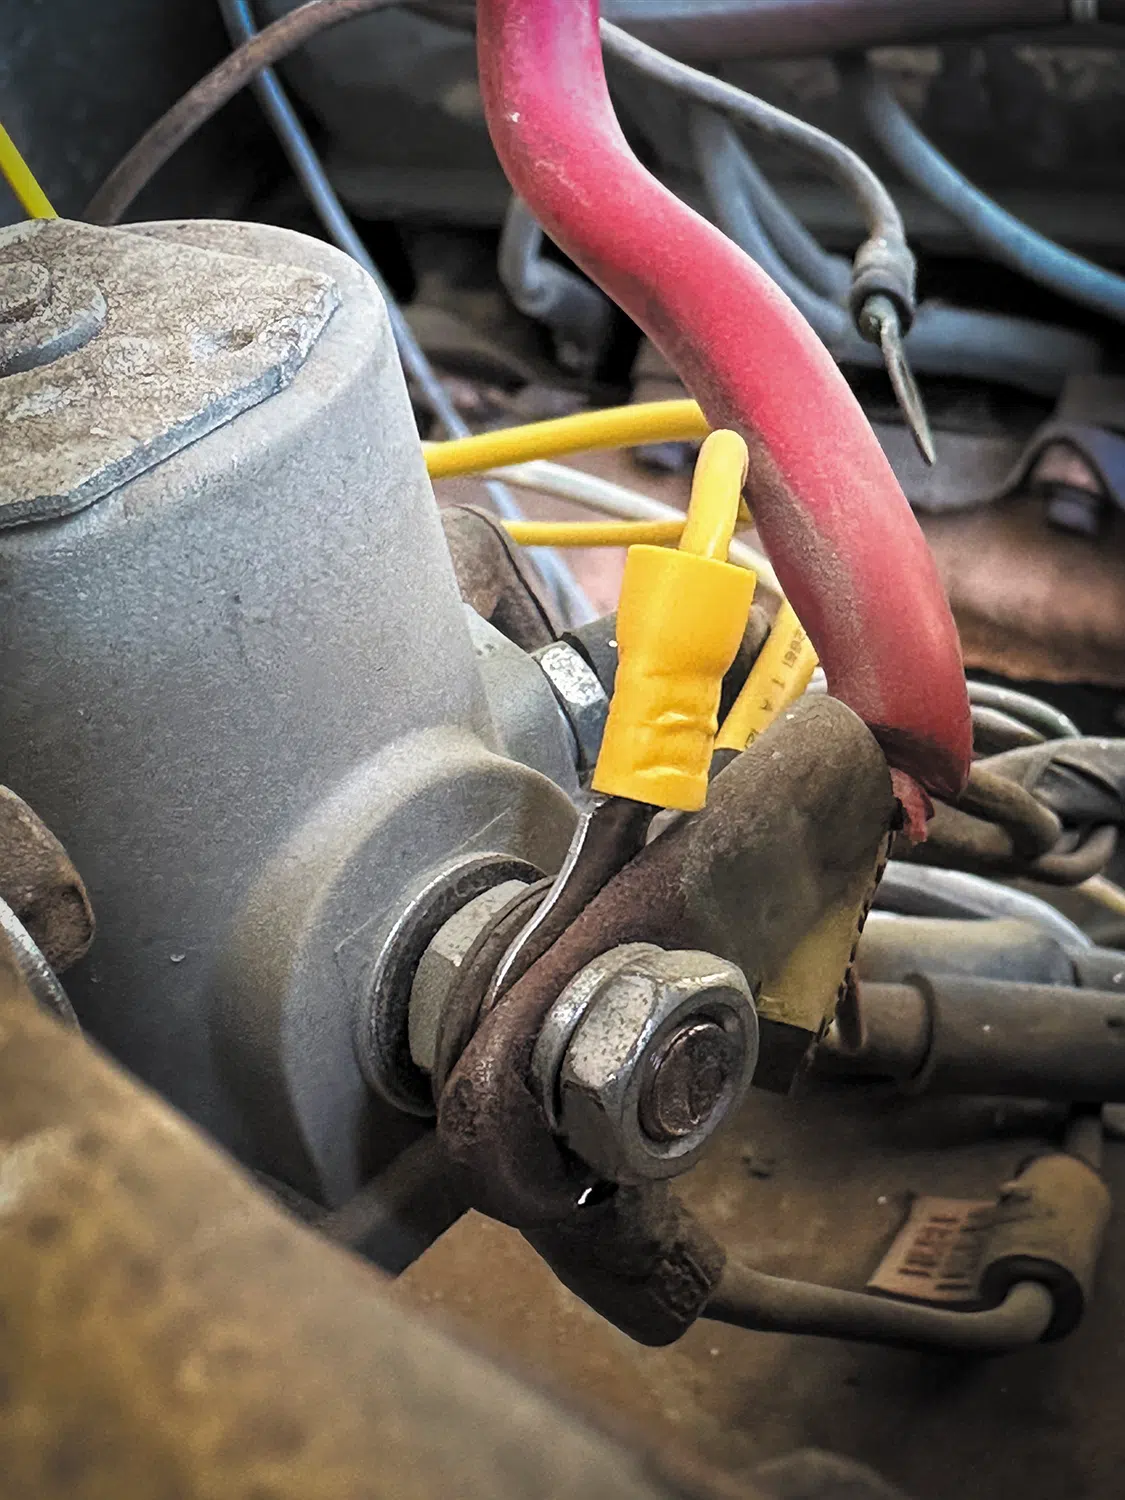
The final and hardest part of this install was having to determine what, if any, part of the old wiring harness we wanted to keep. The old wiring resembled a bird’s nest. Almost nothing was labeled, and some wires were poorly and unsafely spliced. We had a hard time even determining the color on some of the wires. In the end, we made the decision to cut everything out except the Ignition/ACC wire that was already connected. This was labeled B+ in our old wiring harness and turned the radio on when the truck keyed on.
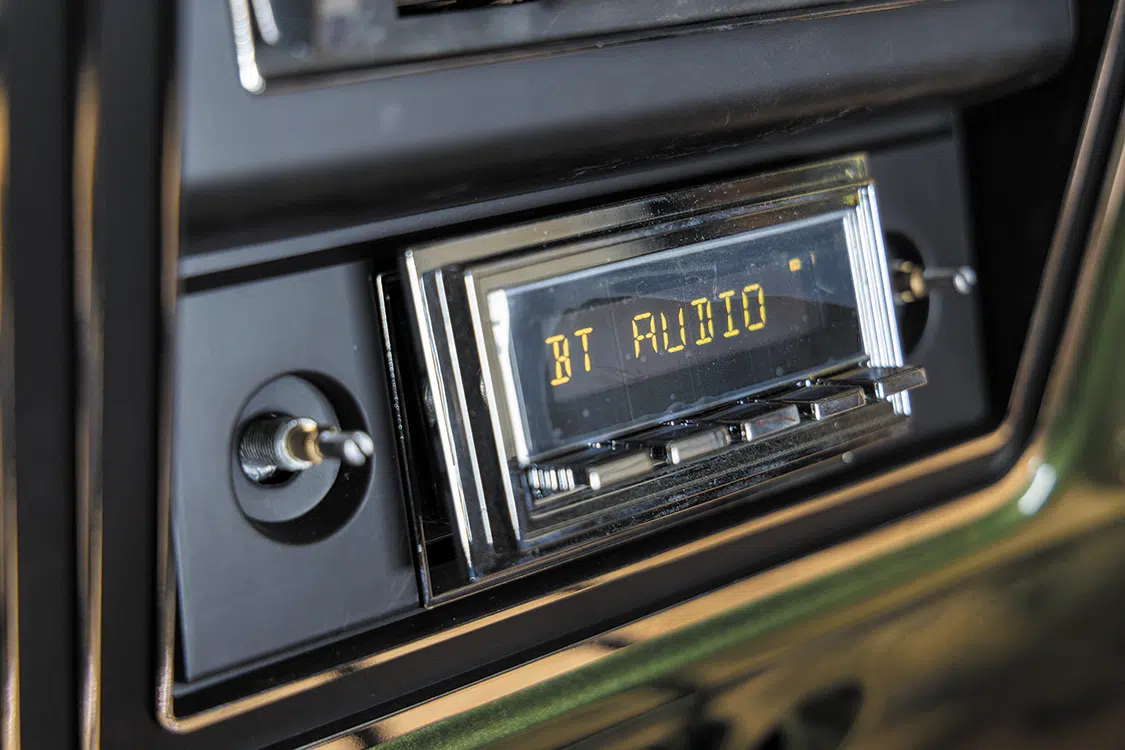
The moment of truth came when we turned the key on for the first time. This was also the first time the battery had been connected in months. To our great relief, everything worked on the first try. We used Bluetooth to connect music from our phones and the sound was fantastic.
Overall, this was an amazing experience. The easy-to-follow installation and assembly manual made it hard to get lost. The new features of the RetroSound Radio provide our classic truck with all the conveniences of a modern stereo.

Department
Adam Johnson . February 17, 2022

Department
streettrucks . September 08, 2020

Features
John Mata Jr. . October 17, 2023
America
Adam Johnson . October 22, 2021
F100 Builders
SOLOMON LUNGER . November 26, 2019
F100 Builders
SOLOMON LUNGER . August 11, 2022


Share Link