 Chris Hamilton
.
March 04, 2025
.
Tech
Chris Hamilton
.
March 04, 2025
.
Tech
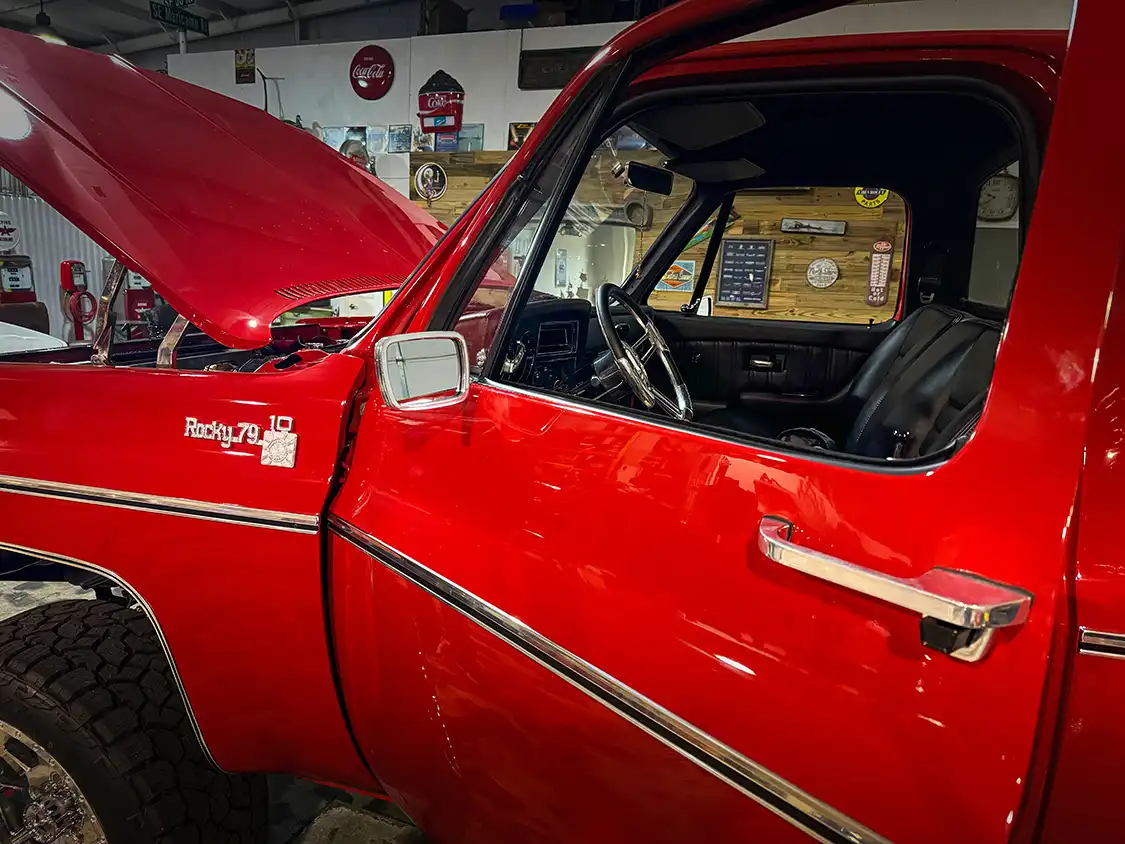
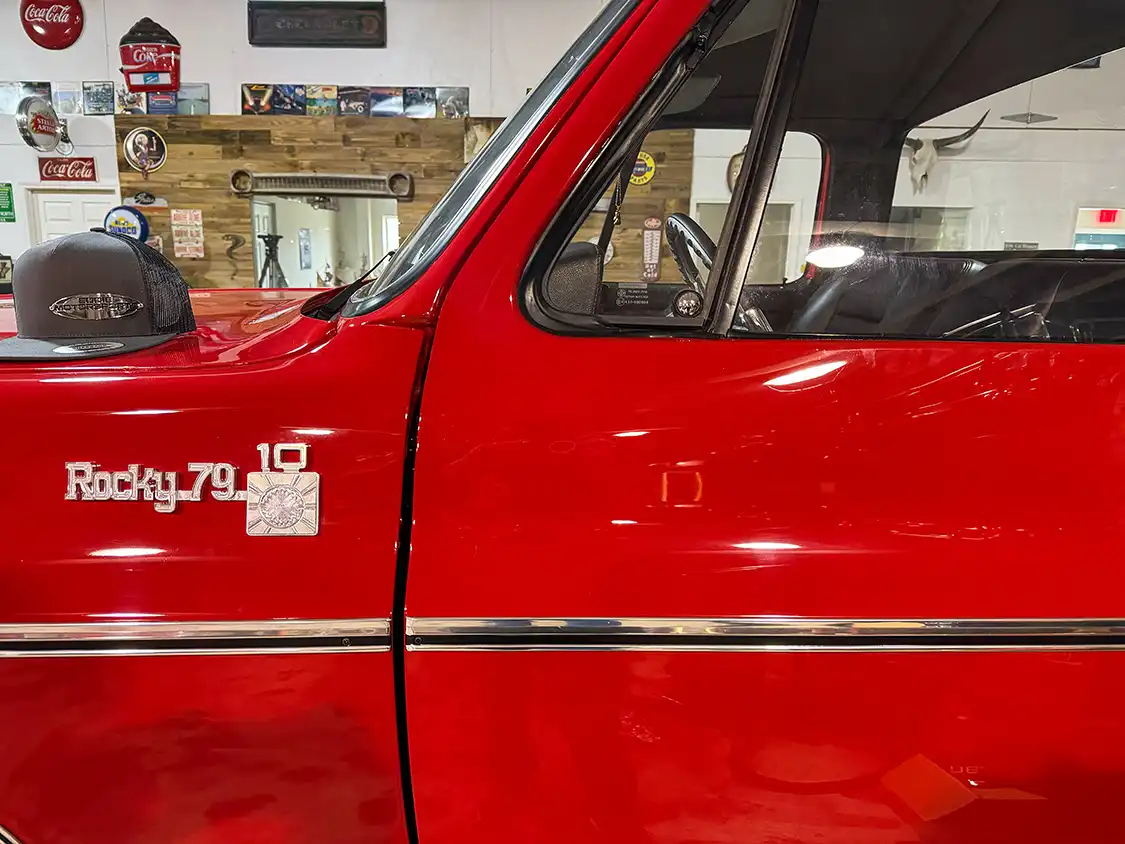
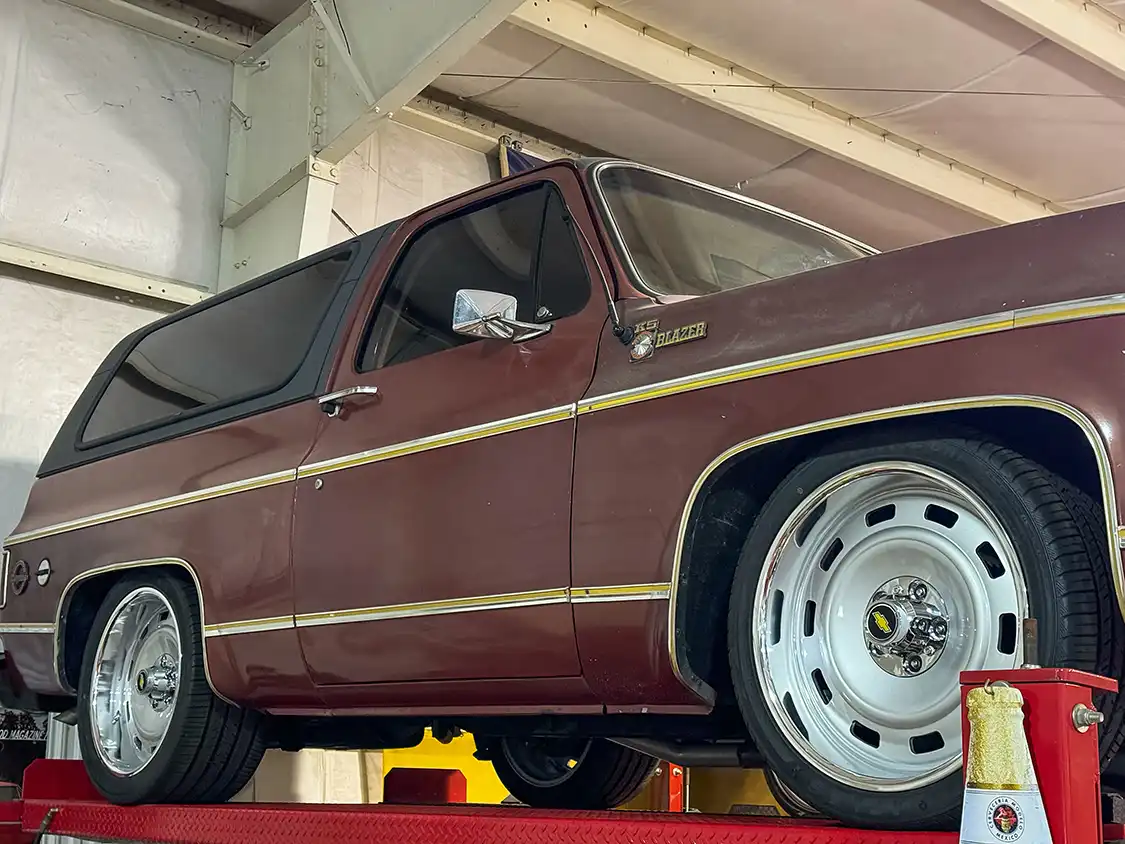
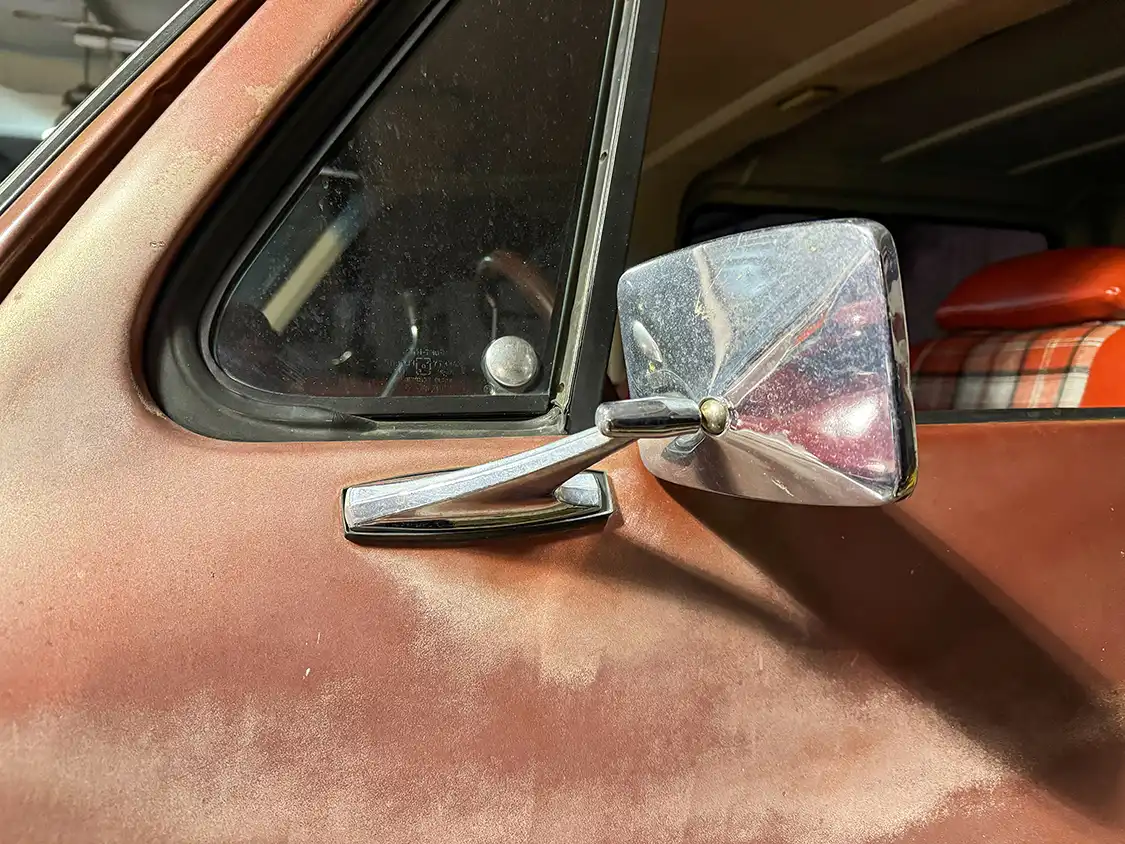
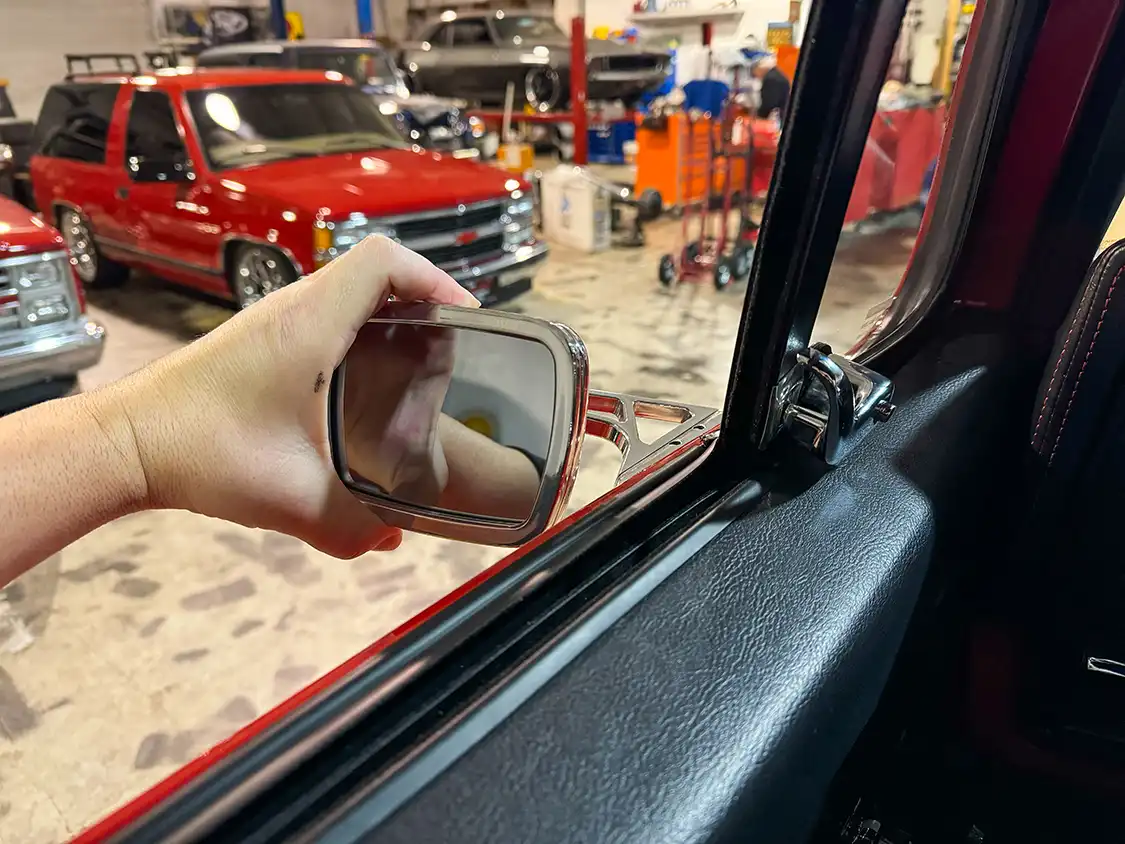
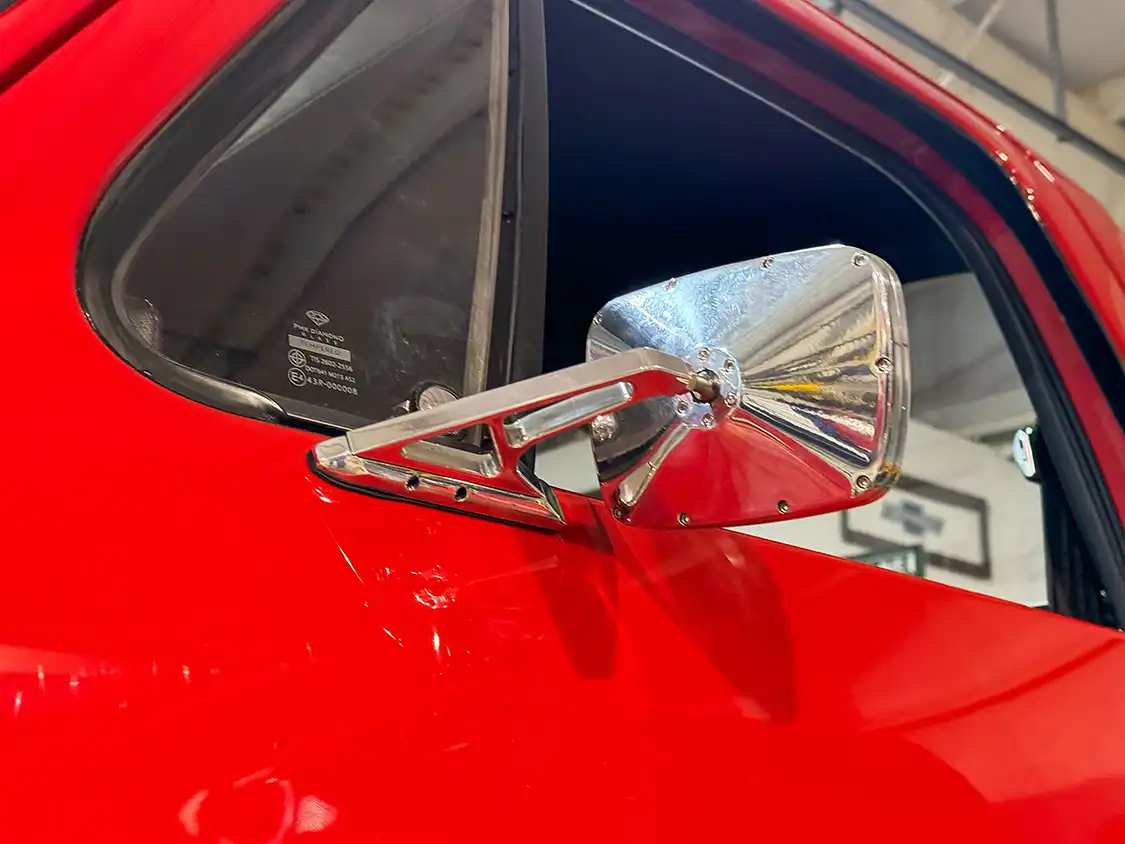
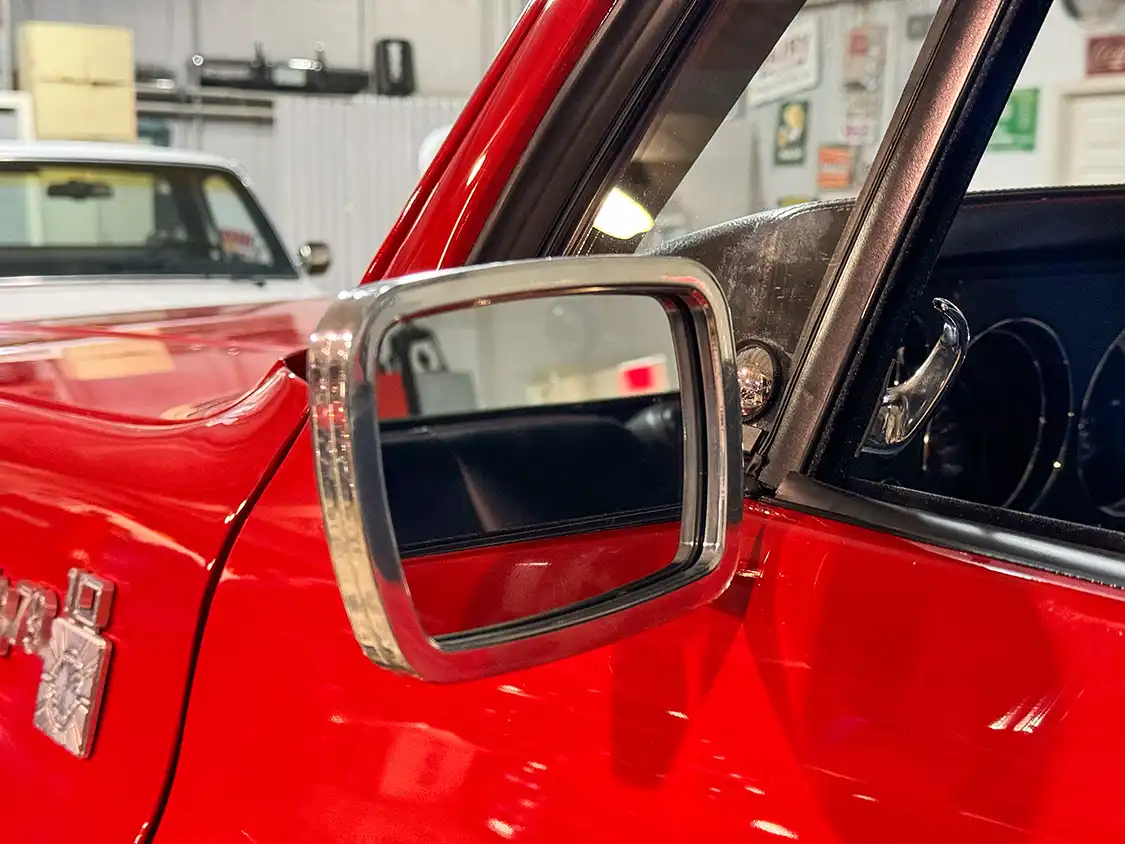
For the past 2½ years, Project Rocky, our 1979 Chevy C10, has been transformed piece by piece into a frame-off masterpiece. As the build neared completion, one detail was still missing: the perfect side-view mirrors. After scouring the market for options that could match the truck’s clean lines and custom aesthetic, we landed on the Billet Aluminum Kinetic Square Mirrors from Eddie Motorsports. And let me tell you, they were so worth the wait.
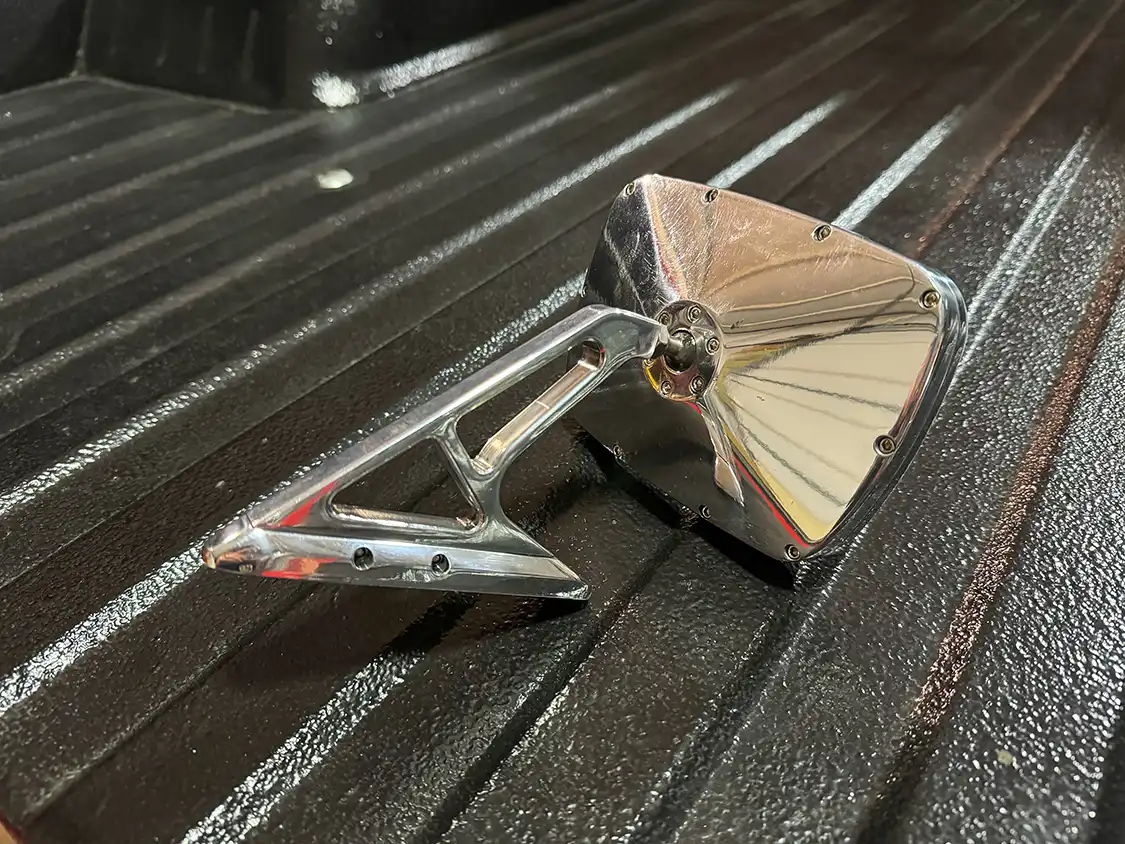
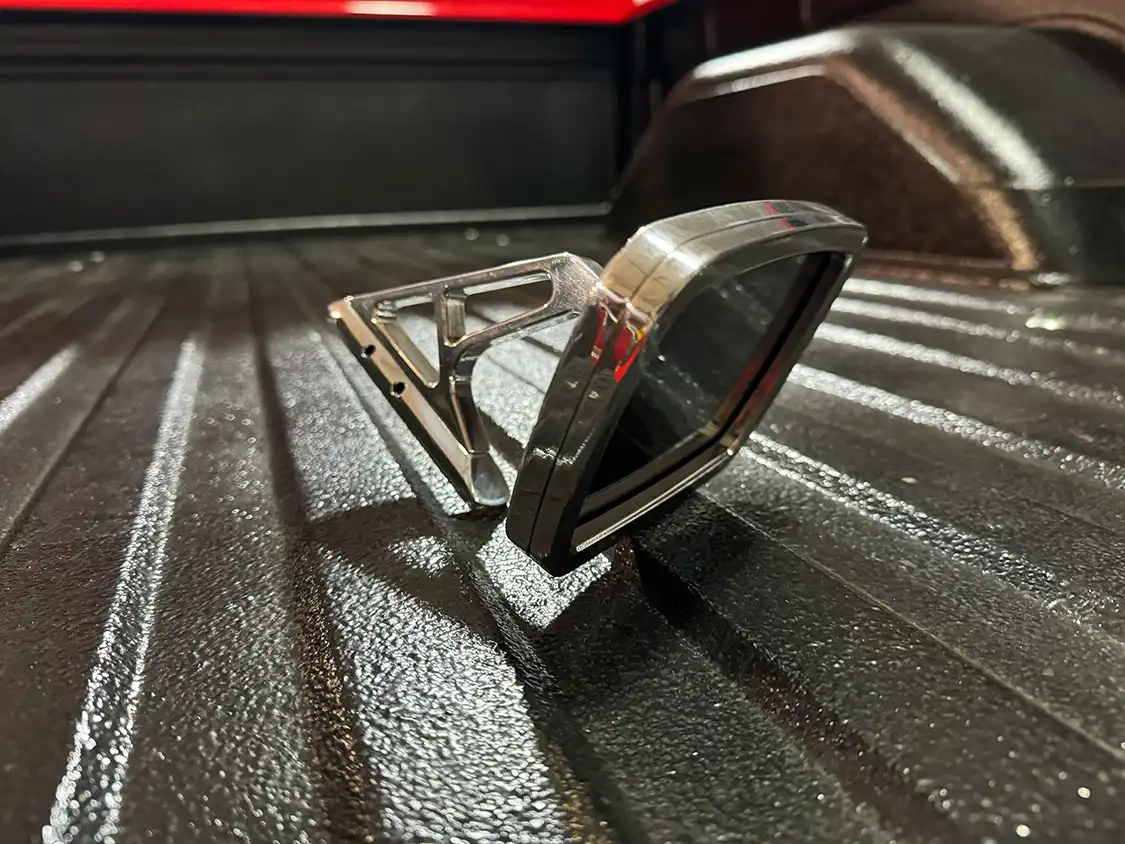
Eddie Motorsports is known for its top-notch craftsmanship, and these mirrors are no exception. Precision-machined from 6061-T6 aluminum, they’re as durable as they are stylish. Available in both round and rectangular mirror heads, they come in a bright polished finish or a range of anodized, Cerakote, and Fusioncoated colors to match any build. We chose the polished rectangular heads, and they were a perfect fit for Rocky’s clean and classic look.
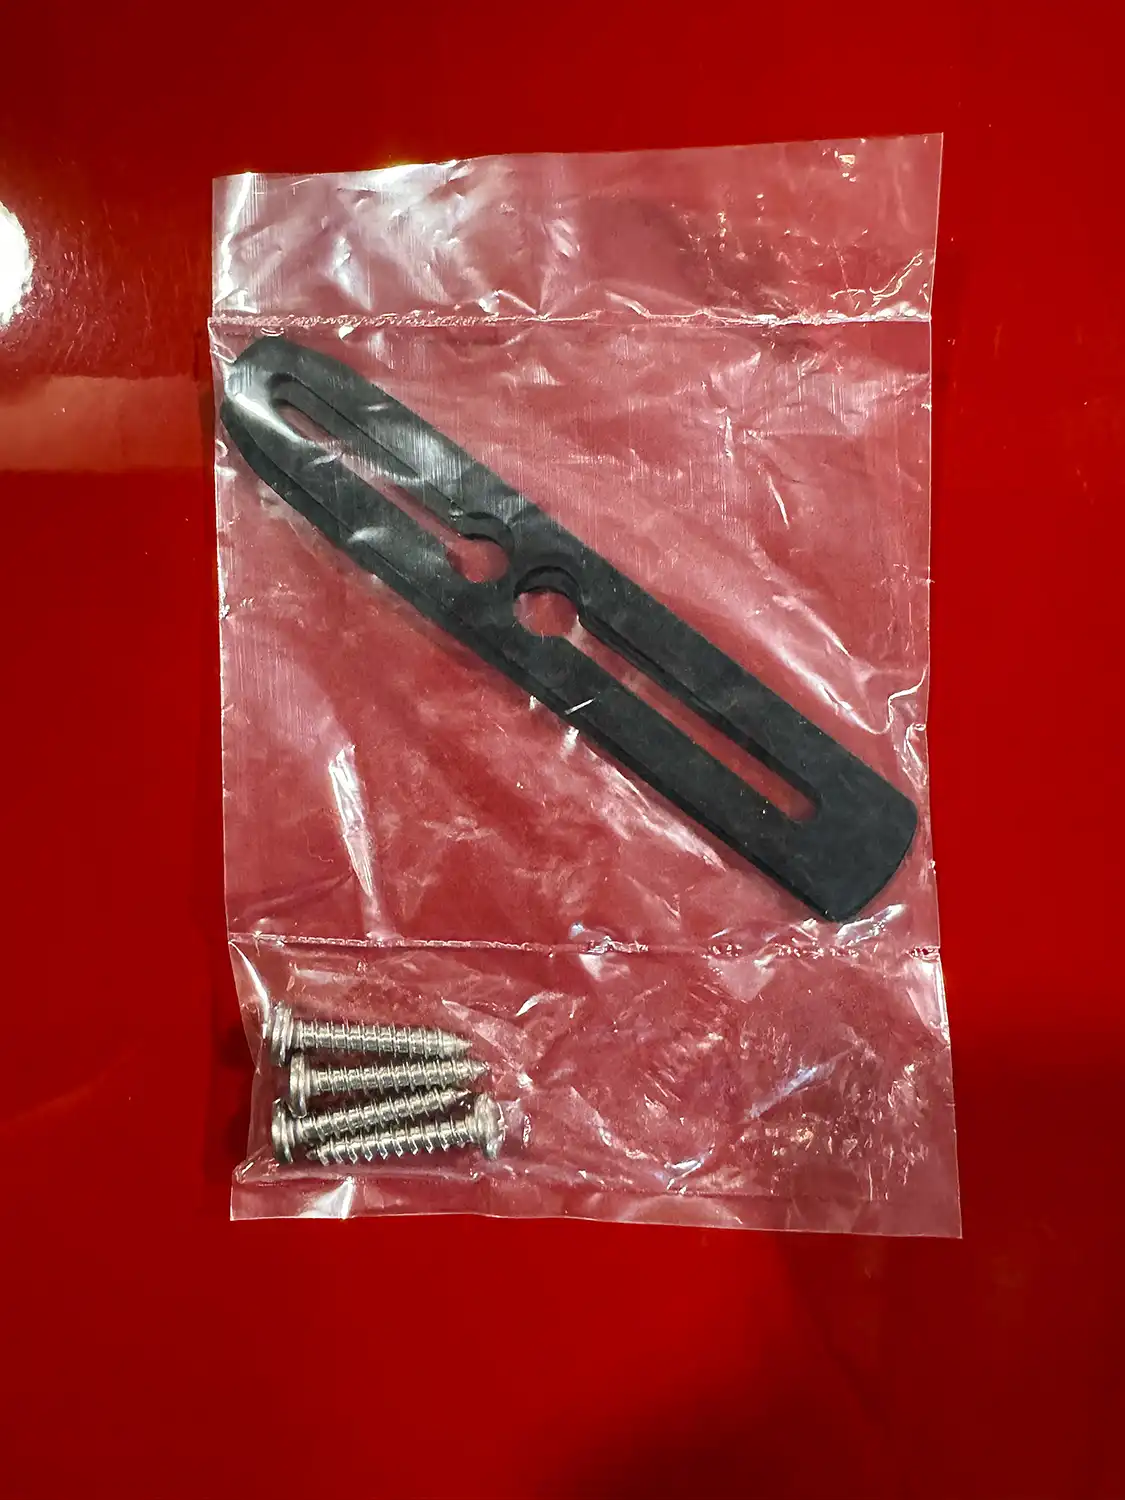
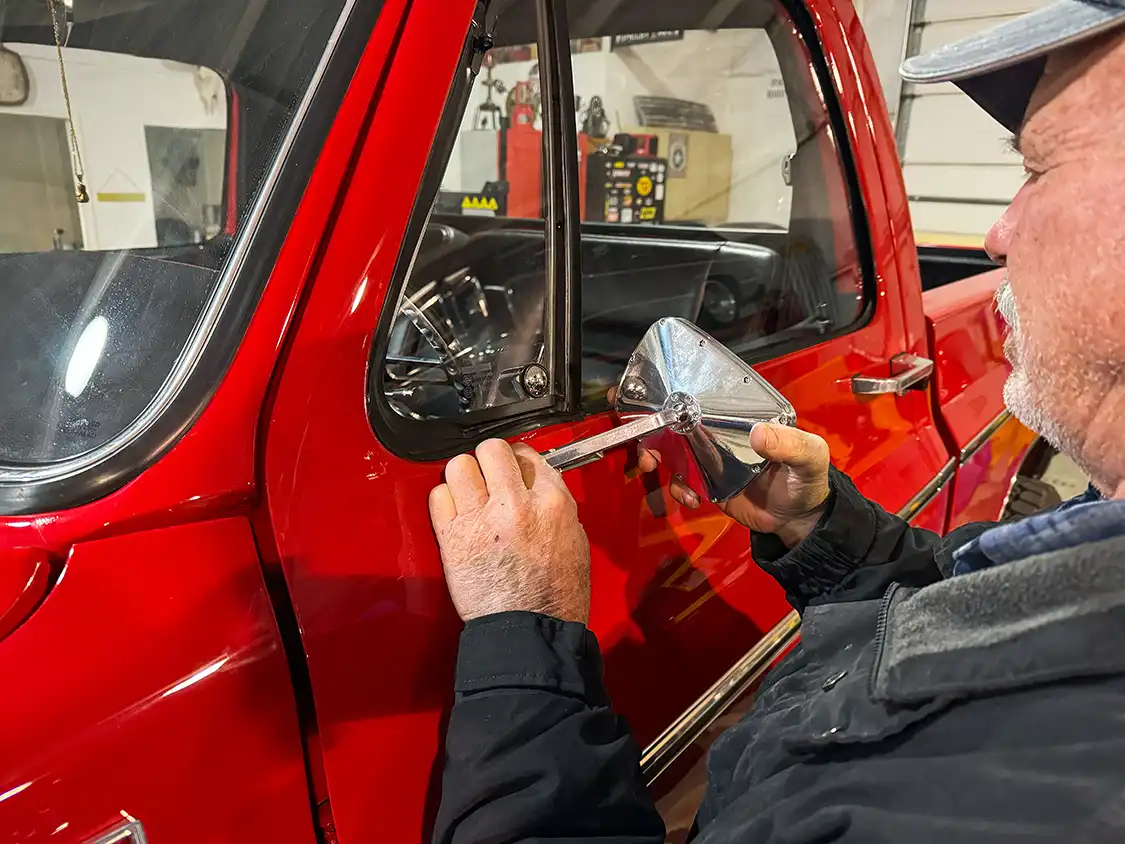
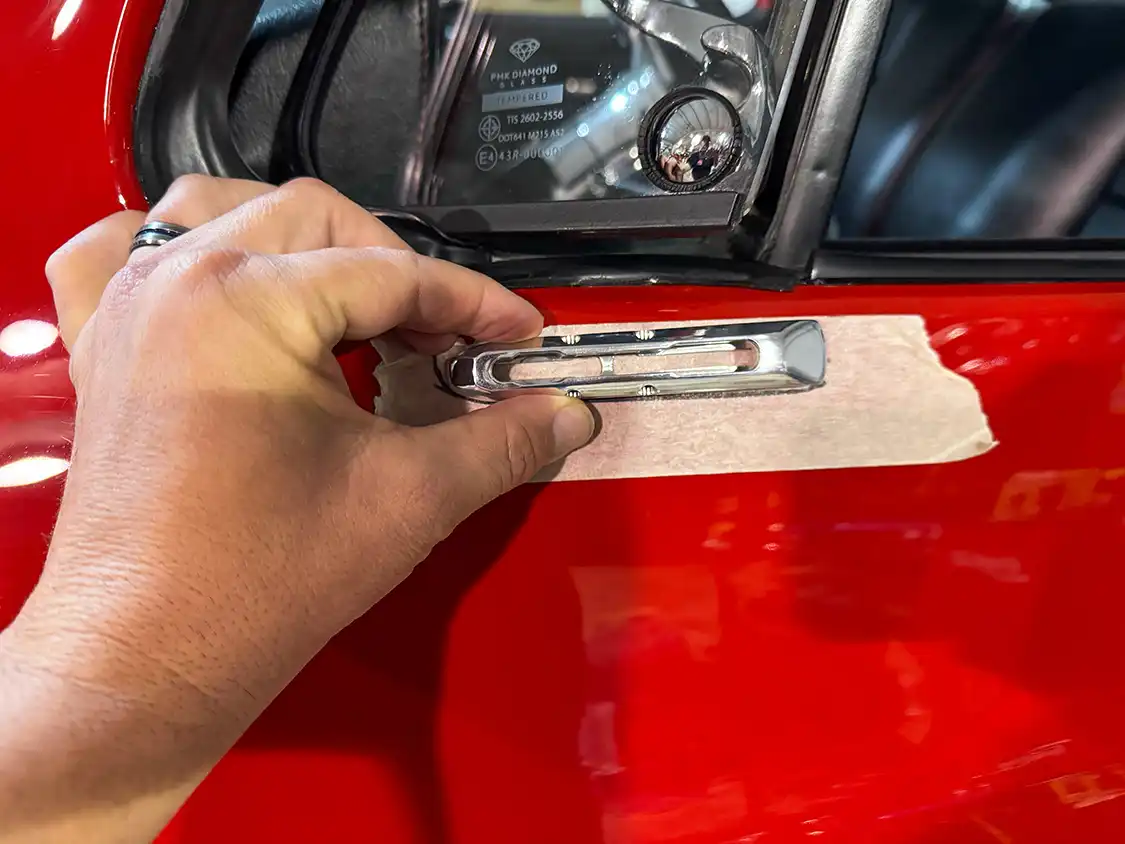
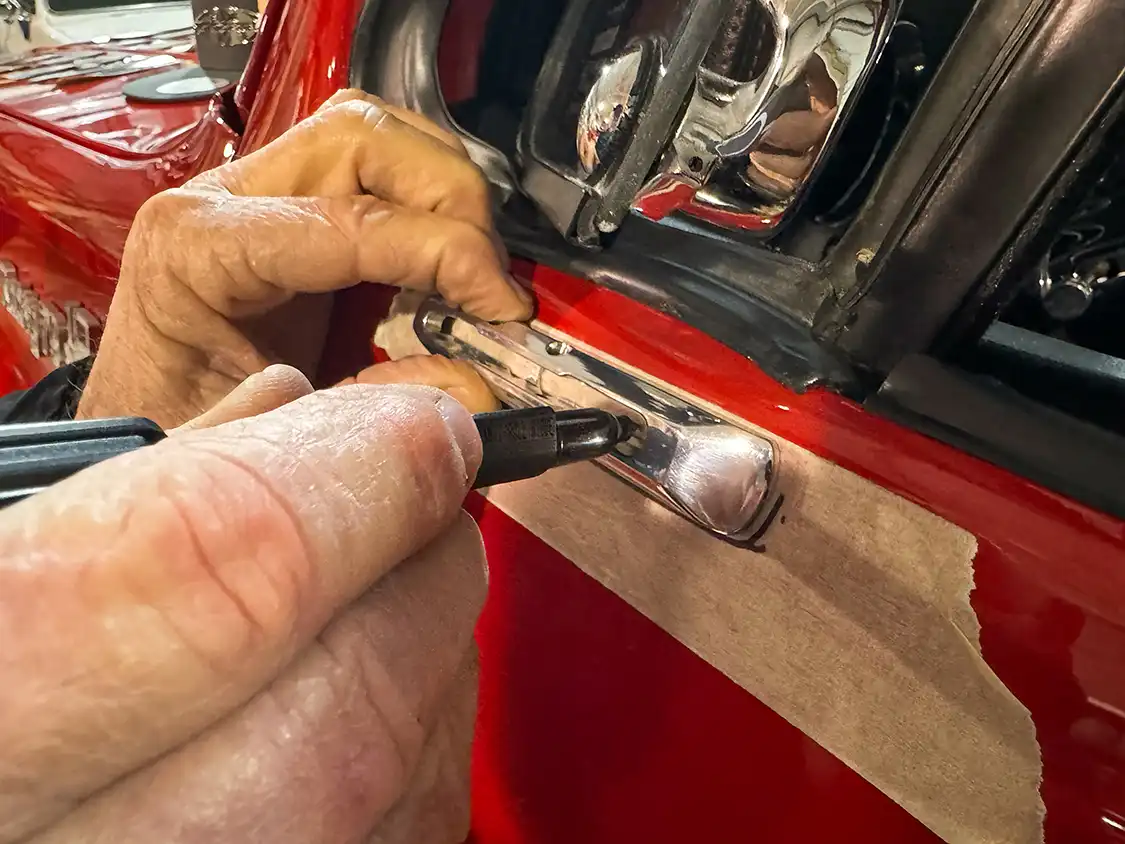
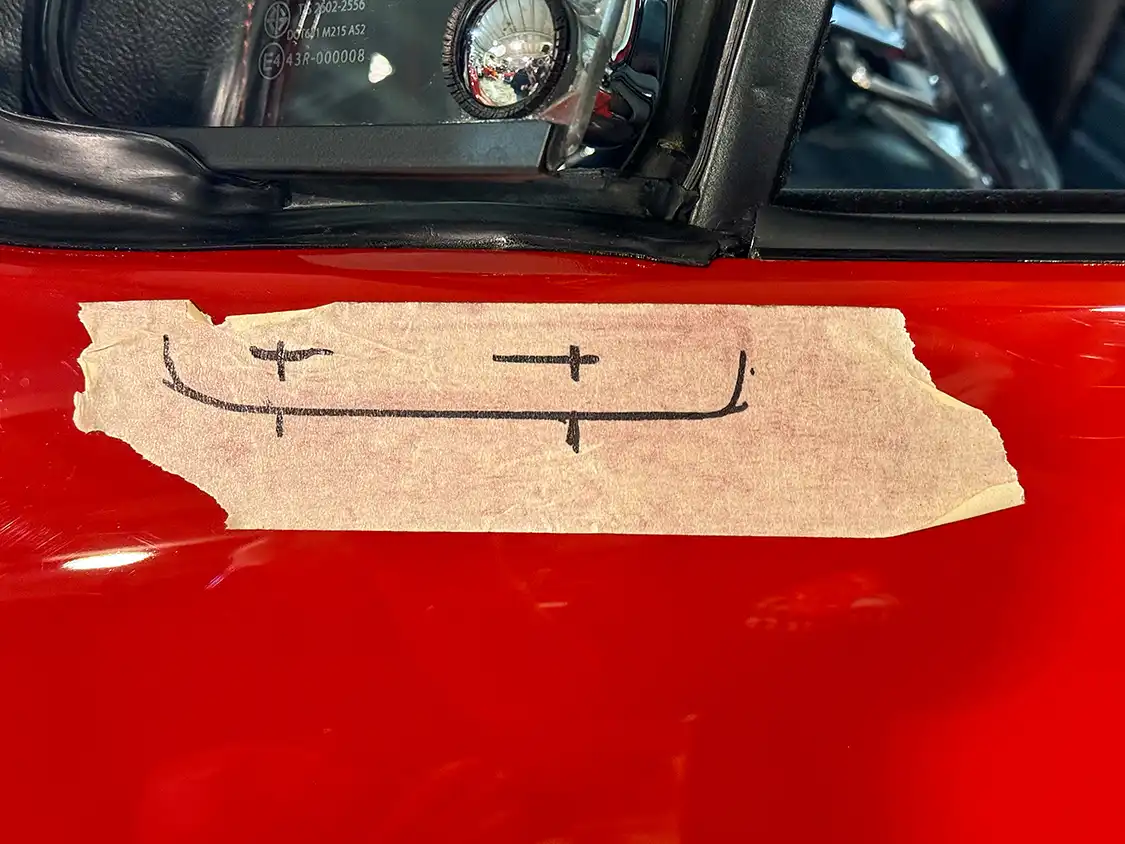
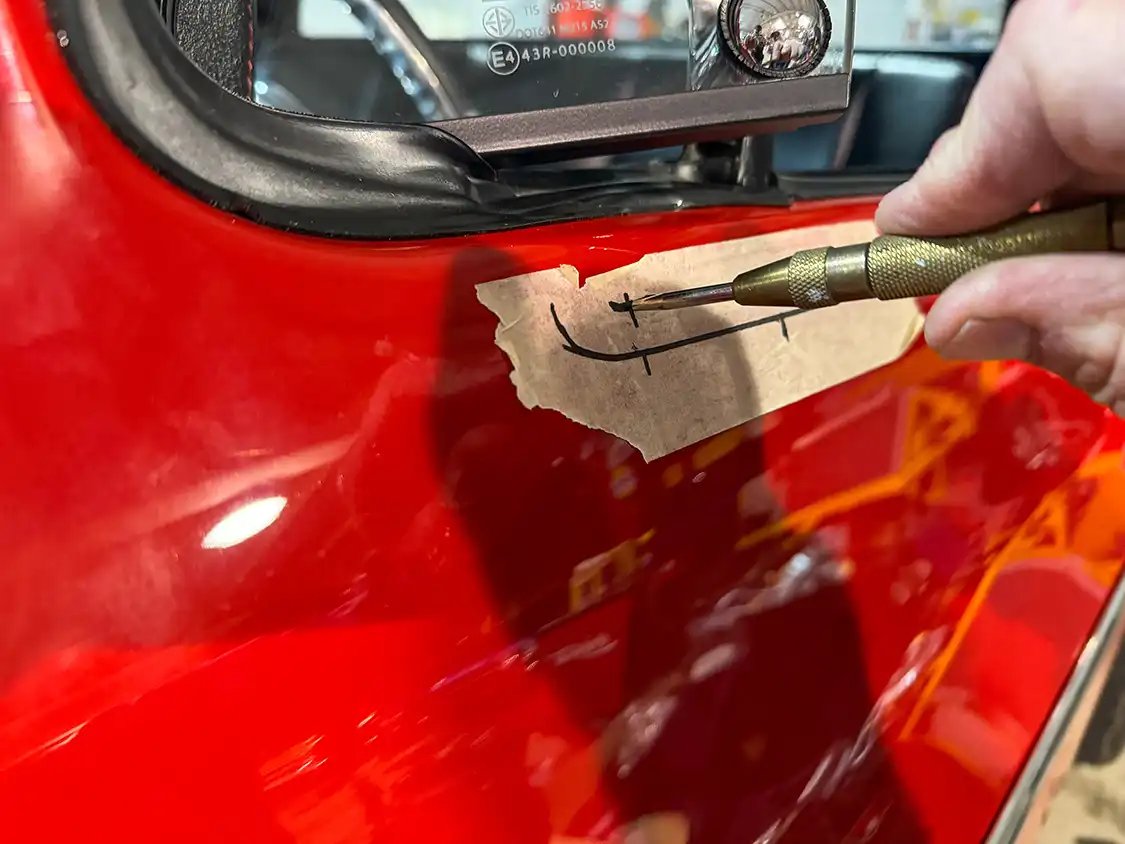
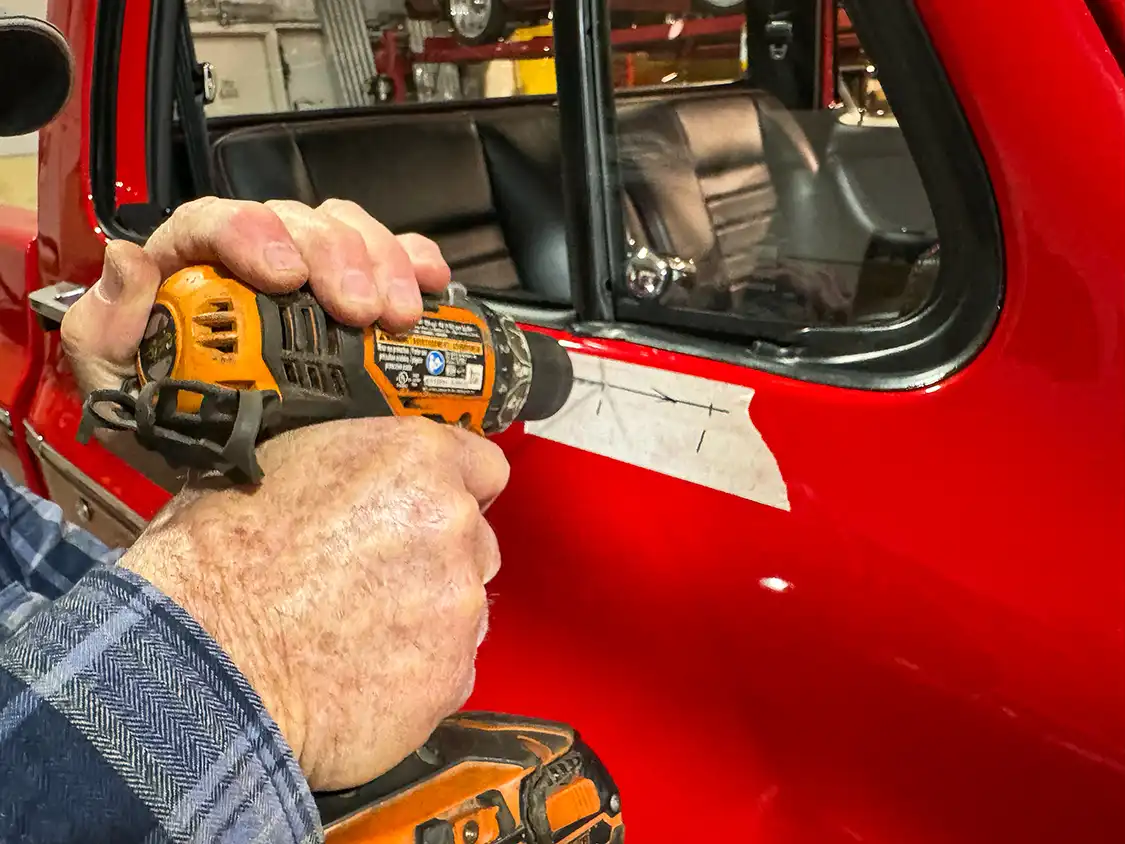
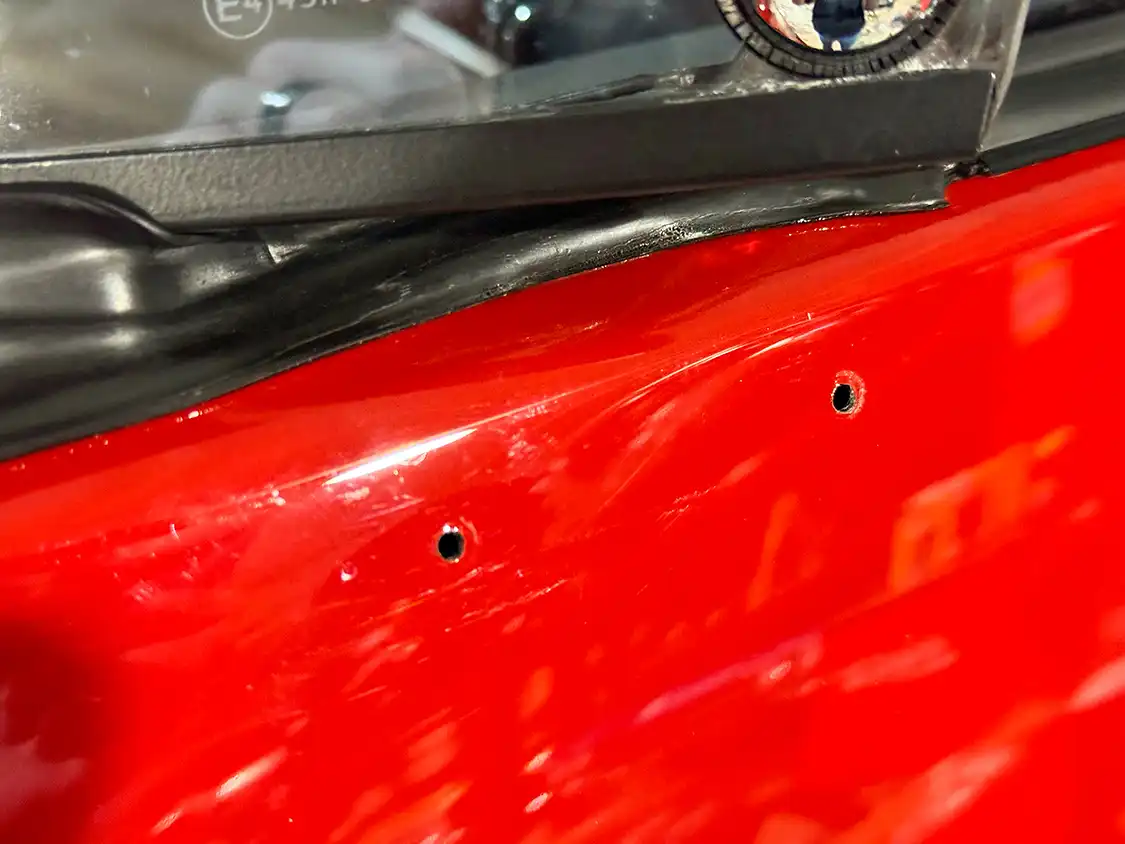
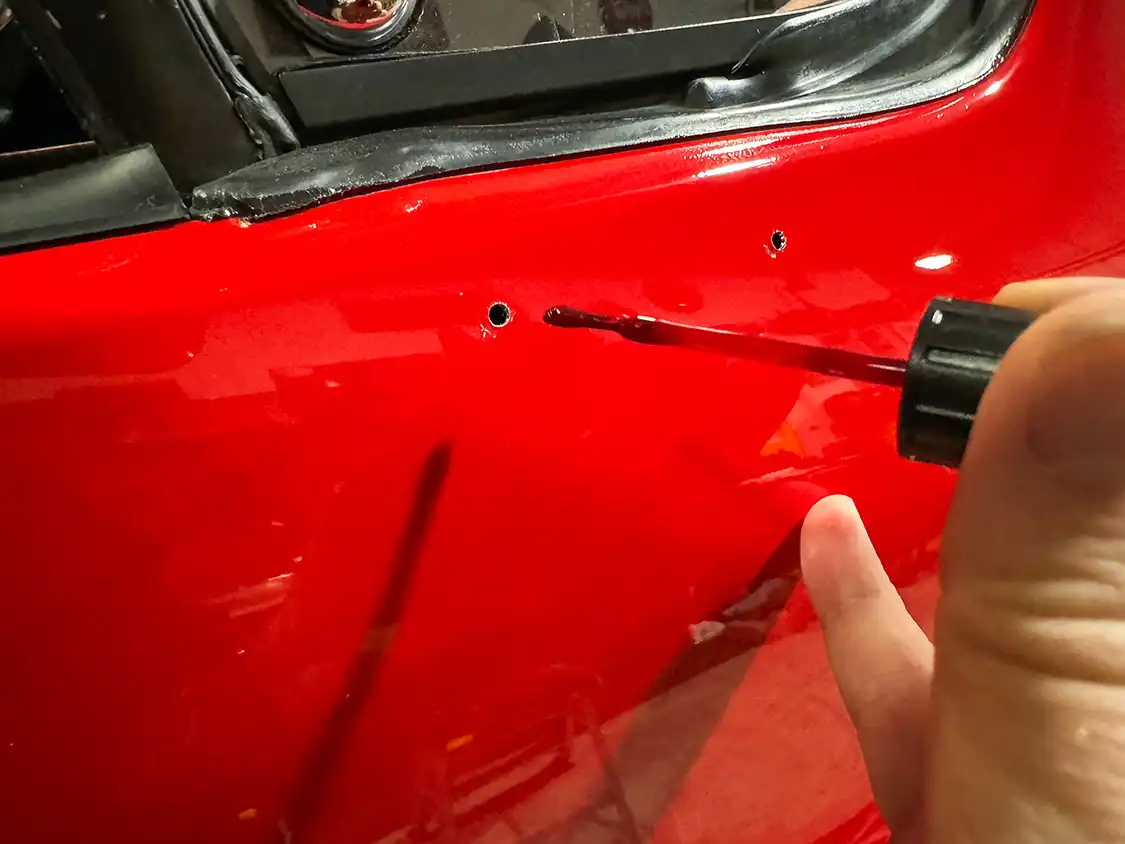
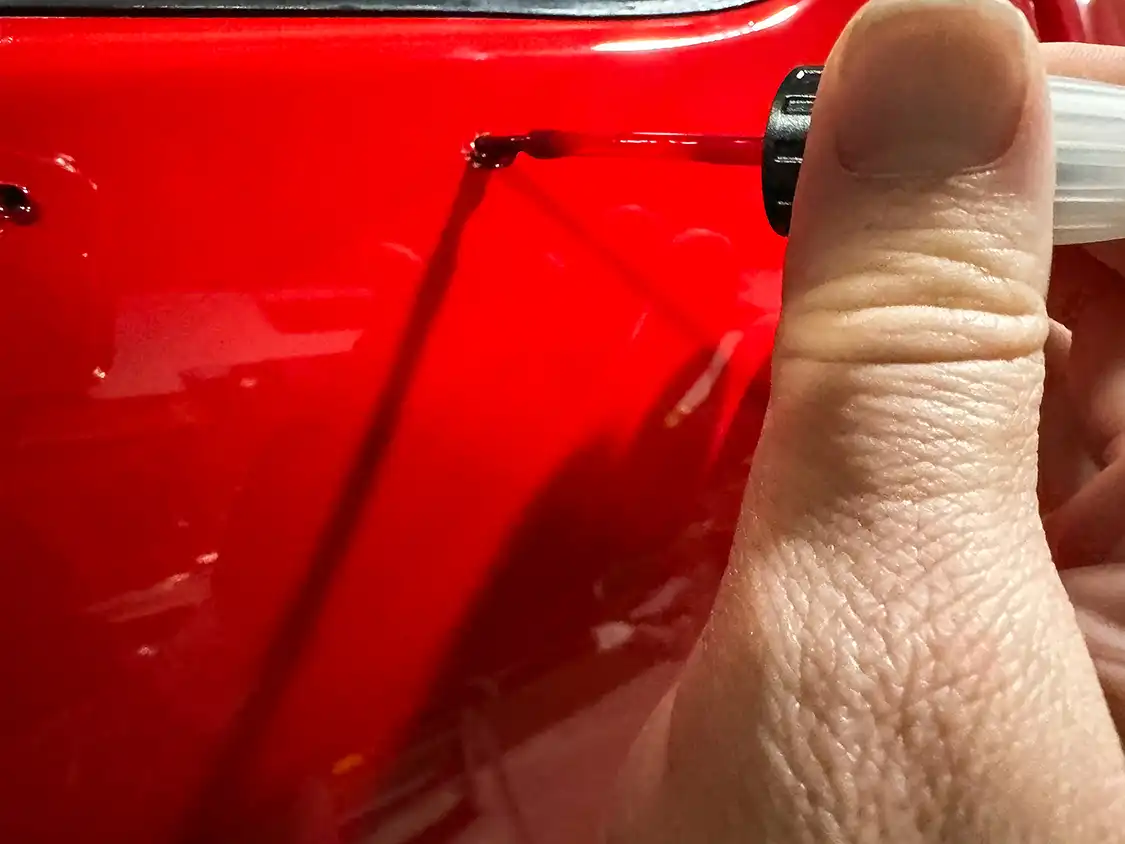
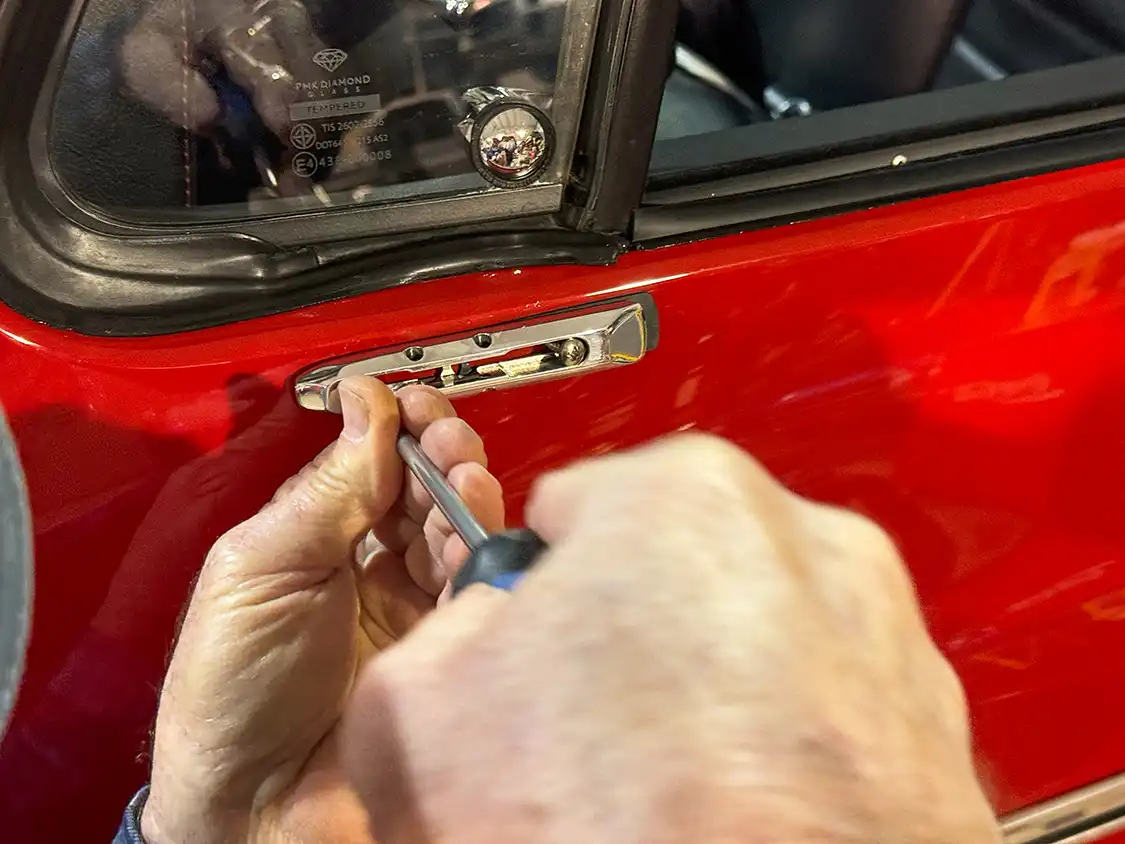
Installing these mirrors was a breeze thanks to their universal mounting system. Designed to fit either side, the mirrors feature a smart setup that mounts from the outside and secures through the inside of the base. The process was straightforward, requiring just a few tools and a little patience.
Once installed, the mirrors brought a whole new level of style and function to Project Rocky. The anti-glare automotive glass is a practical touch, especially for night driving, while the adjustable pivot ball ensures the perfect angle for visibility. And the solid aluminum construction means they’ll hold up to years of use while maintaining their show-quality finish.
These billet mirrors aren’t just side-view mirrors—they’re a statement piece that ties together the final look of our build. Whether your square body C10 is a weekend cruiser or a full-blown show truck, Eddie Motorsports’ mirrors are a must-have upgrade. Follow along with the photos to see just how seamless the install was and how these mirrors look on Project Rocky. It’s safe to say, the wait was worth it.
Once installed, the mirrors brought a whole new level of style and function to Project Rocky.

Eddie Motorsports
888-813-1293
www.eddiemotorsports.com
PHOTOS BY CHRIS HAMILTON
Department
Patina Protection Perfected Older generations would tell you to rub your truck down with oils, like boiled linseed, to prevent further oxidation. But with the… Continue reading
KYLE APPELL . December 15, 2022
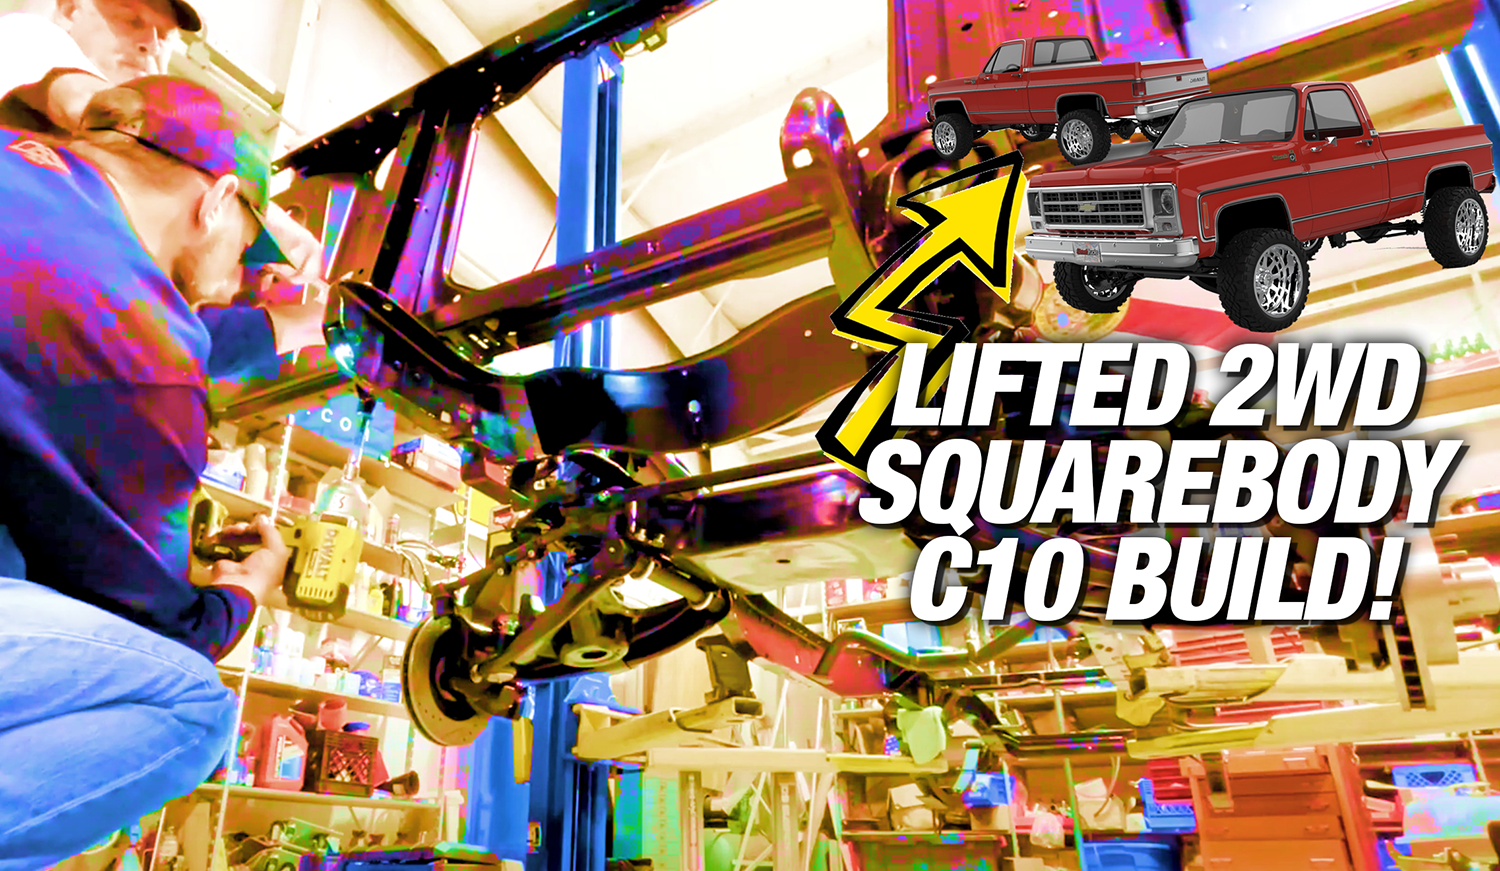
c10
In this episode, we finish the assembly of the front suspension and brakes on Project Rocky, our 1979 Chevy C10 using parts from great companies… Continue reading
Chris Hamilton . January 26, 2022
HEADLINE
Generally, truck trends are unpredictable and cycle quickly through the ranks of the top industry builders and ballers. F-100 bump-sides and pro-touring, patina-paneled C10s are… Continue reading
Chris Hamilton . December 23, 2019
Department
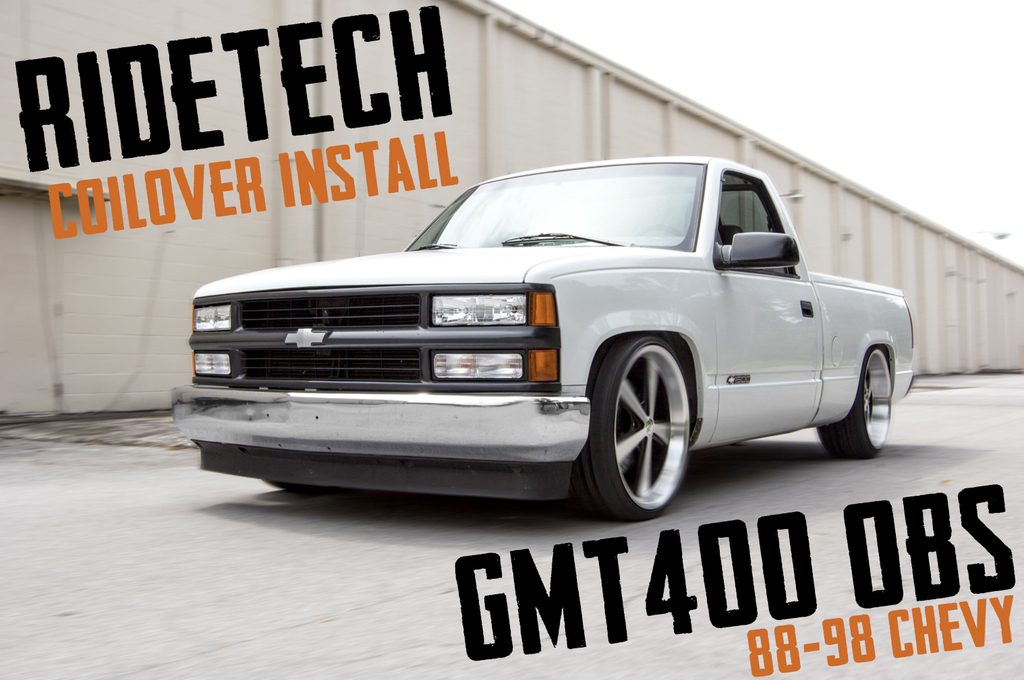
872 HP EFI Deluxe Dressed Crate Engines BluePrint Engines just upped the ante with its Pro Series 426 CID Gen III crate engines. Available in… Continue reading
Chris Hamilton . August 09, 2024

Blood Sweat and Gears
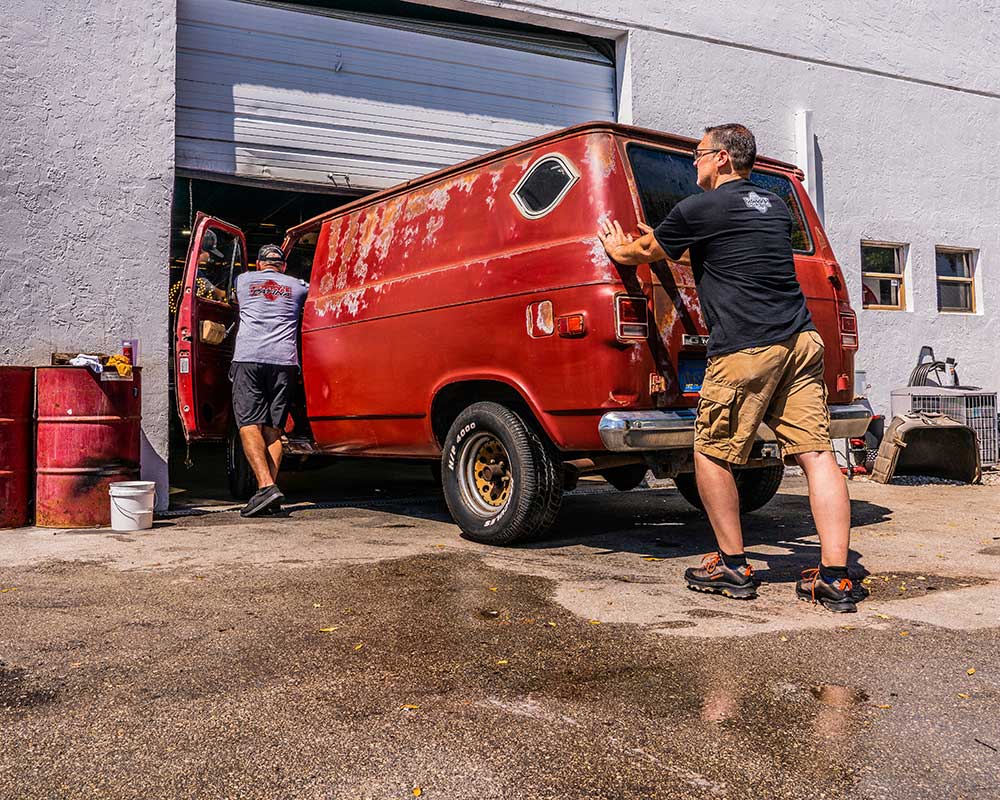
Thanks to Keeps for sponsoring today’s video. Click here http://keeps.com/b2b to get 50% off your first order of Keeps hair loss treatment. It’s 2021, and… Continue reading
Adam Johnson . October 27, 2021
Department
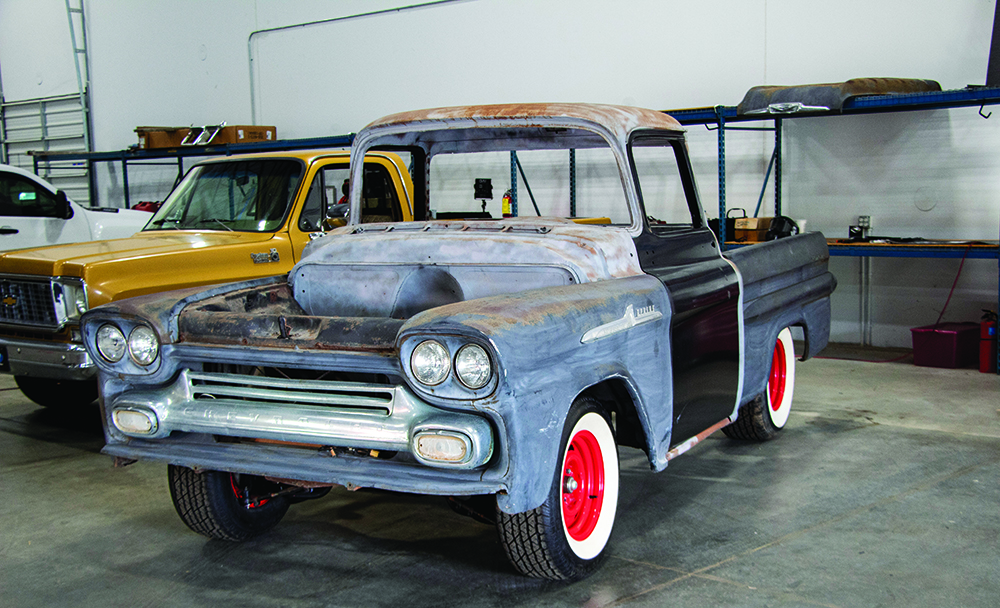
Patching an Apache Welcome back to our installation series on project Burnadebt, our 1959 Chevy Apache. Burnadebt was in pretty rough shape to start with,… Continue reading
Jason Chandler . February 07, 2022


Share Link