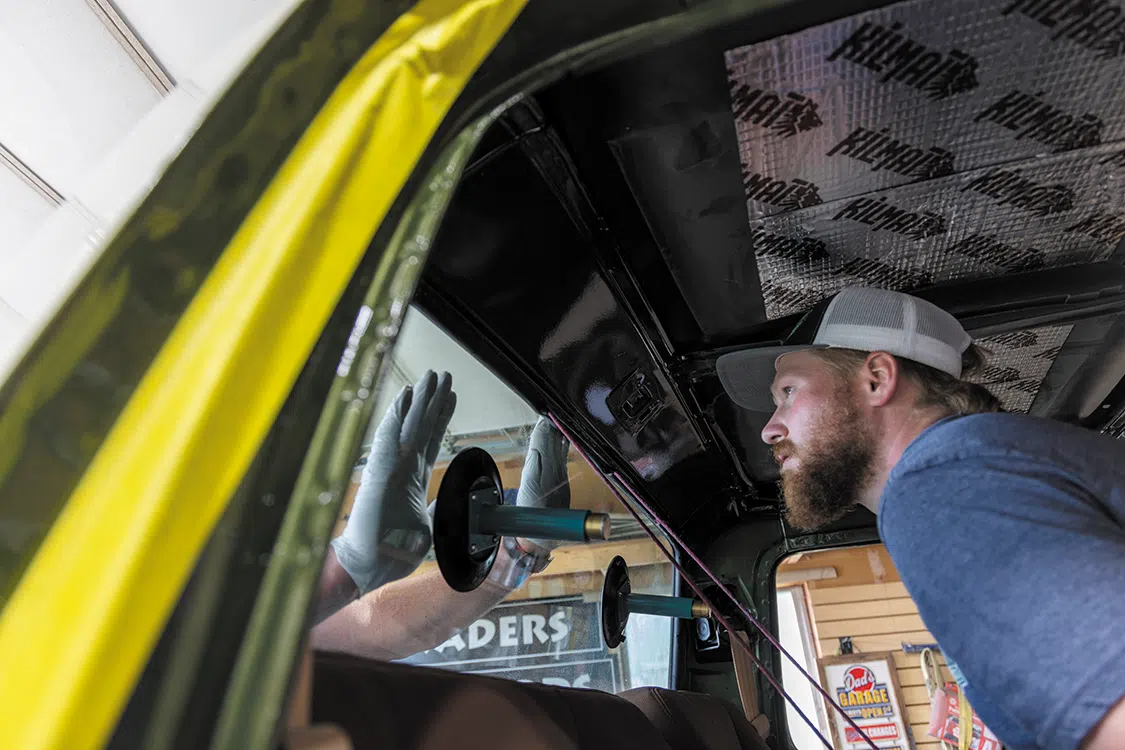
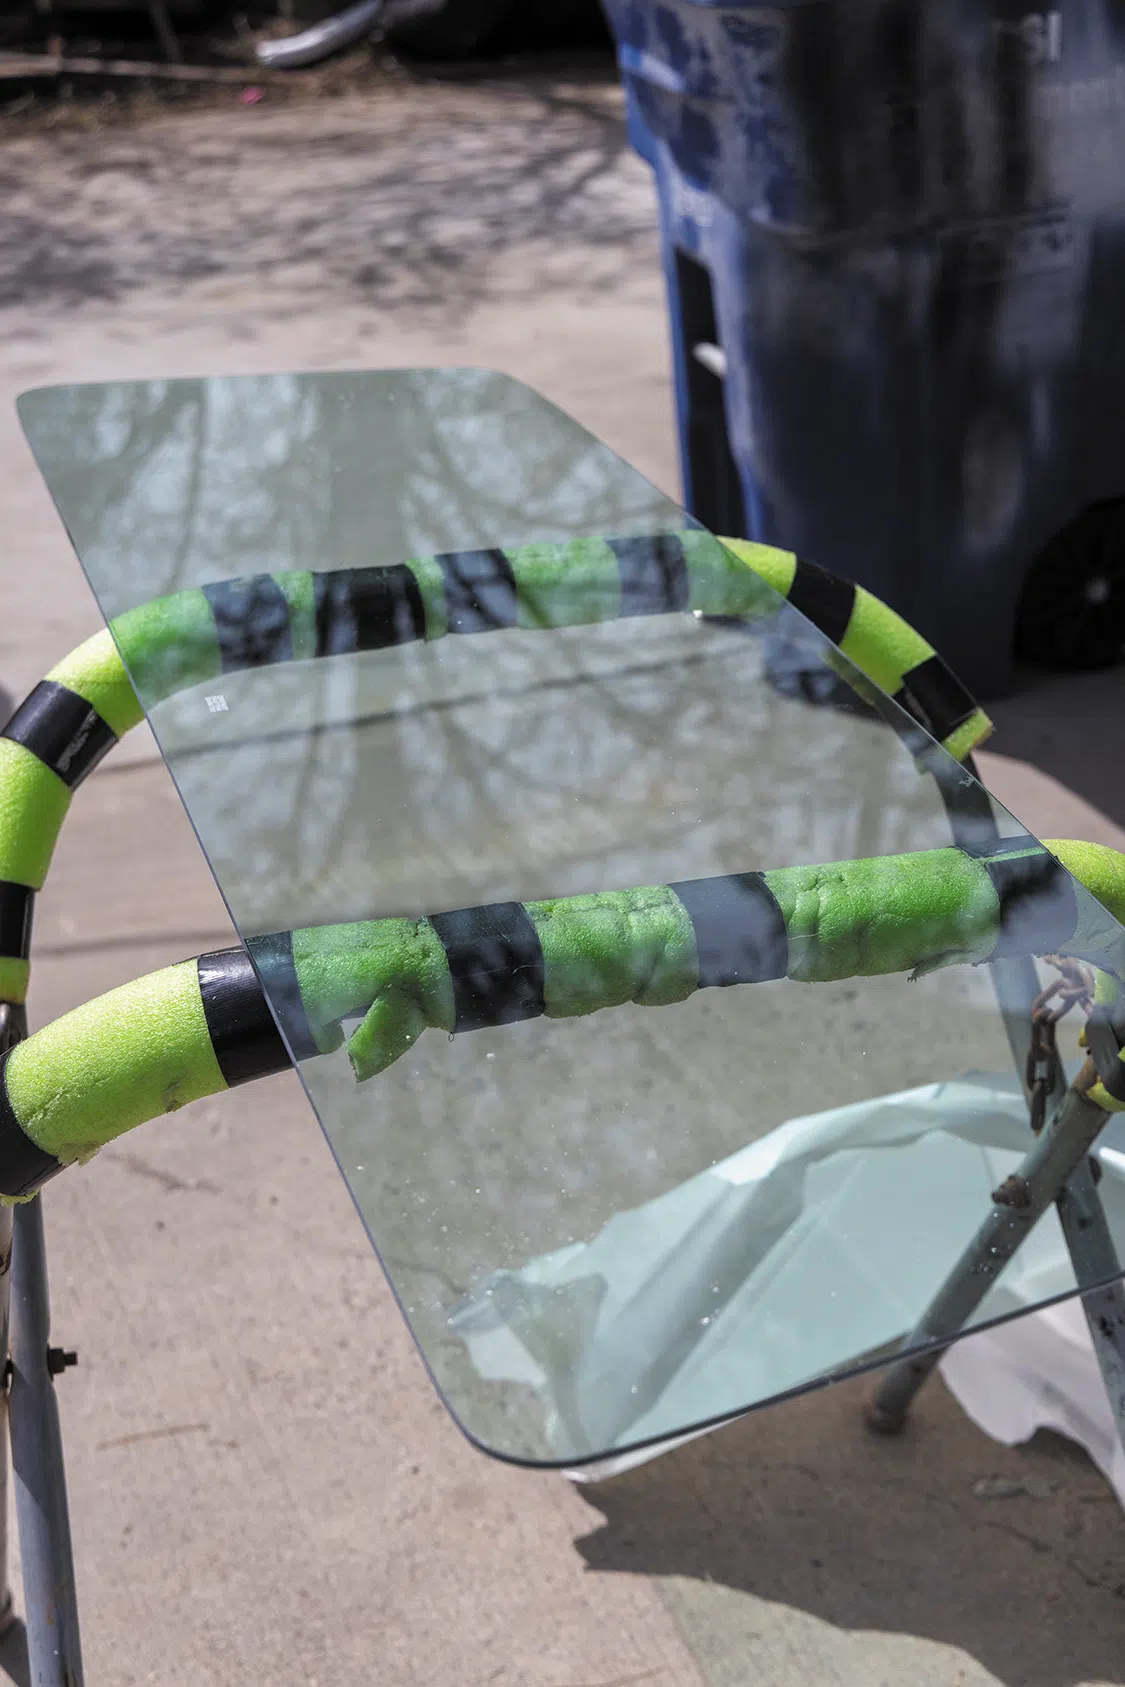
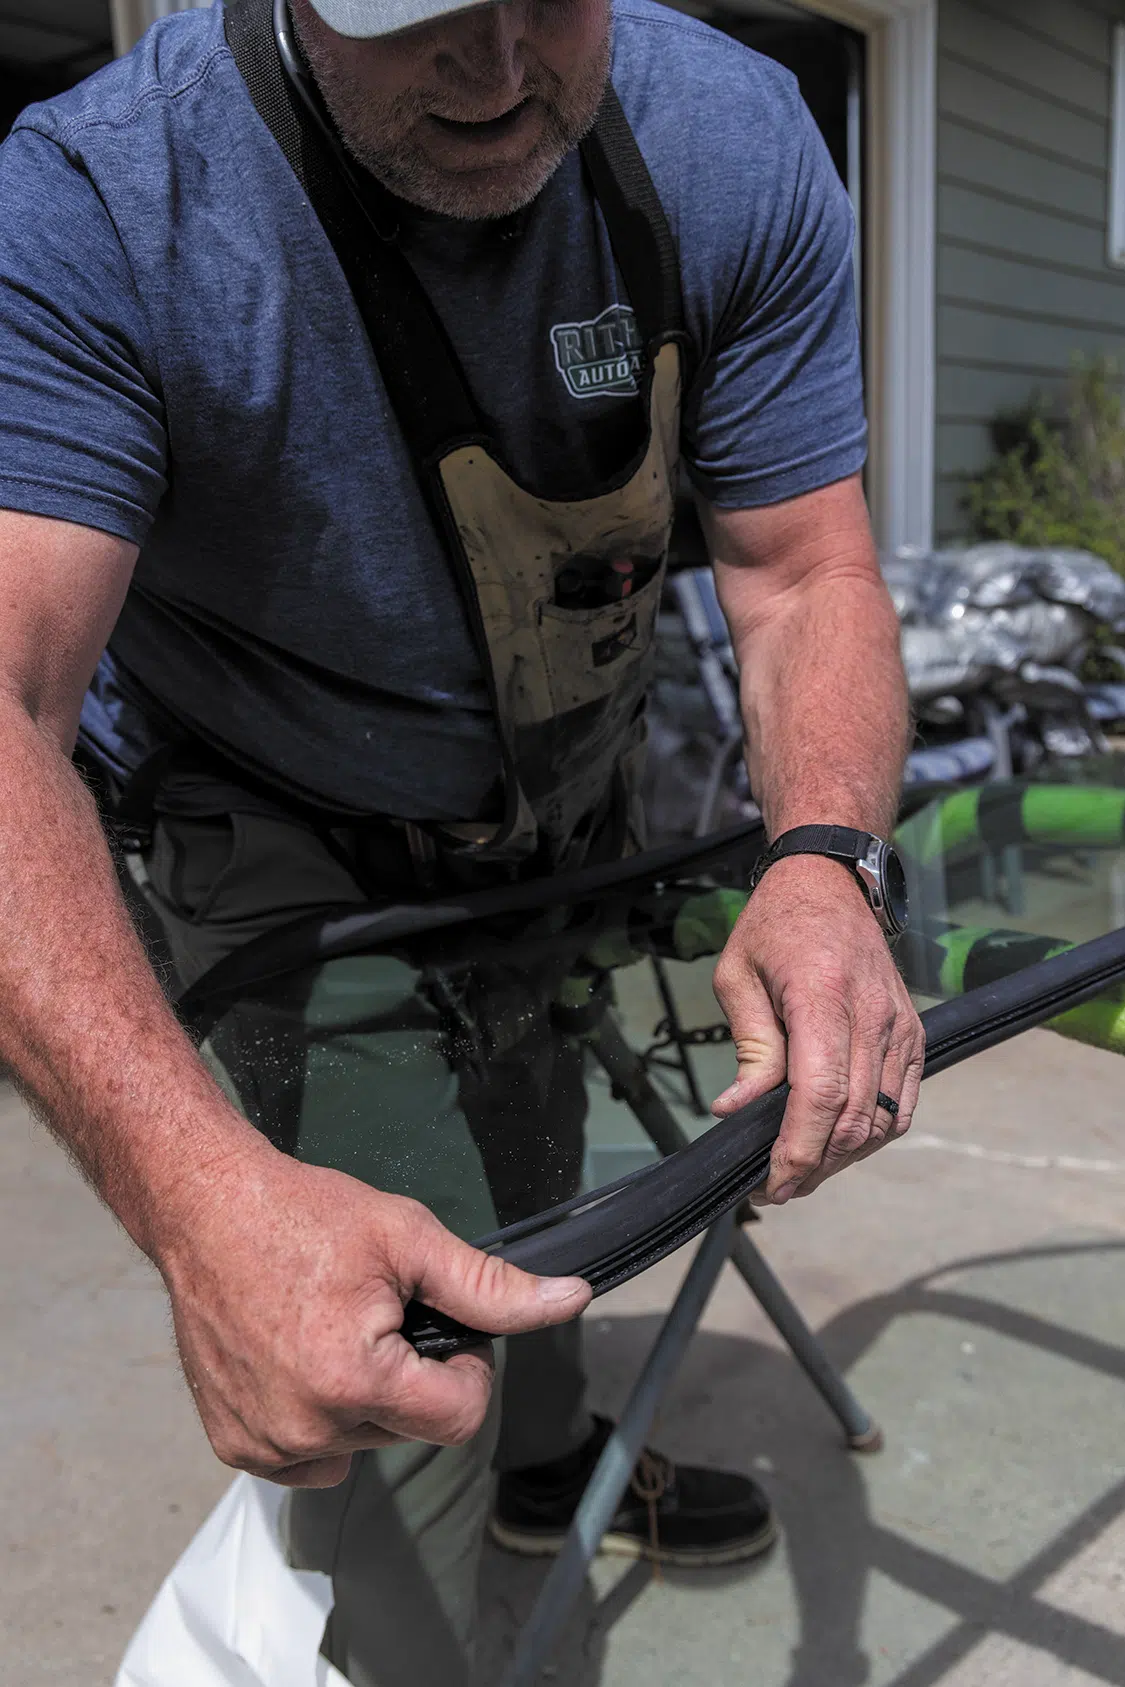
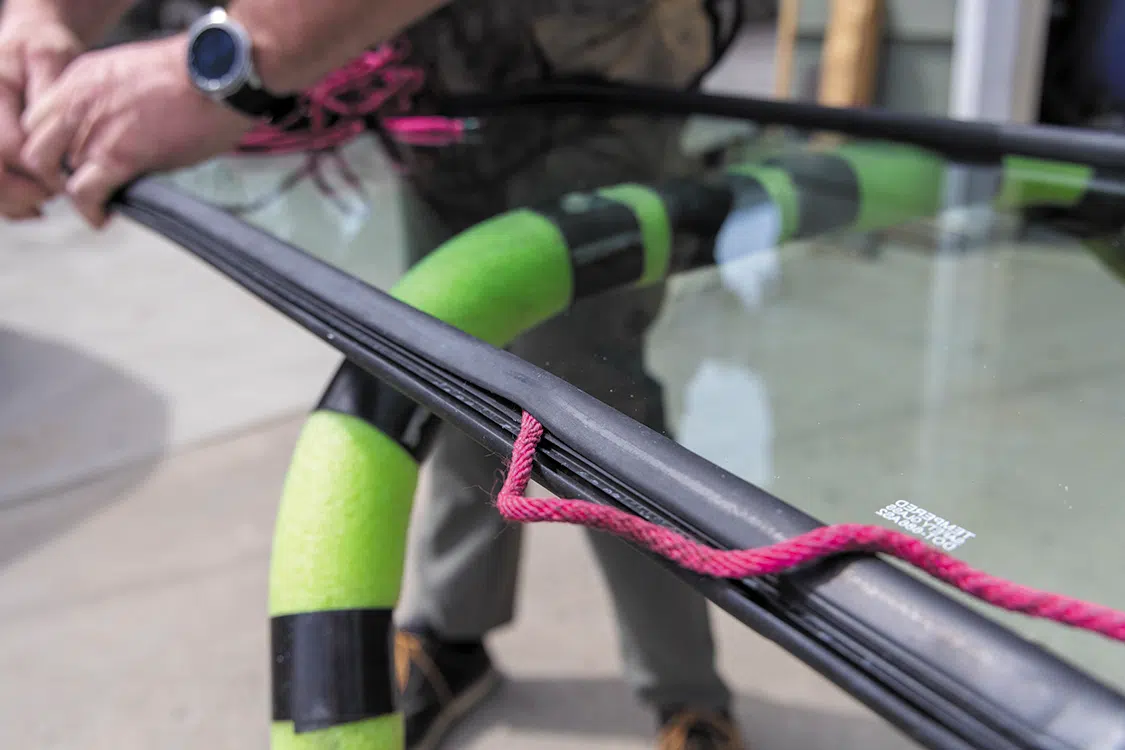
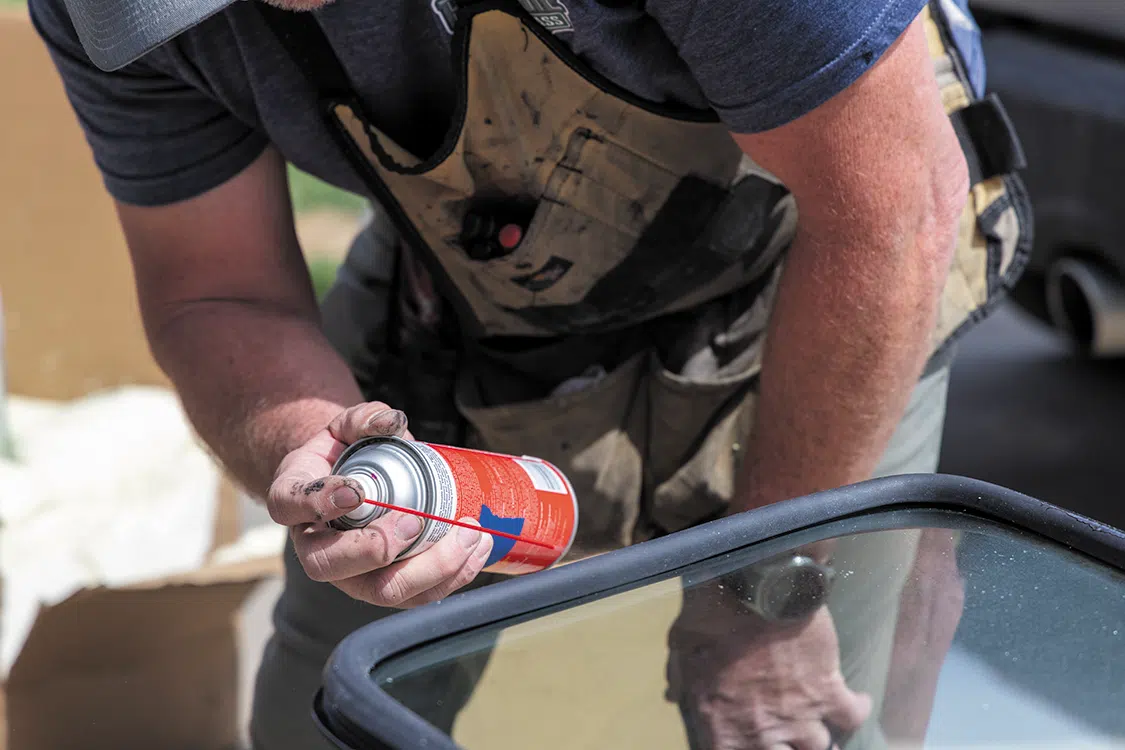
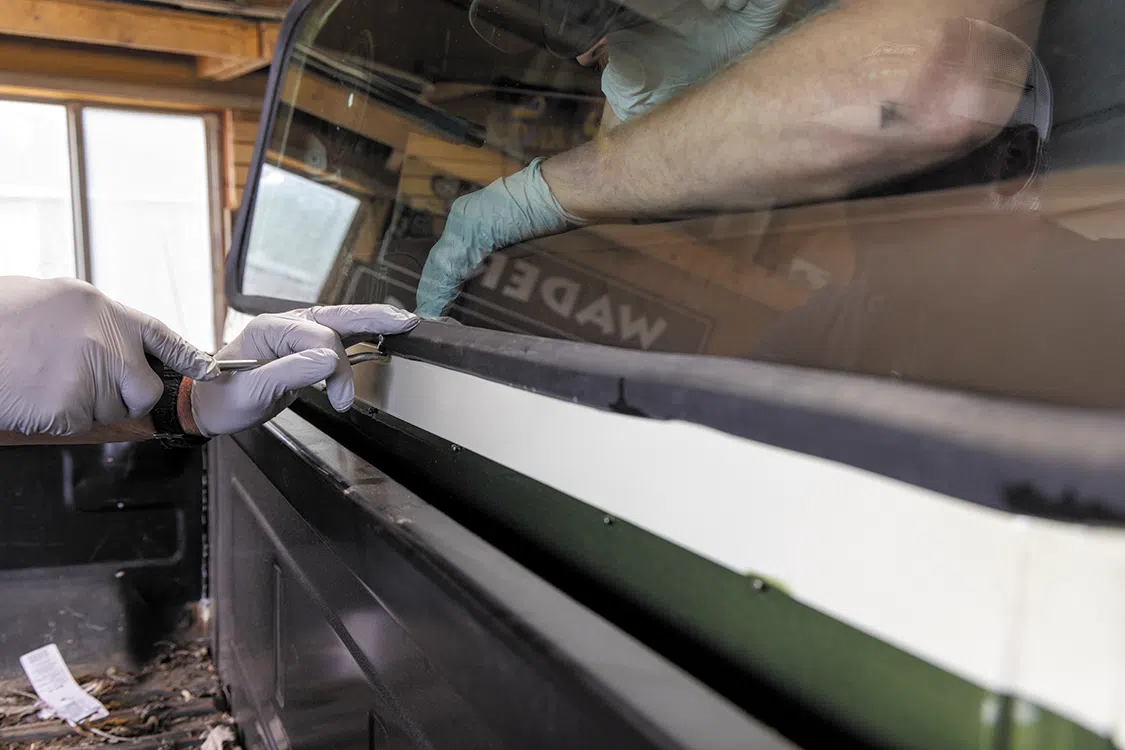
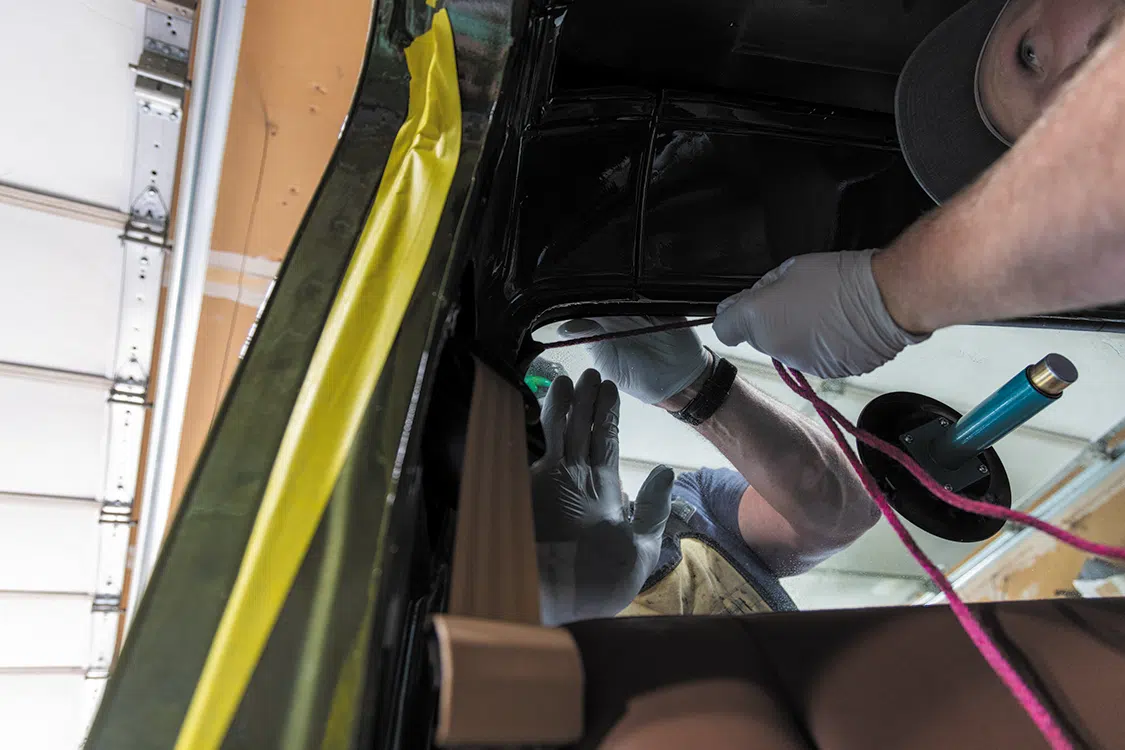
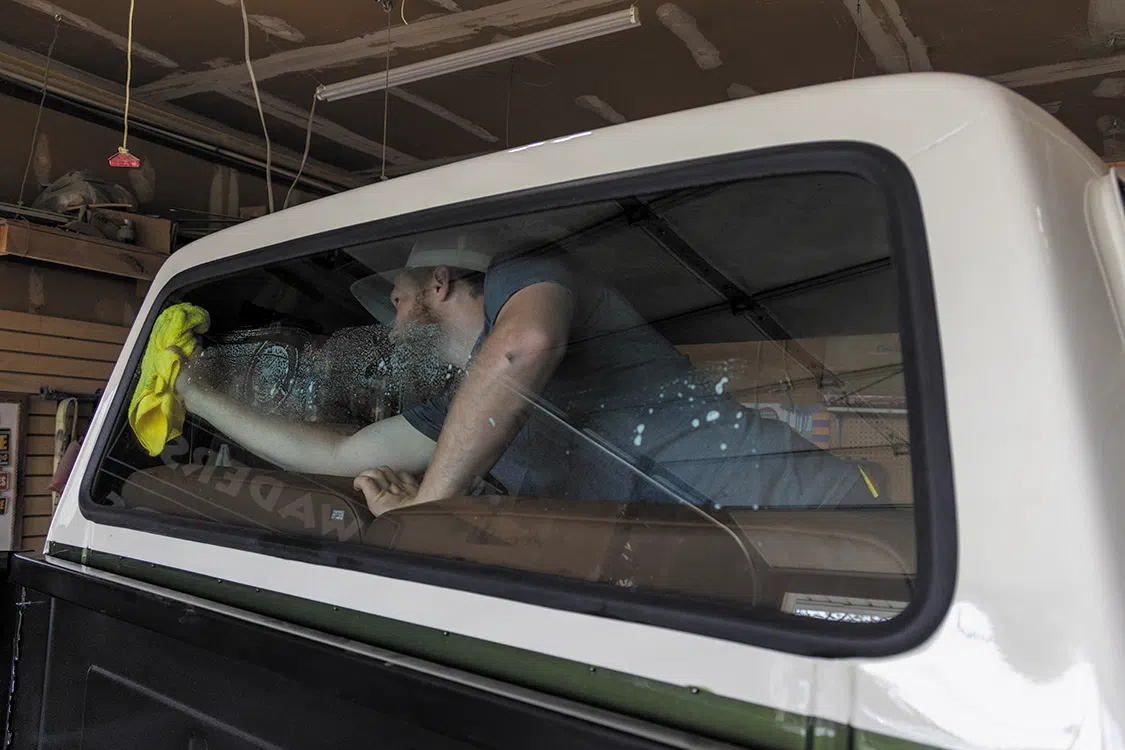
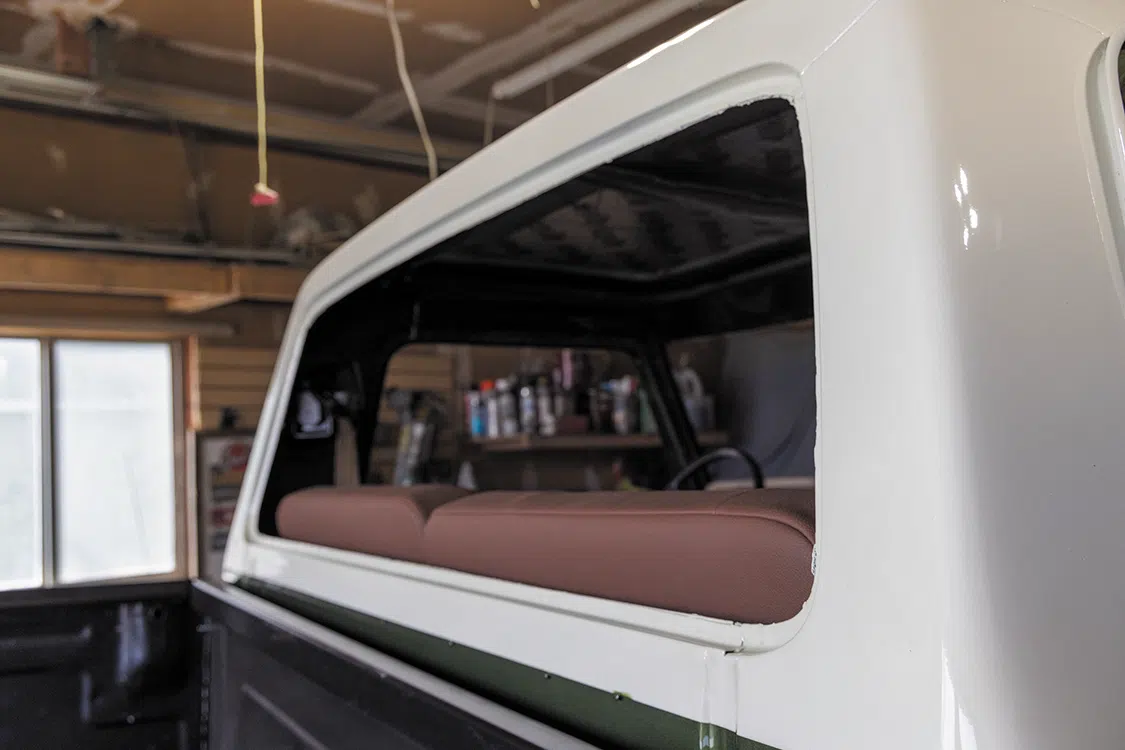
Up next Scrapin’ the Rockies 2024: Colorado’s Growing Truck Show in Ignacio Published on August 12, 2024 Author DEVAN ENCE Share article Facebook 0 Twitter 0 Mail 0 Installing New Tinted Glass in a 1976 F-250 New Tinted Glass for our ’76 F-250 Installing new glass in a truck can be one of those tasks that seems intimidating at first, but it doesn’t have to be. Starting with the rear window is a great idea for beginners. The process is straightforward and, with the help of a friend, can be completed quickly. The key is to take your time, especially if the truck has fresh paint, and be patient. New seals can sometimes be a bit challenging to work with, so patience is essential. For this project, we used tinted glass and new seals from LMC Truck for the 1976 F-250. Preparing your tools and materials beforehand is crucial. Make sure you have the glass, seals, and any necessary tools within reach. Begin by removing the old glass and seals, carefully avoiding any damage to the frame or surrounding areas. Once the old glass and seals are out, clean the area thoroughly to ensure a smooth installation.Subscribe to our weekly newsletter Next, fit the new seals onto the glass. This step might require a bit of maneuvering, but persistence pays off. With the seals in place, position the glass carefully, ensuring it aligns correctly with the opening. This is where having a friend to assist can make the process smoother by providing an extra set of hands to hold and adjust the glass as needed. Once the glass is in place, check all around the edges to ensure a snug fit. Taking the time to do this properly will prevent any issues later on. With patience and attention to detail, installing new glass can be rewarding and make a big difference in your build. Clean and prep the window opening so nothing gets trapped between the seal and the pinch weld. Unwrap and lay out your glass on a stable surface. Work the new seal around the outside of the window. I like to leave the seals in a warm place before I start this process because it makes them easier to install— especially if it’s cold outside. Work a piece of rope into the gap that will seal around the pinch weld on the truck. Using a silicon spray around the area that you have worked the rope into will help slip the seal into place. This is not a must, it just makes things easier. Sometimes using a hook to help get the seal set helps. With someone applying pressure to the outside of the window start pulling the rope to help pull the seal into place. The pressure really helps get things seated around the corners of the window. As you get close to the end of the ropes just make sure all the seal is wrapped into place. Clean the window and you are done! Photo Credit: Devan Ence
Bagged and LS-Swapped 1972 Chevrolet C10 on U.S. Mag wheels Rusty Rooster | Low, Mean, and Clean The General Motors plant in Arlington, Texas, began producing Chevy trucks in 1954. It was the company’s first […] Alex Huggins May 18, 2023 c10 C10 Builders Guide Department Features HEADLINE Latest Profiles Reader Rides Uncategorized
Legacy EV’s All-Electric 1971 Chevy C10 In a scene dominated by LS engine swaps, the C10 community is faced with very few motor upgrades that receive commanding attention, though the tried-and-true […] John Mata Jr. November 23, 2021 c10 C10 Builders Guide Department Features HEADLINE Latest Profiles
Aldan American's 1971 Chevy C-10 Super Cheyenne A Truck Tailor-Made for Work Starting a business is tough. It’s all about offering a valuable product and making a good impression so that it […] ST-STAFF September 13, 2023 C10 Builders Guide Features HEADLINE Latest
Infectious Style: Ivan Zavala’s Full-Size Mini-Truck Transformation Ivan Zavala’s Full Size Mini-Truck Mini-trucks have got to be one of the most unique and infectious genres of custom vehicles of all time. They […] John Mata Jr. October 09, 2024 Features HEADLINE