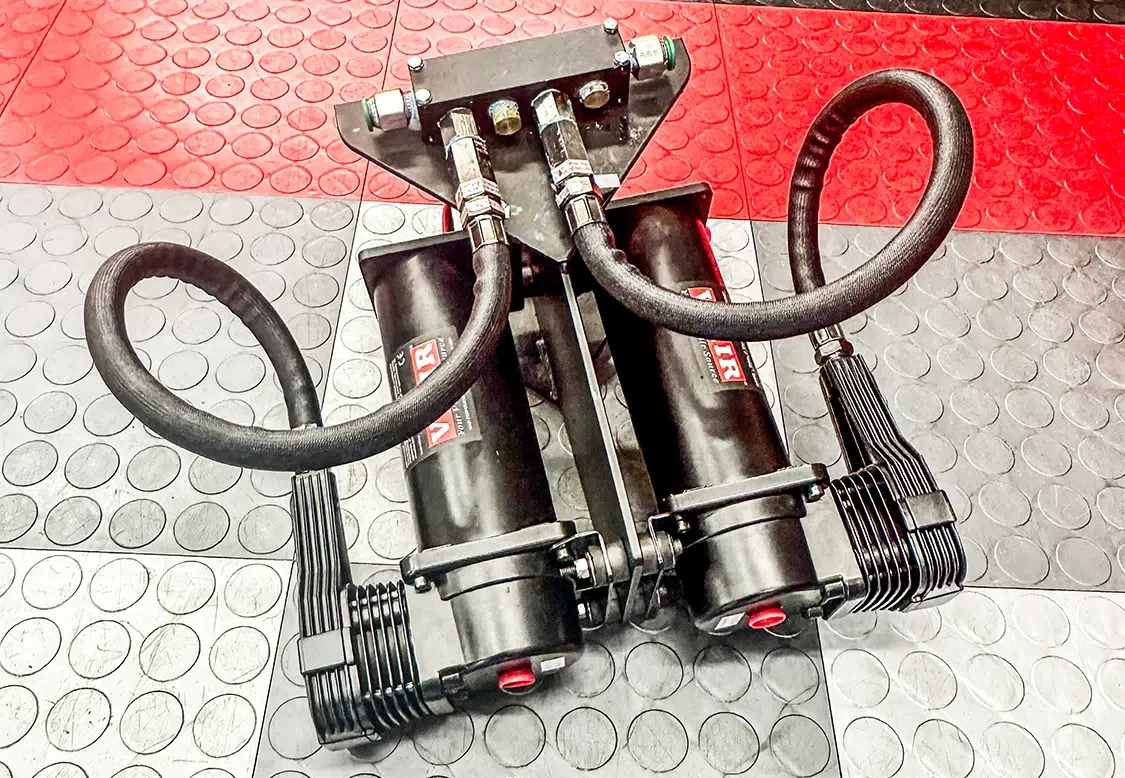
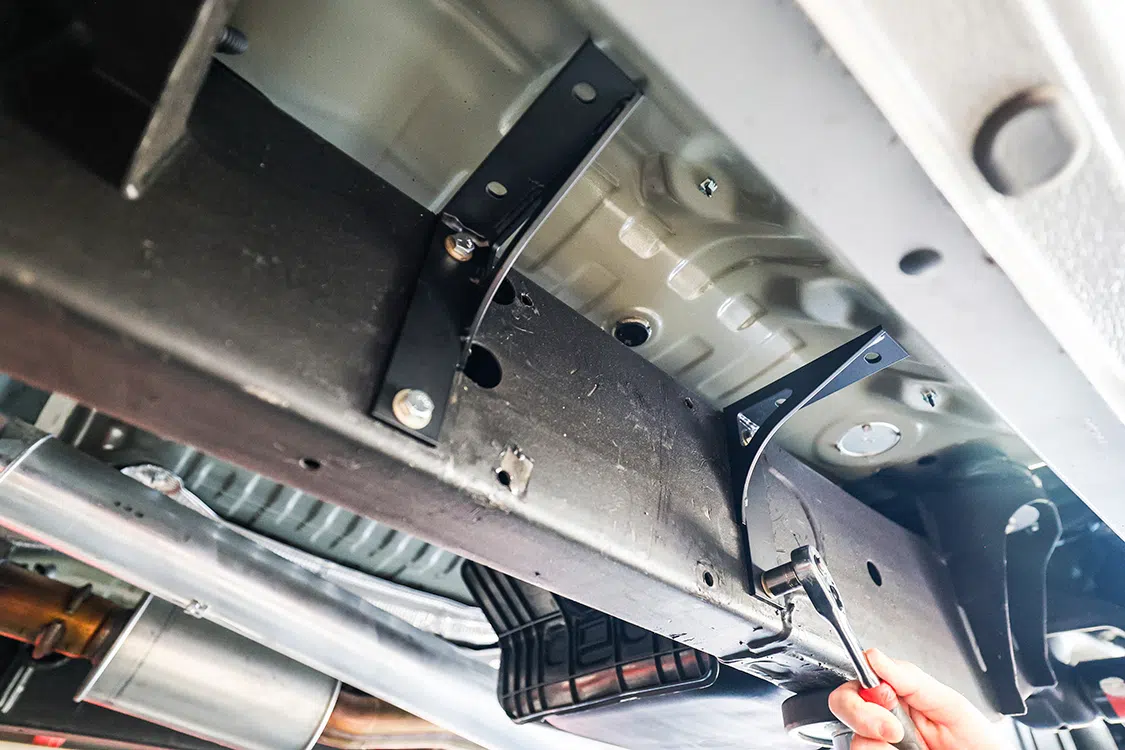
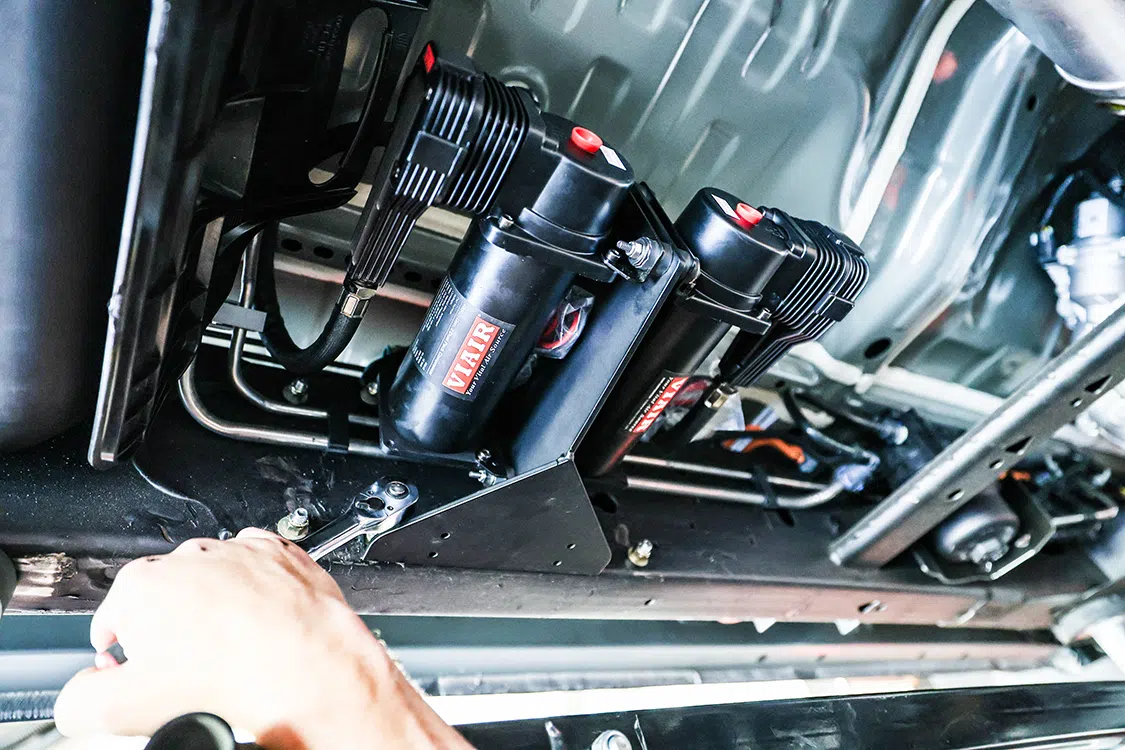
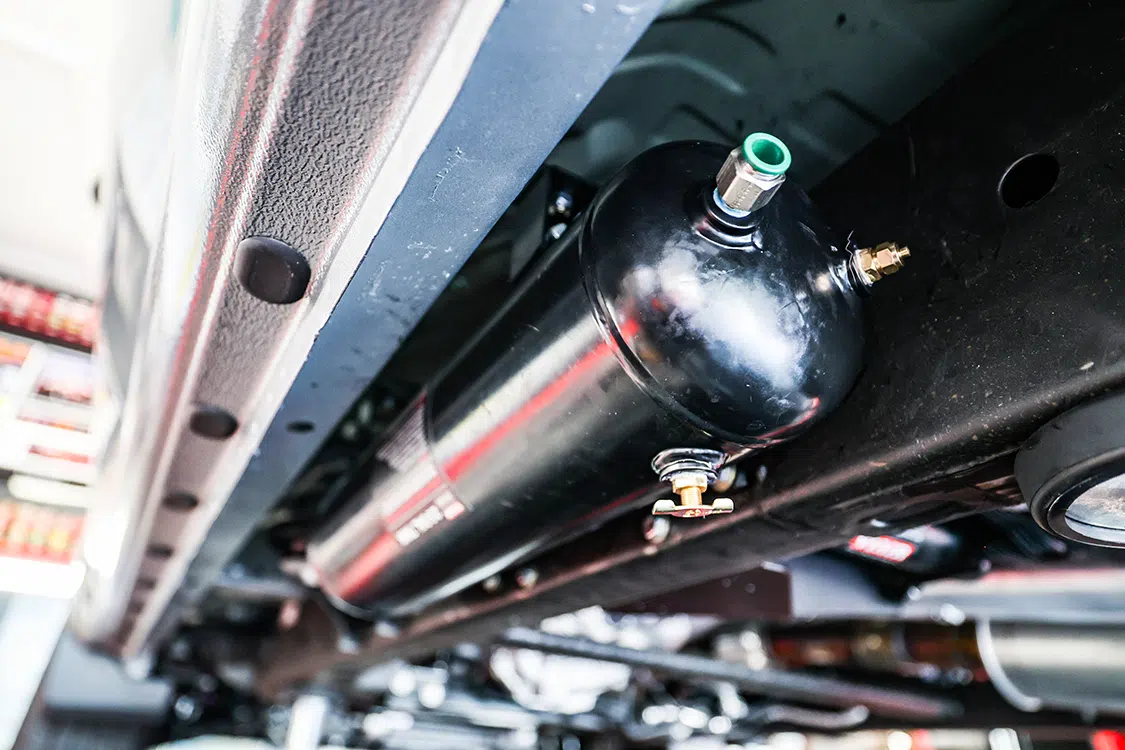
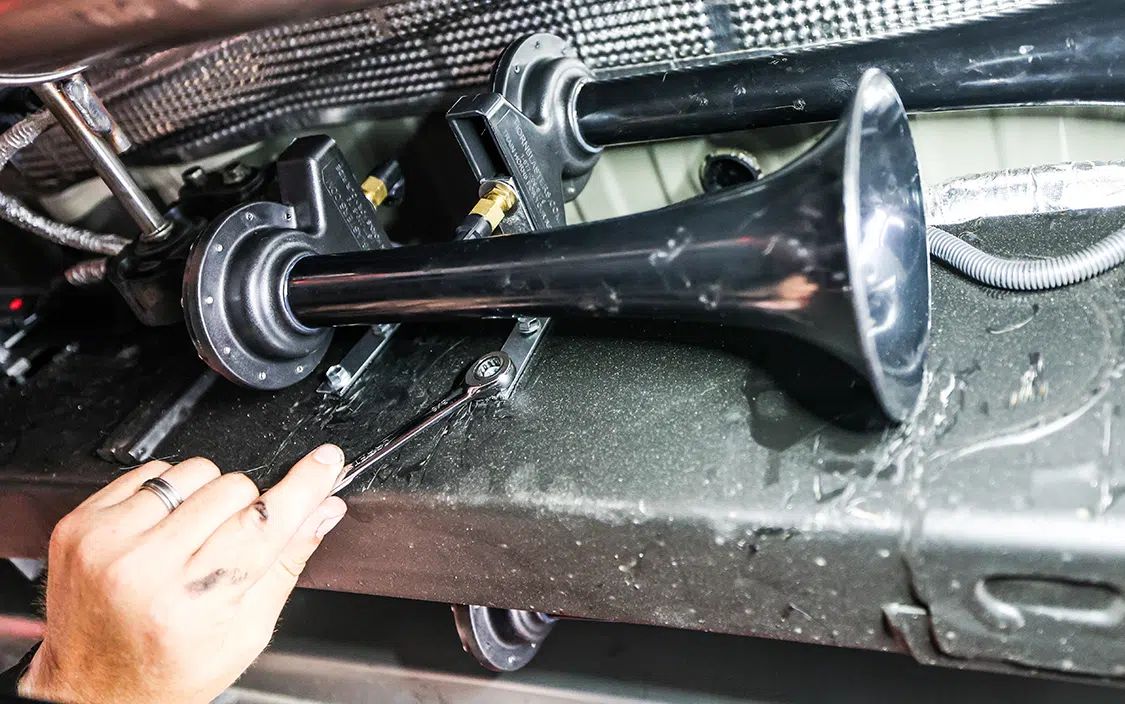
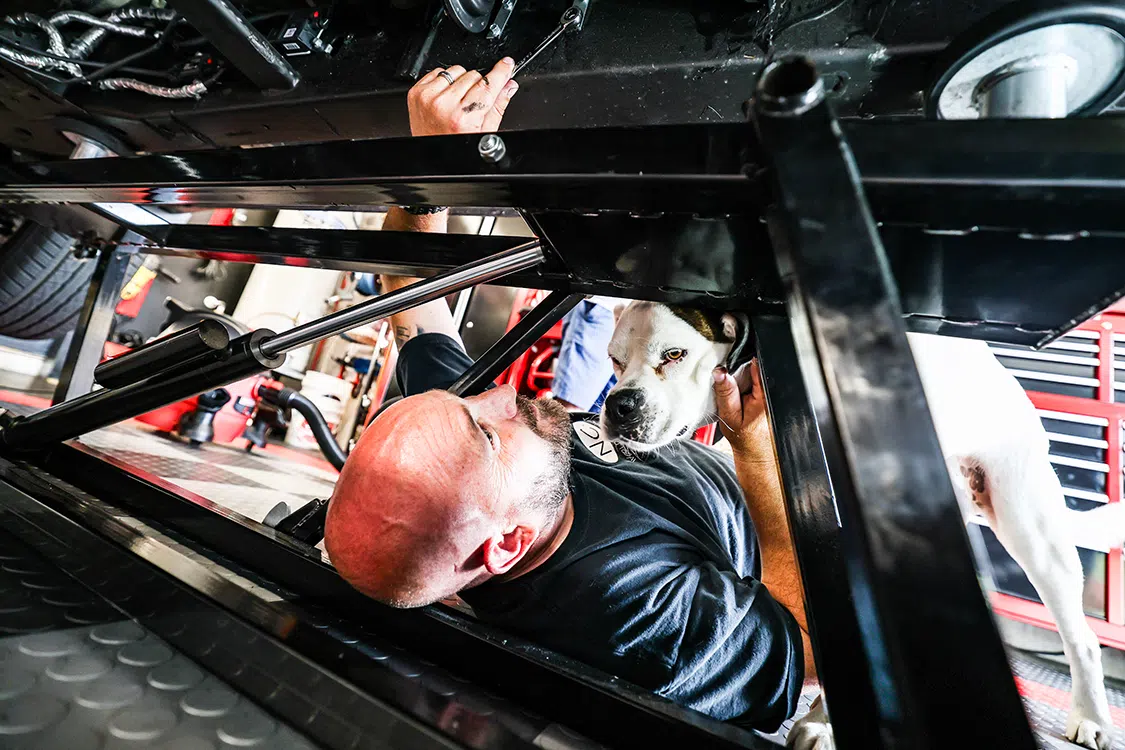
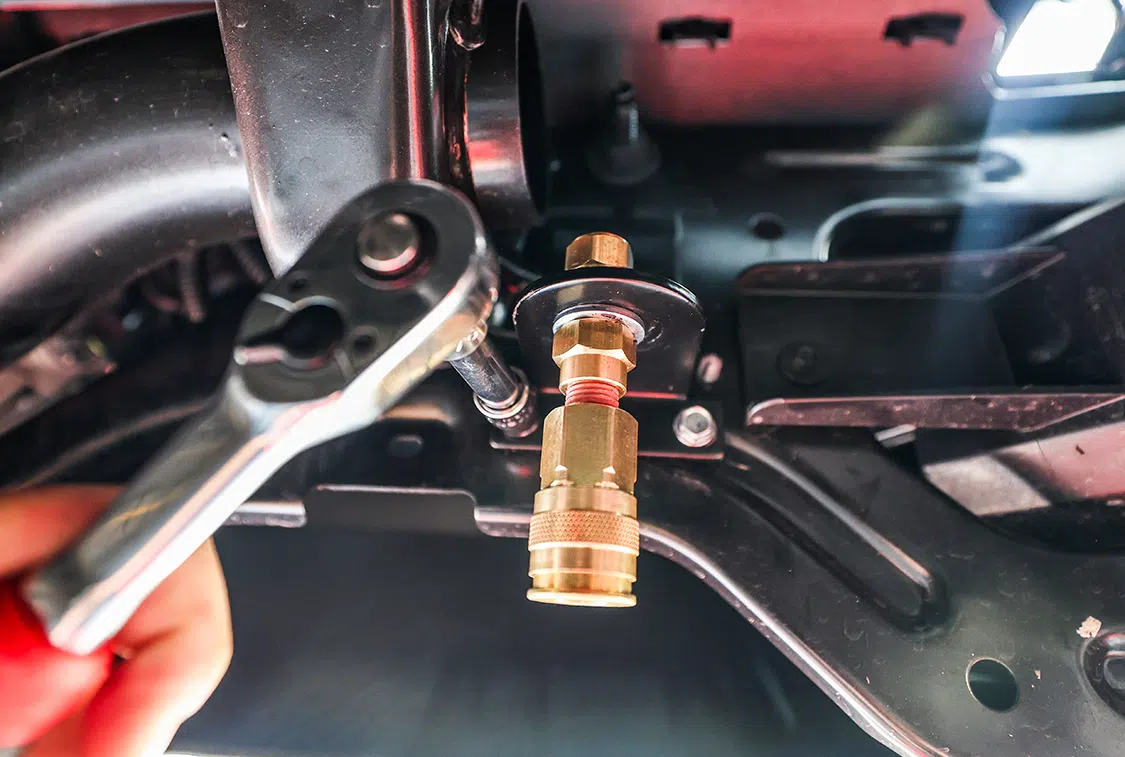
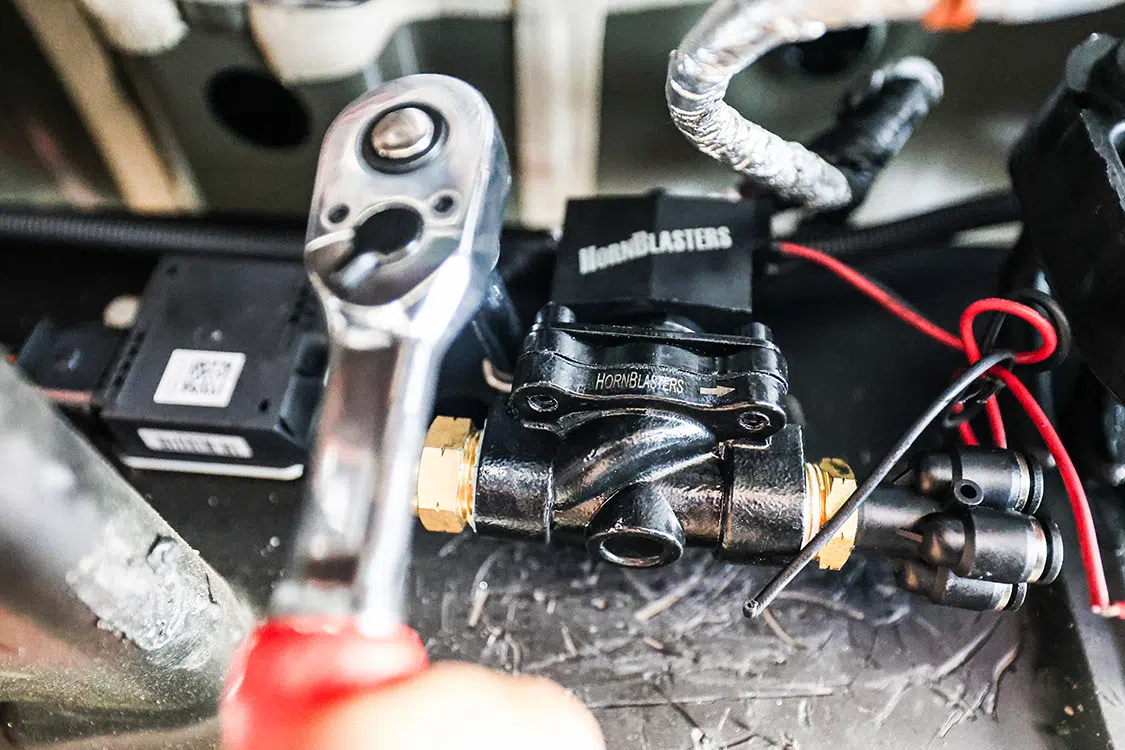
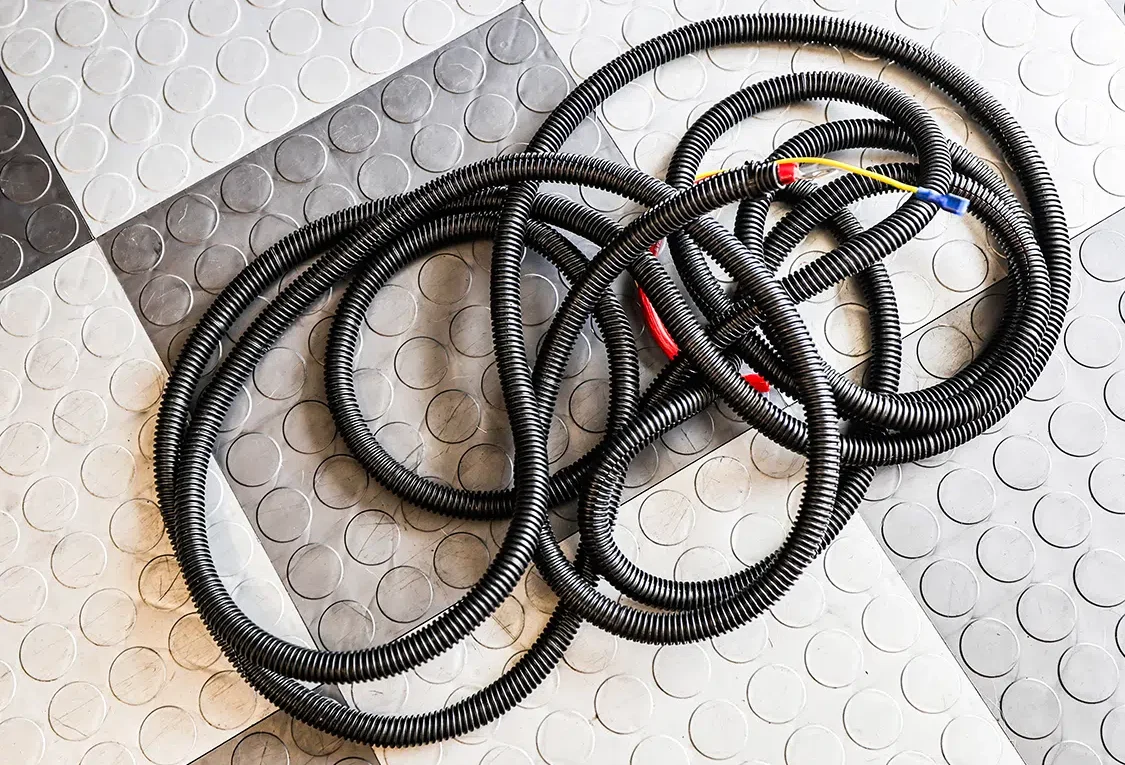
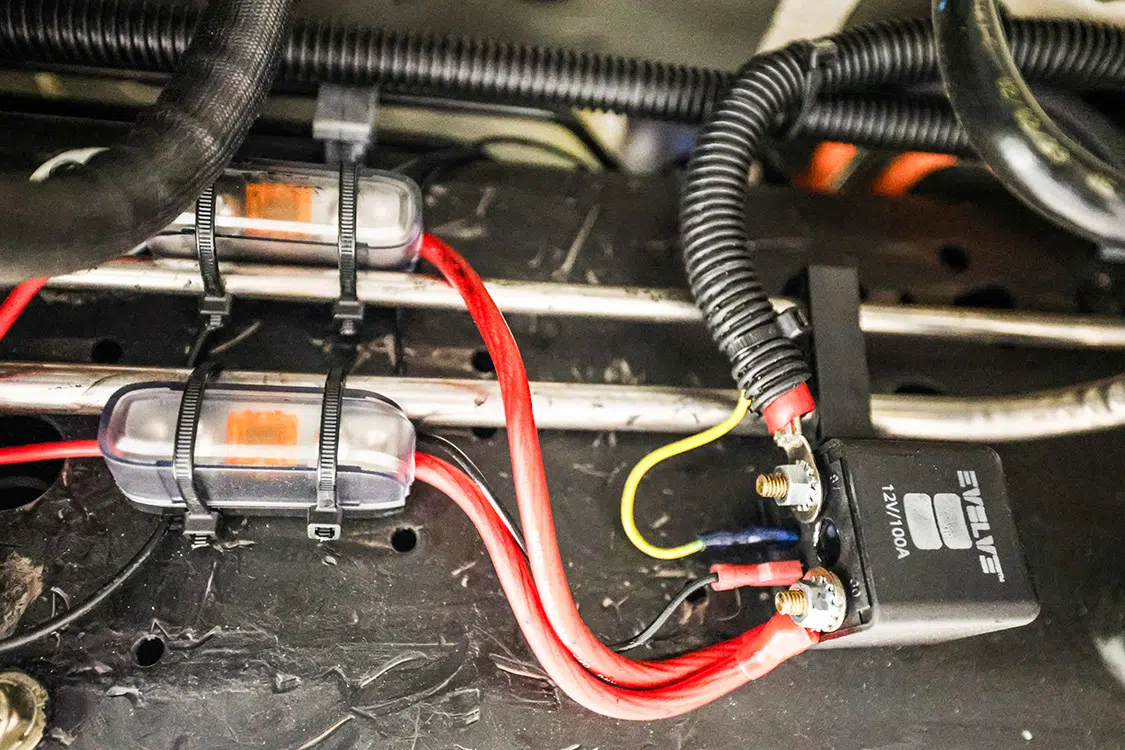
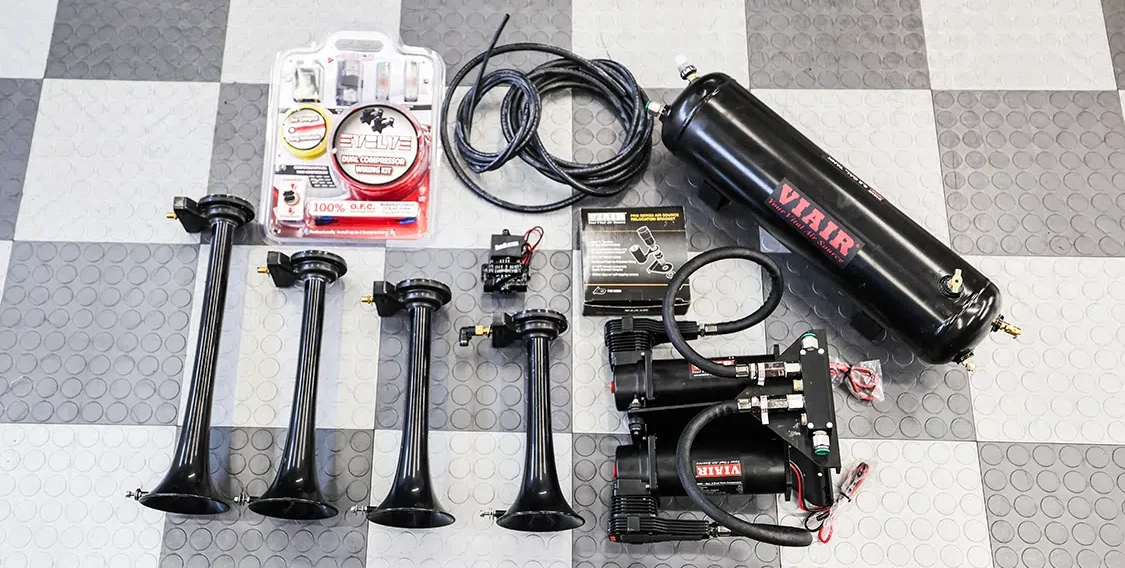
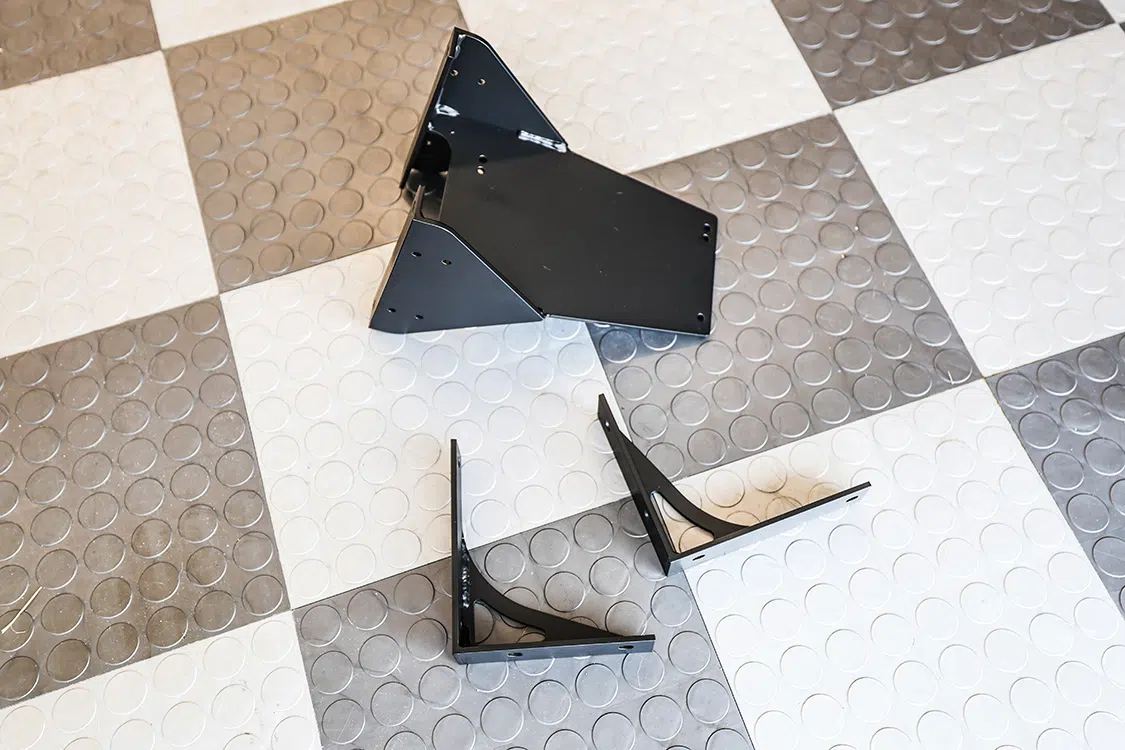
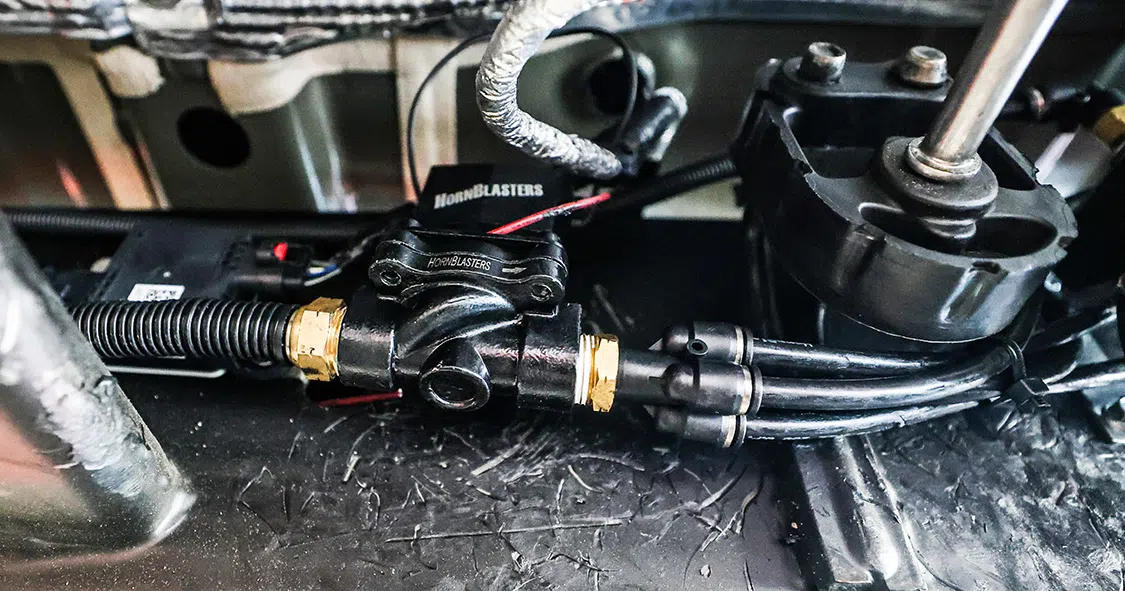
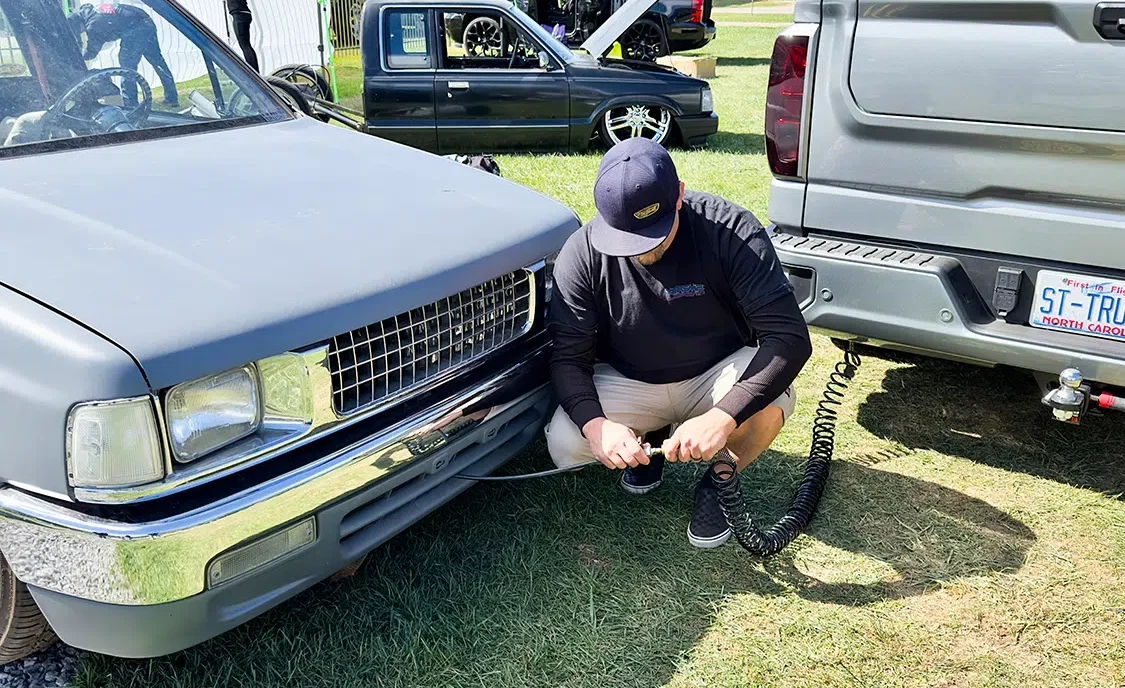
Up next Elevating your Chevy Tahoe Published on January 09, 2024 Author Brandon Burrell Tags AVS, horn blasters, Parker Speed, Viair Corporation, Share article Facebook 0 Twitter 0 Mail 0 The Power of Air: Upgrading Your Truck with Onboard Air With a Side of Train Horn Are you looking to add some must-have options to your truck that’ll see lots of use? Search no further than an onboard air system. I have added onboard air to every one of my SEMA builds since 2014 and used it in multiple ways over the last decade, whether it’s to keep the truck and trailer tires properly inflated, blow water out of wheels and crevices after a car show rain shower, or help a buddy’s unfinished truck air up so it can be pushed back on the trailer at the end of the weekend.Subscribe to our weekly newsletter Not only do train horns provide added safety, but they also add a ton of fun scaring your friends and innocent bystanders. With everything needed laid out, you can see there are few complicated parts. Anyone with basic wrenching knowledge can install something like this. 01. Parker Speed designed and built a bracket to hold both Viair compressors and two brackets to mount to the tank. Having custom brackets like this made the mounting process easy. 02. Both Viair 485 Stealth compressors were mounted to the bracket and plumbed into the supplied air block. A block makes connecting multiple air fittings easier than using a tank with many ports. Putting them all in one place simplifies the installation process. Having access to compressed air has almost endless possibilities. If you’re into off-roading and like to semi-deflate your tires for better grip on rock and then air them back up to drive the truck home, a system like this can be a lifesaver. Even the bagged vehicles I’ve built had a quick-connect added to be able to utilize the compressed air when needed. My Sierra isn’t bagged, but I knew it would be a driver and be at a ton of shows in the coming months, so I planned to have an onboard air system mounted on it. As usual, I contacted Viair Corporation to see what options it had for my needs. I have had Viair components on every build I have done and knew the company had the parts and equipment I needed to make sure I always had compressed air. 03. After marking and drilling holes through the frame, both custom tank brackets were bolted to the frame behind the driver-side rocker. 04. The pre-assembled compressor bracket was bolted to the inside of the driver-side frame, directly opposite of the tank brackets. 05. The fittings needed in the tank were installed with thread sealant, and the tank was bolted to the brackets. 06. Moving to the passenger side of the frame, holes were drilled for the L-brackets, and the horns—two trumpets inside the frame and two trumpets between the frame and rocker—were bolted to the frame with the brackets. This location keeps them tucked away nicely. Viair has been releasing new parts and mounting hardware on a regular basis, but unfortunately, it doesn’t have a direct bolt-on kit yet for the ’22+ GM trucks. The team there put together a kit that would work with my truck with a 2.5-gallon air tank, two 485 Stealth compressors, all the fittings, pressure switch, and needed air line. That would give me 200 psi of air at any given time. Knowing I didn’t want to mount everything in the bed, I contacted J.R. at Parker Speed to design and build brackets for the tank and both compressors. This ensured they would be tucked out of the way and securely mounted to the frame. All the brackets were powdercoated before assembly to make sure they wouldn’t rust. 07. Getting friends to help install parts always makes for a fun project, and when the pets try to get in and help, things seem to go even quicker. 08. The supplied Viair quick-connect fitting with mounting bracket was installed behind the rear bumper to keep it out of the way yet provide easy access when needed. 09. The Horn Blasters valve was mounted as close to the horns as possible. In this case, it easily fit on the inside of the passenger-side frame, just in front of the trumpets. The power wire was run to a switch that was attached to the factory horn. This way, the factory horn still works as it would stock, but turning the switch on allows the steering wheel horn button to also sound the train horns. Once I had the air-system mounts figured out, I contacted AVS and ordered one of its Evolve Dual Compressor Wiring Kits. This made the wiring of both compressors super easy with all needed fuses, larger-gauge wiring, and the relay to provide the needed power to both compressors. One of the advantages of adding an onboard air system is that you can also add a set of train horns. Not only do train horns provide added safety, but they also add a ton of fun scaring your friends and innocent bystanders. Honestly, train horns are always one of my favorite parts to any vehicle. For that, I got with Horn Blasters and picked up one of its Shocker XL train horn kits. This kit gives you four trumpets, the valve, fittings, and air line needed. 10. Next, all the air lines were run from the compressor bracket to the tank, from the tank to the quick-connect fitting in the rear, and from the tank to the horn bracket. All air line was wrapped with split loom to protect it from rubbing or road debris and mounted away from any moving parts or heat sources. 11. The power wire from the AVS wiring kit as well as the ignition wire and the horn valve activation wire were neatly loomed together before they were run from under the truck to the engine bay. 12. The compressors each have a fuse for safety and connect to one side of the relay, while the other side runs to the battery and has a larger fuse. There is a wire to the pressure switch and one to switched power as well. Simple connections, and you are ready to use the system. Just like the air system, the train horn kit doesn’t include a universal mounting system for my application (and most likely for your needs, too). So, I picked up some simple brackets from a hardware store and easily mounted the horns out of the way. Working the horns into the onboard air system install made perfect sense considering they needed to be plugged into air tank. 13. As you can see, having compressed air can assist friends air up their project trucks. Simply plug one side of the air line into the quick connect and the other into the line on the truck needing air. Not counting designing the brackets and powdercoating time, this project only took a couple hours. So, if your truck is stock height, you can do something like this in your garage or driveway easily with a few hand tools. If it’s lowered like mine, you’ll need to jack up the truck unless you are super skinny. Follow along with some of the details about how the onboard air system and train horns were installed. SOURCES Viair Corporation 949-585-0011 www.viaircorp.com @viaircorp Parker Speed 828-734-8031 www.parkerspeedshop.com @parkerspeed AVS 559-486-5444 www.avsontheweb.com @avsonthewebdotcom Horn Blasters 877-209-8179 www.hornblasters.com @hornblasters
? Walking the Cup with MIG: Downhill Root, Uphill Fill and Cap | MIG Monday Check out this MIG monday episode on walking the cup with MIG! Head over to our Website and become a member: http://www.weld.comSubscribe to our weekly […] Adam Johnson March 14, 2022 Department How to Industry News Latest Press Release Product Reviews Profiles Tech Uncategorized Videos
How To Engine Swap | Dropping a Coyote Motor in a Ford F-100 Every brand has fans, and all of them have a motor enthusiasts want to stuff under the hood. For Dodge guys it’s a Hemi, and […] Chris Hamilton January 10, 2020 F100 Builders F100 Builders Guide HEADLINE How to Latest Product Reviews Tech
All the latest parts for Chevy C10 trucks LT5 Serpentine Kit All American Billet Serpentine Kits are a great way to modernize and clean up any engine compartment. What better way to modernize […] C10 Builder’s Guide Staff December 28, 2020 C10 Builders Guide Department How to Industry News Latest Product Reviews Tech Uncategorized
Stanleys Stance | Swapping out Suspension on a 2008 Tahoe Stanleys Stance | Swapping out the suspension on our 2008 Tahoe sport utility vehicle with a Belltech lowering kit and EBC brakes. Sport utility vehicles […] Chris Hamilton January 17, 2021 HEADLINE How to Latest Product Reviews Profiles Reader Rides Tech Uncategorized