Bumping it up a Notch

Improving Style and Impact for a 2015-Plus Tundra

One of the easiest upgrades with the most visual impact that you can make to your truck is to swap the boring stock bumpers for more aggressive versions. At the same time, you can also upgrade the lighting to make nighttime driving easier.

The truck we picked for this installation was our ’15 Toyota Tundra TRD Pro Crewmax 4WD that we have used for other installations. The truck had already been lifted, so the new bumpers further improved its look. We wanted to custom-order a bumper to fit the brand and size of the lights we planned to install, so we contacted the crew at Fusion Bumpers. We also made a call to Offroad LED Bars (OLB) and ordered both sets of lights, front and rear, that we wanted for our project.

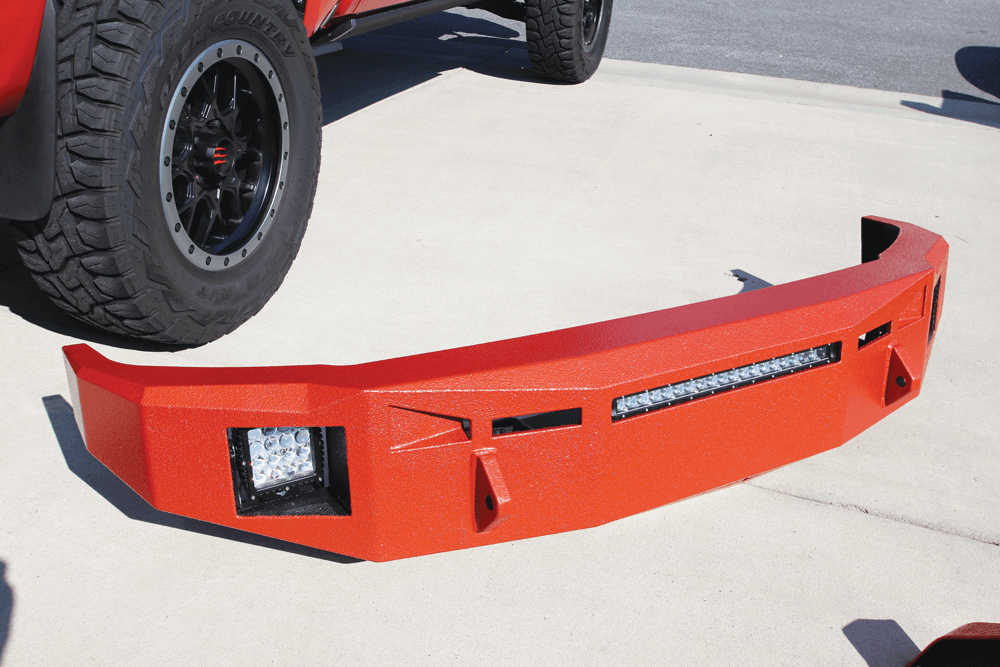
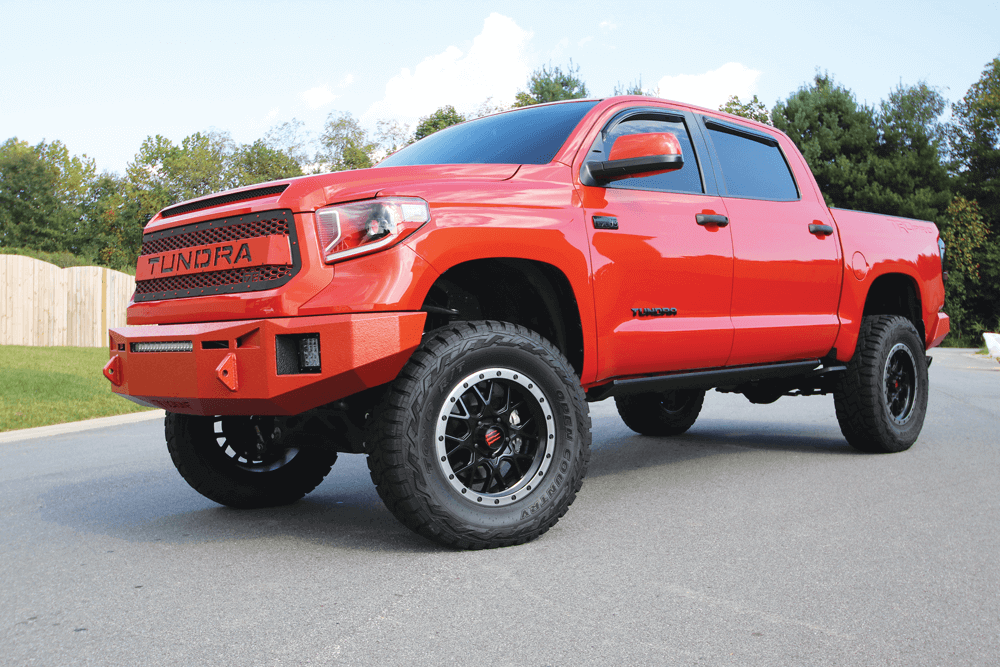
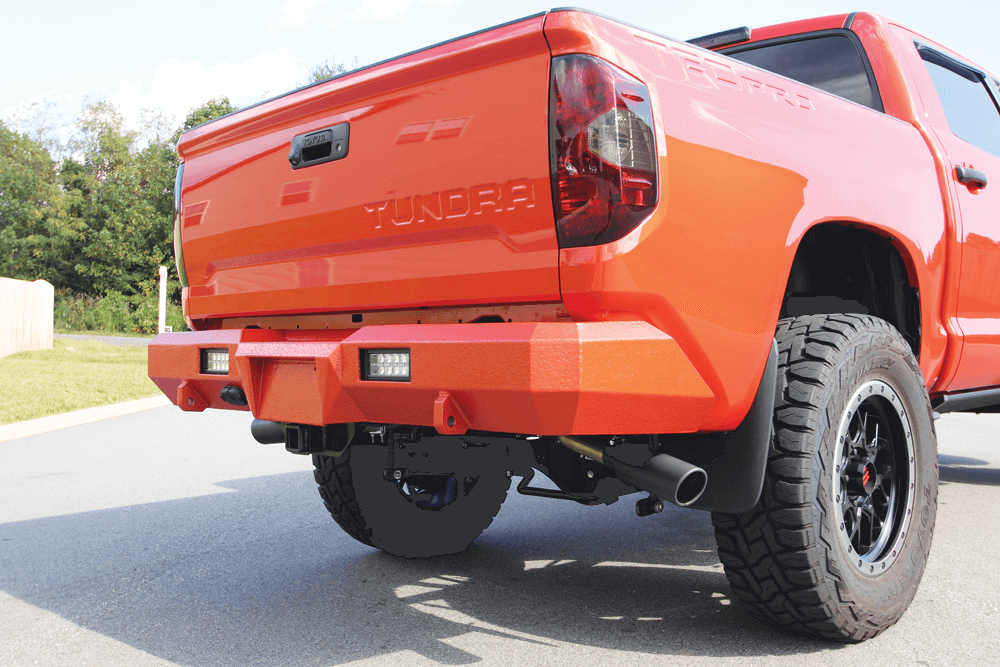
Fusion builds bumpers to customers’ needs, so we were confident that everything would fit perfectly. For the front bumper, we ordered P/N FB-1417TUNFB ($1,275 retail). Fusion built-in mounts and openings for the OLB 20-inch single row light bar in the center of the bumper, P/N OLB20SR ($195 retail), and a pair of OLB 5.5-inch cubes where factory fog lights would go, P/N OLB55 ($299 retail for the pair). To match the rear bumper to the front, we ordered P/N FB-1417TUNRB ($1,000 retail). The crew also added spots for a pair of OLB 6-inch light bars, P/N OLB6 ($120 retail each), to tie into the factory reverse lights.

Once we received the bumpers, which showed up as raw steel, ready to paint or powder coat, we took them to the crew over at Rhino Linings of West North Carolina, to have them color-match both bumpers to the truck. This would not only look good, it would provide better scratch resistance. The crew sprayed the bumpers inside and out with regular black Rhino Linings bed liner, and then they sprayed the color-matched UV top coat on the exterior of each bumper. This left the inside easier to keep clean since it was black.

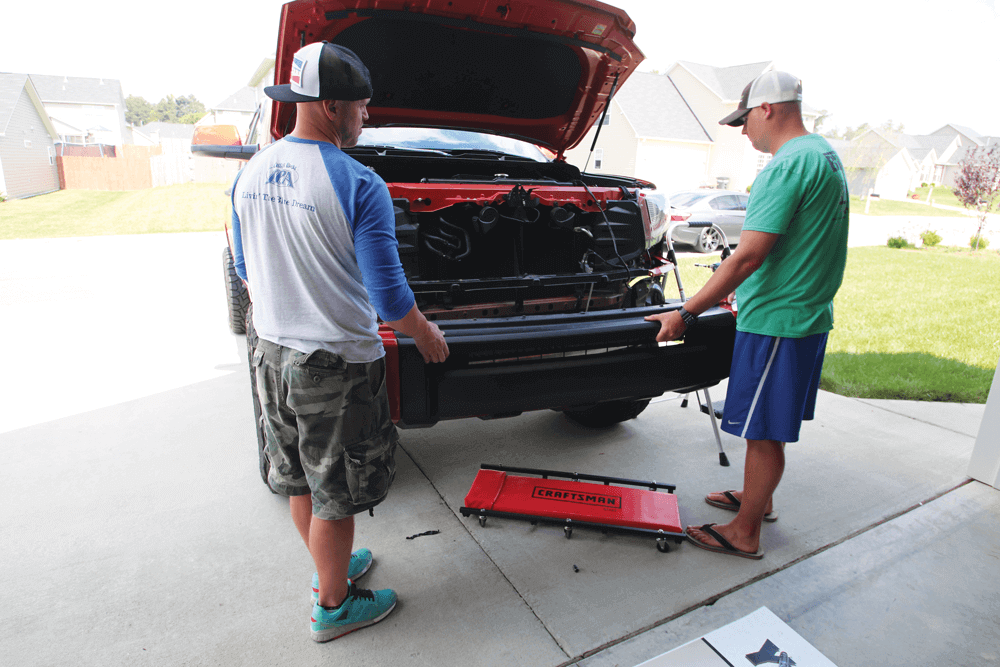
After they were ready, we took them to a buddy’s house for the installation. We wanted to show our readers that modifications like this don’t always require a shop. With the help of a couple of friends and some basic hand tools, as well as knowledge of the vehicle you’re working on, you can do this in your own driveway. Since other front-end components had to come off to swap the front bumper, we took this time to upgrade the truck with a DB Customz grille and color-matched headlights by Plain An Simple to make it even better. ST
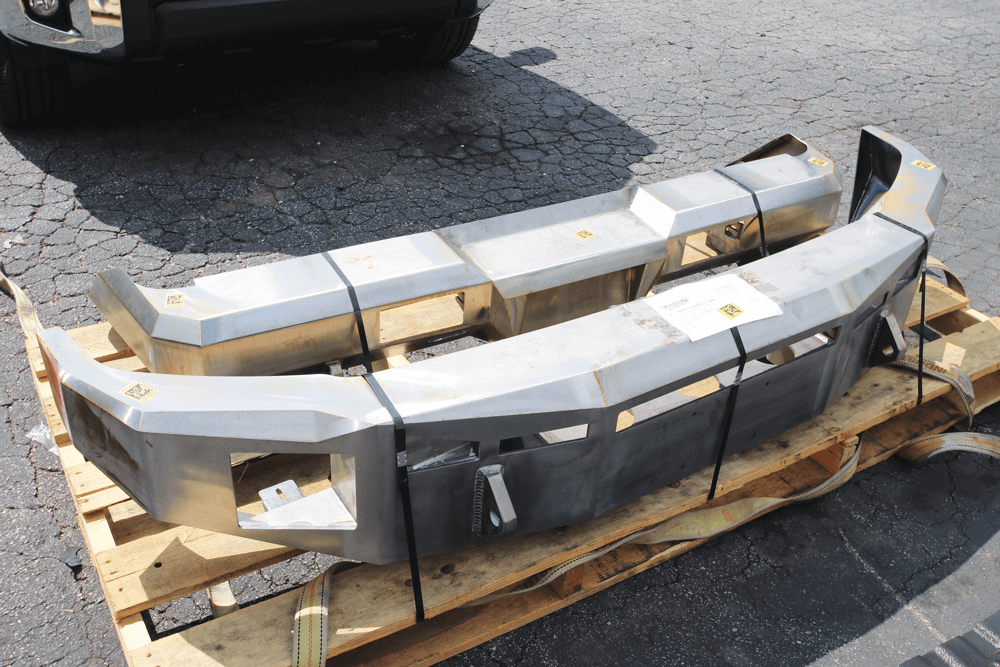
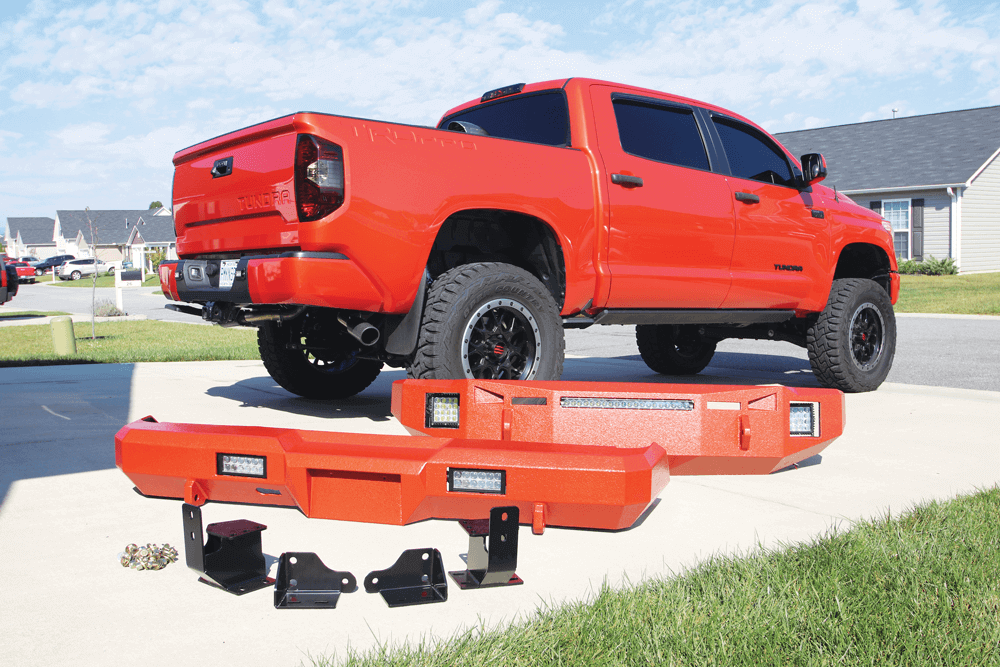
The bumpers were shipped freight and came strapped to a pallet, ready for coating.
With the color-matched Rhino Lining finished and the OLB lights installed, the front bumper is ready to install.
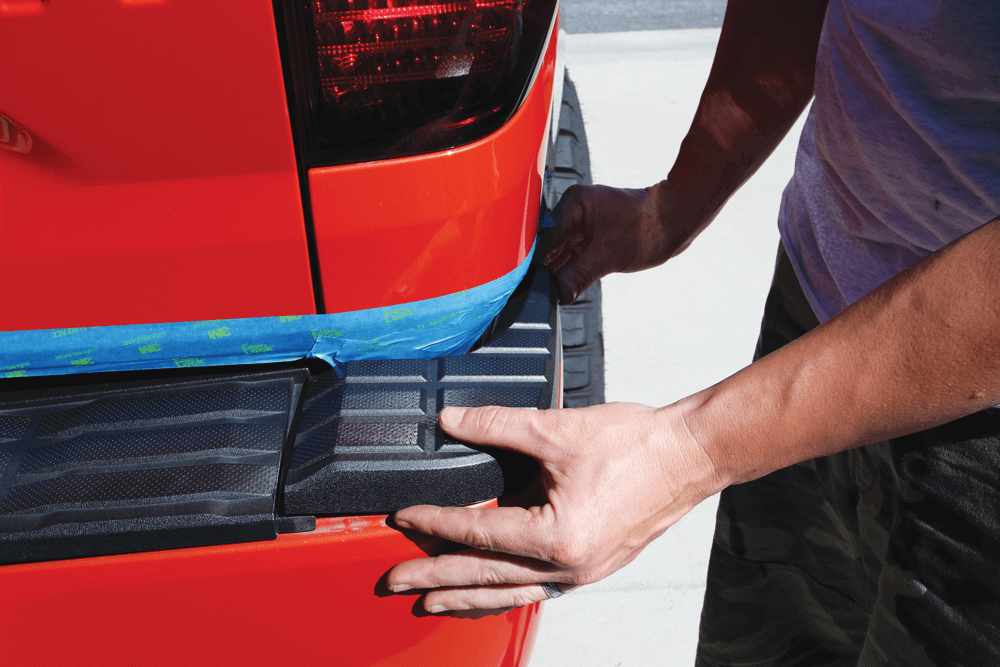
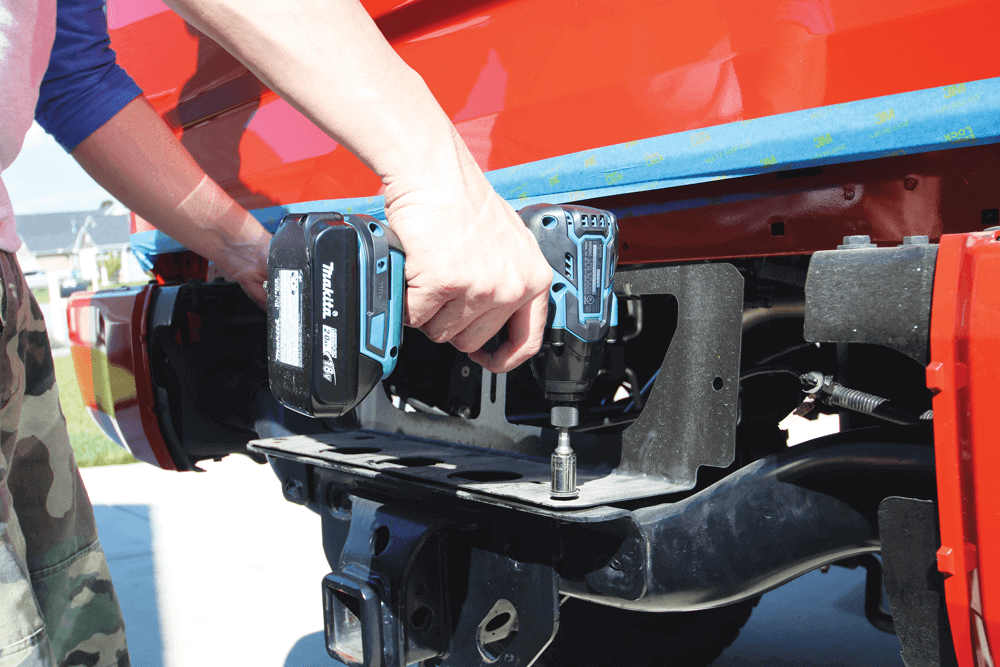
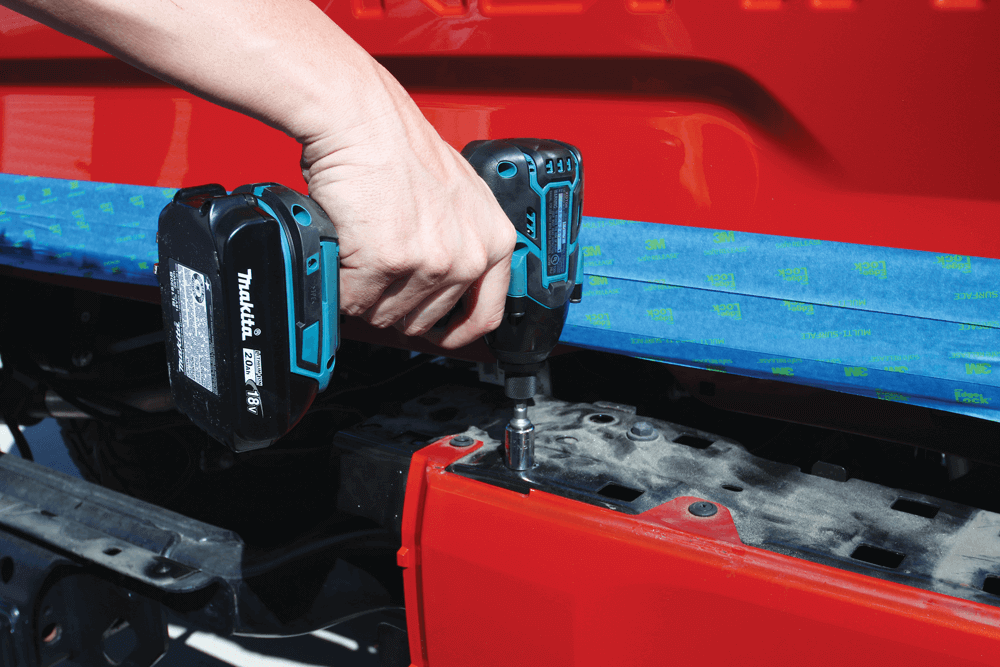
Starting in the rear, the top bumper caps need to be removed. We taped all the painted surfaces around the bumper to prevent scratches.
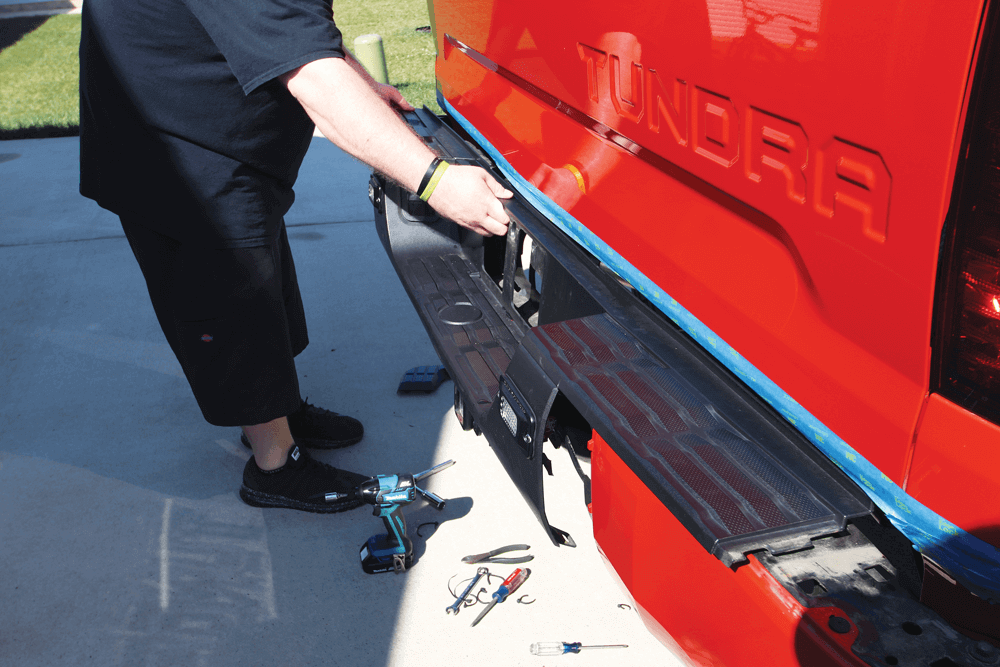
Once the end caps were off, the tag, lights and the trailer harness plug were removed. The center plastic section was taken off too.
The metal bracket behind the tag area was unbolted from the trailer hitch.
Both main end sections of the stock bumper were unbolted and removed.
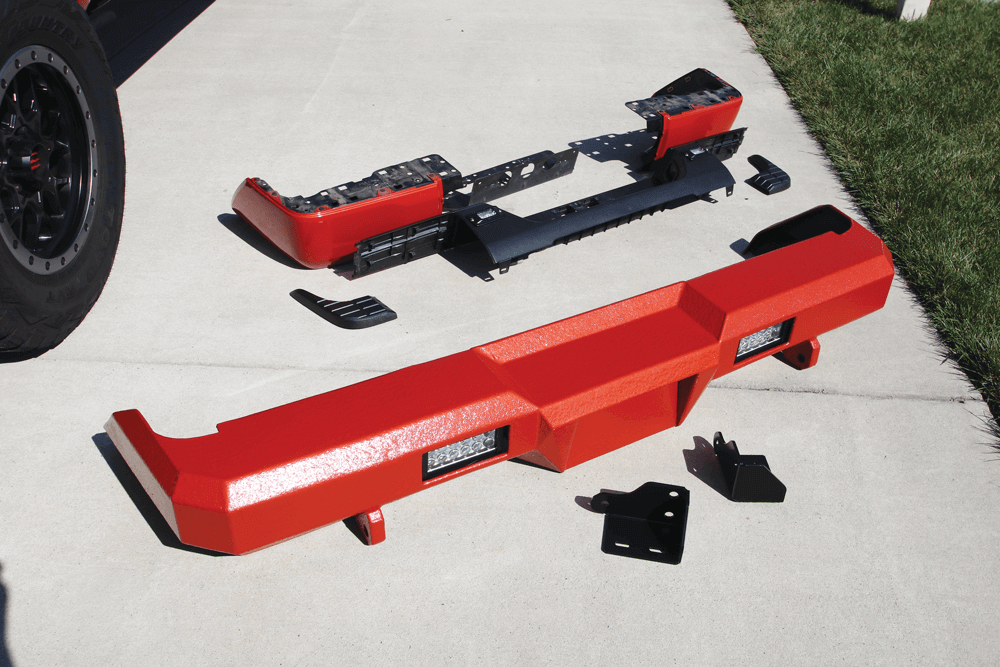
As you can see, the stock rear bumper comes off in six pieces, while the new Fusion bumper is one solid bumper (with two brackets).
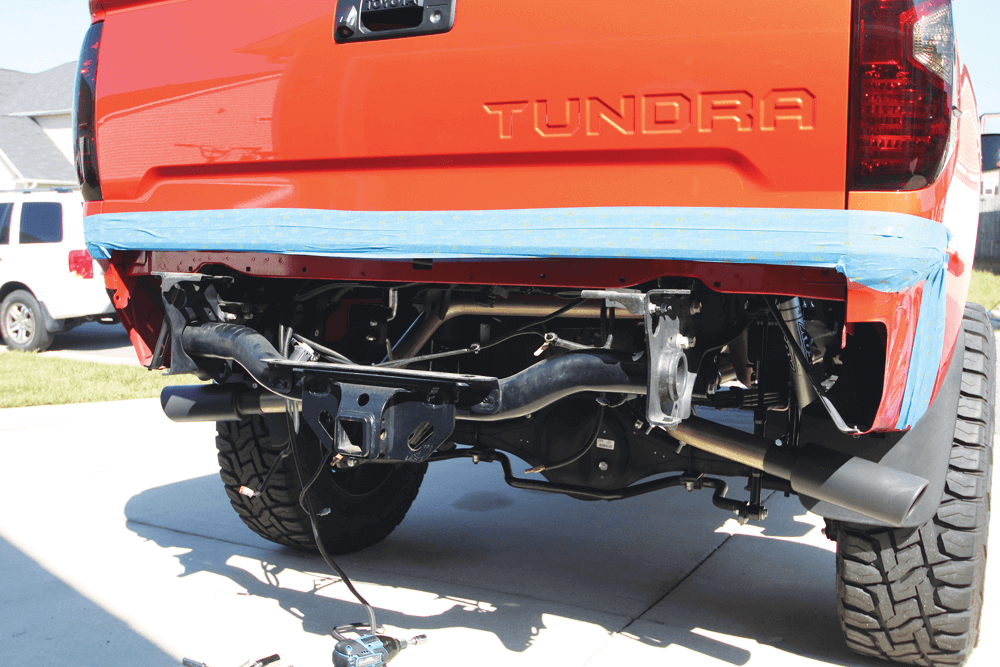
With the stock bumper removed and the wire harness out of the way, the truck is ready for the new bumper.
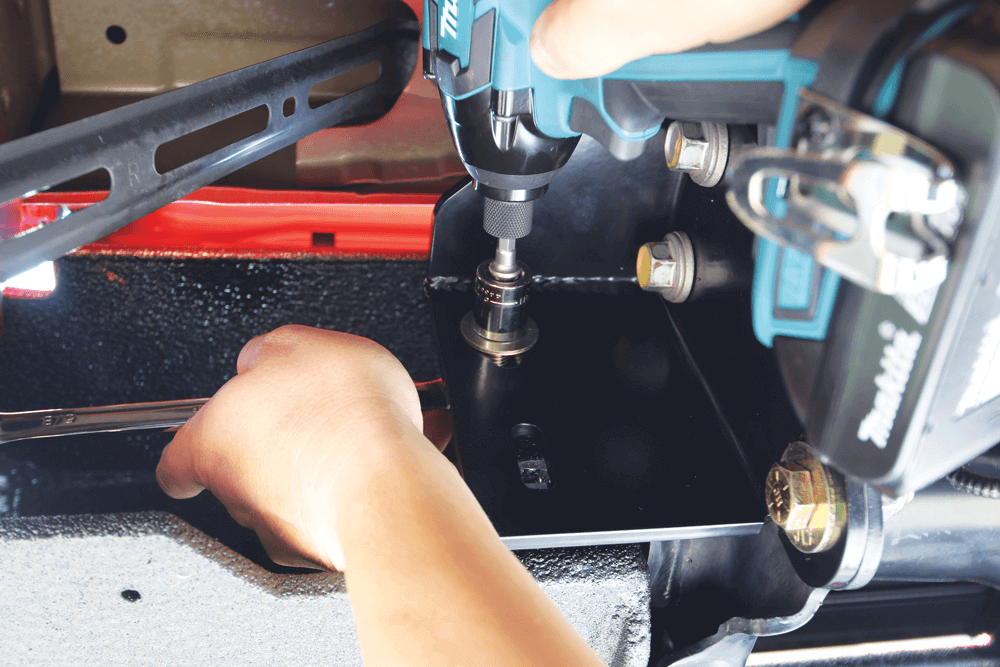
Both rear bumper brackets were mounted to the spot where the trailer hitch bolts to the frame using stock bolts and a couple of supplied bolts.
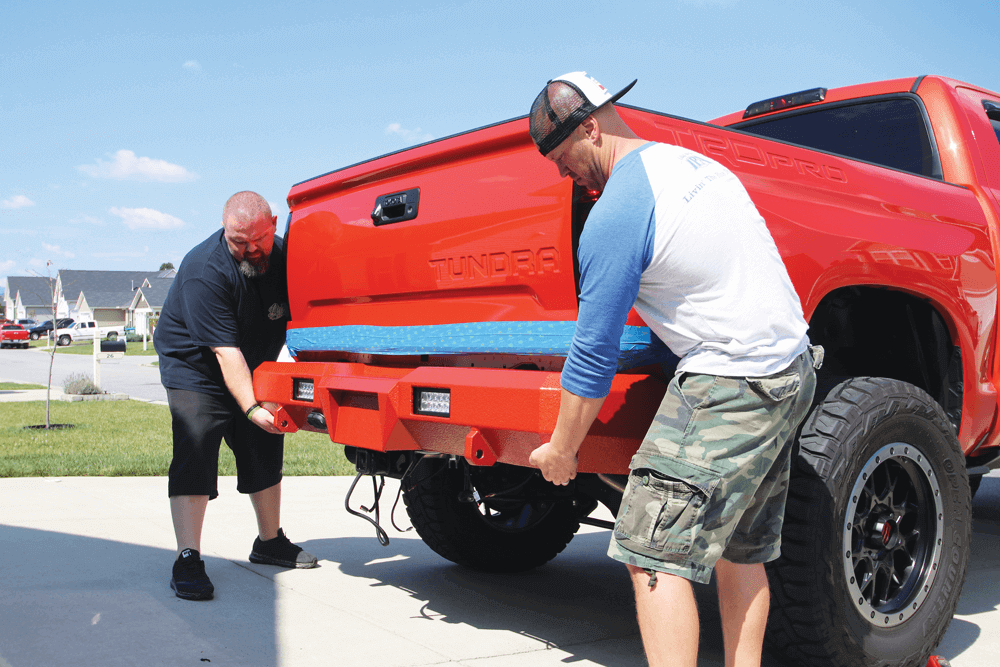
This is where the help of a couple of friends came in handy as we set the bumper on the brackets.
We secured the bumper to the brackets using the supplied bolts. The brackets and bumper are both slotted to allow for adjustments. We took our time and made sure nothing rubbed the bedsides before torqueing the bolts a final time.
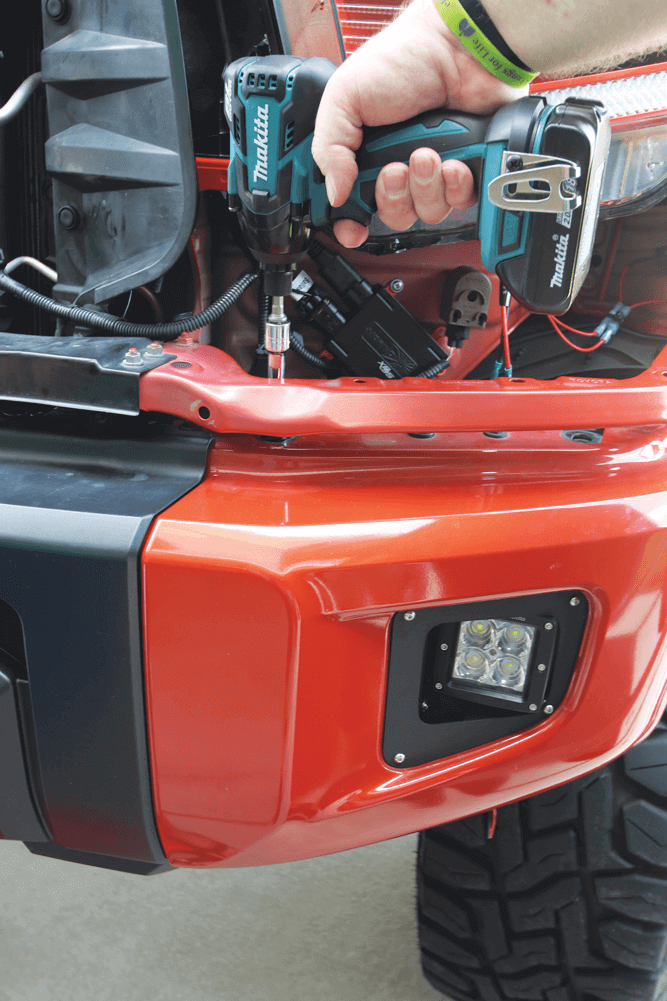
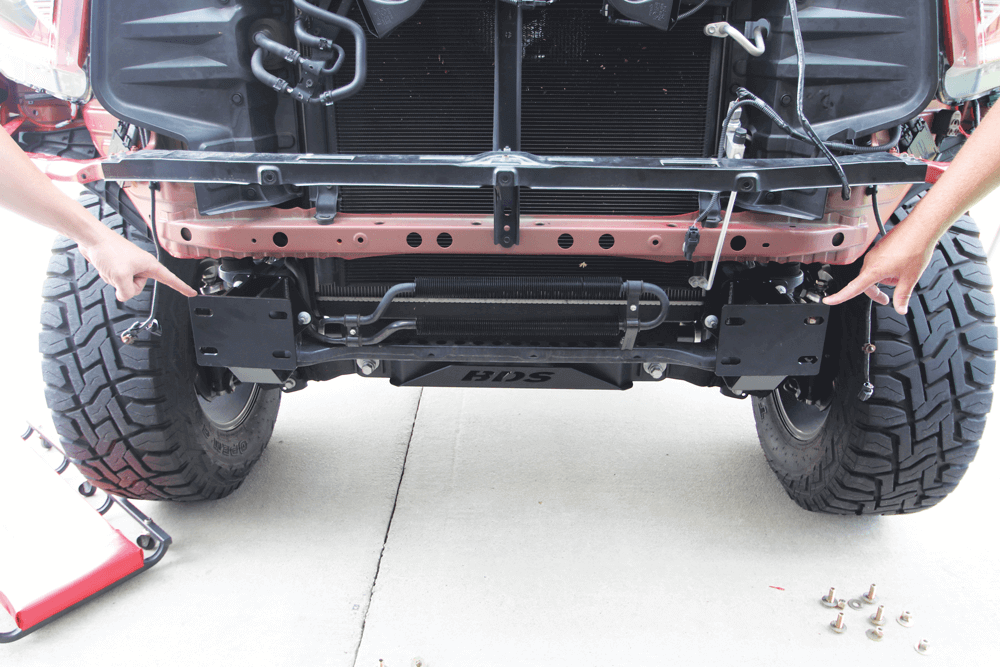
On to the front end, we removed the grille and shell by first removing a couple of bolts and a few pressure clips. We also removed the trim panels below the headlights to allow access to the front bumper bolts. It only took us about five minutes to do the job.
Then the fender well clips were removed as well as a couple of bolts on the bottom of the bumper.
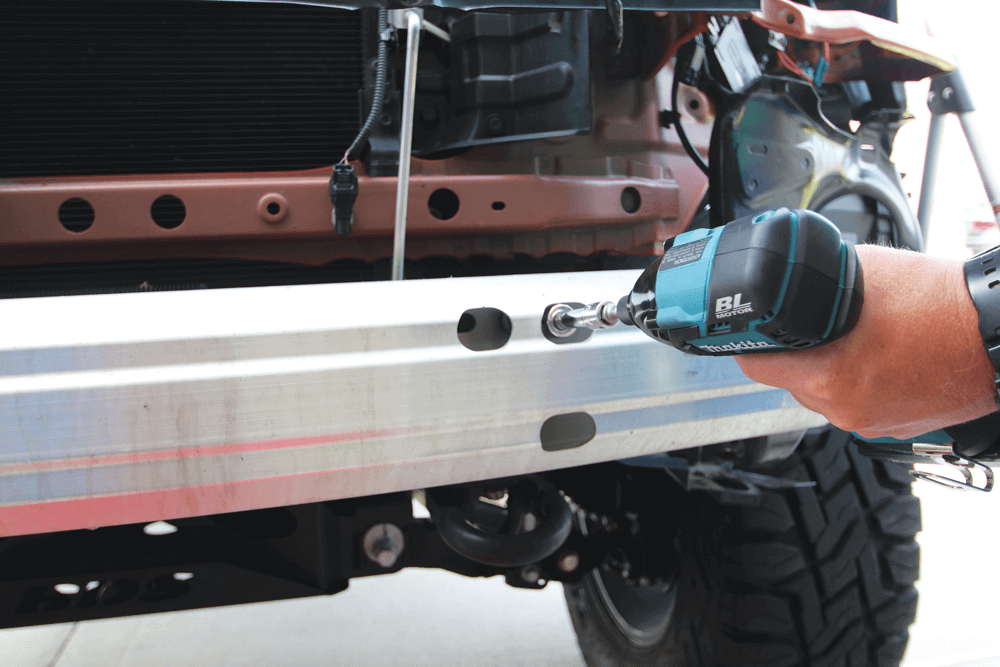
We removed the nuts inside of the holes in the front crash beam.
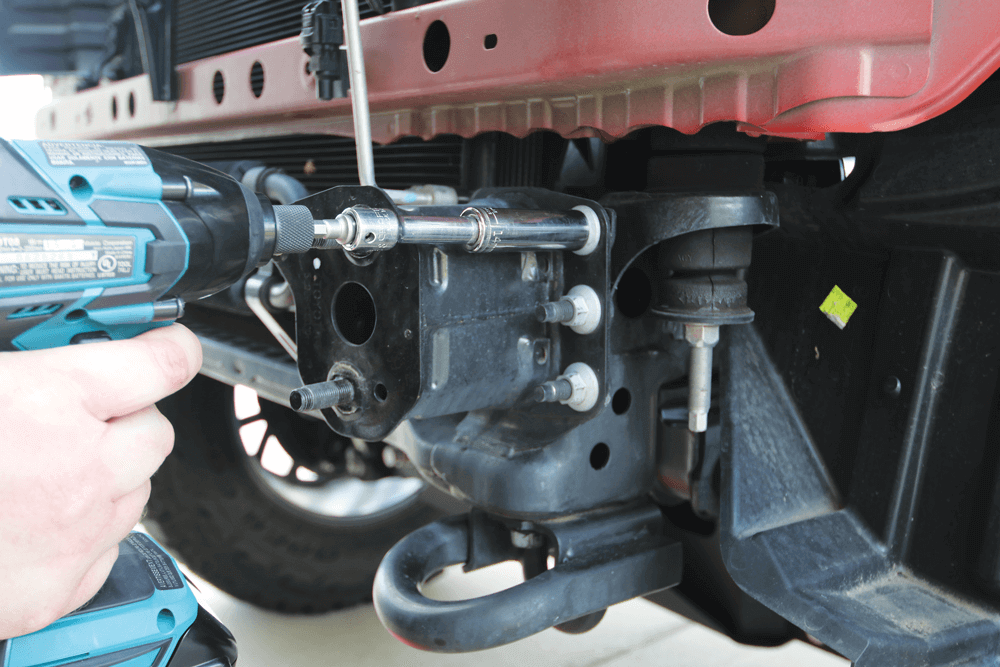
Then we took out the nuts holding the factory bumper brackets in place.
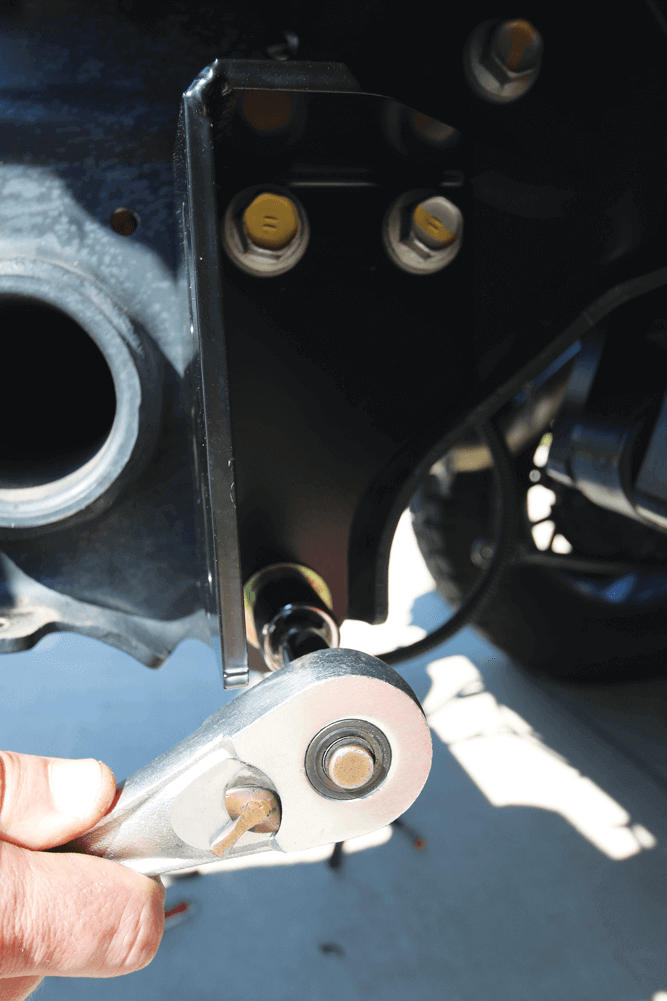
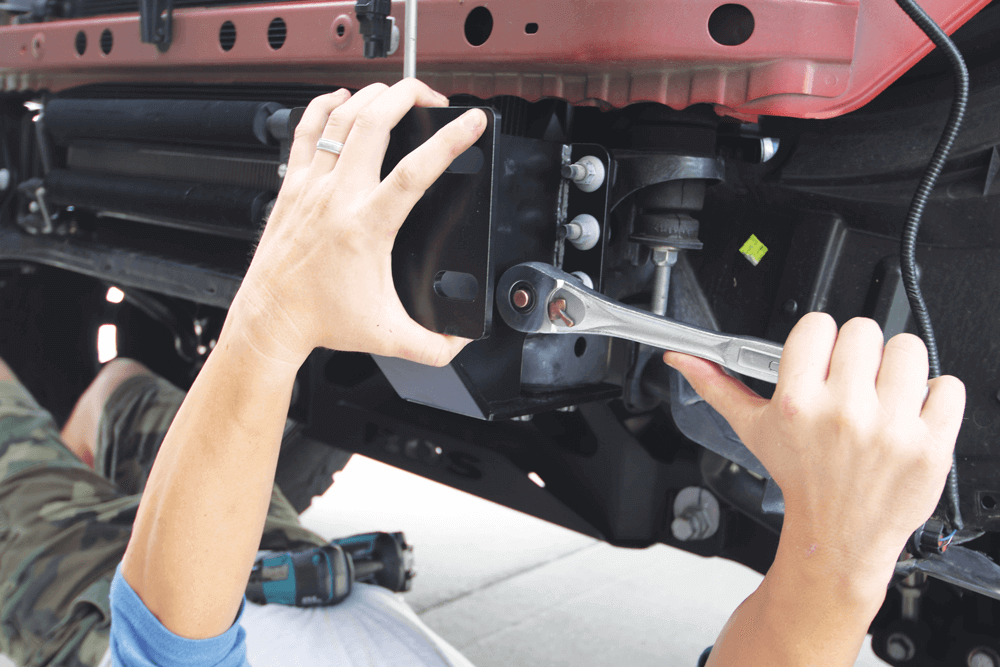
Using the existing factory hardware, we installed the Fusion bumper brackets where the stock ones used to reside.
With both new bumper brackets installed, you can see the adjustment slots Fusion includes to get a perfect bumper fitment.
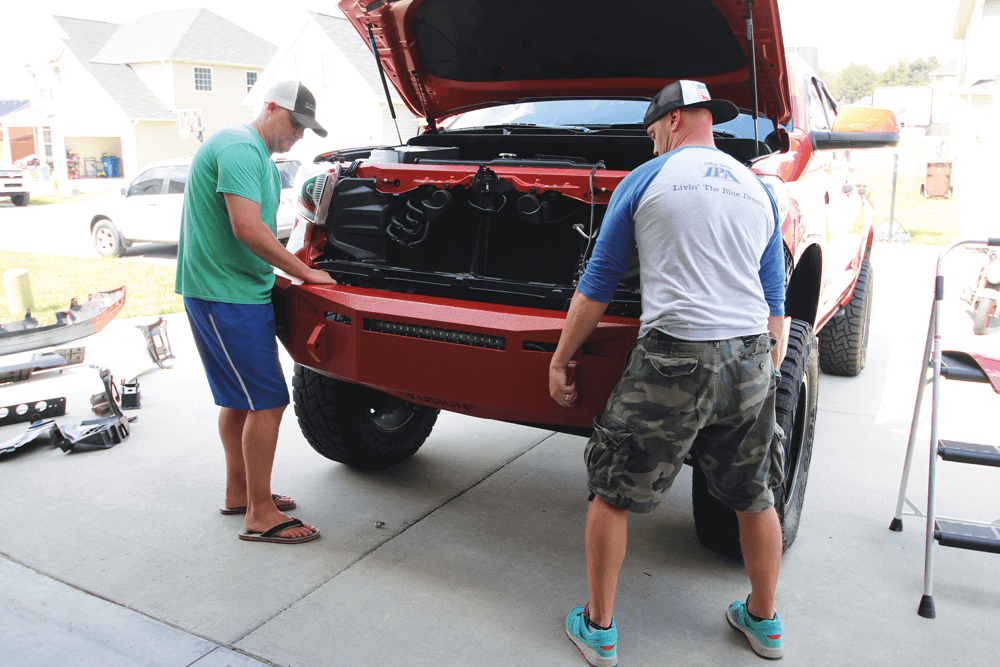
The last step is to set the front bumper in place and have someone bolt it to the brackets and adjust it to fit. Be careful, it’s heavy! The rest of the front end was reinstalled, and all of the lights were wired up and adjusted.

Replacing both bumpers really changed the whole look of the truck, and it’s just a quick weekend afternoon job you can do in your driveway with some friends. Not long after we did this installation, the owner hit a huge buck at about 55 mph. The only damage was a couple of scratches from the antlers in the UV top coat on the front bumper. If the truck had still been wearing its stock bumper, there would have been significantly more damage. Thanks to Fusion Bumpers, everything held up

[divider]SOURCE[/divider]

DB Customz
850.612.5553

Fusion Bumpers
888.779.3377
Fusionbumpers.com

OLB (Offroad LED Bars)
347.809.1602
Offroadledbars.com

Plain An Simple
Info@plainansimple. com
Instagram.com/ plainansimple1

Rhino Linings of WNC
828.645.0508

You May Also Like

2021 SEMA Launch Pad - Episode 1

The SEMA Launch Pad is the automotive specialty equipment’s ultimate competition for budding entrepreneurs who are ready to introduce their products to a worldwide audience. […]

"AIRMEUP" An Online Exclusive

This week we are featuring as an online exclusive D.J. Roberts 1999 Toyota Tacoma “AIRMEUP”. This Porsche Voodoo blue painted by Graham Paint and Body […]

Installing a 1967-72 C-10 Hood Hinge Kit from Switch Suspension

Switch Suspension’s 1967-72 C-10 Hood Hinge Kit People have been laying out C-10s for decades now. Once large diameter wheels came into play, a problem […]