Memphis Audio Install | 12V Entertainment for a Full-Time Show Truck

With the decision made that this would be a show-stopping weekend cruiser, we didn’t feel the need to replace the OEM dashboard with a mint marketplace find. A dash cap from NPD was all we needed to be satisfied on any trip to a local weekend event. The next major decision came with the audio upgrades. We felt we needed to win some awards. Even though the truck has a rear seat from the factory, it’s pretty obvious that no one will ever be back there and there really wasn’t much space for anyone to be comfortable anyway. So, the factory seats were removed and a custom CNC-built wooden speaker box was fabricated to fit perfectly in the back.

These new MOJO 6 ½-inch subwoofers from Memphis Audio will blow you away with the beats they can make, and the new VIV amplifiers can easily produce enough power to handle four of these little subs. We installed a 2200-watt amplifier for the subs and a four-channel amp for the mids and highs, all wired up by a Memphis audio amp install kit that made everything simple and smooth. The complete amplifier and speaker system is receiving signal and being controlled by a Planet Audio Apple CarPlay Receiver.

Finally, we wrap up the interior with a new billet steering wheel from Eddie Motorsports that was a simple swap using the company’s ’88 to ’98 Chevy steering wheel adapter. Follow along as we dig deeper into the details and show you the results of our “Ready Player One” inspired interior. In the next issue, we have one more trick up our sleeves that you may find exciting. Stay tuned!

Now that the interior is gutted and the new carpet is installed, we can start assembling the speaker box and center console inside the truck.
A quick spray of black paint on any of the spots that won’t be carpeted will hide any potential wood that you may see underneath the trim panels.

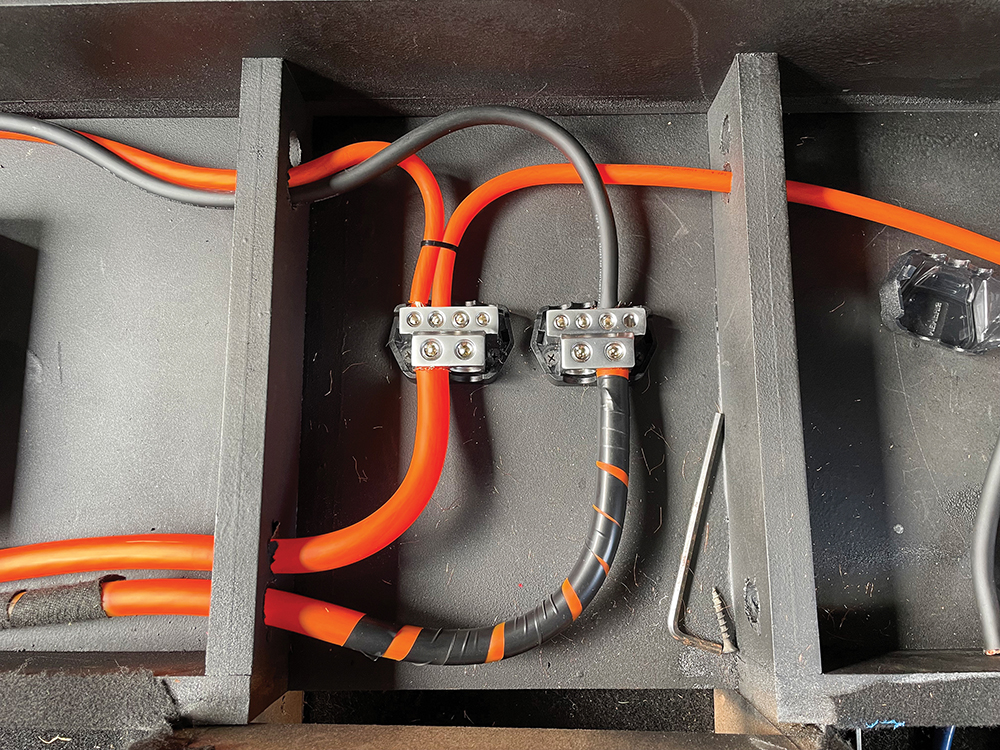
Power and ground are the two most important connections to start with. Bringing a large power wire directly from the battery and a ground wire directly to the frame is the best option for a clean, reliable power. Memphis Audio distribution blocks help us send the correct-size wires directly to the amplifiers.
To power the mids and highs, a Memphis Audio four-channel amplifier will be installed with new wires directly to the speakers. The 2200-watt sub amp will handle our low range audio through 6 ½-inch MOJO subwoofers.
With the power and ground connected to our amps, we can now run the remote wire to the factory harness and our RCA cables to the new radio.
Our head unit of choice is the new Planet Audio P90CPAC Apple CarPlay Android Auto Car Receiver. This is a single din, 9-inch touchscreen with rear camera and Bluetooth. To make and receive calls, and play and control music and apps like Spotify/Pandora wirelessly, we’ll need another device to connect to the World Wide Web. Stay tuned—it’s coming up in the next issue!
Instead of installing the radio in the dashboard and dealing with the shifter hitting the face, we decided to move it down to the center console where it’s easily accessible and free of interference. All we really needed from the original factory radio harness is power ground and remote, so three simple wires can be run and connected.

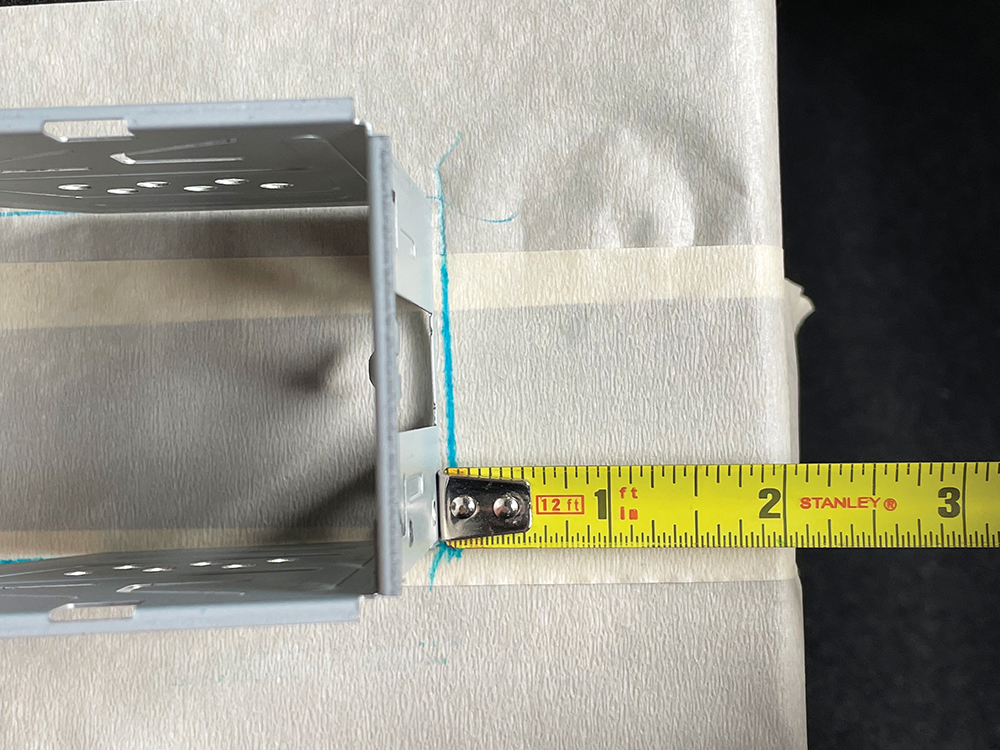
With the single-din cage placed and measured, we can drill some corner holes and use our jigsaw to create the opening.
The new head unit looks great, and we can’t wait to see how it sounds. It’s a very impressive user experience on this new Planet Audio touchscreen head unit!

These MOJO 6.5-inch subwoofers are small but powerful and feature DVVC (Direct Vent Voice Coil) cooling technology to rapidly dissipate heat, allowing MOJO mini subwoofers to play louder and longer. That’s all we need to do with carpet the box before we screw them in place!
With everything installed, the system design looks really cool, and adding some additional LED lights make it light up like the outside. Our buddy at CVJ welding cut this really cool aluminum Artemis sign that we installed with some standoffs for a killer effect. Love it!
Time to tackle the dashboard. This cracked up original plastic can be completely removed and replaced by a pricey pristine original that you can find somewhere online. But since this truck is not being restored, a dash cap is just fine for us.
A quick trip to our local National Parts Depot made it easy to snag a cap. The retailer generally always has these in stock and has locations all around the country.

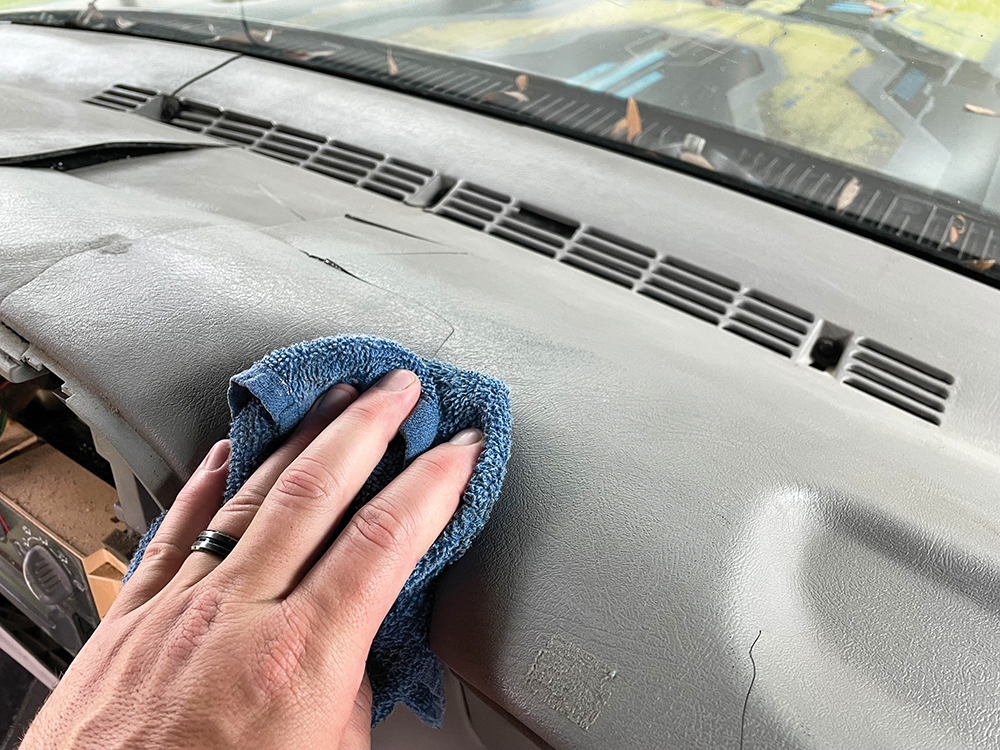
Before we add the silicone and install the new cap, we really need to clean the original one and the new one. Any oils or dirt on the surface can potentially make this cap lift later in life. So, a little bit of time cleaning with some strong cleaner will make it last longer.
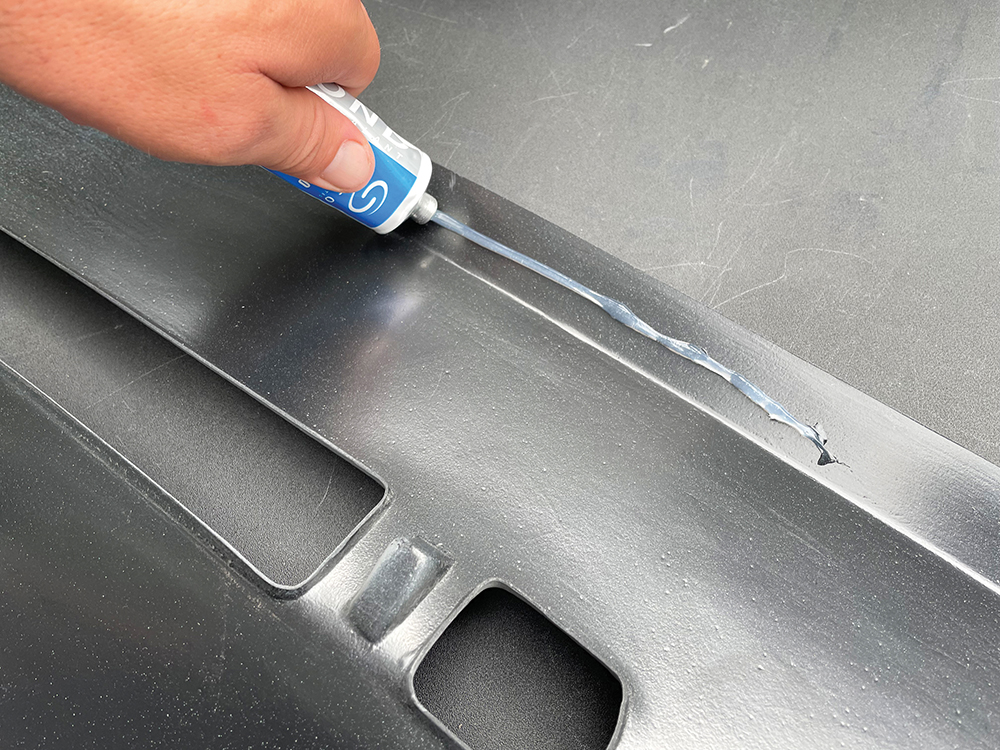
We use the silicone that was provided with the dash cap from National Parts Depot to outline the entire cap and go around any of the vent openings.

With the cap completely coated and the dash nice and clean, we slid the cap in place and made sure it fits snuggly.
Going around the door pins is especially important in lining up the air vents will help make sure it’s in the right spot.
Adding some weight to the cap and setting it in the sun is your best option for a strong bond. Give it at least a day or more before removing the weights.
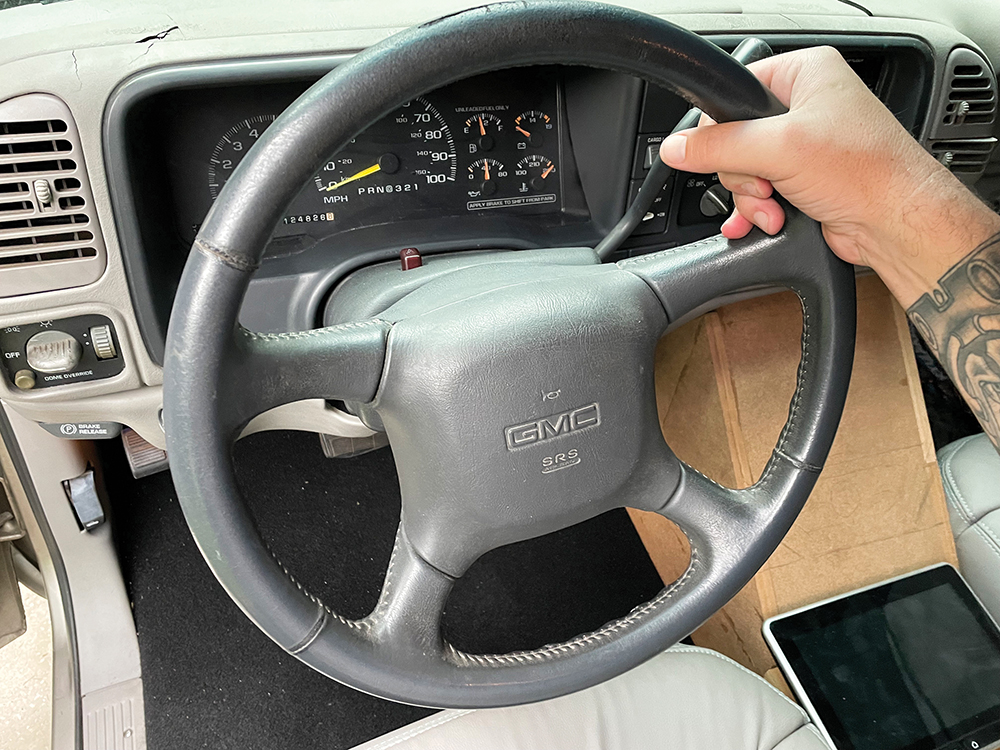
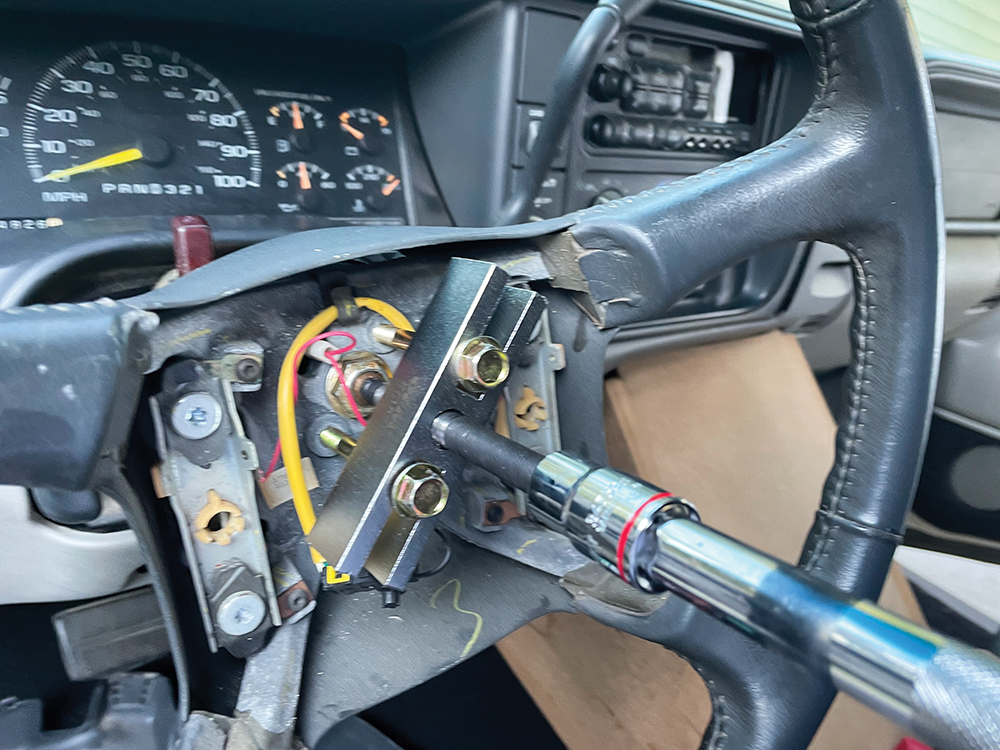
The final part to be replaced is the original, boring steering wheel. We disconnected the battery, removed the air bag, and rented a steering wheel puller from our local AutoZone.
The steering wheel puller is very simple to use with just a standard ratchet. The best thing is that after you use it, you can return it and you never spend a dime. Don’t yank on the steering wheel to get it loose. You can potentially break something and cause yourself a lot more problems.
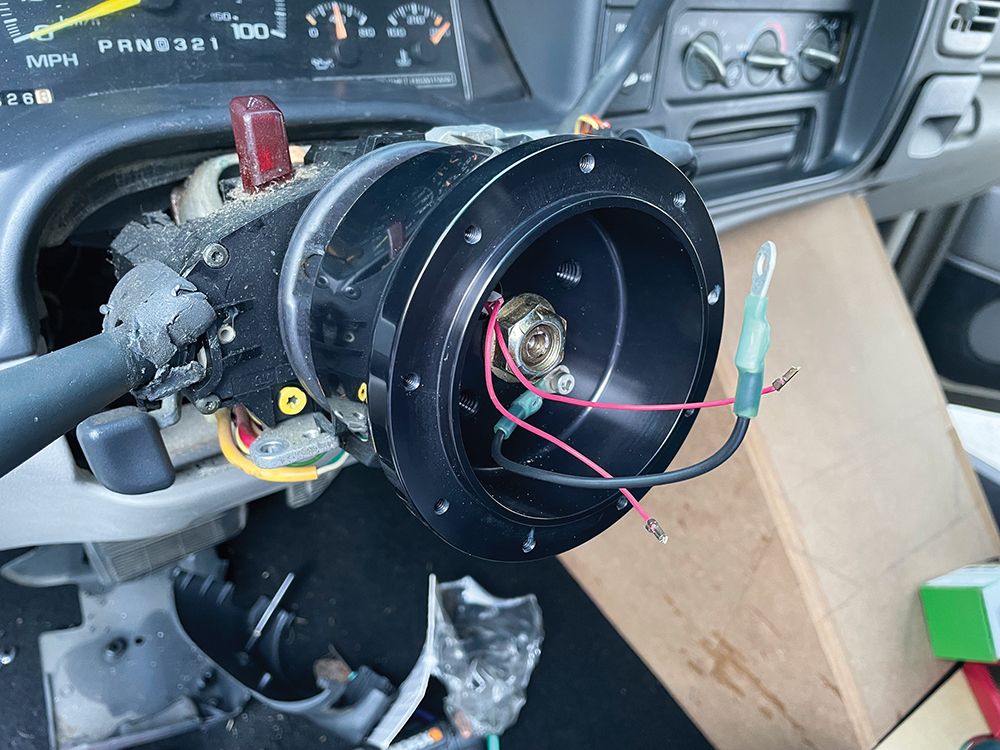
With the old steering wheel off, we can now install the Eddie Motorsports billet steering wheel adapter. This is splined to fit the original steering shaft, and bolts on simply and easily.
How nice does that steering wheel look? In the future, we will replace the radio bezel and dash gauges, and eventually coat the entire dash with a solid color.

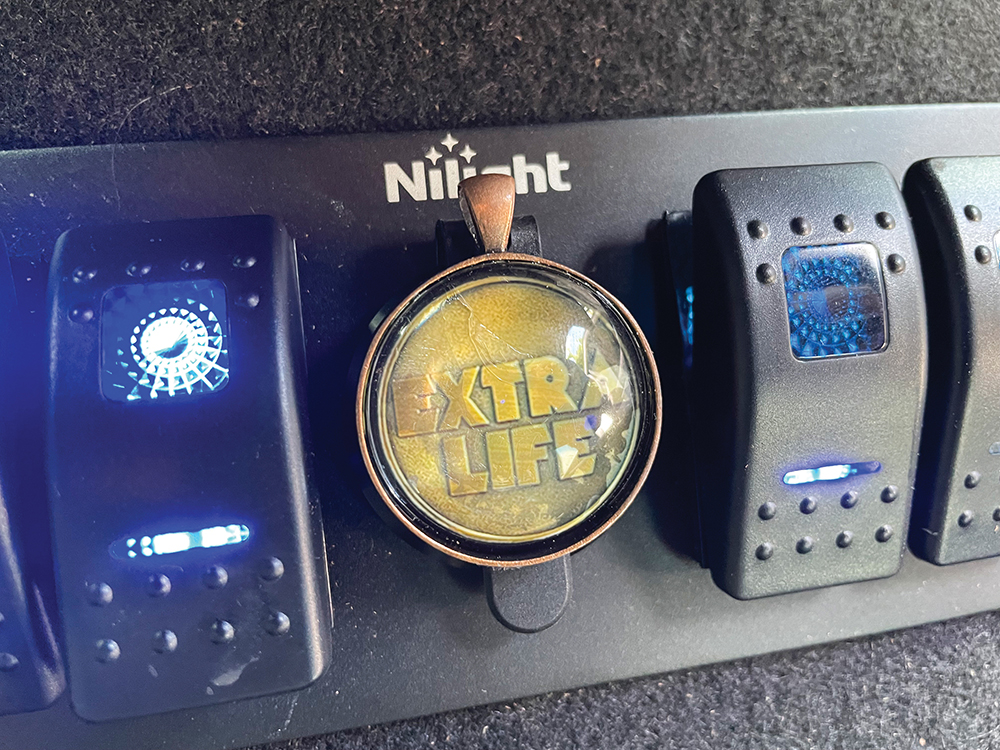
A few final touches inspired by the movie were added to the LED switch panel in speaker box. If you’re a fan of “Ready Player One,” you know exactly what part of the movie these are in!
Now you can see the complete final layout of the audio system. The switches control the interior and exterior LEDs, and it looks super cool at night. We’re not quite done yet! We still have to install our Voxx media system as well as our vehicle cell signal booster, along with a new set of seats from TMI. But that’s for another day.
Success! We officially reached our deadline. The audio system sounds great, and we are proudly displaying this project for the first time ever at the 30th annual Slam Fest Truck Show in Tampa, Florida. Stop by and see Artemis in person!

You May Also Like