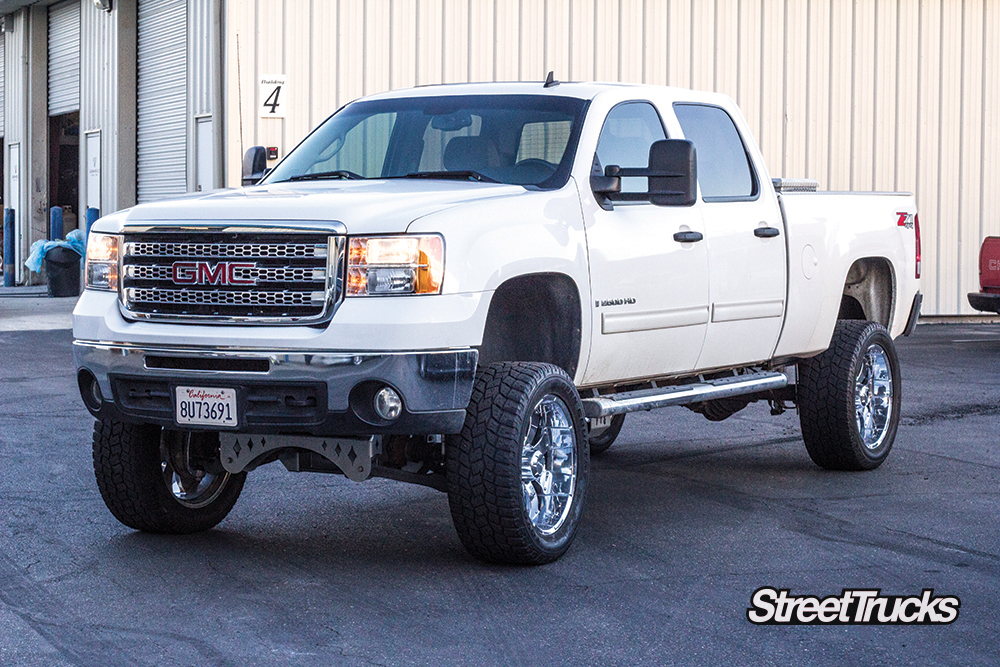
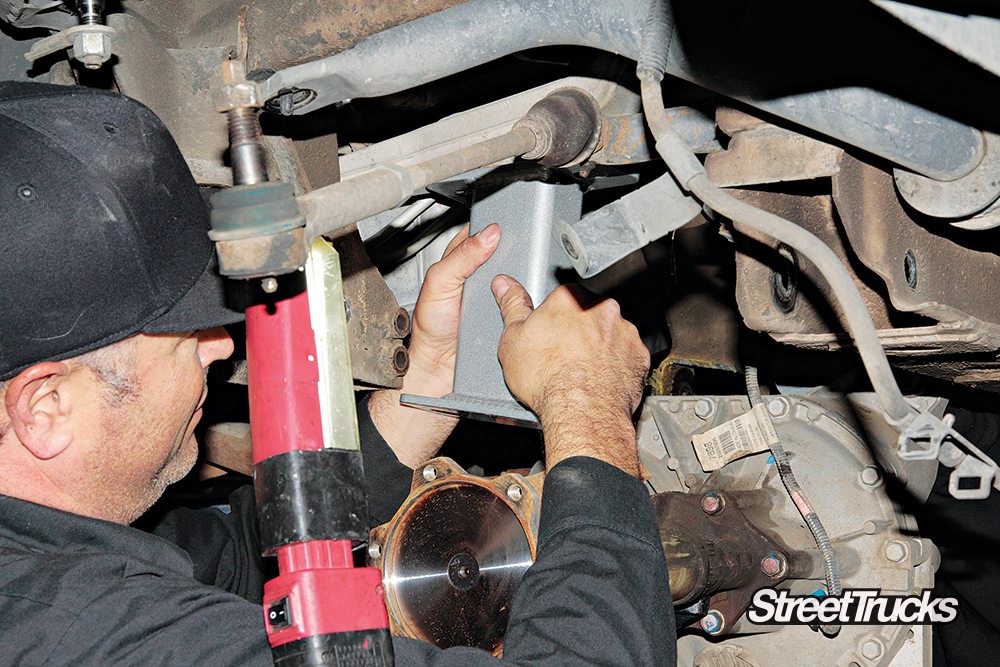
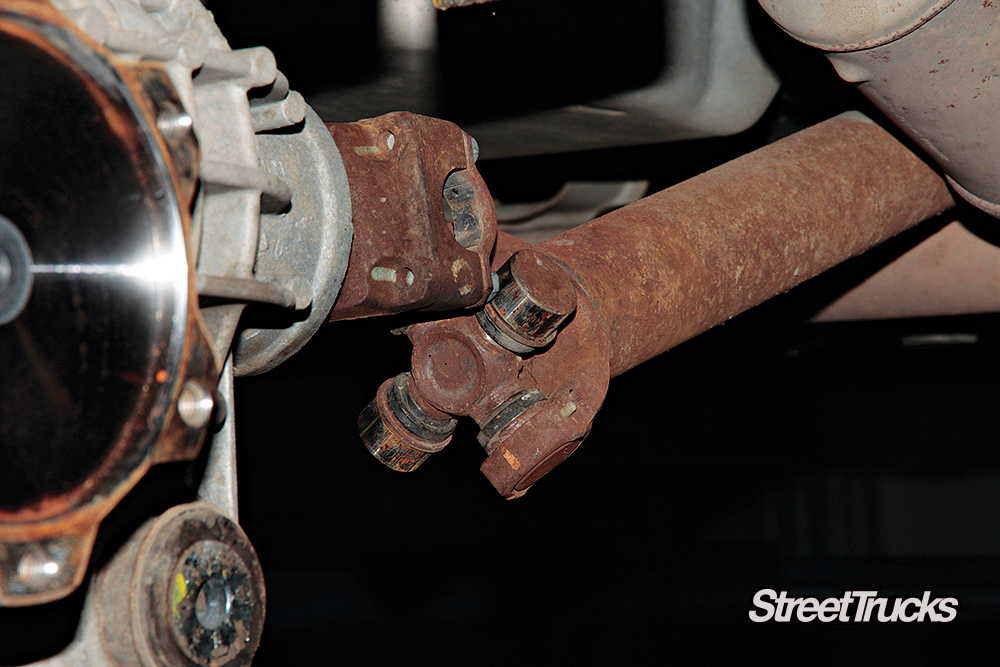
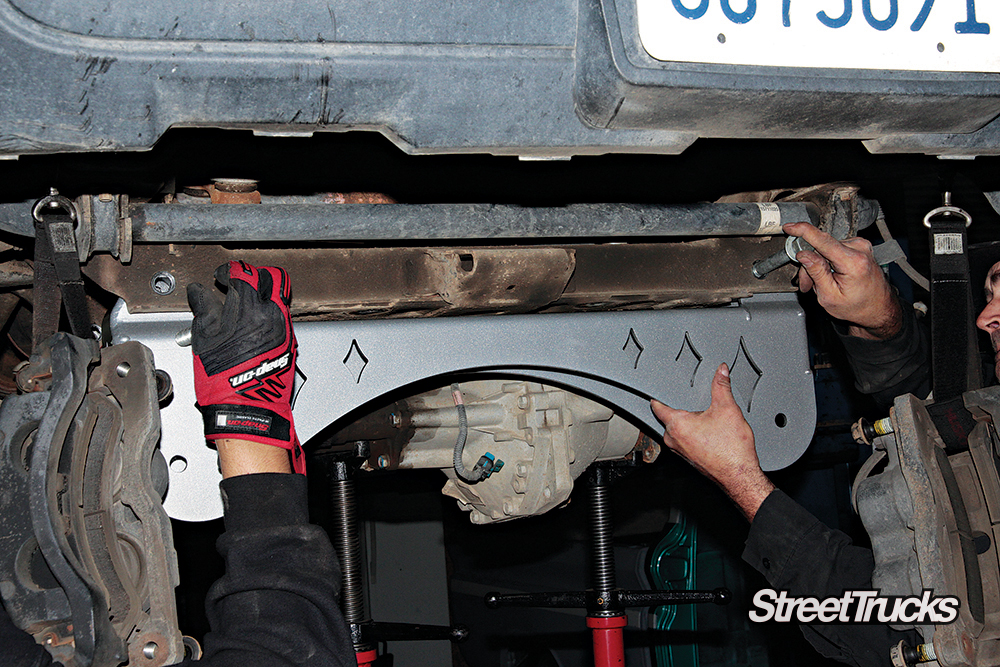
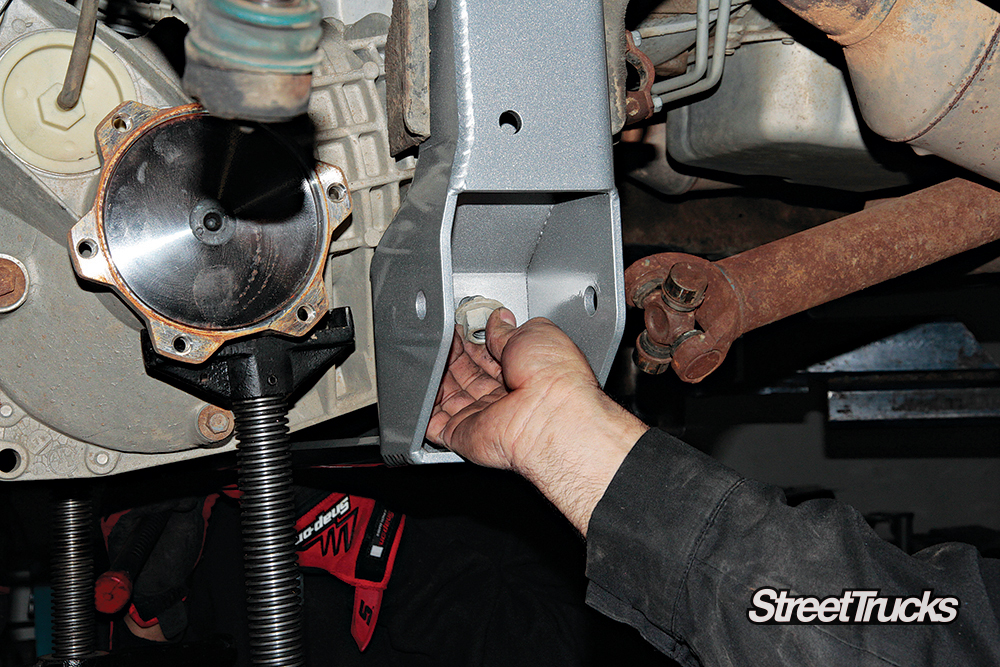
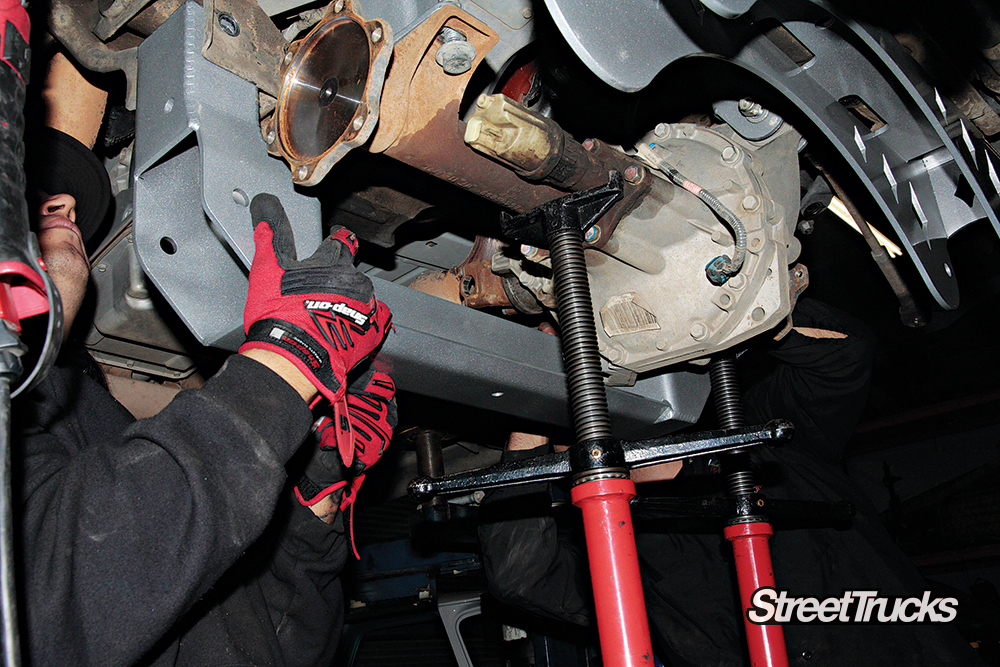
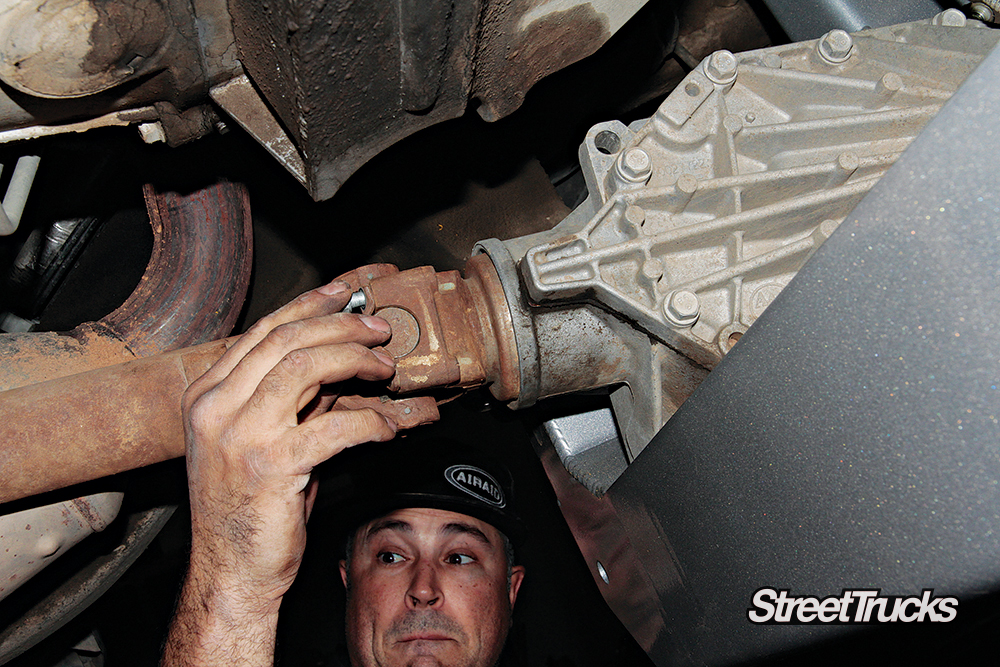
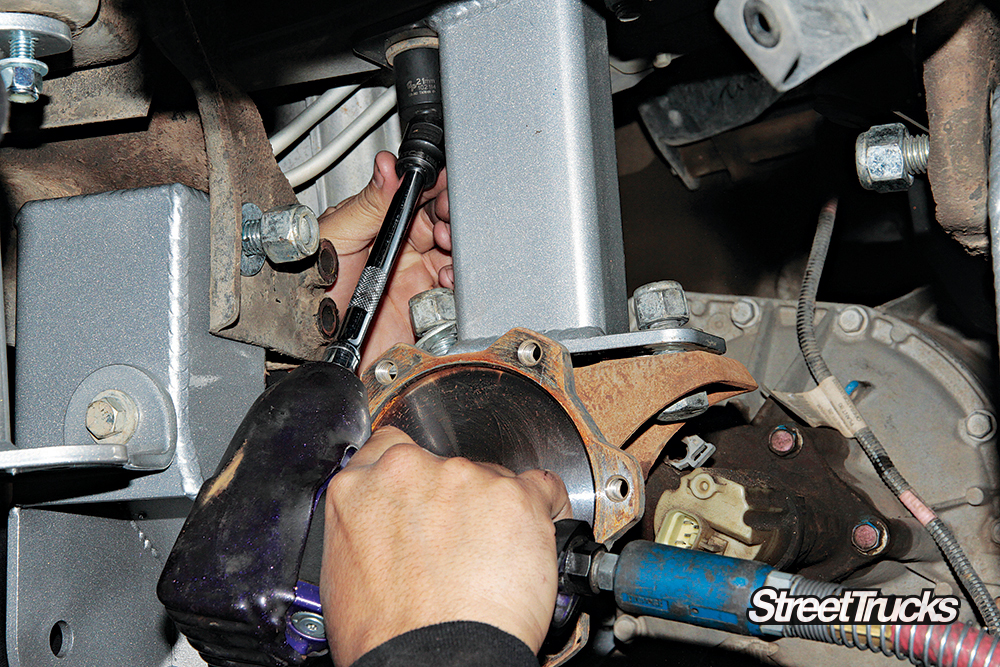
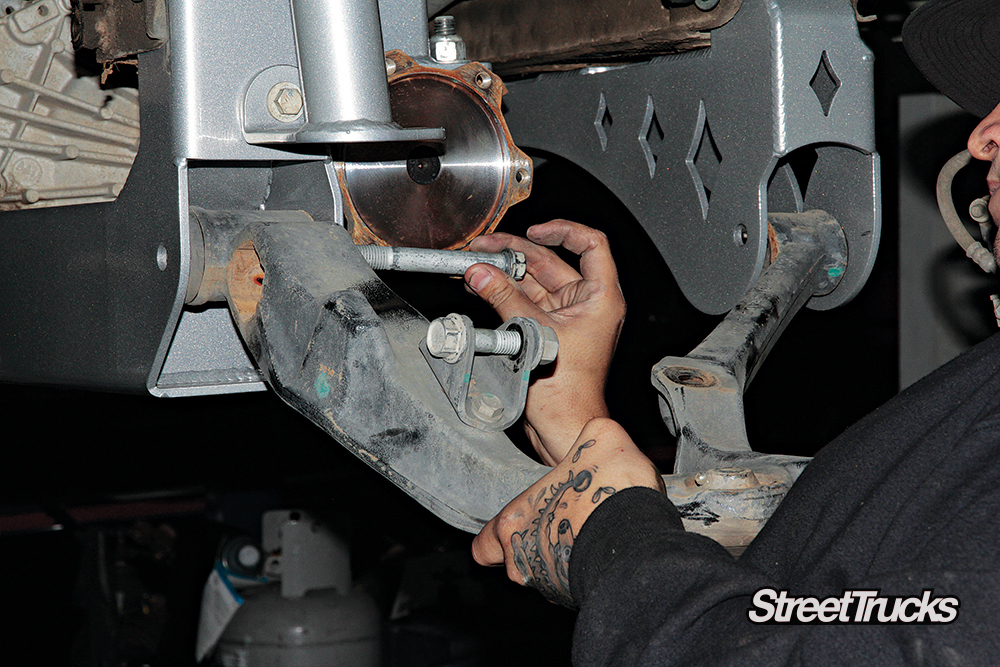
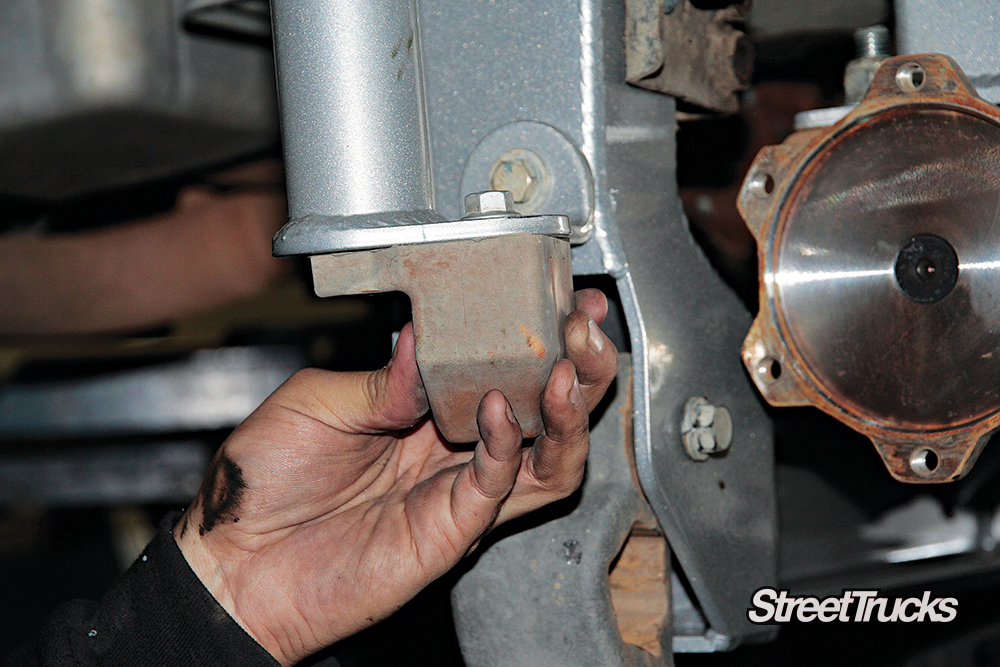
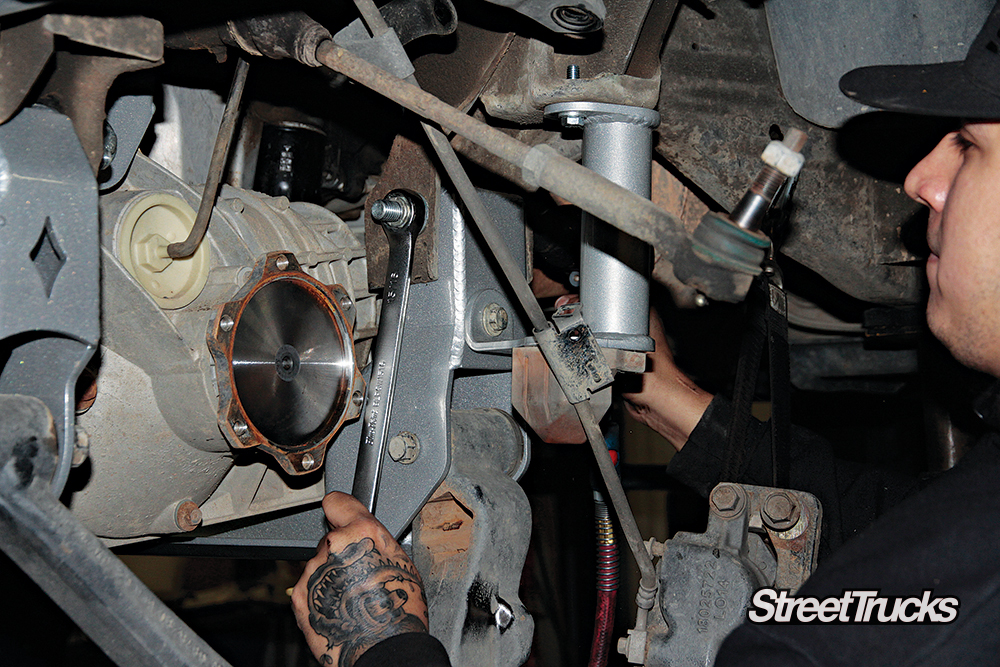
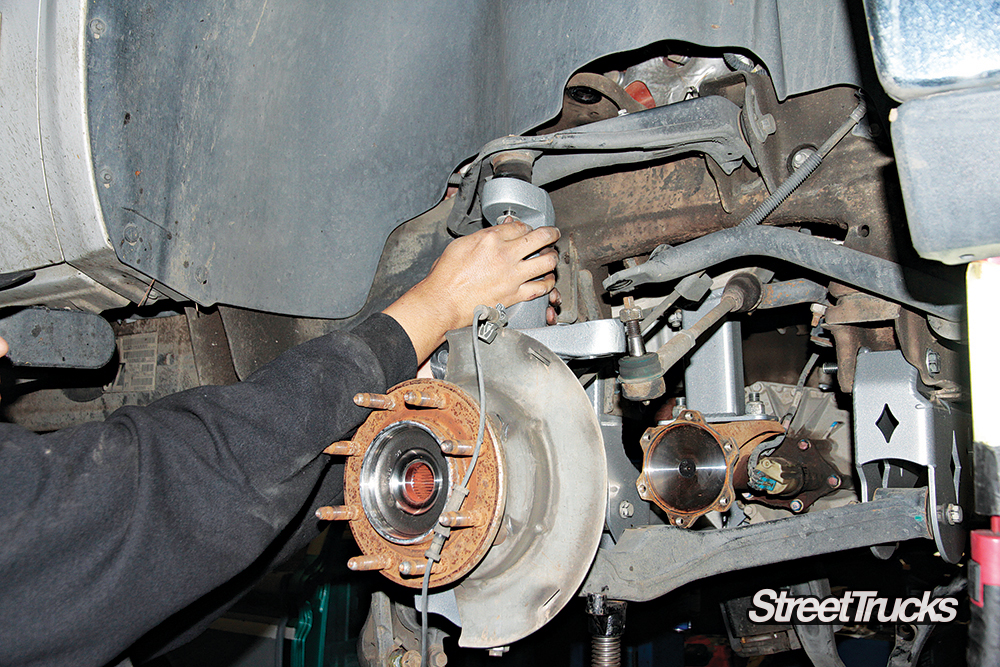
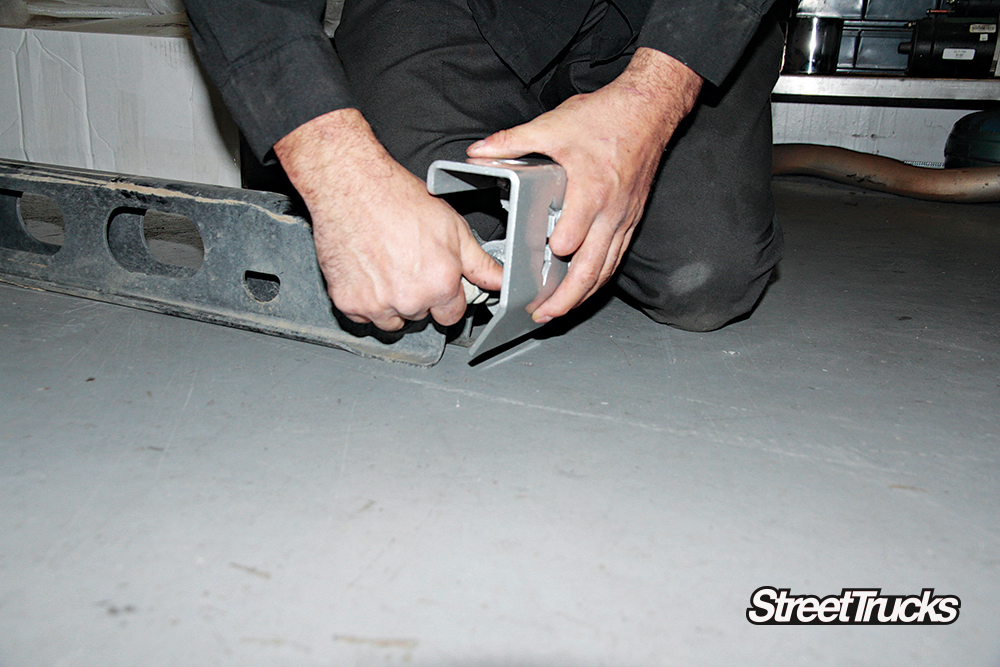
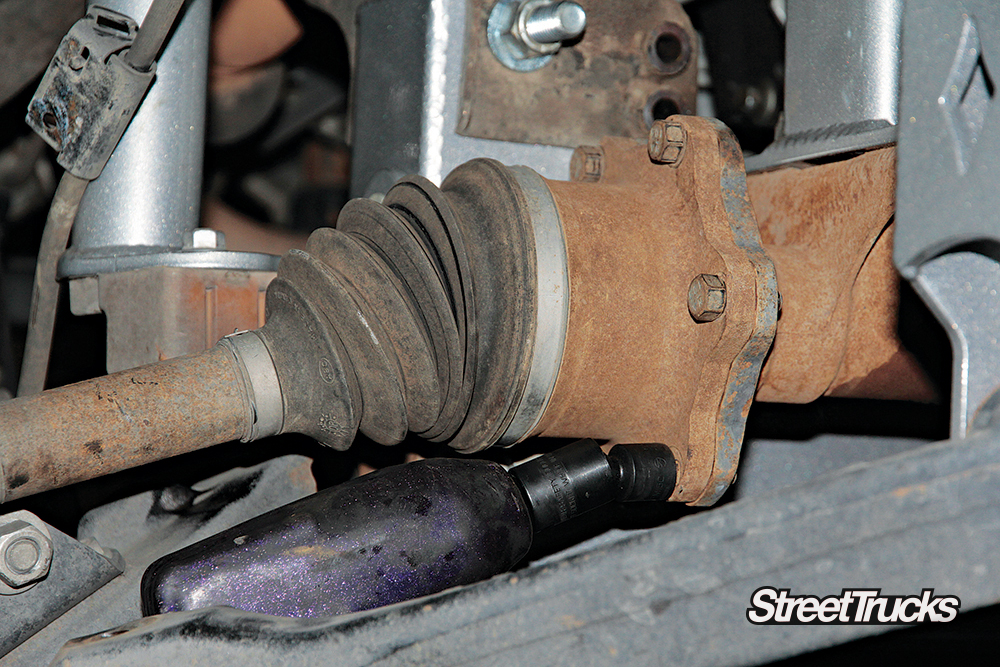
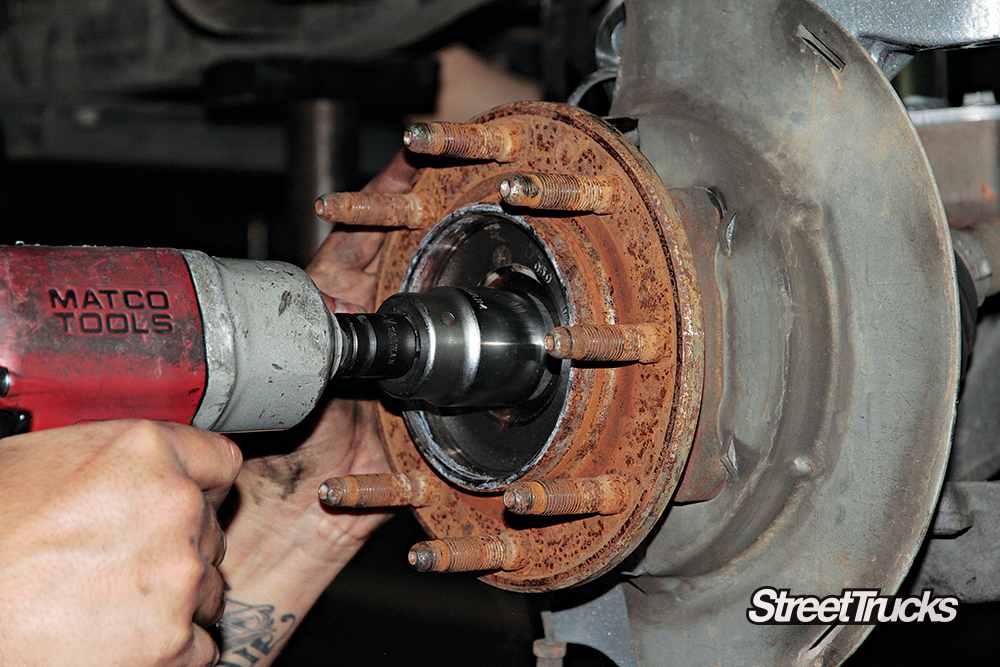
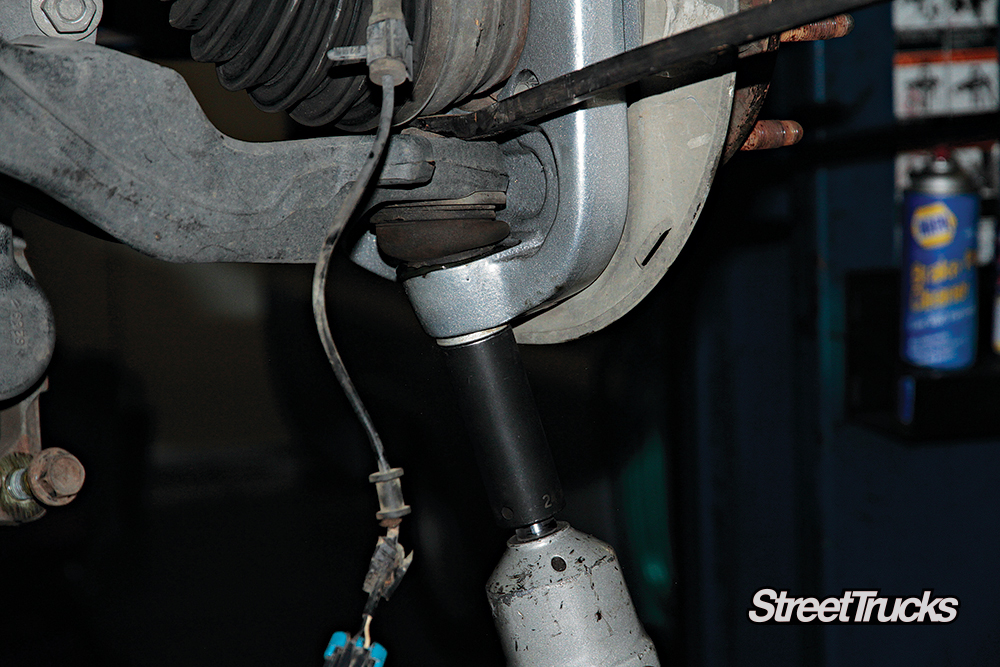
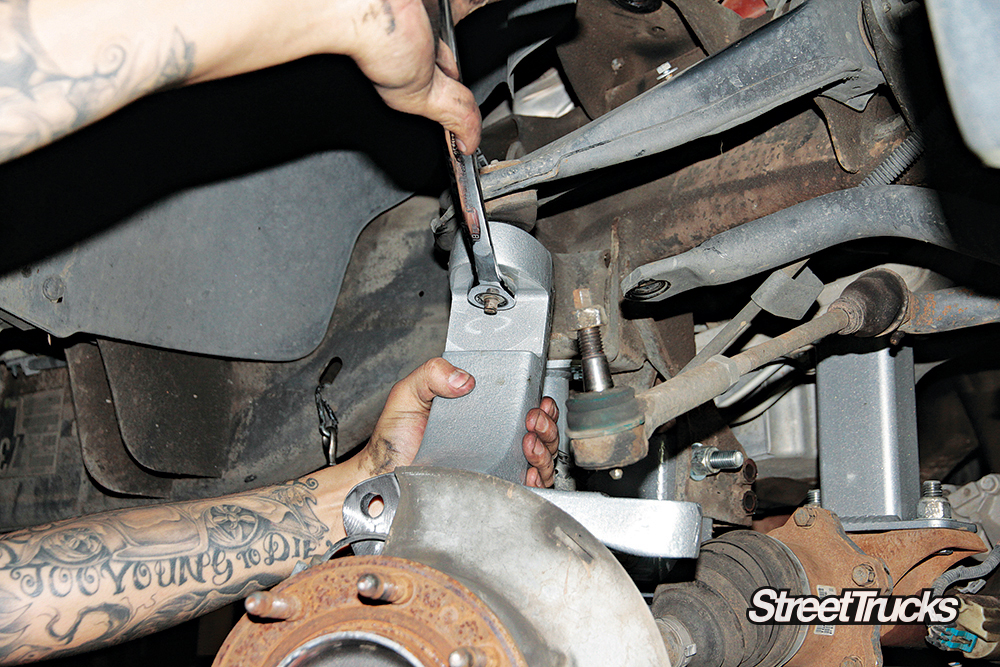
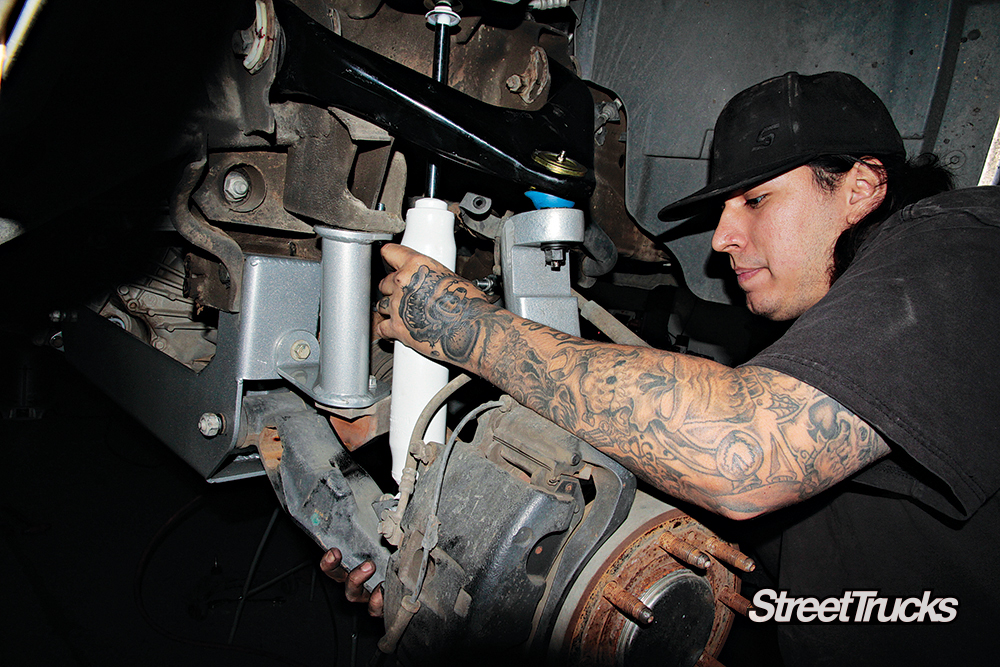
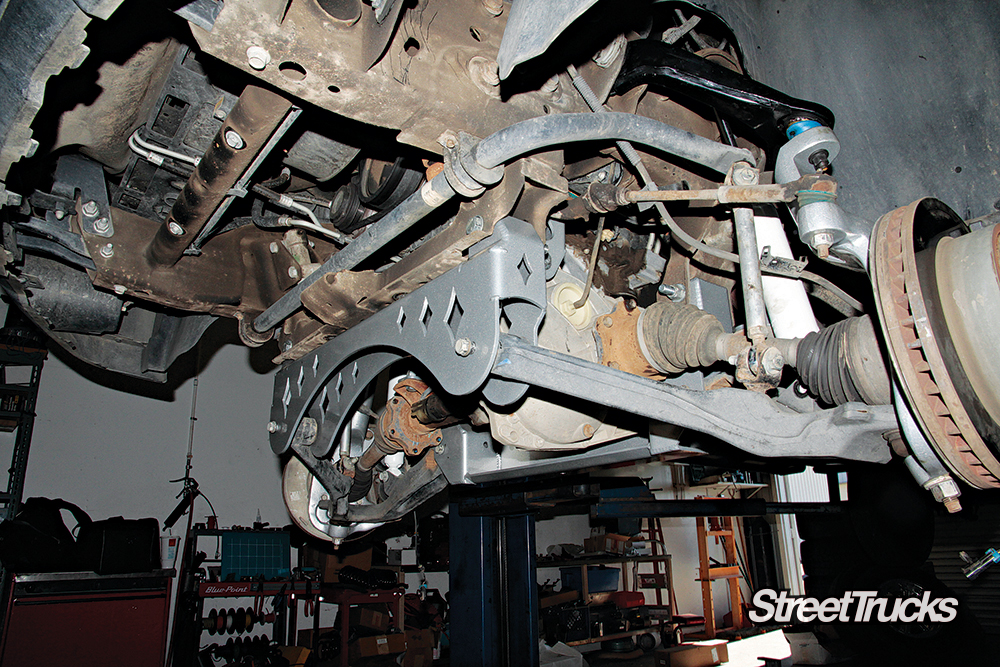
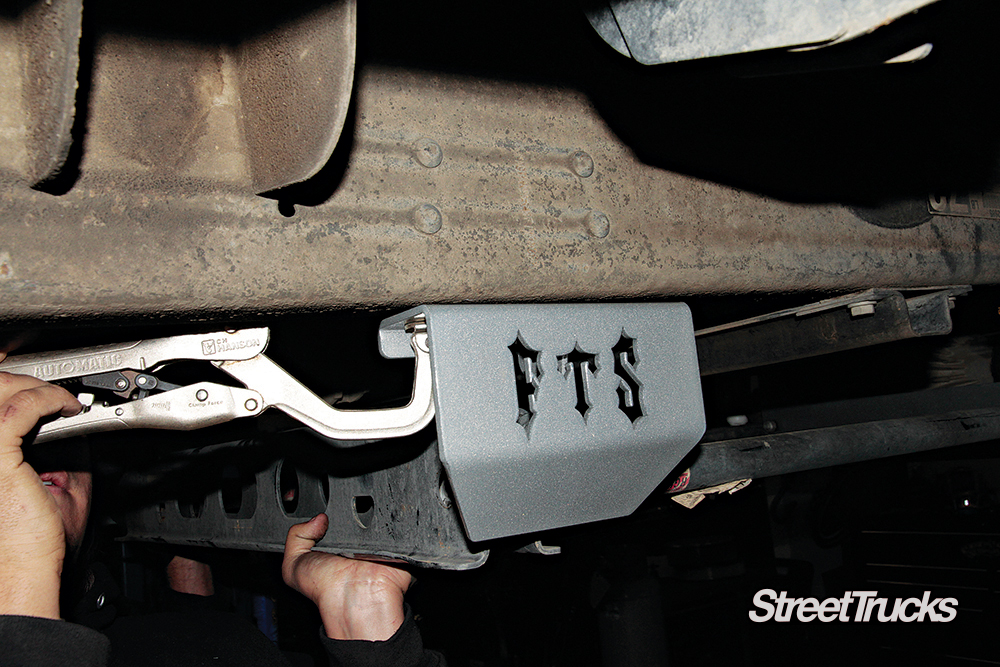
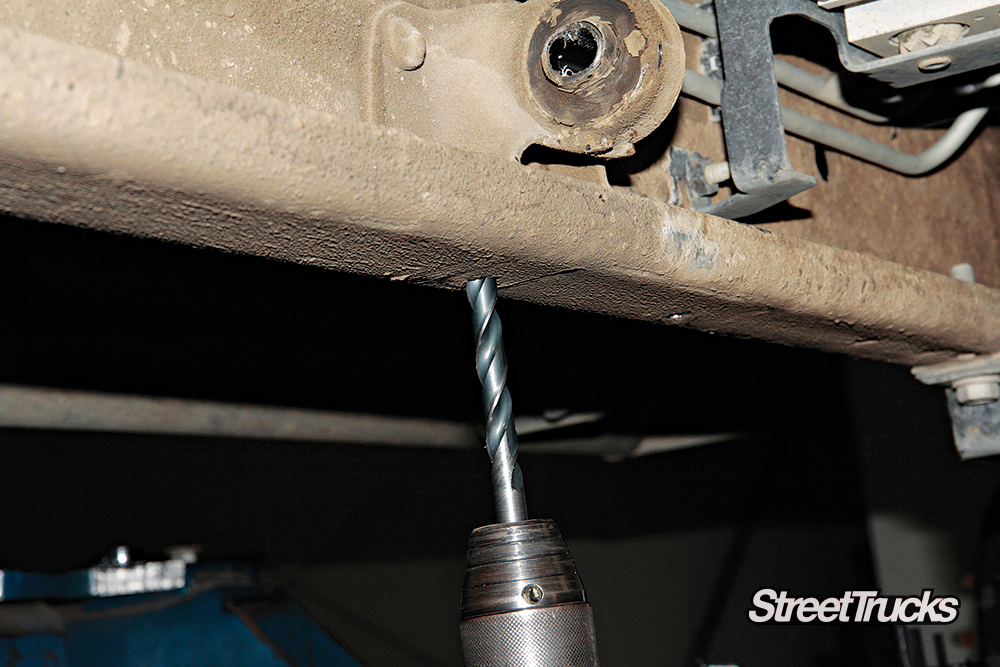
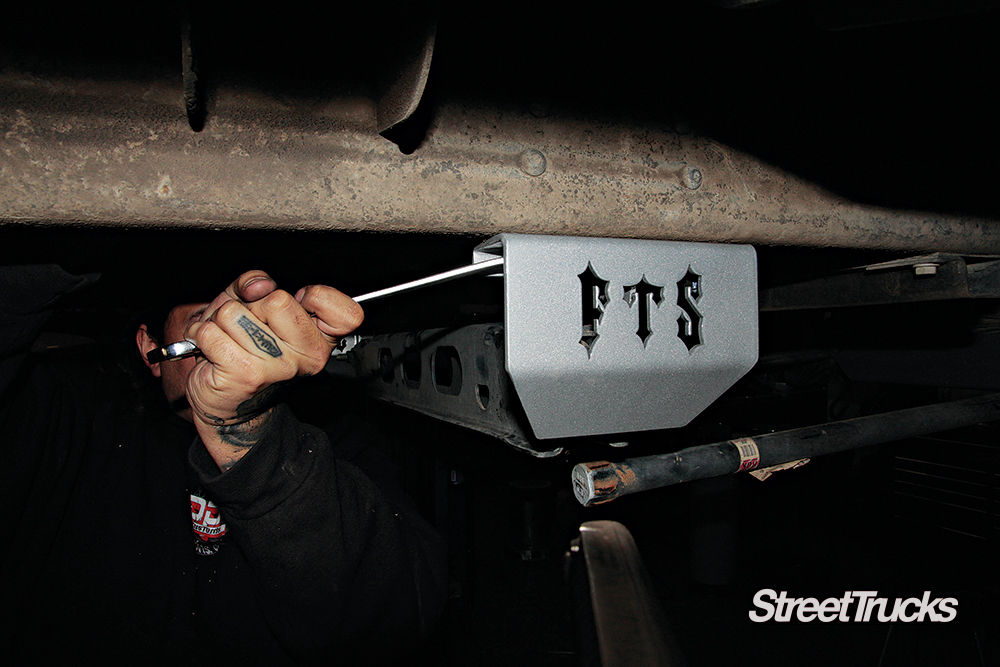
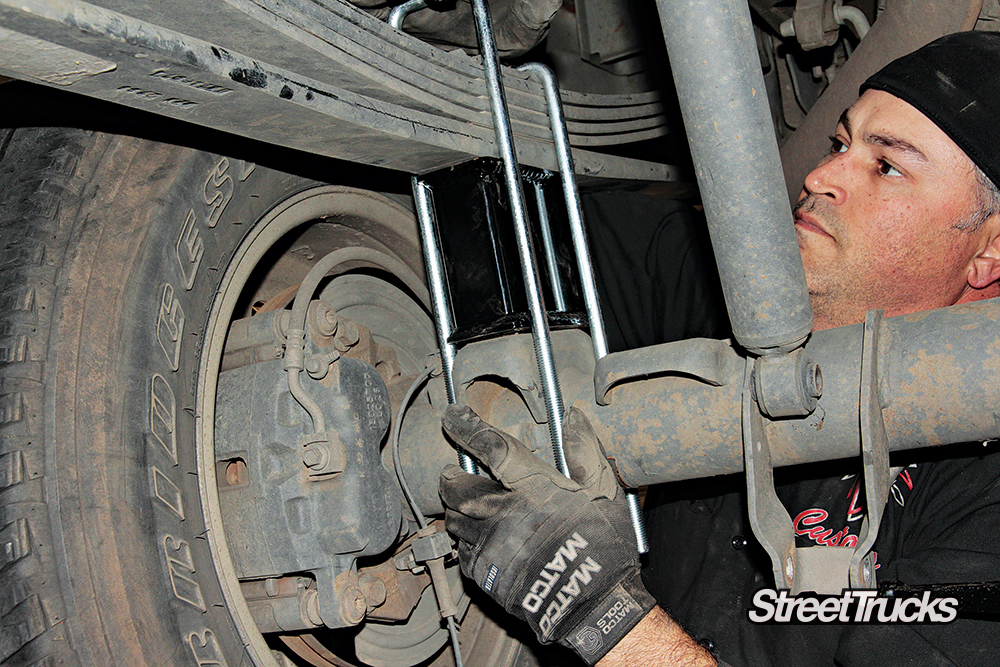
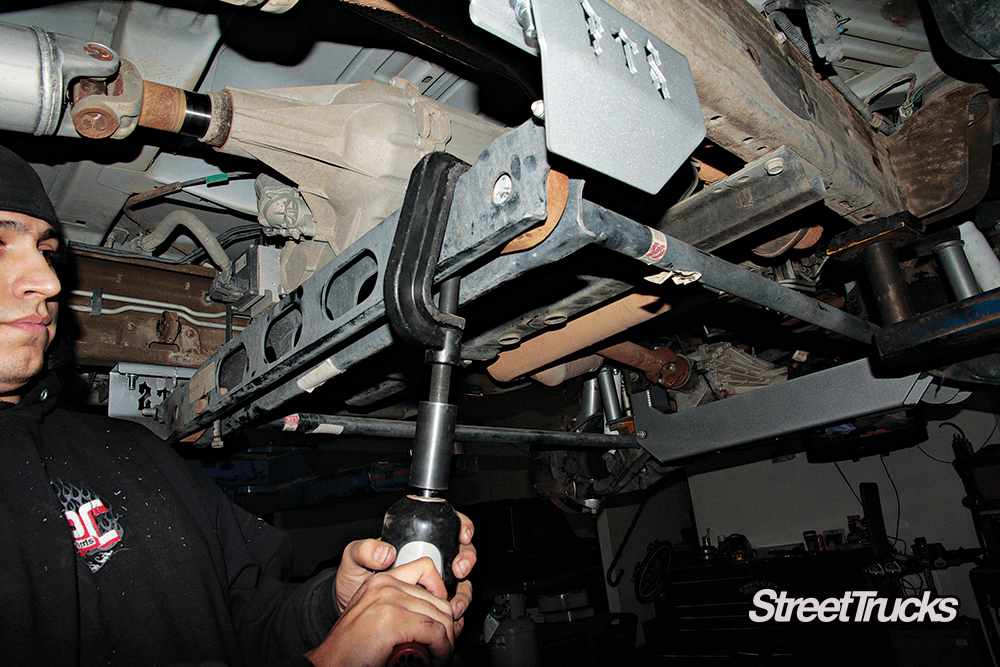
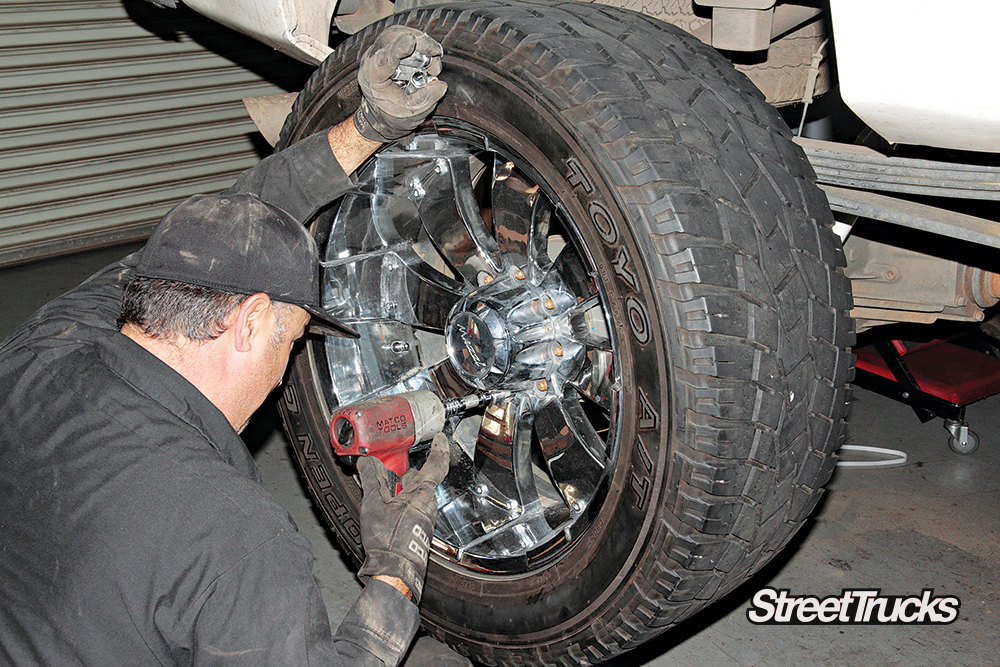
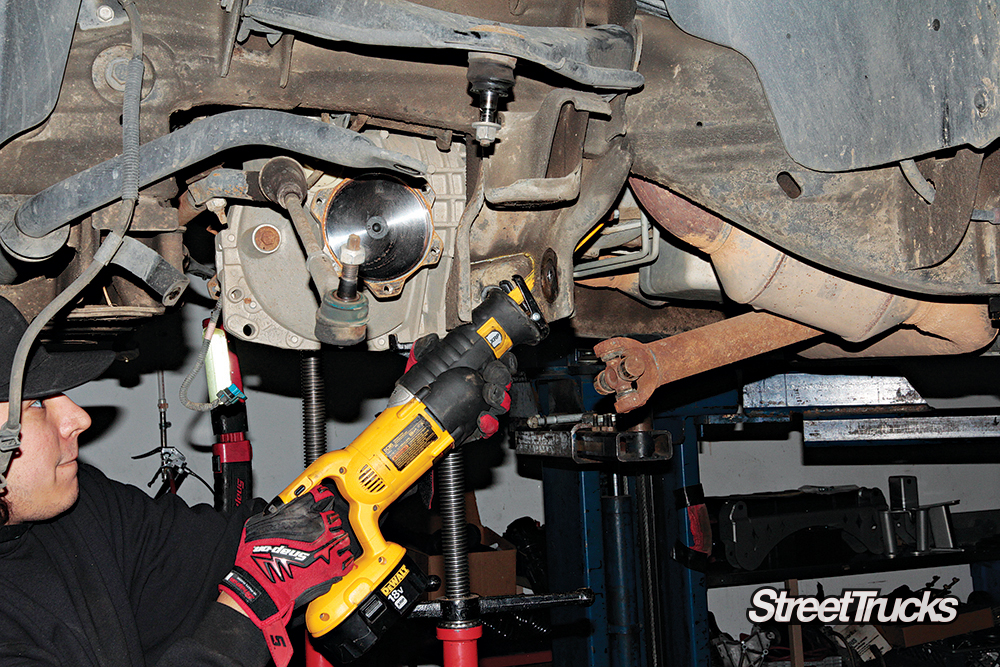
Up next ’59 Apache | That’s Naughty by Nature Published on July 08, 2021 Author MARCEL VENABLE Tags ’07 GMC, Full Throttle Suspension, tech, Share article Facebook 0 Twitter 0 Mail 0 Full Throttle Suspension Install Full Throttle Suspension and PPC Customs Put a Late-Model HD in the Sky There’s just something cool about a lifted truck. Ample ground clearance to mob over speed bumps and a line of sight over every other vehicle on the road are just a few of the many benefits to taking your truck up instead of down. Cruising down the highway hearing the hum of the tires as small passenger cars trail way below and behind is just cool. The other benefit to a lifted truck is excess ground clearance for trail, desert and lake activities. If you have an off-road machine and you need a truck to haul it out to go riding, a lifted truck will do the job much more effectively than a lowered one. Same goes for you boaters out there. Dropping a boat in the water with a lifted truck is much more practical on boat ramps when the trailer has to go a bit deeper. Plus, if you loan your truck to a buddy for his yearly move, you won’t have to worry about bent and scratched rims from hitting curbs.Subscribe to our weekly newsletter Full Throttle Suspension out of Fresno, California, has been a driving force in lifted truck suspension kits for many years and offers a wide array of lift kits to get your ½-ton, ¾-ton or 1-ton out of the stock zone and into the head-turning lifted zone. We got word that PPC Customs was putting an ’07 GMC 2500 HD 4 x 4 in the air with a Full Throttle Suspension 7-inch lift and we couldn’t draw our cameras from their holsters fast enough. Check out what it takes to put a late-model HD in the sky with help from Full Throttle Suspension and PPC Customs. FRONT SUSPENSION A little trimming is done on the ears of the factory lower control arm cross member mount to accommodate the Full Throttle Suspension custom drop-down bracket. Jacks support the front differential in order to install the FTS differential drop-down bracket. The FTS differential drop-down bracket is installed to relocate the differential for proper geometry and to roll the differential slightly to mate to the stock driveline. The FTS custom drop-down brackets are installed in front of and behind the front differential to accept the lower control arms and move all of the suspension pickup points down for proper geometry. The front driveshaft is hooked back up. The differential drop-down bracket is tightened into position. The factory lower control arm is reinstalled and joined with the pockets in the FTS drop-down brackets using the factory hardware. The factory bump stop is installed onto the FTS custom bump stop mount. An impact and box wrench secure all of the new hardware for the FTS brackets. After the factory hub was bolted up to the FTS lift spindle (using Loctite on the threads, of course) the spindle was joined with the upper and lower control arm. The FTS torsion bar drop-down brackets are mated to the factory torsion bar cross member before being reinstalled in the truck to accept the torsion bars. The factory front half shafts are reinstalled and tightened to spec with an impact wrench. The factory hub assembly is reinstalled and hit with an impact for a safe and secure union. The lower ball joint is hit with an impact to seat the spindles. The spindles are joined at the upper ball joint and upper control arm. The shocks are installed to properly dampen the new sky-scraping suspension. The FTS front suspension on this ’07 2500 HD 4 x 4 is done and looking tough. The torsion bar drop-down brackets mated to the factory torsion bar cross member in step 14 is reinstalled and mocked-up for tapping and drilling for the mounting holes. After being marked with a tap, the holes are drilled for the FTS torsion bar drop-down brackets. REAR SUSPENSION The replacement rear shocks are installed on one side after the lift blocks and U-bolts were installed to get the rear up in the clouds. The FTS torsion bar dropdown bracket hardware is installed and tightened. Richard from PPC Customs installs the extended replacement U-bolts after sandwiching the FTS lift block between the axle spring pad and the base of the leaf pack. TORSION BARS Using the proper GM torsion key tool and an impact, the torsion bar keys are tightened to load the torsion bars. WHEELS & TIRES Richard Ruiz from PPC Customs mounts some 22-inch chrome wheels on 35-inch Toyo A/Ts to set off the new stance. It might be necessary to trim the factory front valance depending on the size of wheels and tires you choose to run.
"Zarate Family" from humble beginnings and TacoSupreme to Zarate Steel Works Built To Cruise Episode #29 Mark and Crystal Zarate tell us the story of how they grew through a difficult situation and started their own […] Adam Johnson November 26, 2021 Department Industry News Latest Press Release Product Reviews Profiles Uncategorized
Hot Rod Power Tour 2022 Live Broadcast presented by Street Trucks Magazine Tune In for our live broadcast of Battle in Bama featuring interviews with the owners of sWe are officially packed prepped and patiently waiting to […] Nicole Hamilton June 26, 2022 Department Events Industry News Latest Product Reviews Profiles Reader Rides Show Uncategorized
C10 | A Guide to Bagging on a Budget Wanna bag your ride? Answer each question to begin ordering parts. Help support me by using the links below. Thanks! Do you want to run […] Adam Johnson April 06, 2022 Department Industry News Latest Press Release Product Reviews Profiles Uncategorized Videos
Your One-Stop C10 Shopping List! 1973-’88 Chevy Pickup Cab Molding Sets These rear cab molding kits from OER are available in two different options—one for 1973-’80 pickups and one for […] John Mata Jr. November 07, 2023 c10 C10 Builders Guide Department Industry News Latest Product Reviews Uncategorized