 STREET TRUCKS STAFF
.
December 24, 2020
.
c10
.
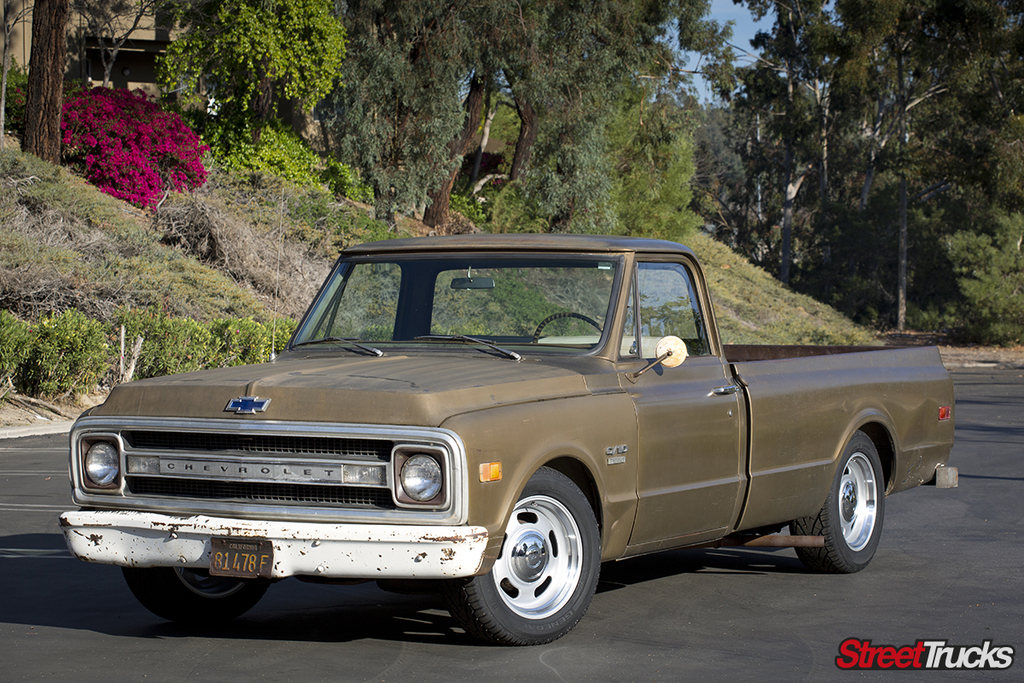
We realize that not everyone has a mattress full of Franklins to spend on creating a show-stopping classic pickup. However, there are ways of getting yourself behind the wheel of a cool truck without draining your bank account. Long-bed C-10s can still be found for reasonable prices; this ’70, for instance, was scooped up for a measly $2,300, proving that there are still deals to be had. It was even running. The only thing going against it were problems related to age.
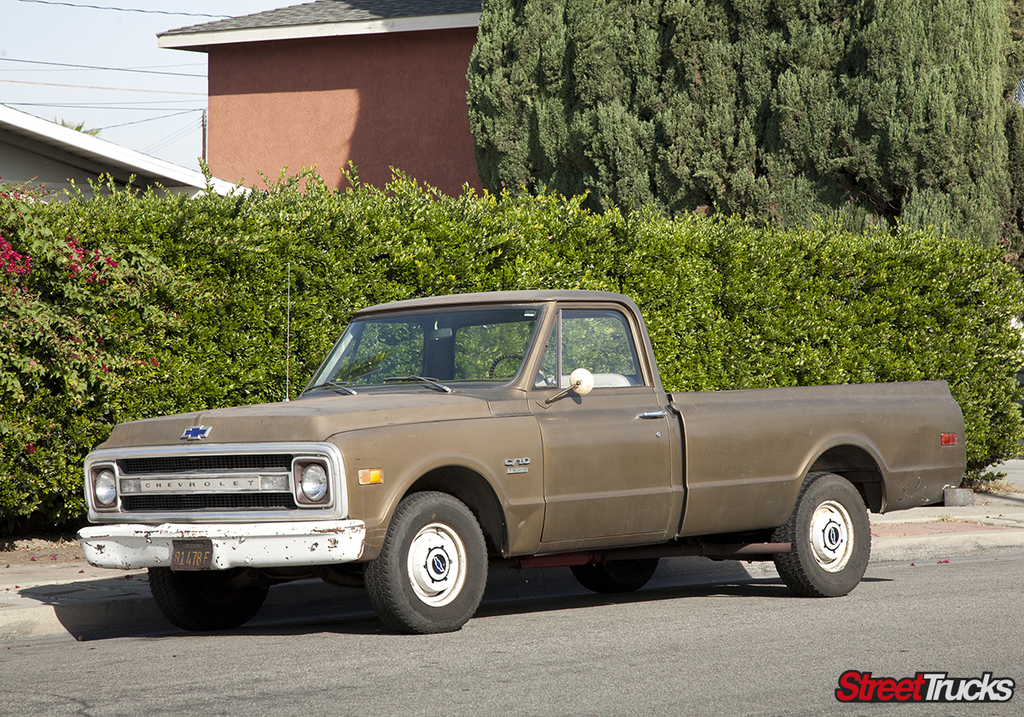 The 1967-72 C-10s are one of the best platforms to wrench on or modify mainly due to their simplicity. The folks at GM in the ’60s really did their homework when creating these trucks. The front and rear suspensions are fairly easy to work on, and corrosion issues will most likely be their only real problem.
 If there is some rust on the underside, we suggest getting out a spray can of penetration lubricant and soaking all of the hardware first thing.
These trucks are very popular with customizers, and numerous companies have caught on and started developing products to serve them. We are very lucky these days because the market is flooded with parts to give these trucks a mild drop or even slam them to the pavement. The only question is how far you want to go and how big your budget is.
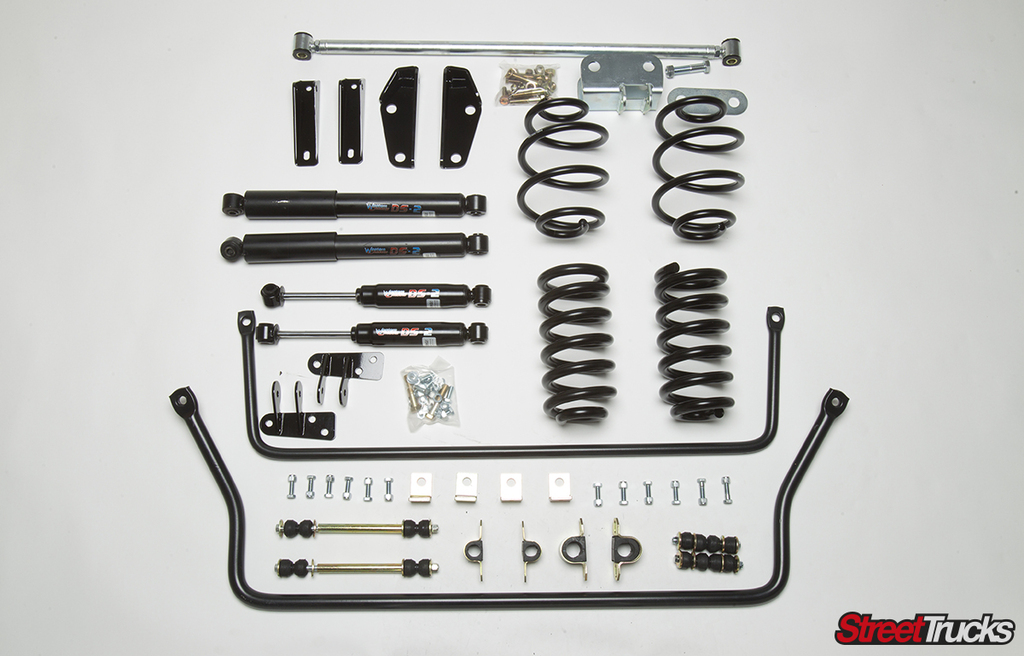
If you pick up one of these trucks, you’ll to want to get it down a few inches because they are sky-high in stock form. Again, there is no need to break the bank in order to add some style. All you need to purchase is a simple spring drop kit, and you can actually lower your C-10 for a reasonable price. To get this ’70 down, we placed an order with Western Chassis for a 3/4 drop kit spring kit, shocks, shock relocator kit and deluxe pan hard bar and topped it off with sway bars for better handling ($889.49 total).
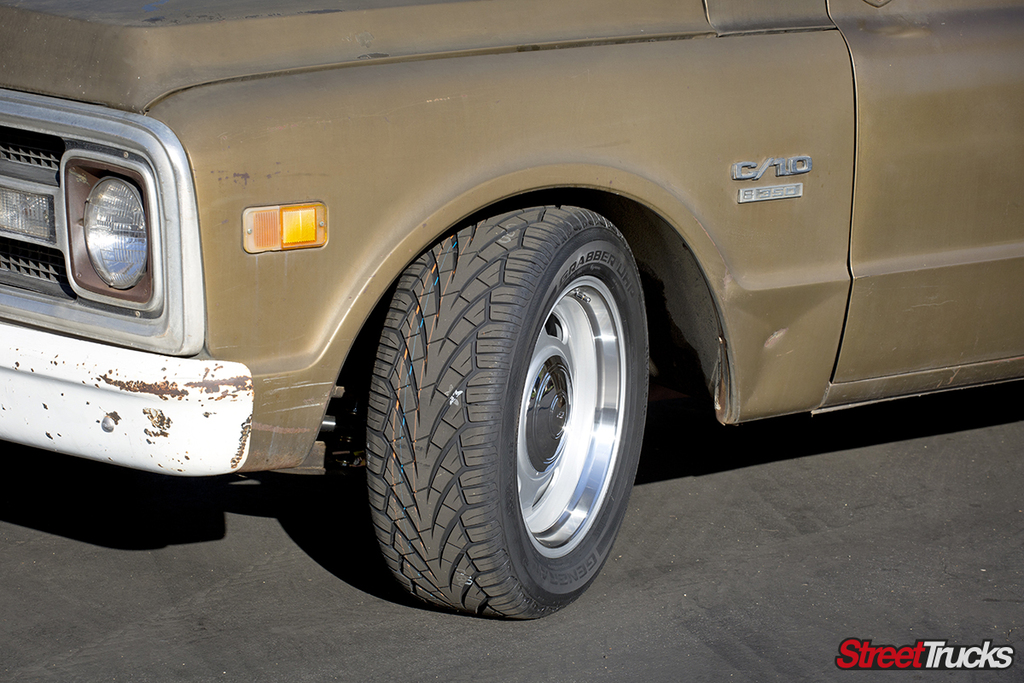
 Since the build tally was low, there was still more in the budget for other goodies. To complement the truck and its new stature, we purchased a set of 18×8-inch Rev Classic Wheels 107s with police hubcaps for $747.60. These things are slick; they resemble classic rally wheels but larger (up to 20 inches). Since the rolling attire was upsized, new rubber was required. General Tire offered a great option. The company’s Grabber UHP design comes in many sizes that correlate with larger-than-stock wheels. Grabber UHPs not only look great, they were also designed to offer excellent traction in dry and wet road conditions with even wear. We spent another $536.80 for the tires.
 The whole drop and wheel/tire swap was completely handled in a driveway, which saved us even more cash. All of the parts were relatively easy to install once the stubborn, rusty bolts were dealt with. If you have some spare change and wrenching capabilities, you, too, can accomplish a simple transformation like this.
Sources:
Western Chassis
888.999.9139
Westernchassisinc.com
Rev Wheels
Rev-wheels.com
General Tire
800.847.3349
Generaltire.com
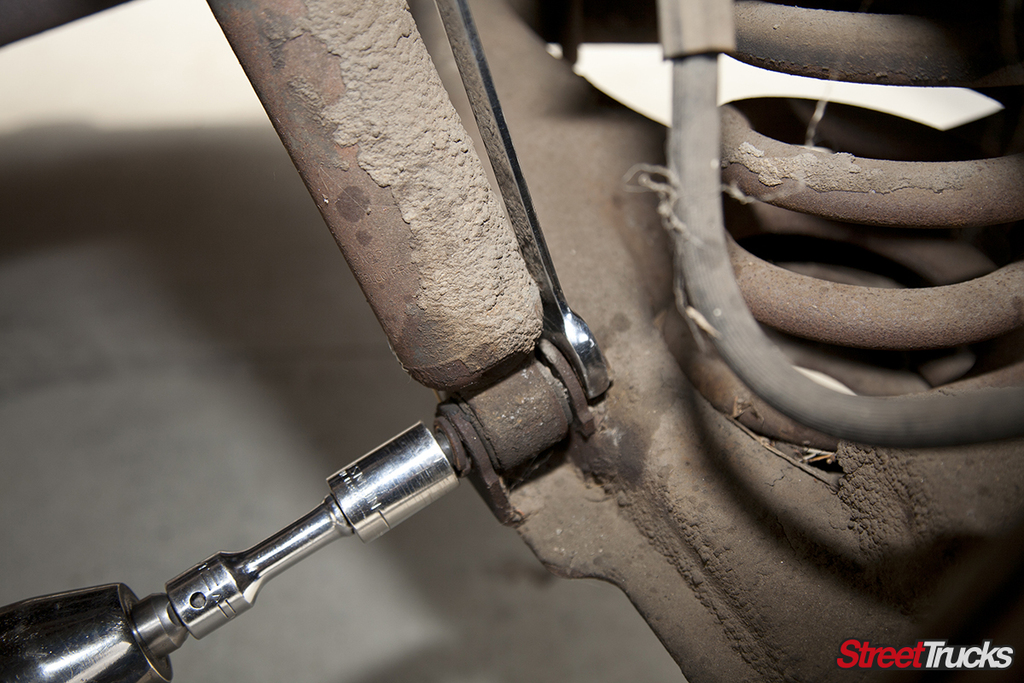 With the truck properly supported on jack stands, the wheels were unbolted, followed by the front shocks.
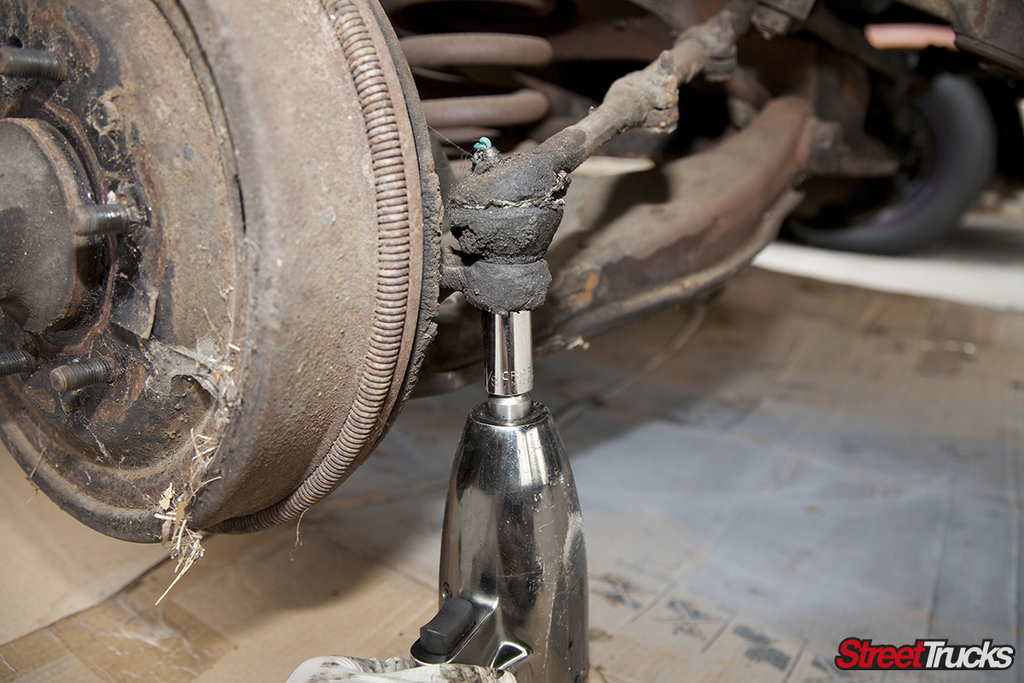 The tie rods were unbolted from the stock spindles.
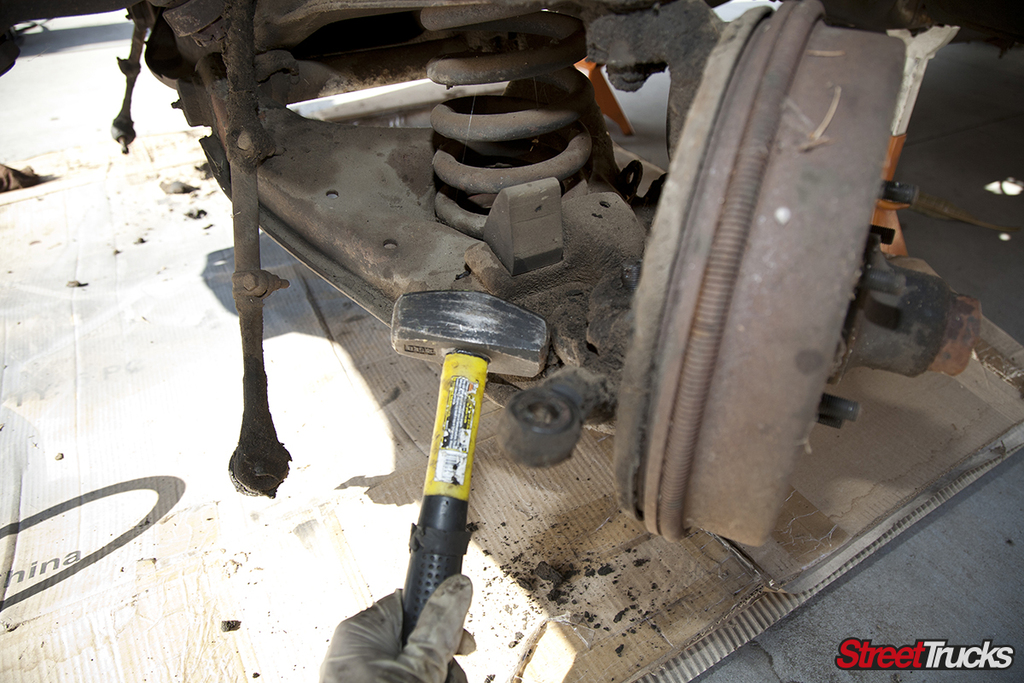
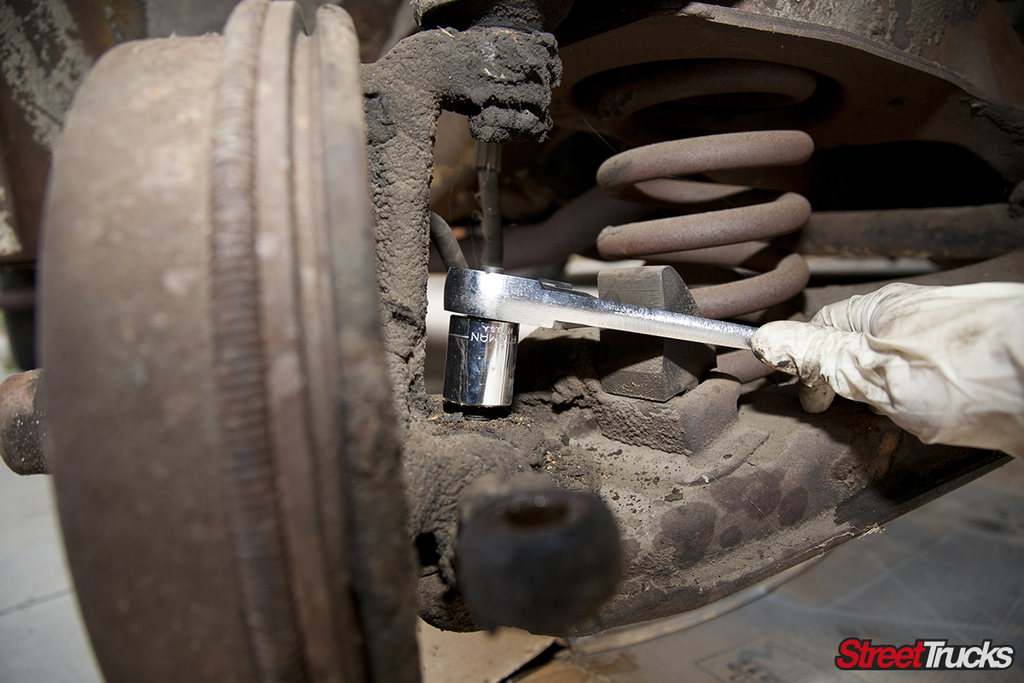 To get the stock spring out, the lower A-arms were unbolted from the spindles. They were tapped with a hammer to break them loose. If that doesn’t work, you can use a pickle fork to pry these components apart.
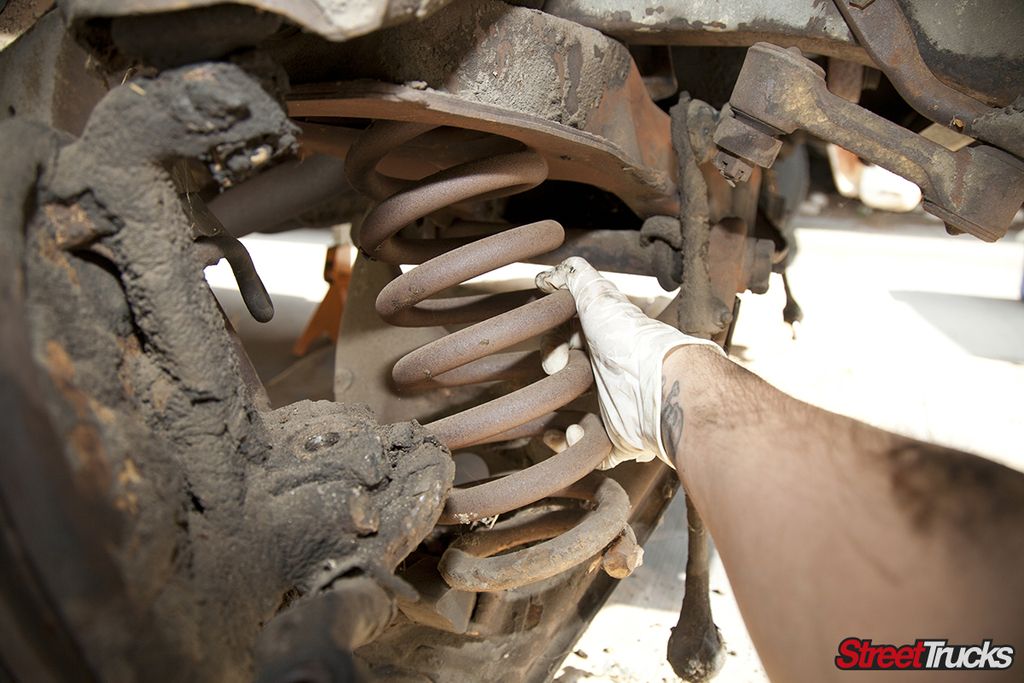 We highly recommend keeping the castle nut on the stud for the lower ball joint because the spring is under pressure and could pop out and cause injury. Then you can place a hydraulic jack under the A arms to lower them easily to free the springs.
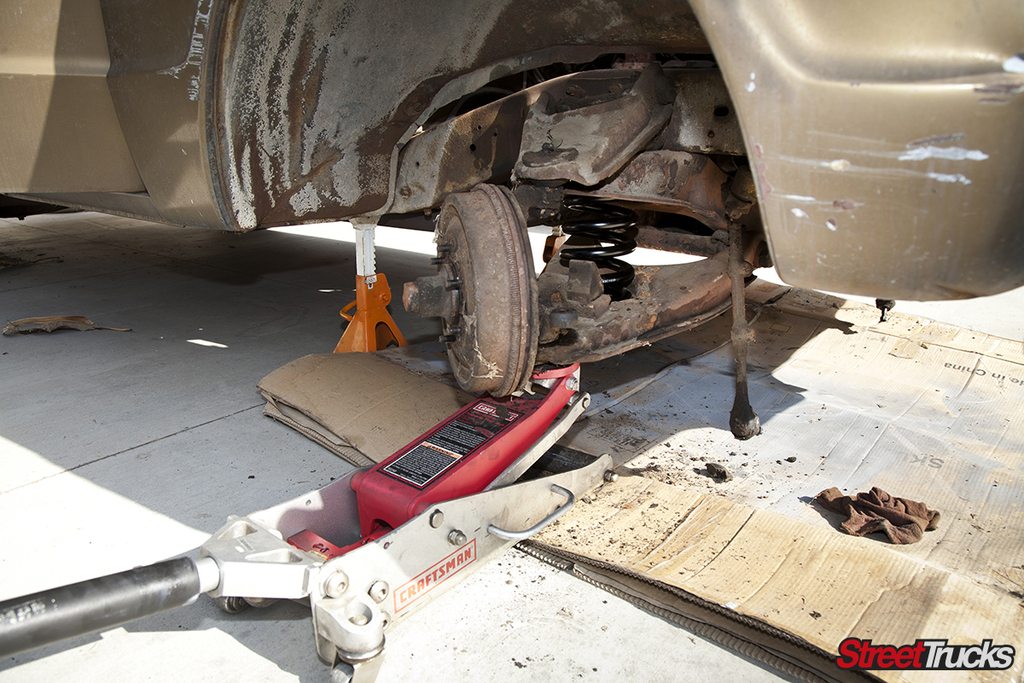 The drop springs went in pretty easily and a jack was used to raise the lower A arms to meet with the spindle.
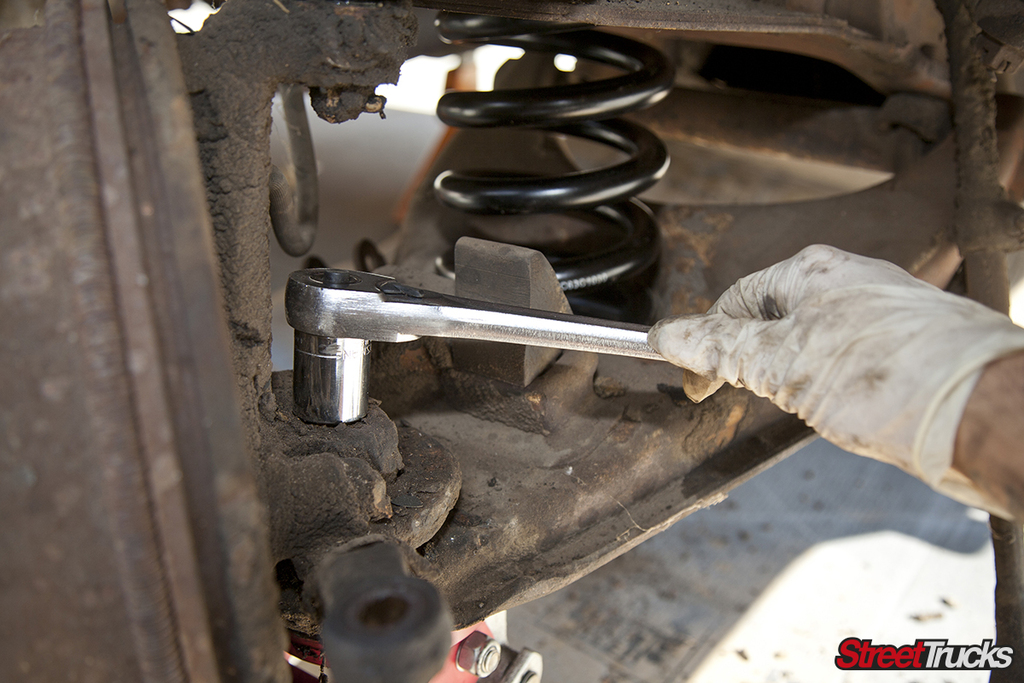 The factory castle nuts were reused, and new cotter pins locked them in.
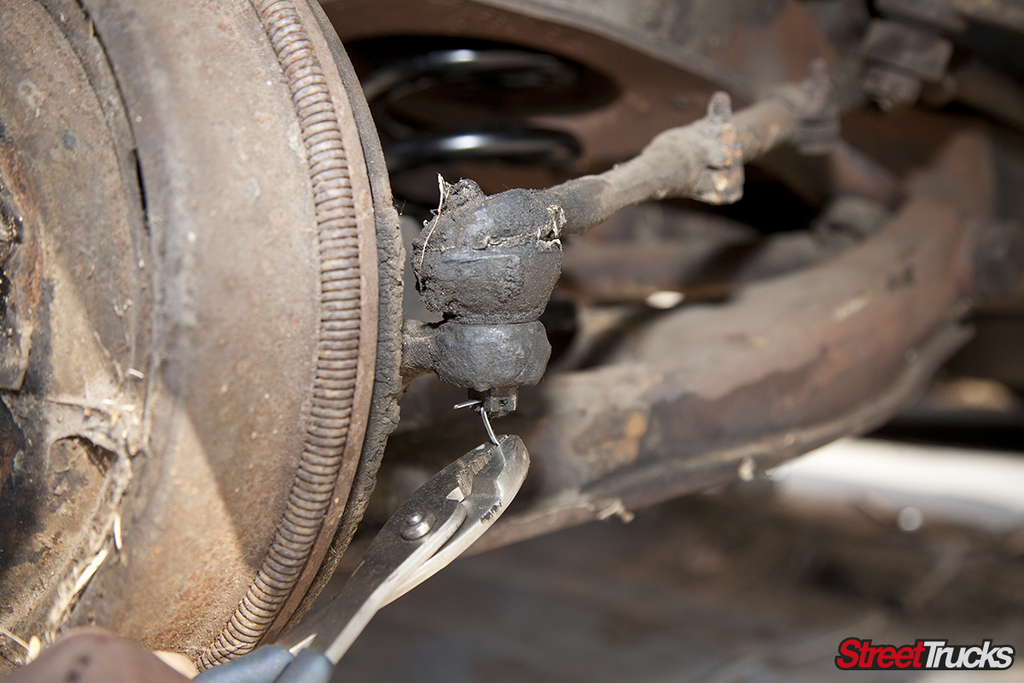 To complete the drop, the tie rods were bolted up and new cotter pins were placed.
The drop changes how the shocks perform. The relocator kit corrects the geometry for smooth operation.
The new shocks were bolted to the new mounts and the lower arms.
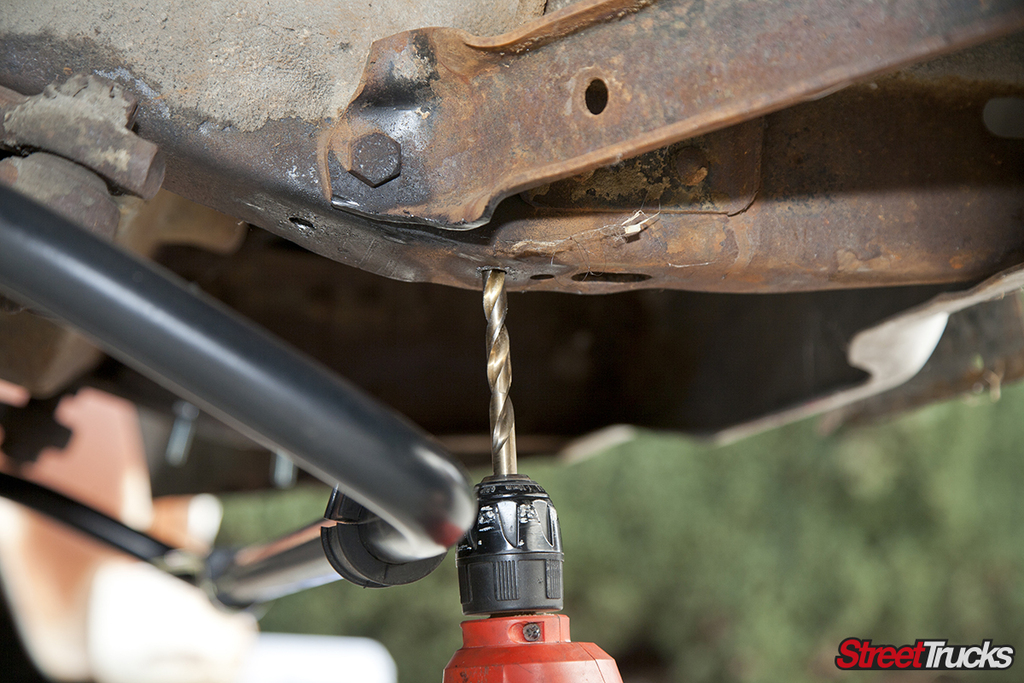 The front sway bar was bolted together and centered using a tape measure. From there, the placement of the mounting brackets was configured and holes were drilled for the bolts.
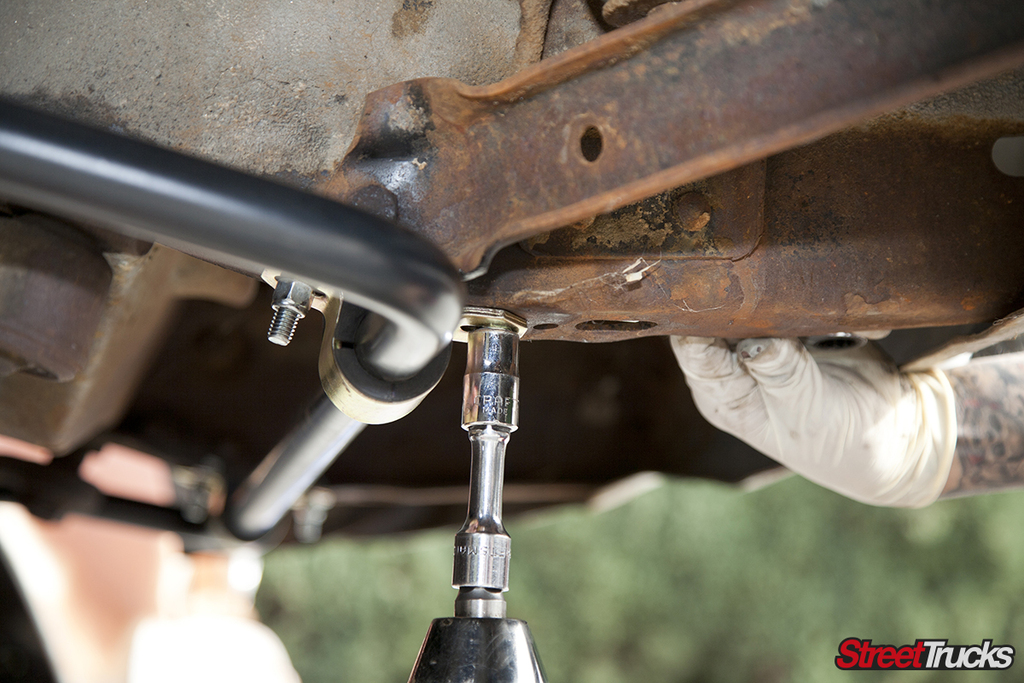 With the sway bar in place, the forward mounts were placed and holes were drilled into the frame. The bolts were used to secure the sway bar to the frame.
Though the truck was already supported, another pair of jacks was used to hold the rearend while work was done on the back. Just like the front, removing the shocks from the suspension started in the rear. Never mind the spring-equipped shocks; they are not stock and are no longer required on a daily driver.
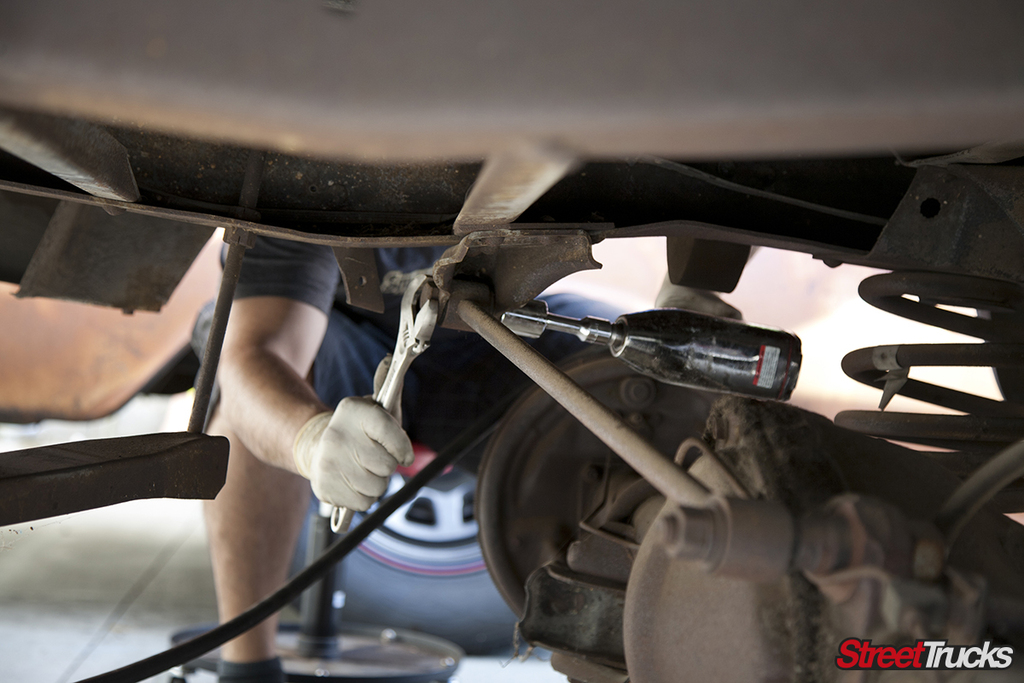 The factory pan hard bar is very short and pulls the rearend dramatically. Because it will be replaced with a better functioning version, it was removed along with all of its hardware.
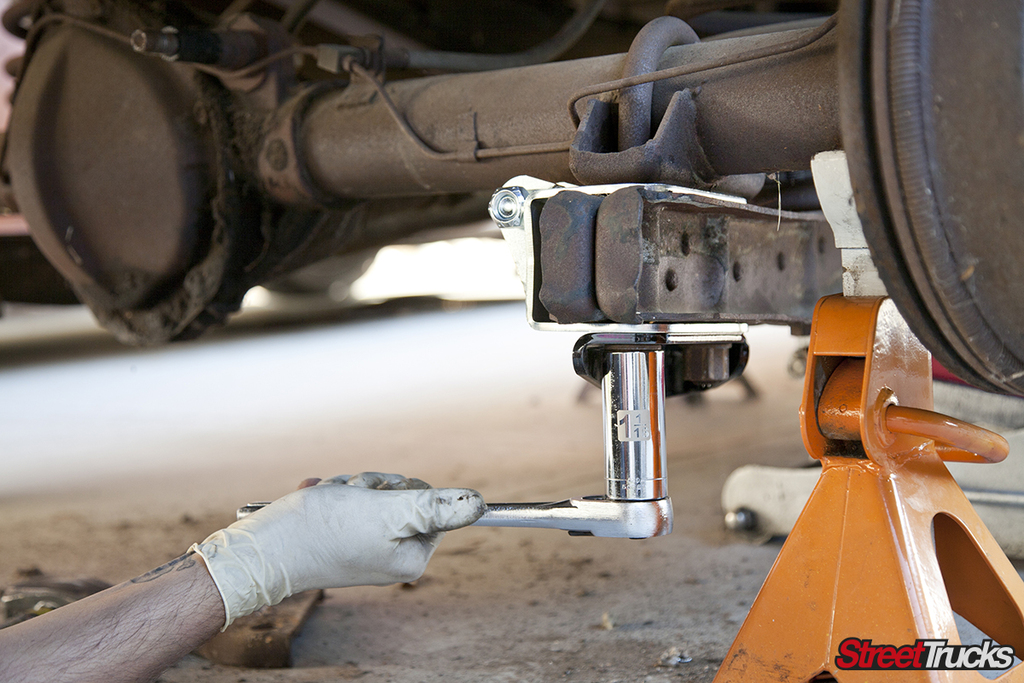 The passenger side U-bolt on the trailing arm was undone so that the new track bar mount and lower shock mount could be secured in place.
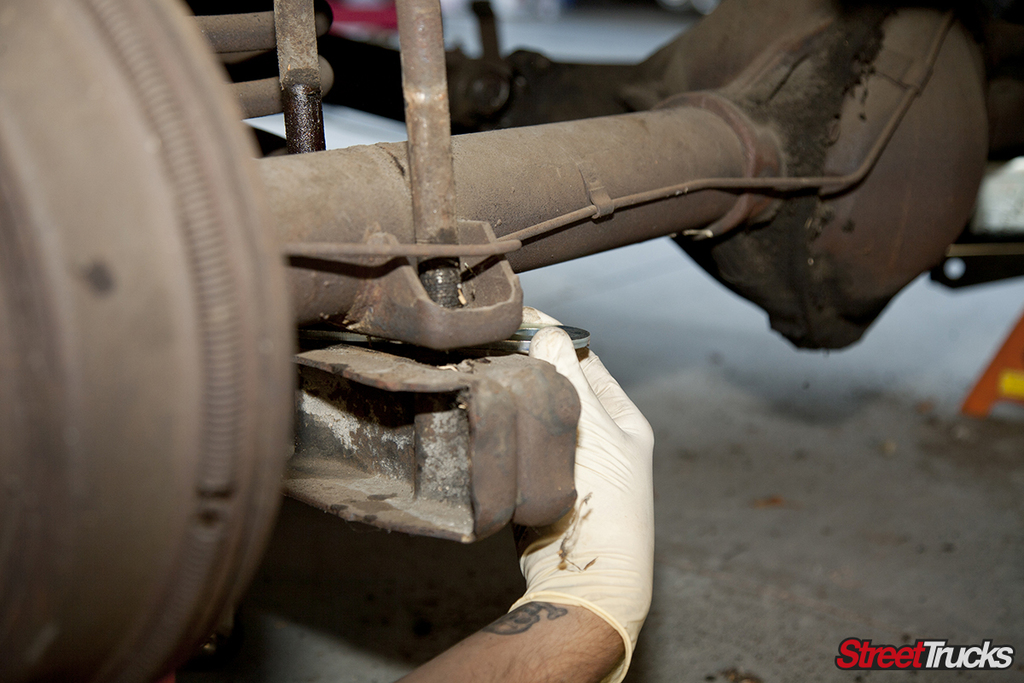 A spacer is used on the driver’s side to ensure the rearend stays level from side to side.
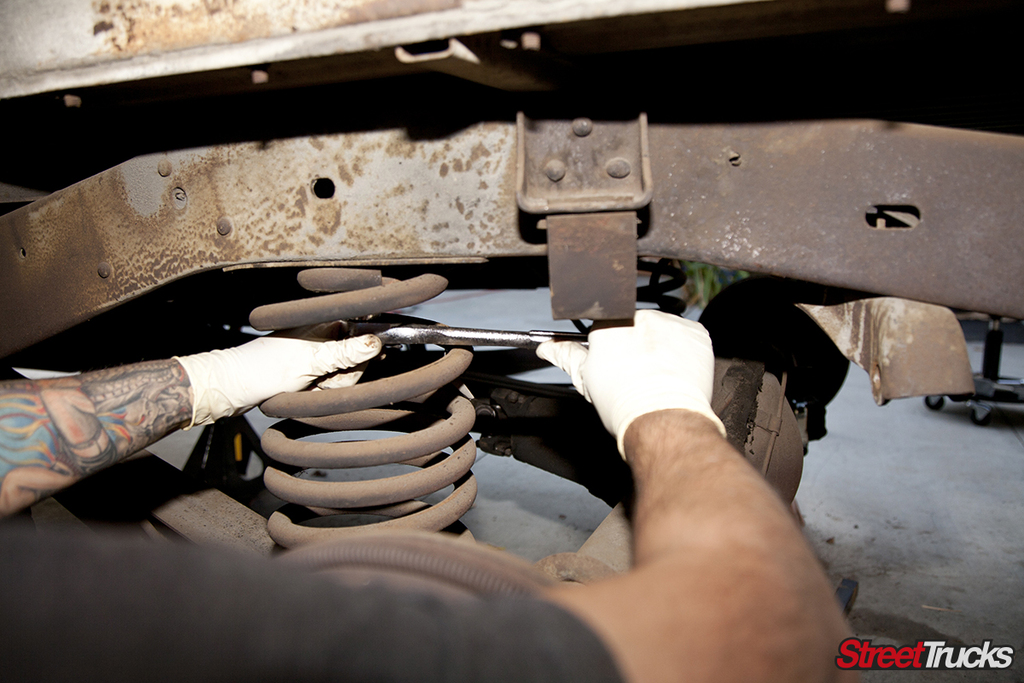 Next, the upper and lower bolts and mounting brackets were removed, followed by the stock springs.
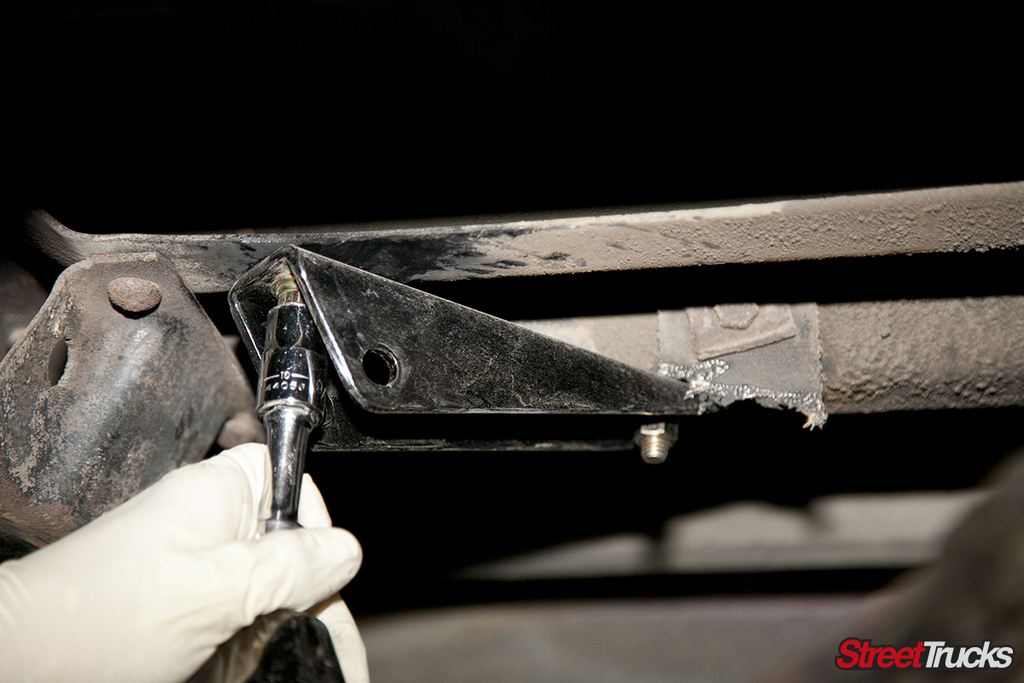 With the springs out of the way, the factory upper shock mounts were removed using a grinder. The new mounts were bolted using the stock holes on the cross member.
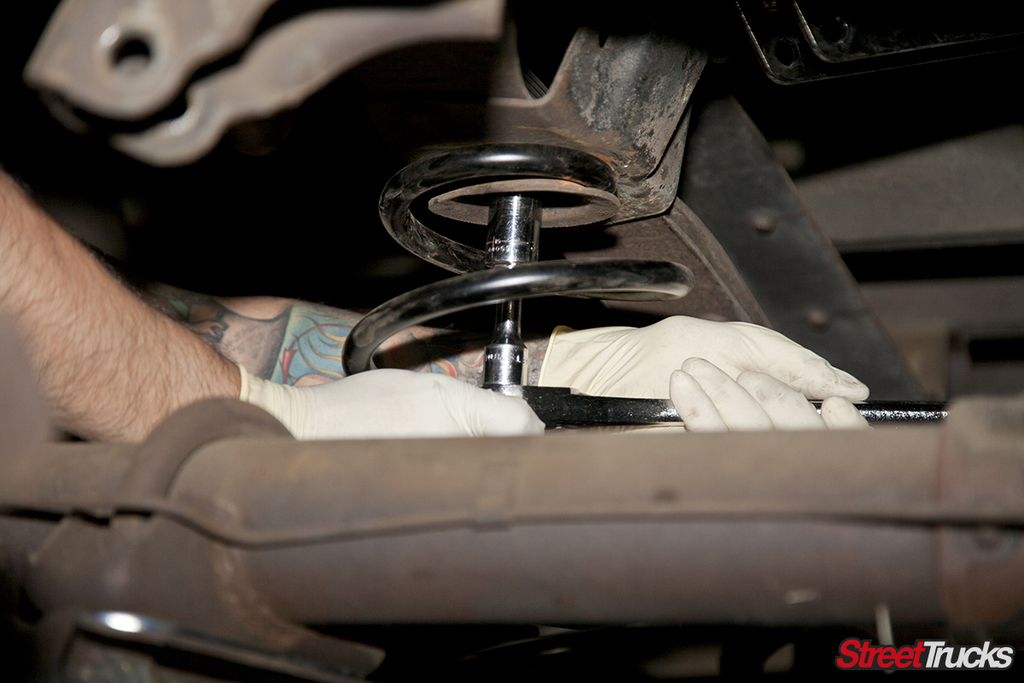 The new springs were set in place using the factory hardware.
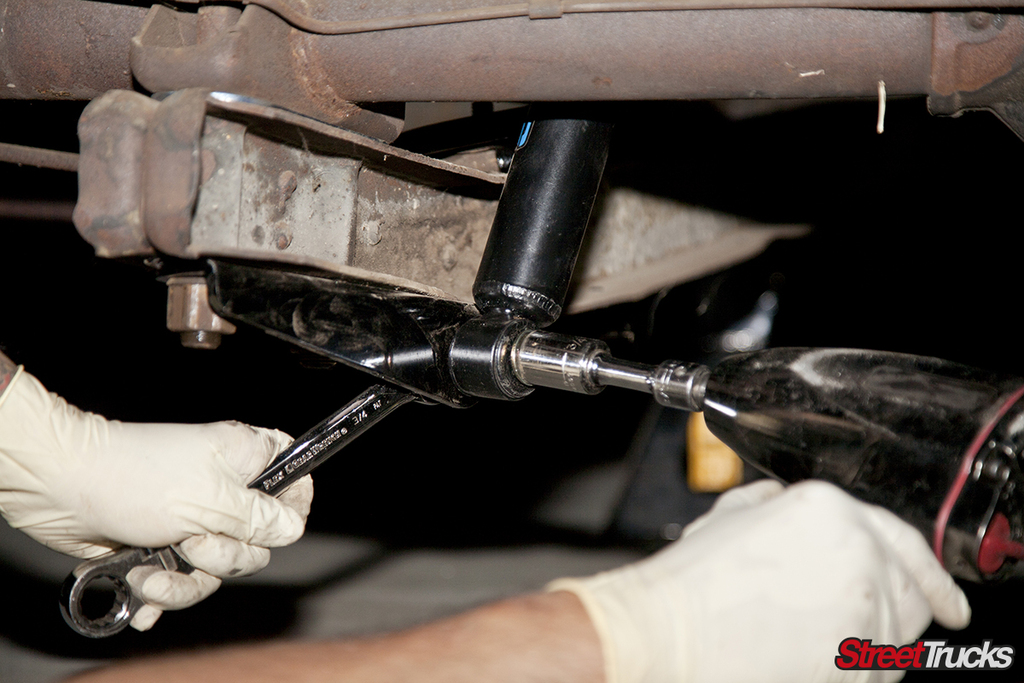 As the drop came together, the new rear shocks were bolted in place.
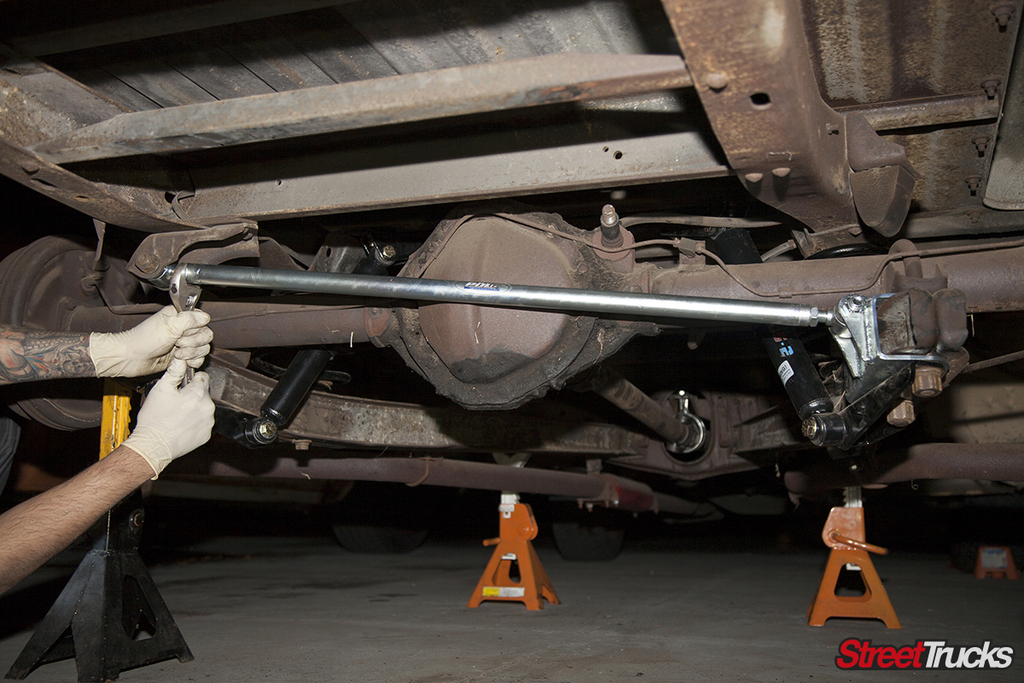 The new deluxe pan hard bar was bolted to the factory frame mount and the new mount on the passenger side trailing arm. To get the rearend centered, it was raised to ride height and the track bar was adjusted. Once the rearend was centered from side to side, the jam nuts were tightened.
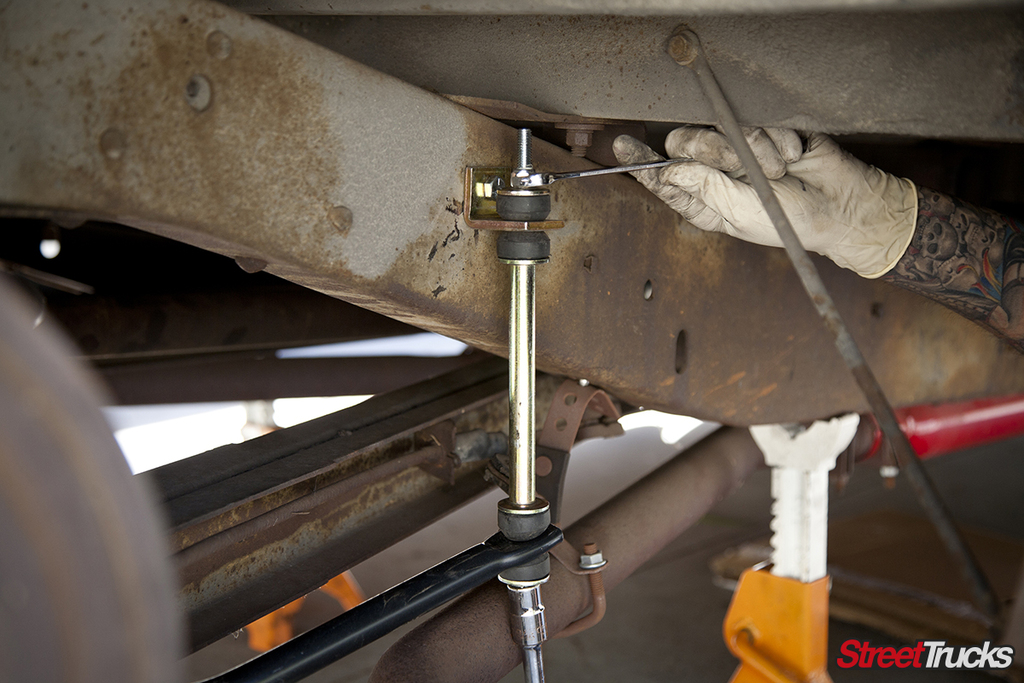 Just like the front, the rear sway bar was assembled to figure out where it needed to be mounted. Then the holes for the frame mounts were drilled and secured using the supplied hardware.
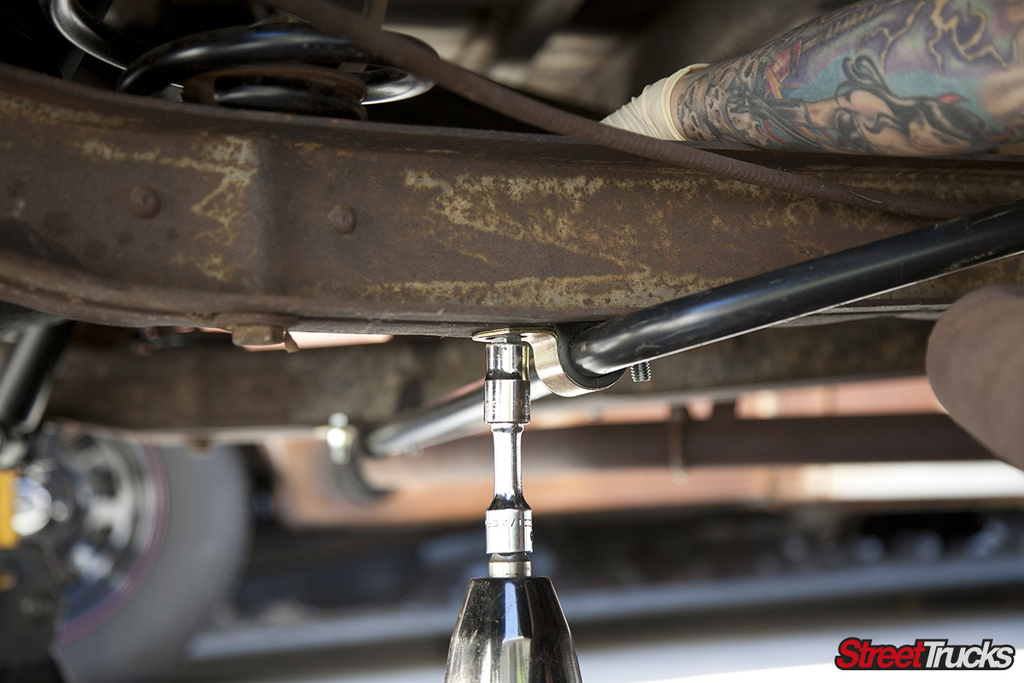 The last item to tackle was mounting the sway bar to the trailing arms. Holes were drilled and the bolts were put in place and tightened.
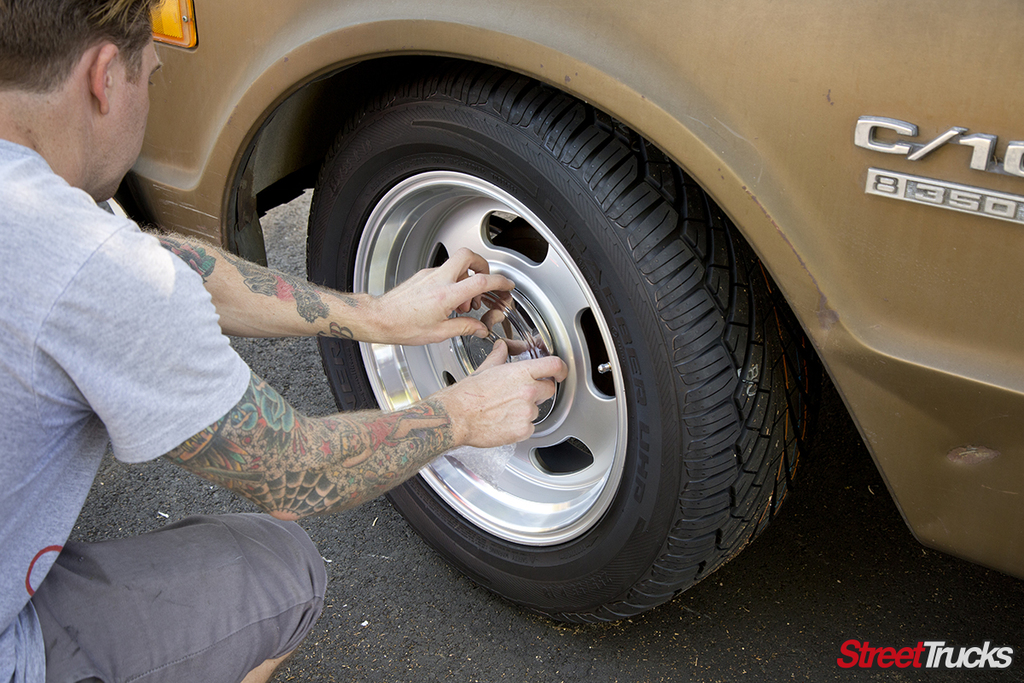 Rev Classic Wheel 107s in silver finish give this truck a modern edge. They look like classic rally wheels but are available in larger diameters. These are 18×8 inches with 0mm offset and 6×5 five-bolt pattern. If you retain the drum brakes, like we did here, you may need to grind off a few minor bumps to achieve flush fitment. Once the wheels were bolted on, the police caps were placed using a rubber mallet.
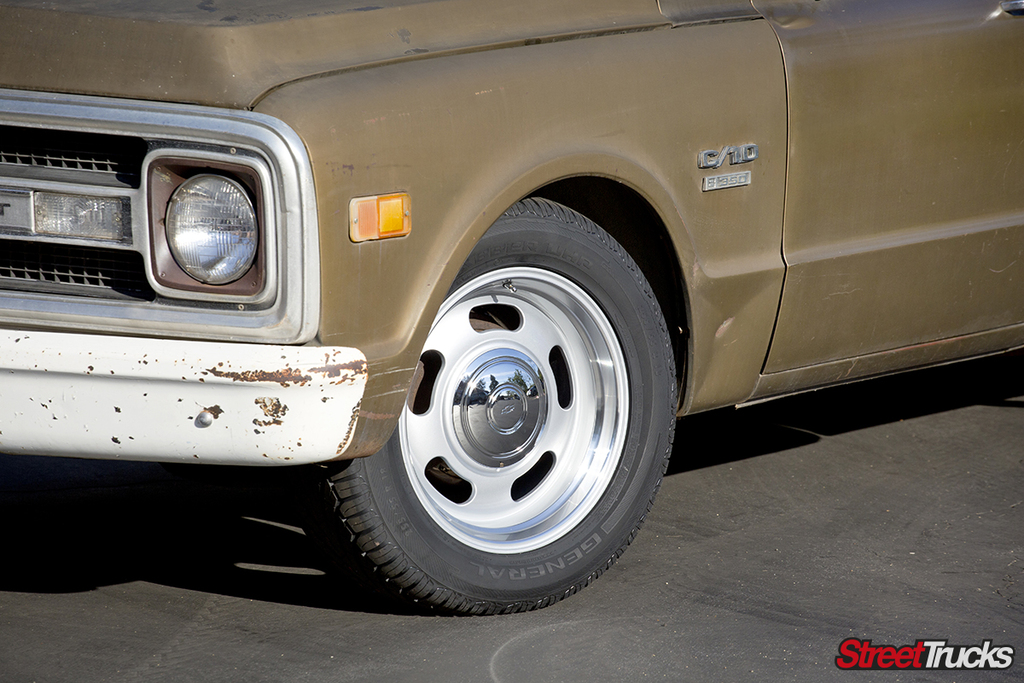 A set of General Tire Grabber UHP 255/55R18 tires provides dry and wet traction. The V-shaped, grooved tread not only looks stylish, it also efficiently evacuates water and improves road contact. Better still, the flat belt contour, shallow slots and increased tread depth work together for even wear and extended tread life. Available in low-profile sizes, this tire is a good choice for a truck like this, and the price was reasonable enough to keep our budget down to $4,473.89 for everything shown here.
Share Link