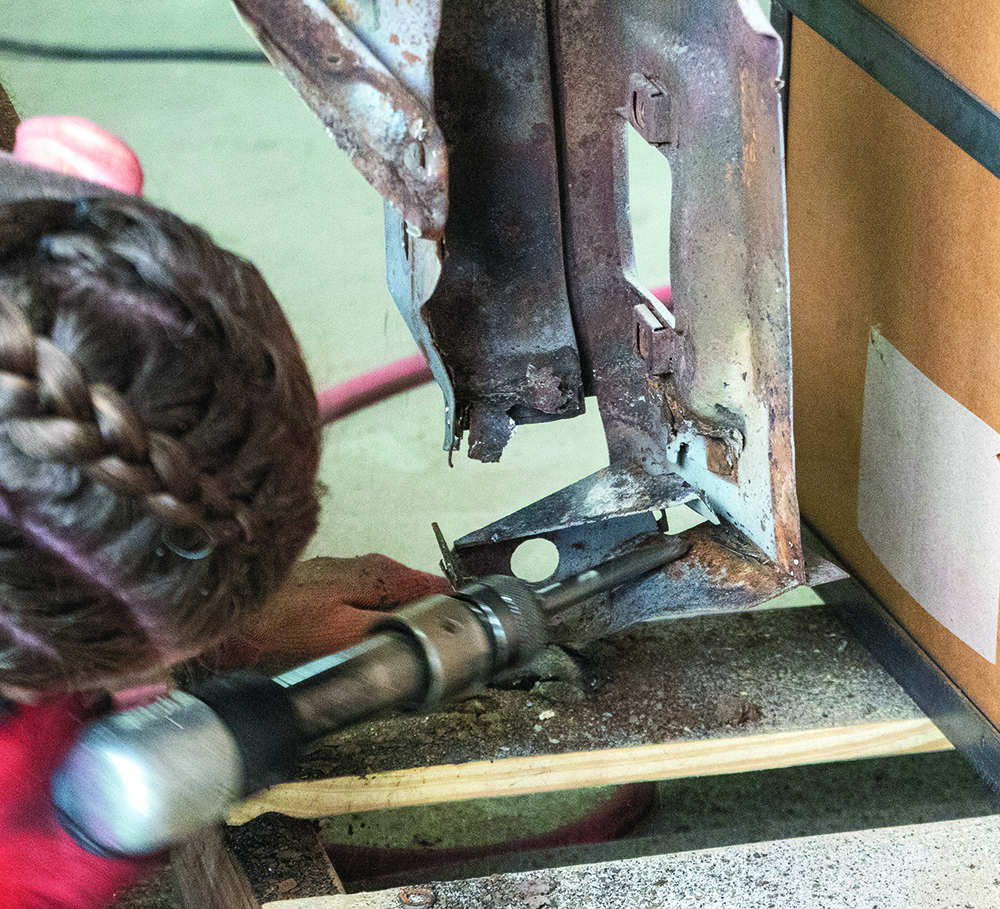
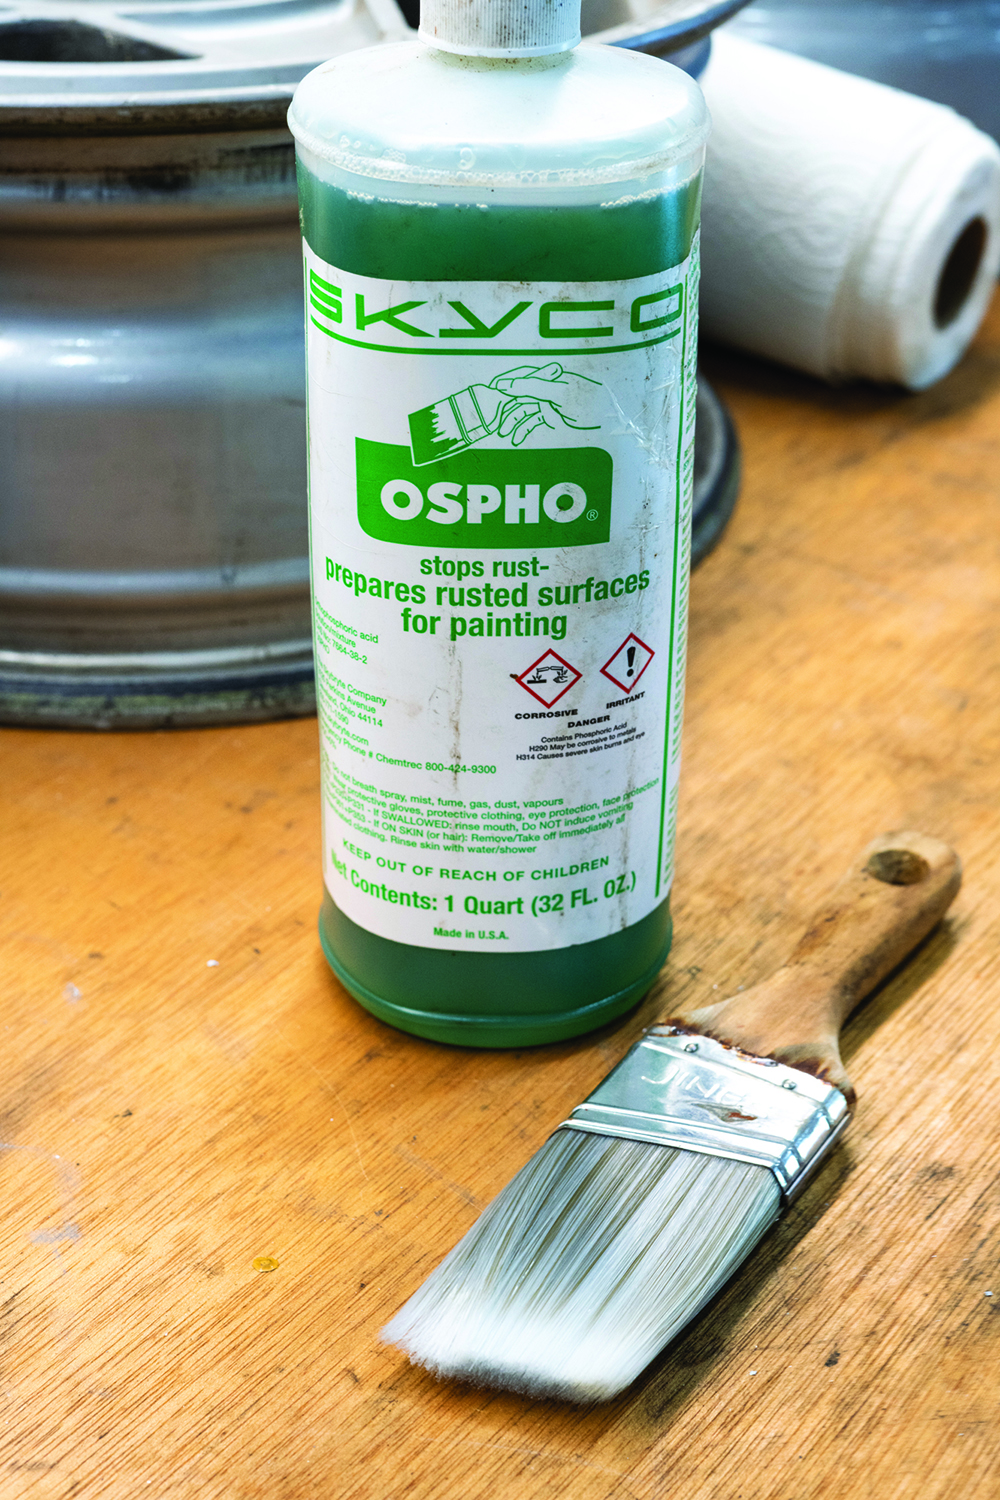
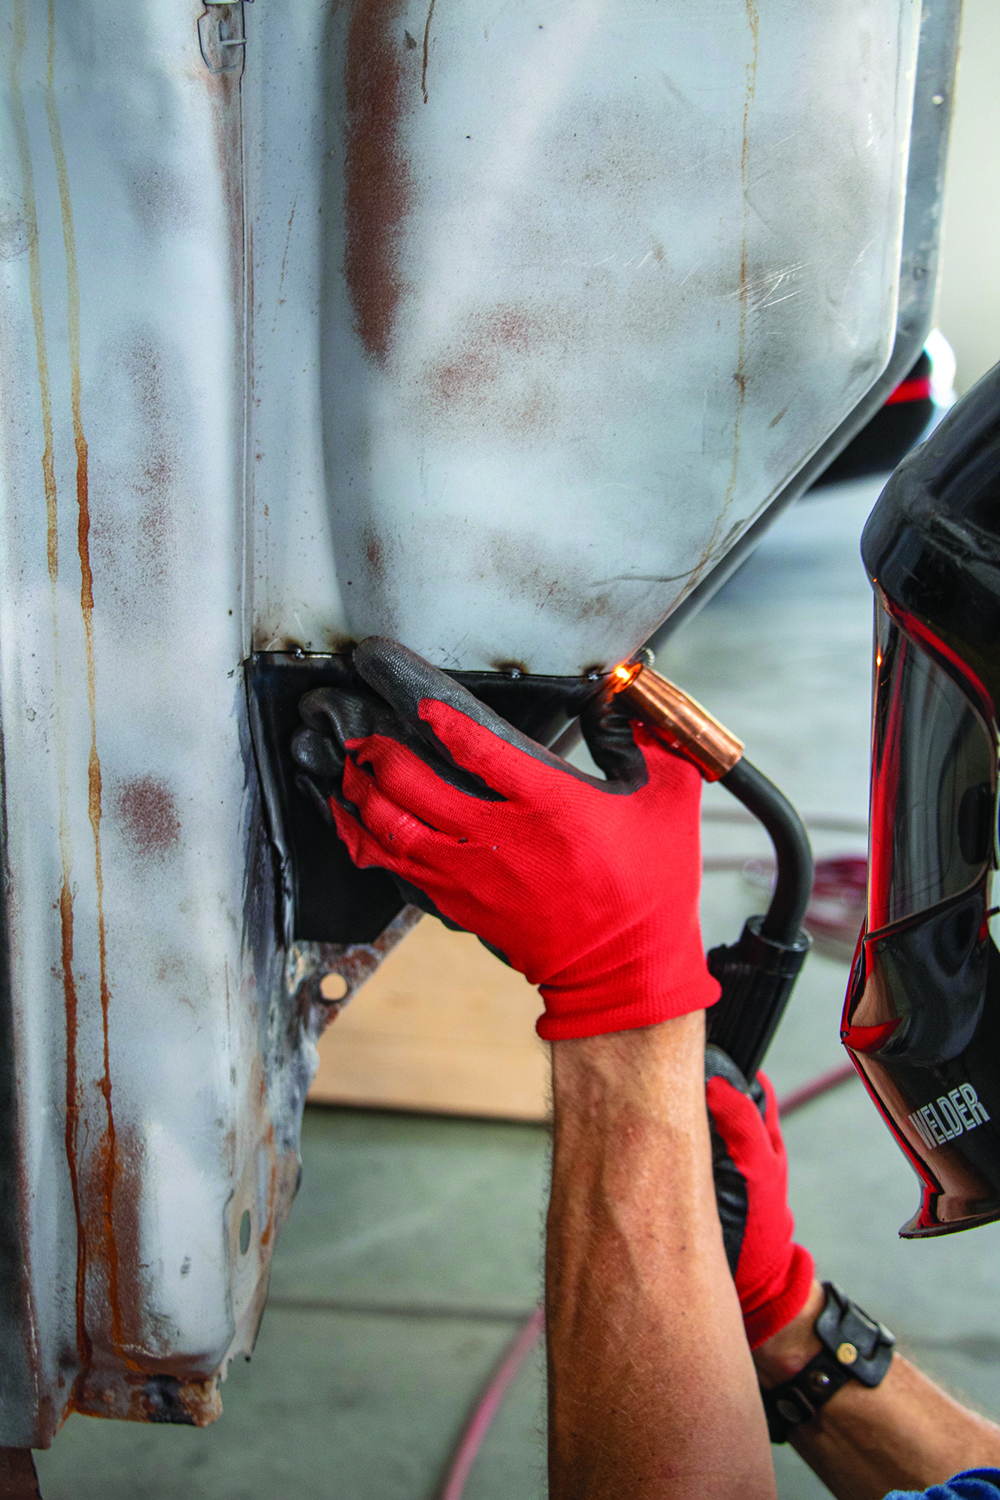
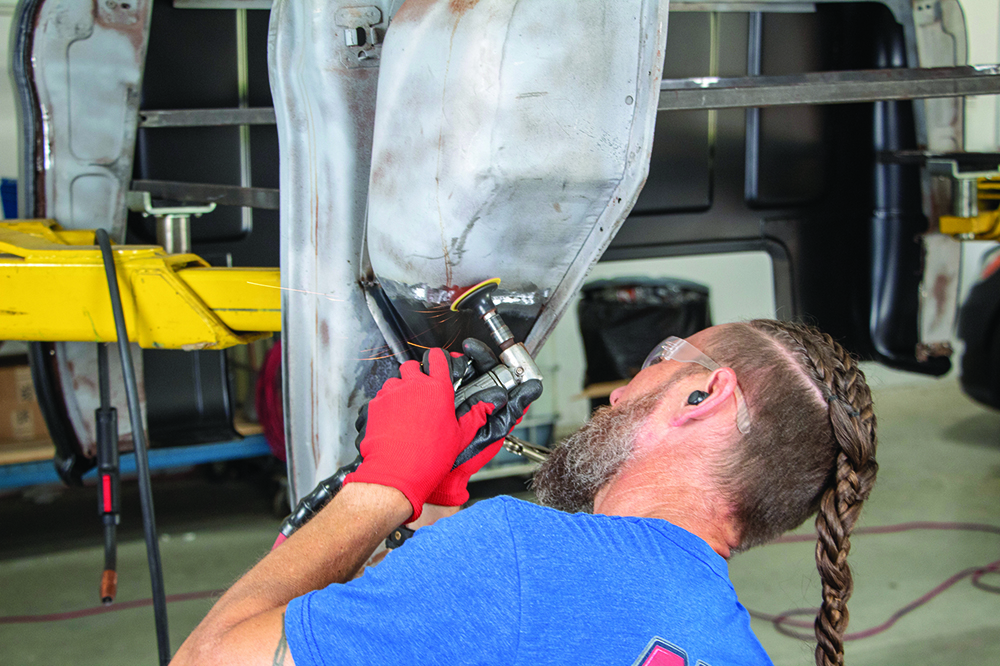
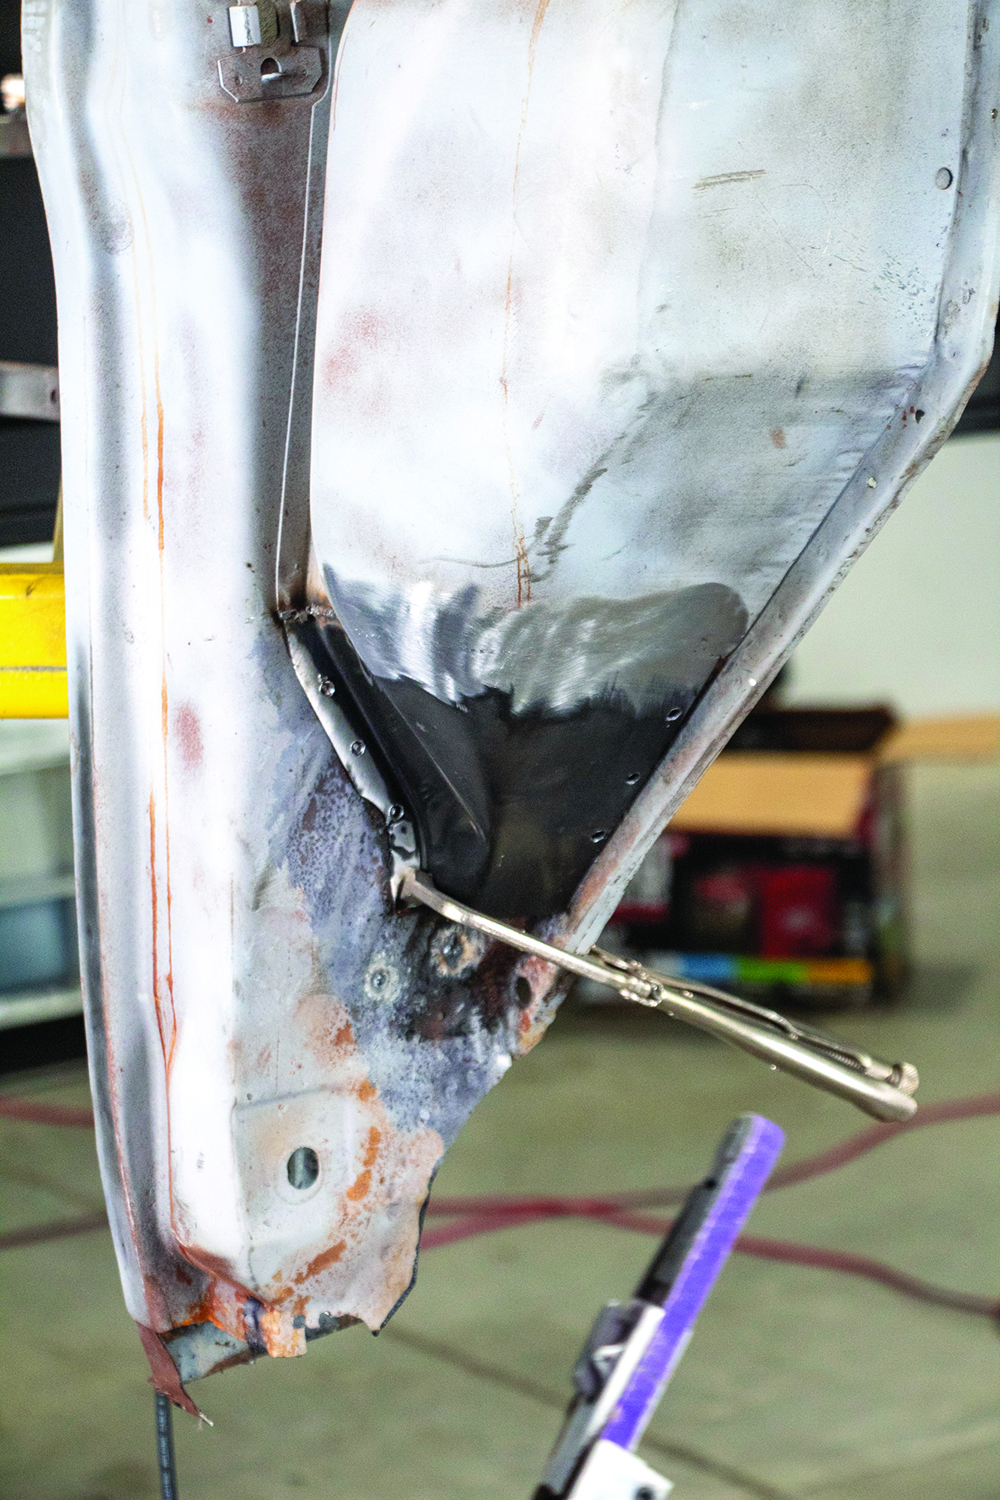
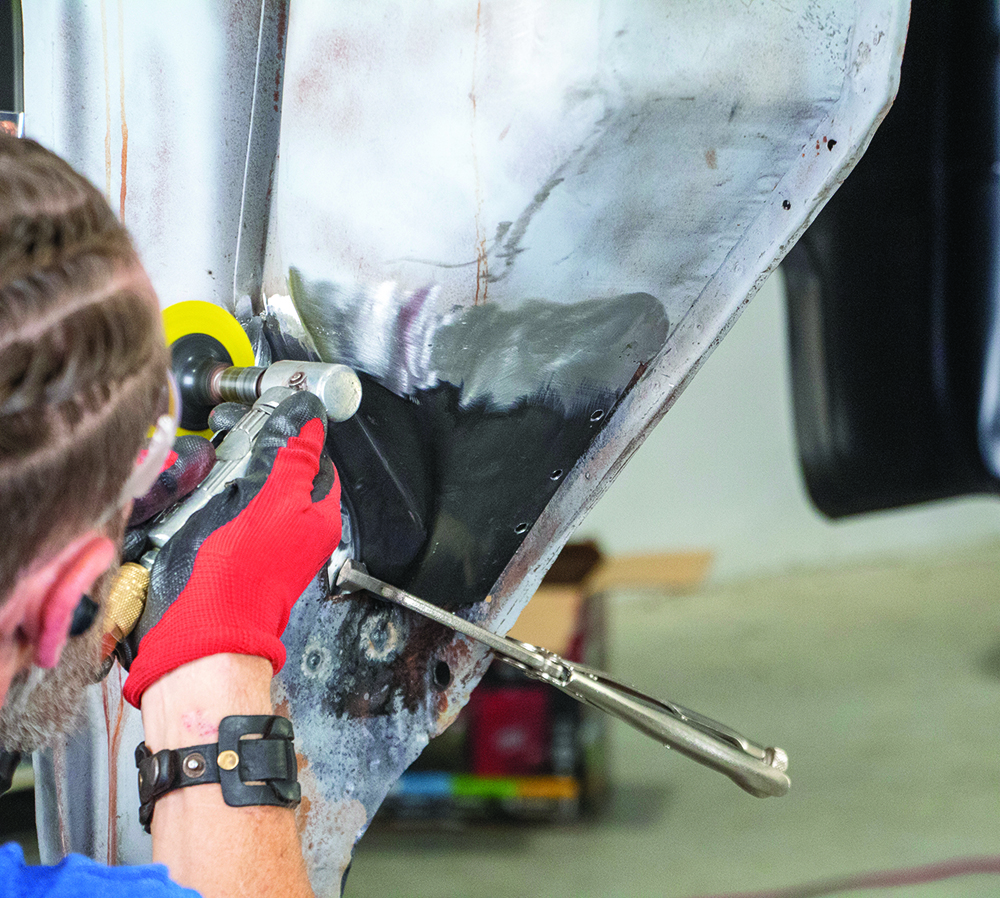
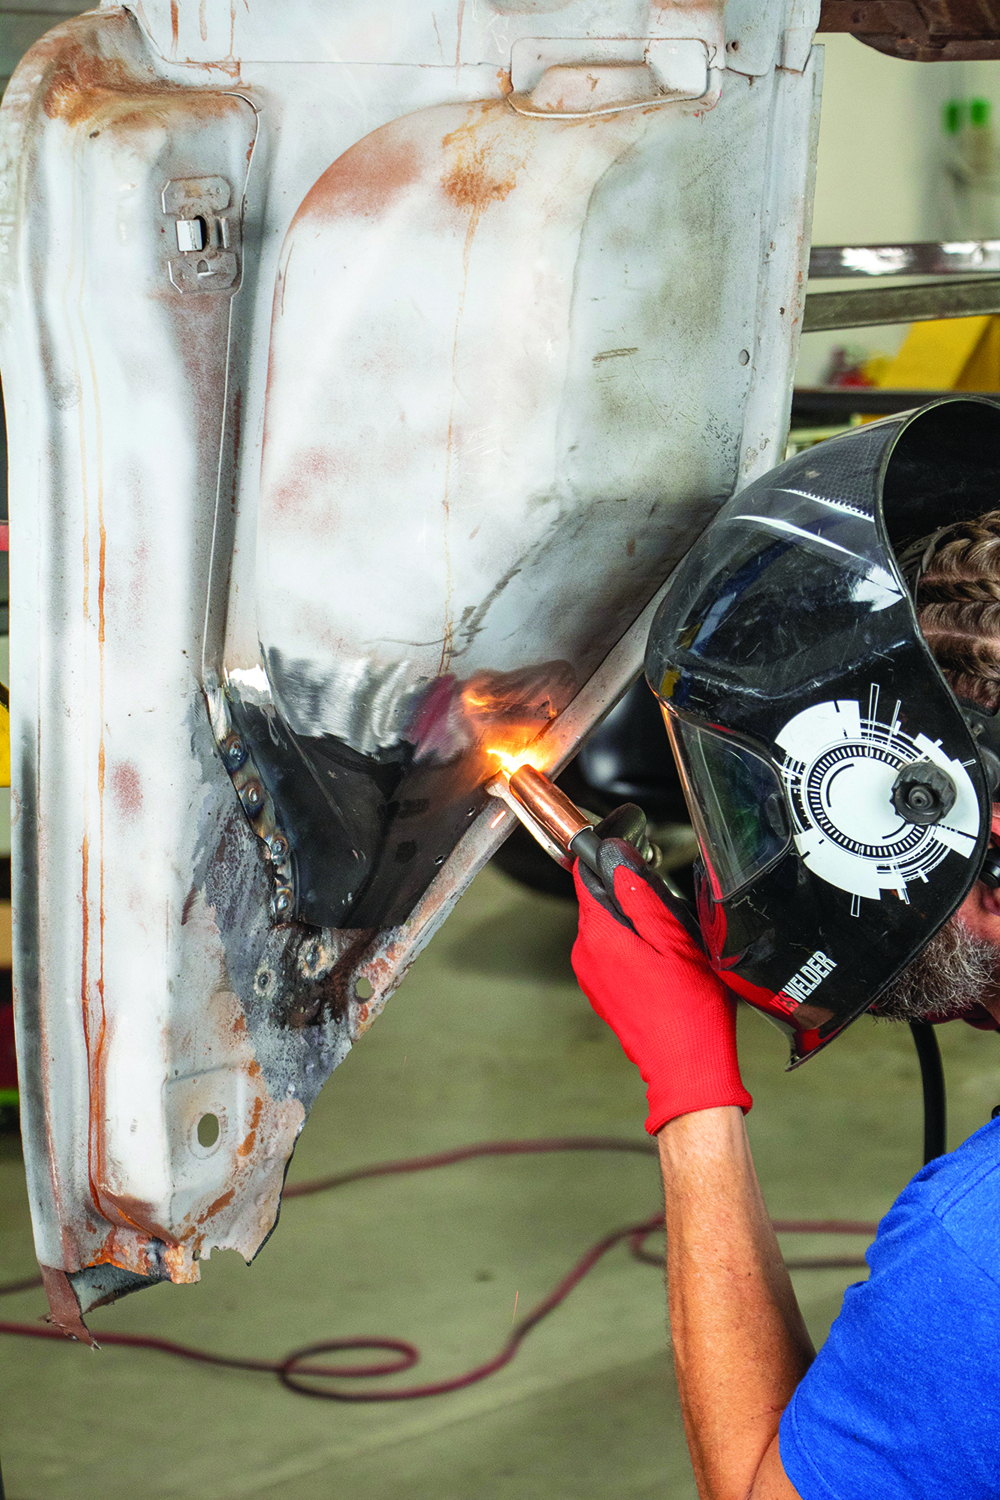
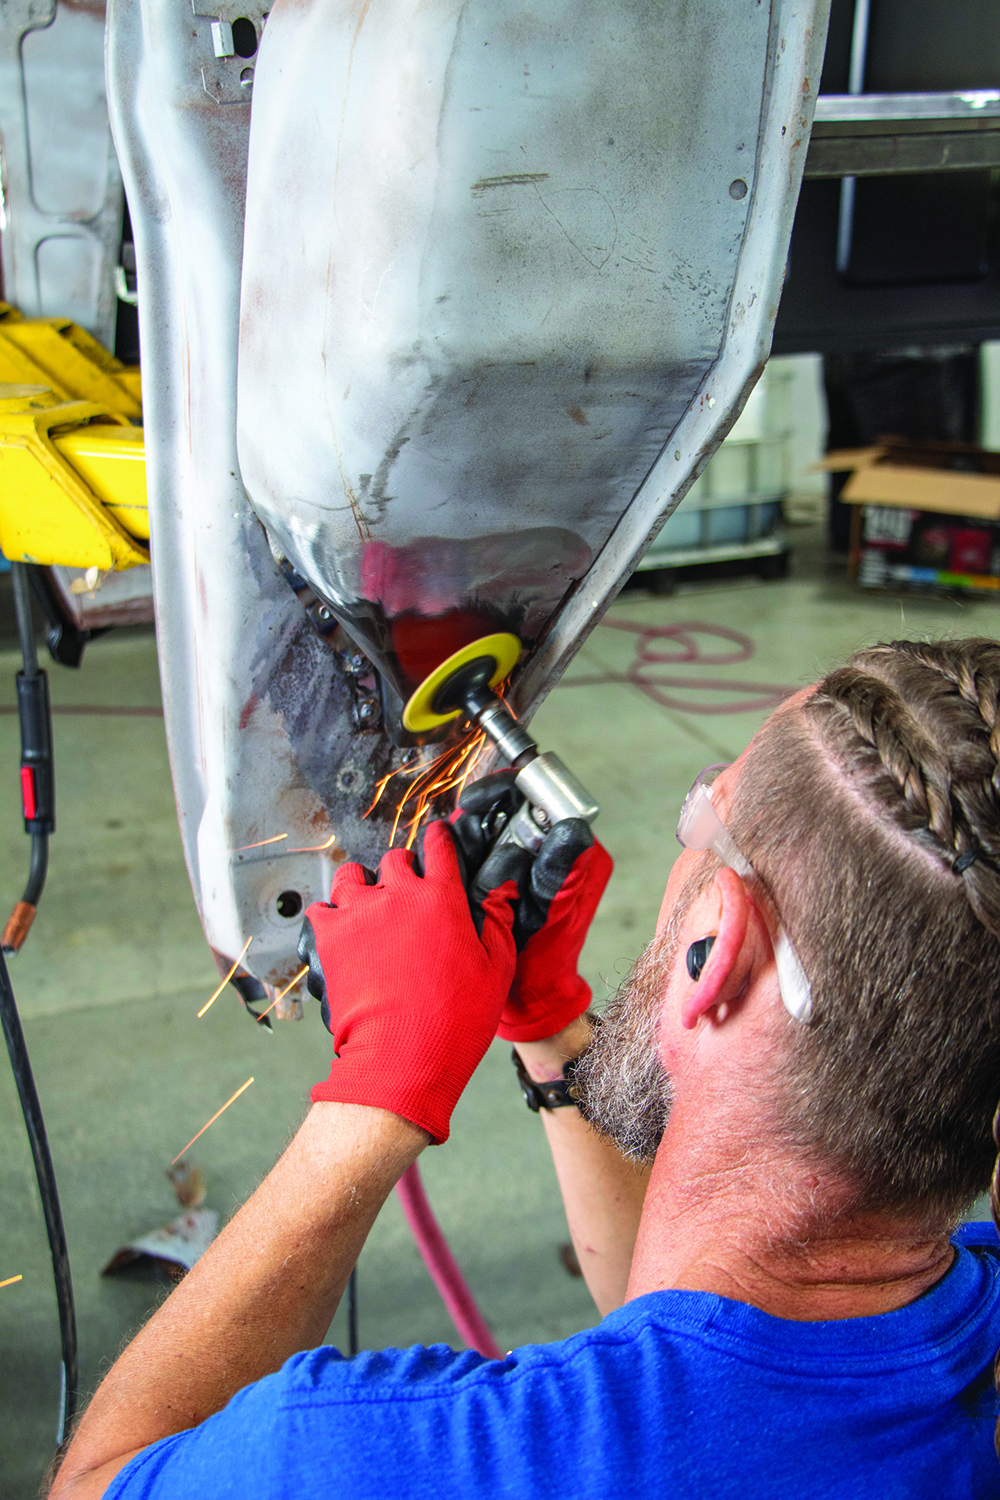
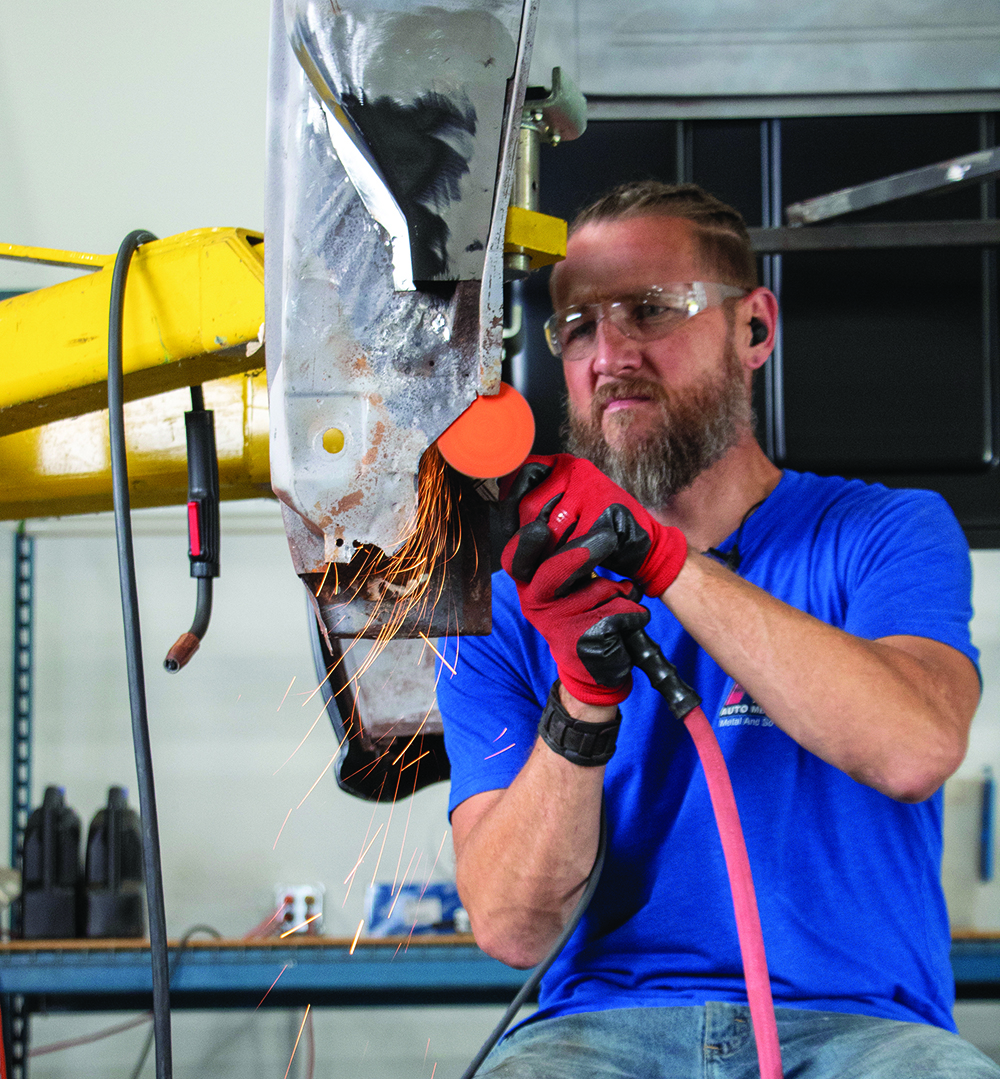
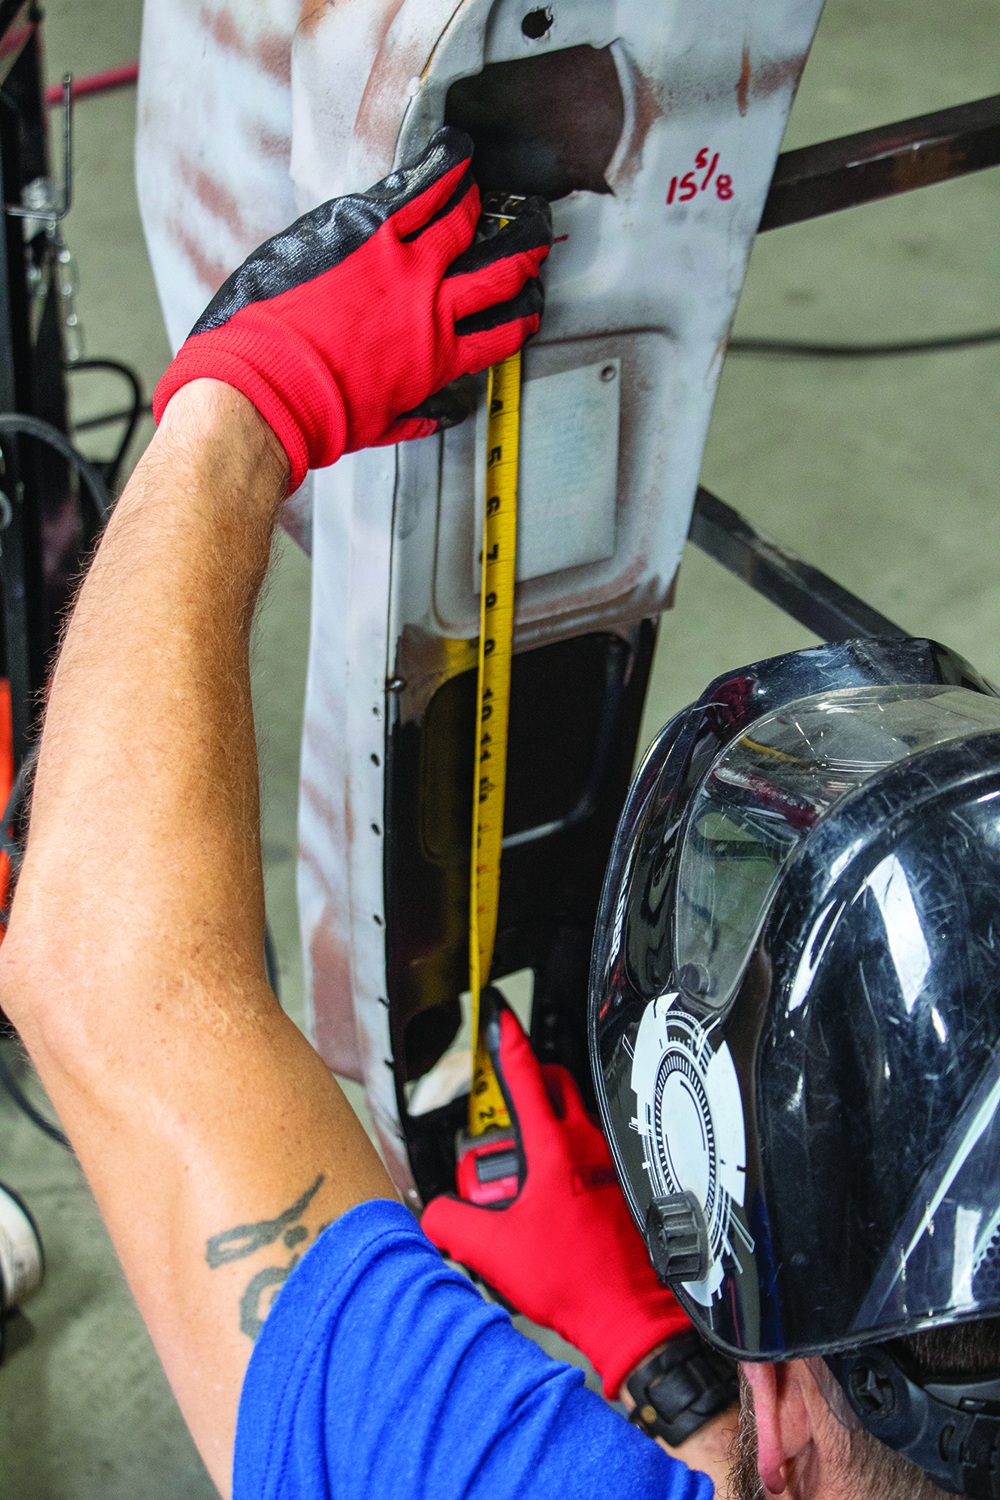
Up next STREET TRUCKS CARTOONS ” A SERIES OF COLLECTIBLE CARTOONS “ Published on February 07, 2022 Author Jason Chandler Share article Facebook 0 Twitter 0 Mail 0 1959 Chevy Apache Patch Panels | Project Burnadebt Part 2 Patching an Apache Welcome back to our installation series on project Burnadebt, our 1959 Chevy Apache. Burnadebt was in pretty rough shape to start with, but nothing uncommon for anyone who has dug into one of these great American classic trucks. The last time we featured Burnadebt in our tech series, with the help of Jubee Mays of aMAYSing Metal Works, we repaired the front fenders back to factory spec using Auto Metal Direct’s lower rear fender patch panels. The fenders were rusty, and usually where you find one issue, another issue arises. In Bernadebt, the lower cowl area is that trouble area. This is a common spot for rust in most classic trucks. With both sides of the lower cowl in need of attention, we get started with the passenger side lower cowl plenum removal and replacement, and move to the driver side from there. Some of the final weld up will be saved for future articles as we are going to show you how to replace the firewall, floor pan, doors and the back cab—all available from AMD. Let’s get to it!Subscribe to our weekly newsletter With plans to redo the floor, firewall and most aspects of this cab, we have elected to take it off the frame. We braced the entire cab prior to removal of any of the main components and we will cover that in future installations. These repairs do not require cab removal. We do a quick visual inspection to confirm that we have received the correct repair patches for the areas that we will be addressing. The last thing you want to do is dive into a project and have the wrong parts. After assessing how much of the patch panel we need to use, Jubee tapes off the patch. Using his trusty die grinder, he cut on the tape line all the way across. Quick-change discs are your friend. Cleaning up the edges helps with a tight fit during weld up. The rot was bad enough that the door hinge backing plate literally fell out, making removal much easier. We also removed the fender mounting bracket in preparation for the door hinge pillar patch. Jubee scribes a mark where the lower cowl patch panel will extend. This gives him a reference of where to cut, so the patch matches up. Steady hands are a plus when cutting out the rusted area. Take your time and don’t make more work for yourself. With the area exposed, this is a perfect time to apply our Ospho brand rust inhibitor. This will stop any further rust from rotting out the rest of the panel. Be sure to protect your floor; this stuff likes to eat the concrete. Using our air chisel, we shave off the rest of area with ease. This method allows for less weld up. The factory spot welds can sometimes tear when chiseling. Don’t worry: When you plug weld this side in, you can repair it at that time. Lots of leftover sand from blasting with a bit of trash stuffed into the cowl side. It’s amazing what you find digging into a classic truck. With the weld area prepped, a final test fit before welding in our patch. Tack the patch in place on one end and check your placement. A small flat head screwdriver comes in handy to manipulate the panel exactly where you want it as you tack it in place. Tack weld the panel in intervals to keep the heat down. This will prevent the panel from warping. Continue to weld the patch in small strips, using your air gun to cool the welds in between. This will go a long way in preventing warpage and overheating the area. Clean up your area to blend everything in. Jubee starts with 36 grit, moves to 80 grit, then to a Scotch Brite disc, gradually moving further out between steps. Pin holes can show up in this process. Weld those up and repeat the sanding process to blend it in. Other panels will be added, so plan ahead and take care of any areas at this time. We will be adding a small patch to the bottom and will hammer and dolly the bottom edge in preparation. The lower door hinge patch is basically the same process as the cowl side, except for some additional steps to keep everything in line. Notice the mark on the top of the factory panel is removed. We notated our measurement from bolt hole to bolt hole to give us a reference when replacing the panel. With the door hinge pillar patch tacked in place, we can confirm placement based on our measurement reference and can use our straight edge to ensure proper placement. Weld up is the same process we used on the lower cowl side. Control the heat and prevent warping. We will hold off final weld up on this patch until the fenders and doors can be aligned. This gives you the flexibility to adjust as needed when everything is mocked up and aligned. We will hold it in place for now with a self- tapping screw. We move on to the lower cowl plenum side panel. This is replaced in the same fashion as well. Test fit the panel to determine how much you will need to use. No need to use more than what needs to be replaced. Tape off what you need and cut to fit. Re-test fit the patch and scribe your mark. Measure twice cut once. You can clearly see the scribe mark making it easy to cut. Make your cut and be sure to always wear your eye protection. Weld up the patch just like we did on the other two panels. Control the weld and keep the heat down. Clean up the areas that will get welded up to the other components. We will cover these when installing the floor and firewall articles. With everything complete on the cowl sides, we are ready to move on to alignment and mockup. A quick coat of Medallion OE Coat ensures that the new metal wont rust before the body man gets a hold of this truck. We used Part #RS-551 Black as our go-to coating.
Altered Metal Show Coverage 2023 Several important factors must align to really put the stamp on a great car show. An impressive lineup of vehicles ranging from clean and classy […] Damien Davis August 23, 2023 Department HEADLINE How to Industry News Latest Press Release Profiles Show Uncategorized
Top 10 Trucks from Scrapin' The Rockies 2024 Subscribe to our weekly newsletter Phil Gordon July 03, 2024 Department Features HEADLINE Industry News Latest Profiles Show Uncategorized
EVENT SCENE MARK YOUR CALENDARS AND GET TO CLEANING AUGUST AUGUST 18-19 SEVERED IN THE MIDWEST ELIZABETH, INSubscribe to our weekly newsletter Kick it with one of […] Chris Hamilton August 25, 2018 Department Events
2001 Chevy | SUBLIME SILVERADO Sometimes Change Is Good Especially For This 2001 Chevy SUBLIME SILVERADO… It’s hard to stand out in a sea of custom trucks—but this 2001 Chevy […] STREET TRUCKS STAFF May 19, 2021 Department Features HEADLINE Latest Profiles Reader Rides